|
|
Post by brettm357 on May 8, 2017 20:23:18 GMT 10
Is there a preferred way to replace the floor in a 70's Millard
|
|
|
|
Post by Mustang on May 9, 2017 7:47:58 GMT 10
Presuming your floor is ply:
Without more info whether it is just soft/moving/rotten/broken rivets, there are numerous scenario's.
Try some images & exactly what your problem with the floor is.
Cheers
|
|
|
|
Post by captivenut on May 9, 2017 13:09:45 GMT 10
If it's beyond repair remove & replace with 12 - 16mm marine grade or moisture resistant building grade ply. If you want to seal the underside use oil based primer/undercoat - not water based acrylic. If old floor is still reasonably sound then you could just sheet over the top with 3 - 9mm building grade ply but make sure you stagger the joins so that they don't coincide with the joins underneath. That's what I did in wife's 70' Viscount.
If you do decide to remove the old original ply you may find an issue with the bottom wall plates being mounted on top of the floor. Not sure about the construction of your Millard but it wasn't uncommon for manufacturers to first fit the ply floor onto the chassis and then install the walls on top which makes it difficult to remove all traces of the old floor. From what I have gleaned, some restorers just cut out damaged segments and patch & glue a new piece in and then sheet over as I described above.
Good luck!
Cheers, Arthur
|
|
|
|
Post by brettm357 on May 14, 2017 21:46:01 GMT 10
So i have stripped out all cupboards, walls and ceiling of my new 22 foot Millard
Floor is about 1/3 rotton, there is 3 screw holes in roof and about 50 all down one side wall. Is the structral pine with the tongue and groove ok for the floor and whats would be the best option to seal up holes
|
|
|
|
Post by brettm357 on May 14, 2017 23:01:47 GMT 10
Looking for window parts for 76 Millard need the winder assembly, rod and rod end mount
|
|
|
|
Post by captivenut on May 14, 2017 23:14:19 GMT 10
12 - 16mm marine grade ply is probably best for the base floor and then cover with vinyl or other flooring material of your choice. Alternatively you can lay 12mm ply and then glue & screw a layer of 3 - 6mm ply on top but stagger them so that top and bottom joints do not coincide.
Cheers, Arthur
|
|
|
|
Post by brettm357 on May 14, 2017 23:37:15 GMT 10
Whats best to glue/seal the boards together for the join also the join will not match the chassis
|
|
|
|
Post by captivenut on May 14, 2017 23:50:00 GMT 10
I'm not sure what glue is best for butt joints but if it's yellow tongue structural flooring or something similar then maybe liquid nails will suffice? Bondcrete PVA or liquid nails should be ok for lap joints.
|
|
|
|
Post by brettm357 on May 15, 2017 14:12:22 GMT 10
So from what i can find - marine ply and ply flooring use the same glue with marine having an "A Grade" surface Ply Flooring is only "C Grade" marine does not have tongue and groove would that mean i have to weld in extra supports in the chassis for the board joins or is the ply flooring with the tongue and groove strong enough that i dont need extra support
|
|
|
|
Post by Rattles on May 15, 2017 16:22:25 GMT 10
If you want a strong joining ply instead of a straight Butt Joint either a 30 degree mitre joint (Glue the Mitre)
or a Routed 50mm 50% step Joint (Glue the whole step) when the joints are over chassis supports.
If no supports under then use an off Cut of ply 3 times wider than the joint glued and clench nailed (or Screwed) Under.
I prefer that joints are not joined on supports using a strip of Ply under Glued and Screwed.
I am currently renovating my home and I use this method to join Gyprock, Mid joins with patch
behind never crack however joints on studs/noggins frequently crack or if a hole
then cut a bigger hole of a ratio 2-1 this facillitates the insertion of patch behind the a piece
of Gyprock in the hole thus only a small crack to fill.
Rattles
|
|
|
|
Post by Mustang on May 15, 2017 18:08:37 GMT 10
|
|
|
|
Post by pisces51 on May 15, 2017 21:38:44 GMT 10
|
|
|
|
Post by captivenut on May 15, 2017 22:02:08 GMT 10
|
|
|
|
Post by brettm357 on May 18, 2017 10:48:12 GMT 10
Recently acquired 1976 Millard my first Renovation Outside as Received 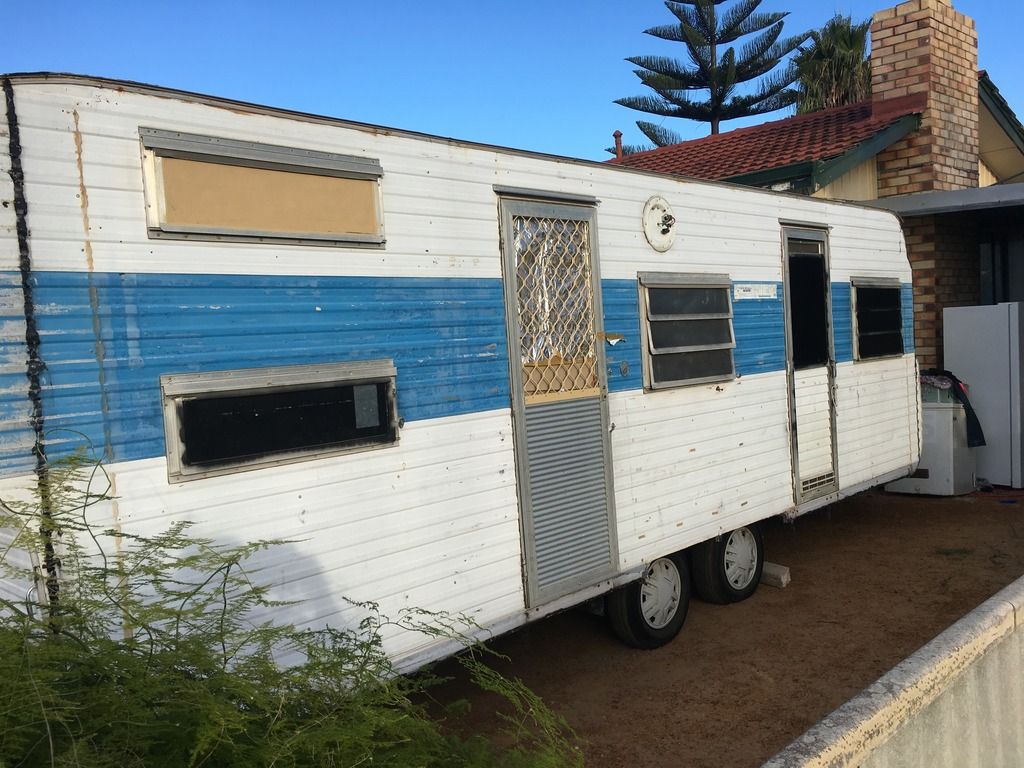 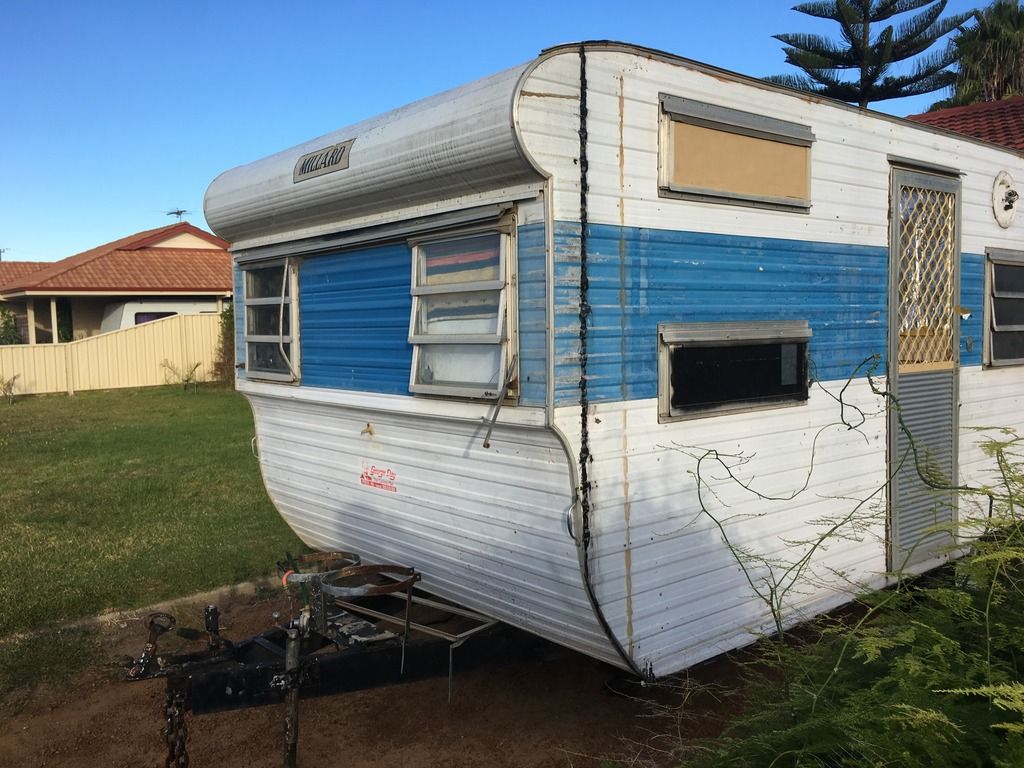 |
|
|
|
Post by brettm357 on May 18, 2017 12:30:47 GMT 10
Inside as Received  |
|
|
|
Post by brettm357 on May 18, 2017 12:31:19 GMT 10
Internal fitting removed  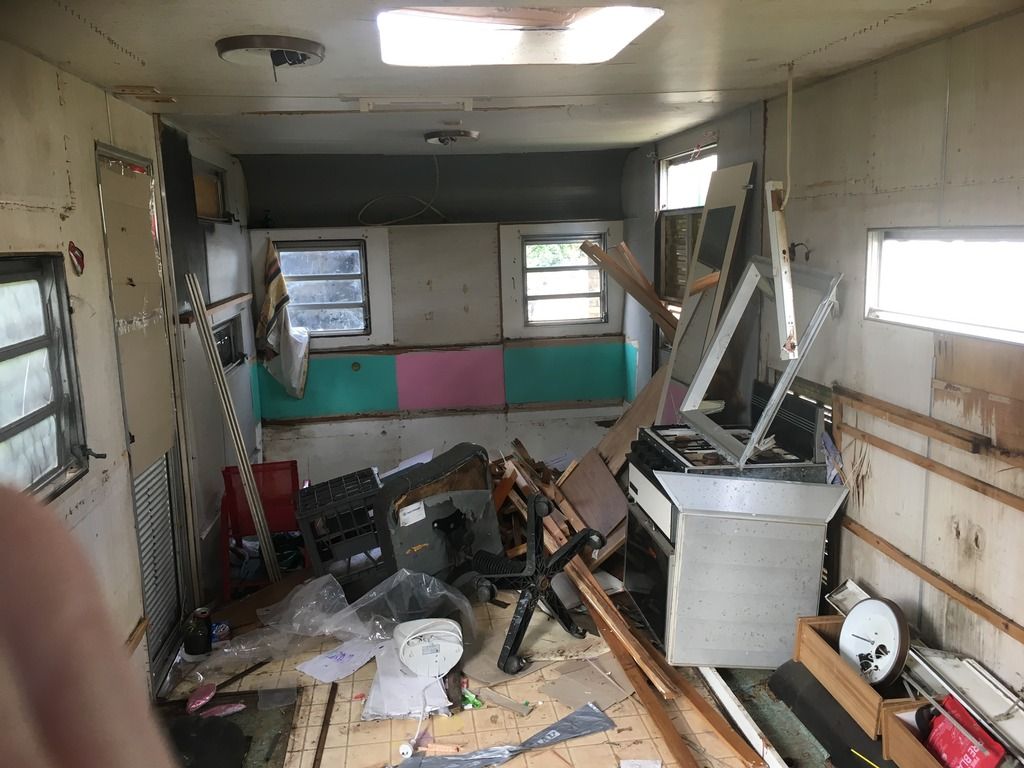 |
|
|
|
Post by brettm357 on May 18, 2017 12:31:53 GMT 10
Walls being removed 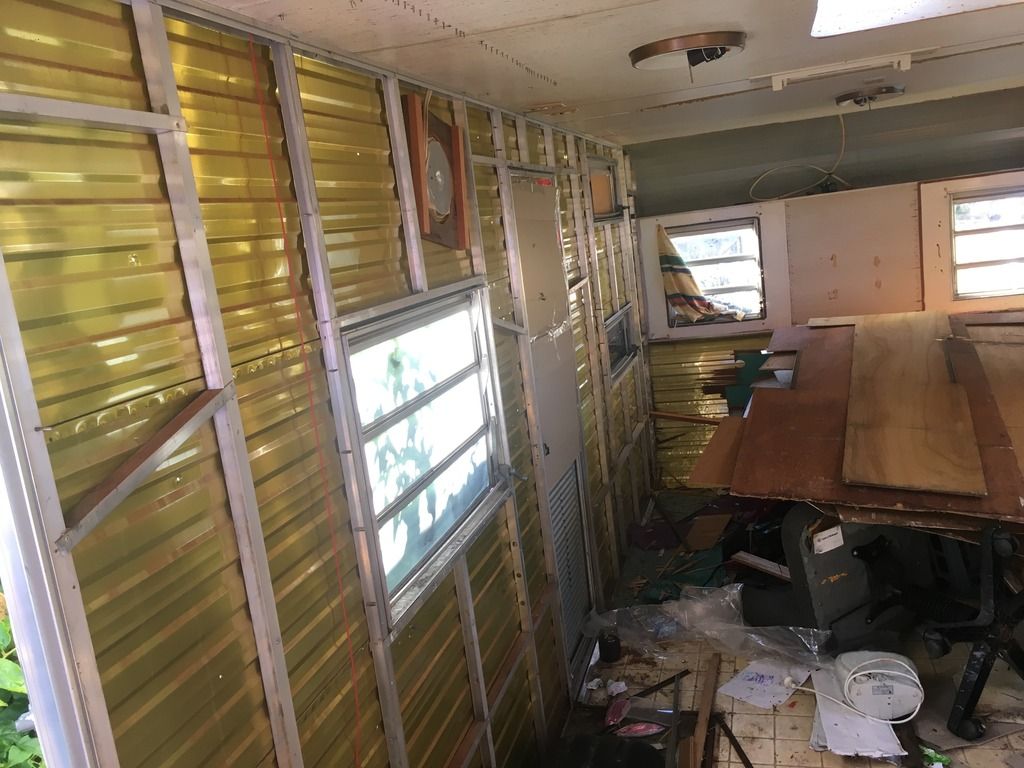 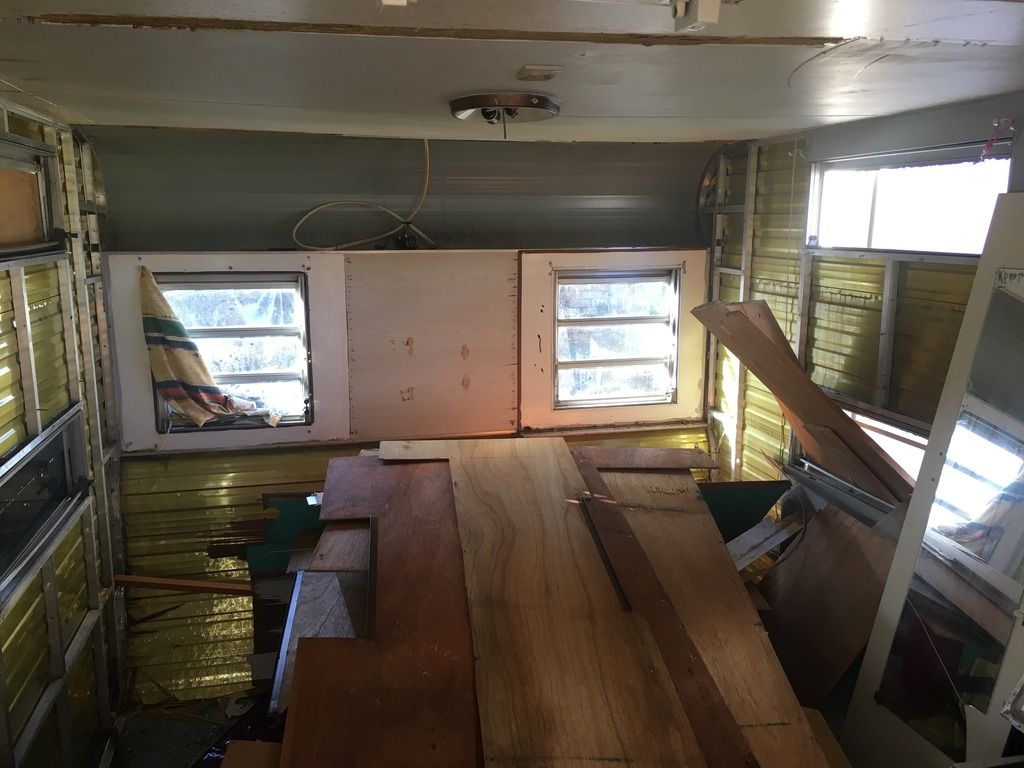 |
|
|
|
Post by brettm357 on May 18, 2017 12:32:24 GMT 10
Some of the thousands of ants living rent free 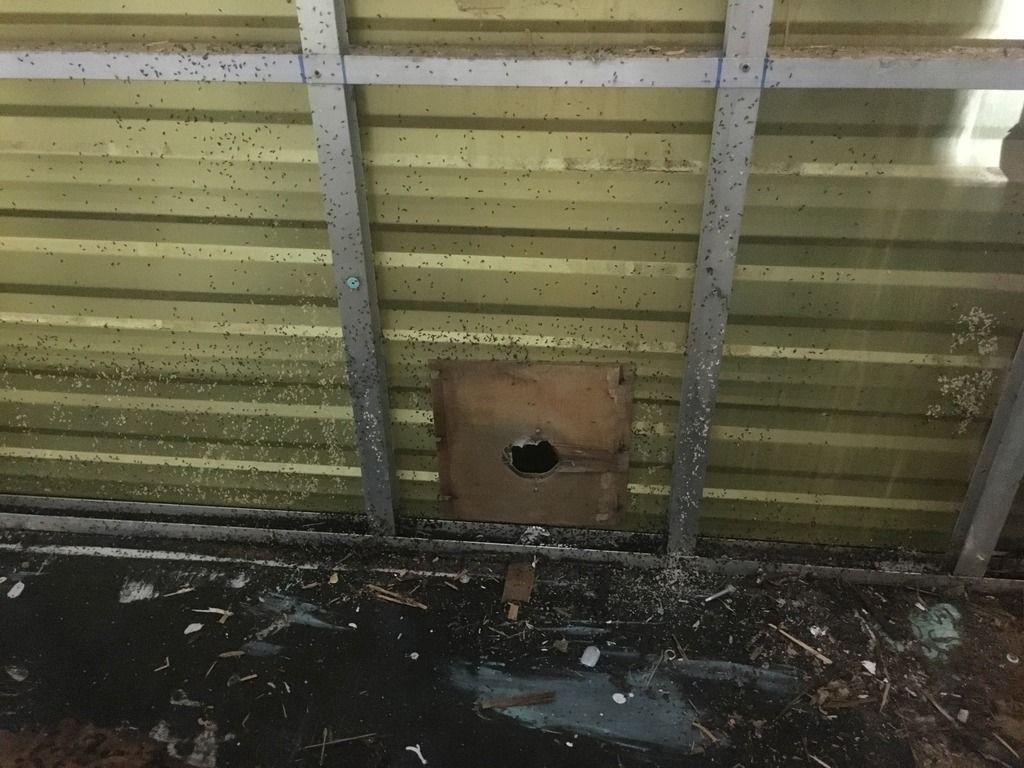 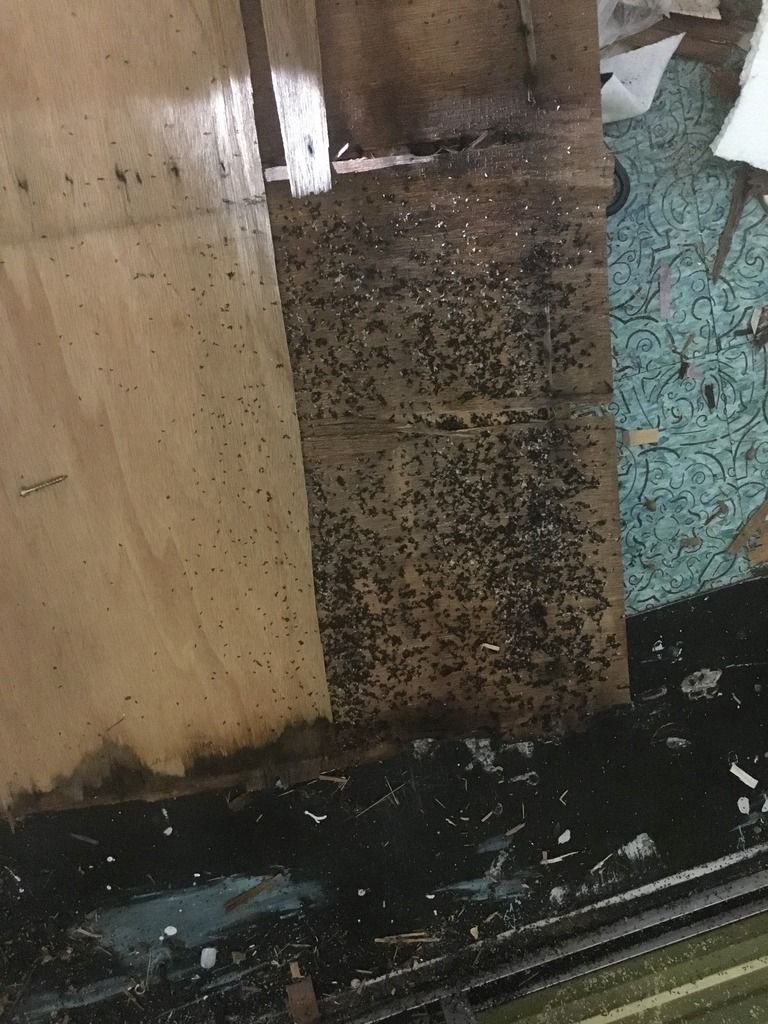 |
|
|
|
Post by brettm357 on May 18, 2017 12:32:59 GMT 10
Ceiling removed cleanup time  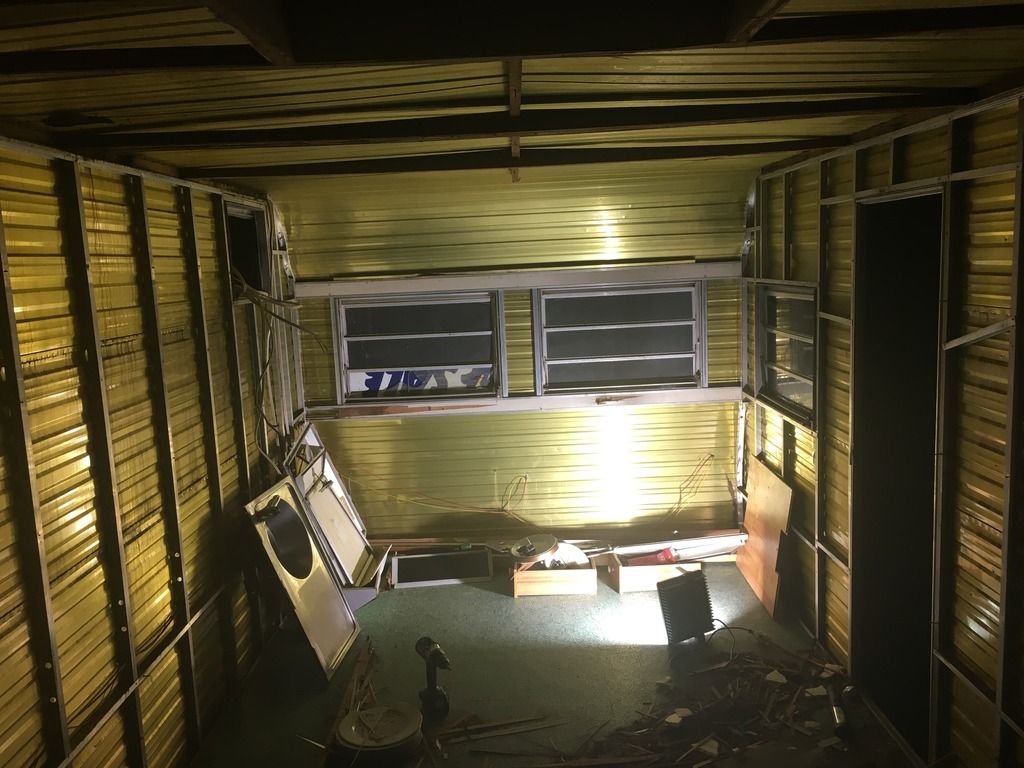 |
|
|
|
Post by brettm357 on May 18, 2017 12:33:32 GMT 10
Found the Build Date 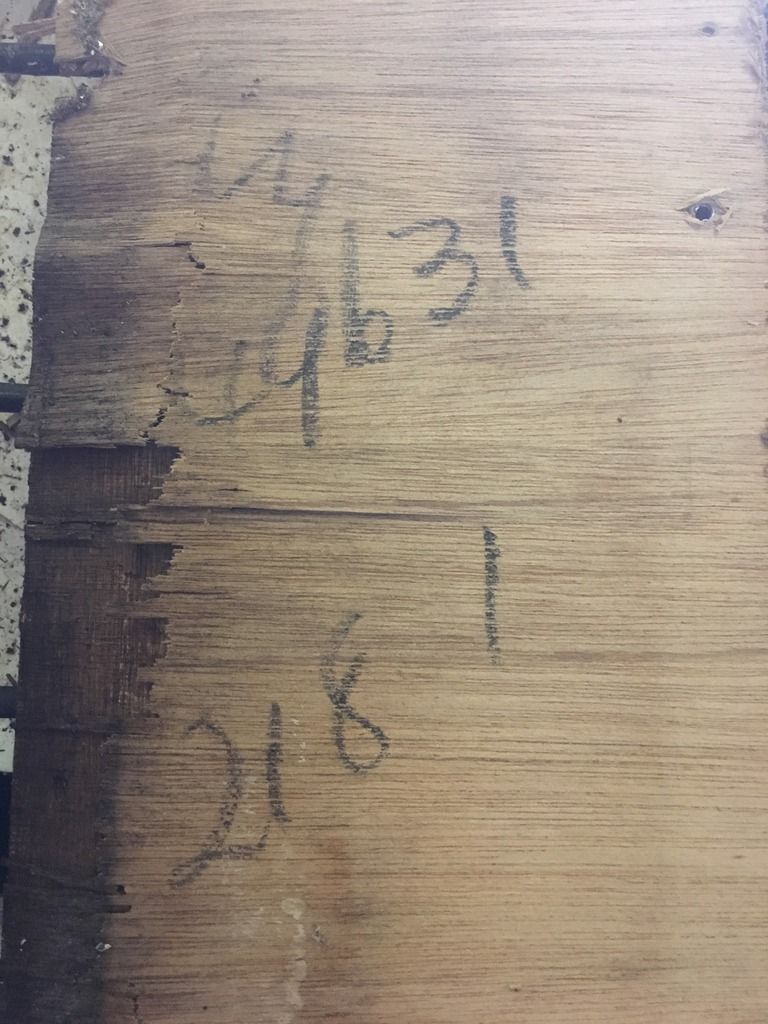 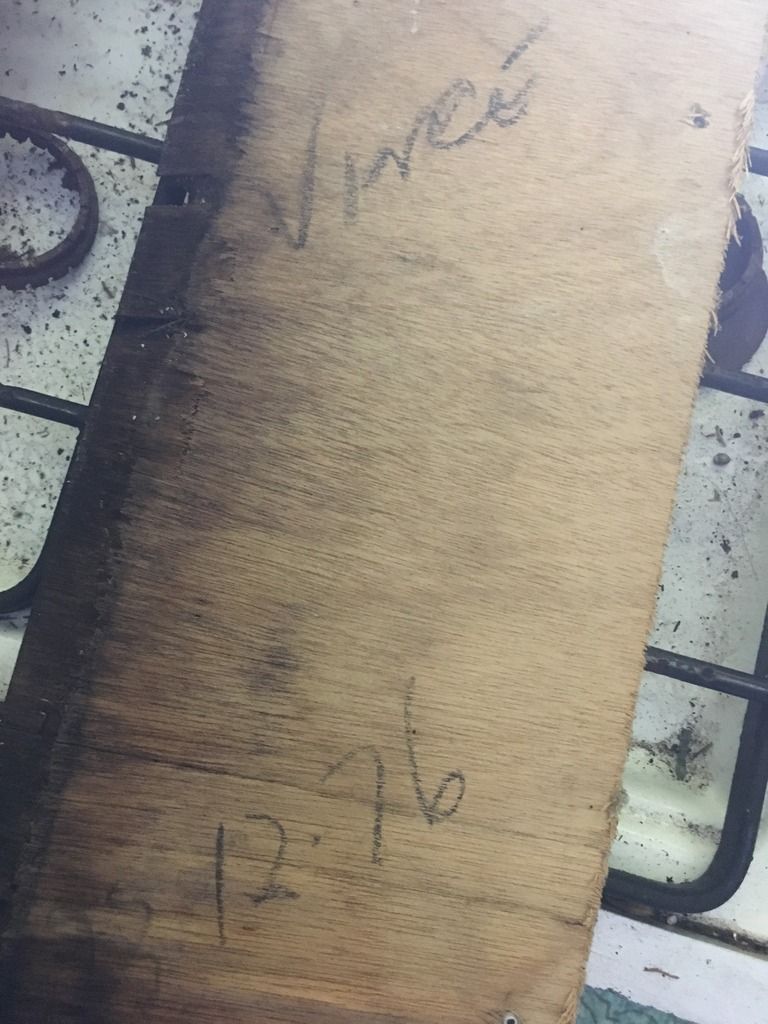 |
|
|
|
Post by brettm357 on May 18, 2017 12:34:01 GMT 10
Floor starting to be removed 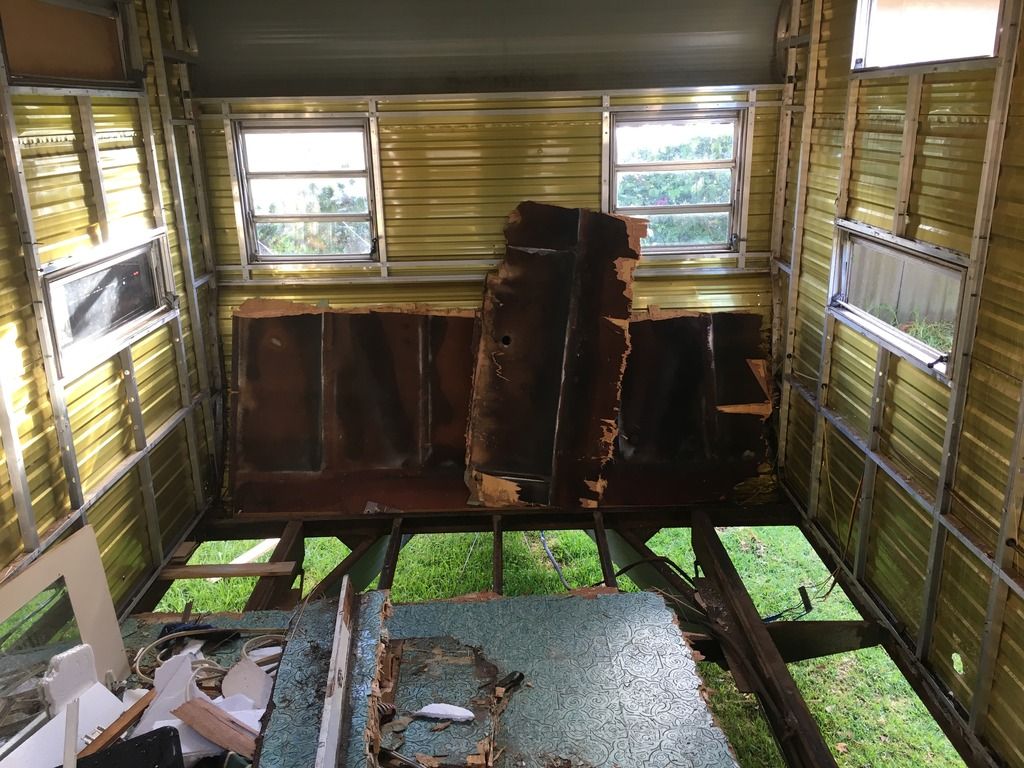 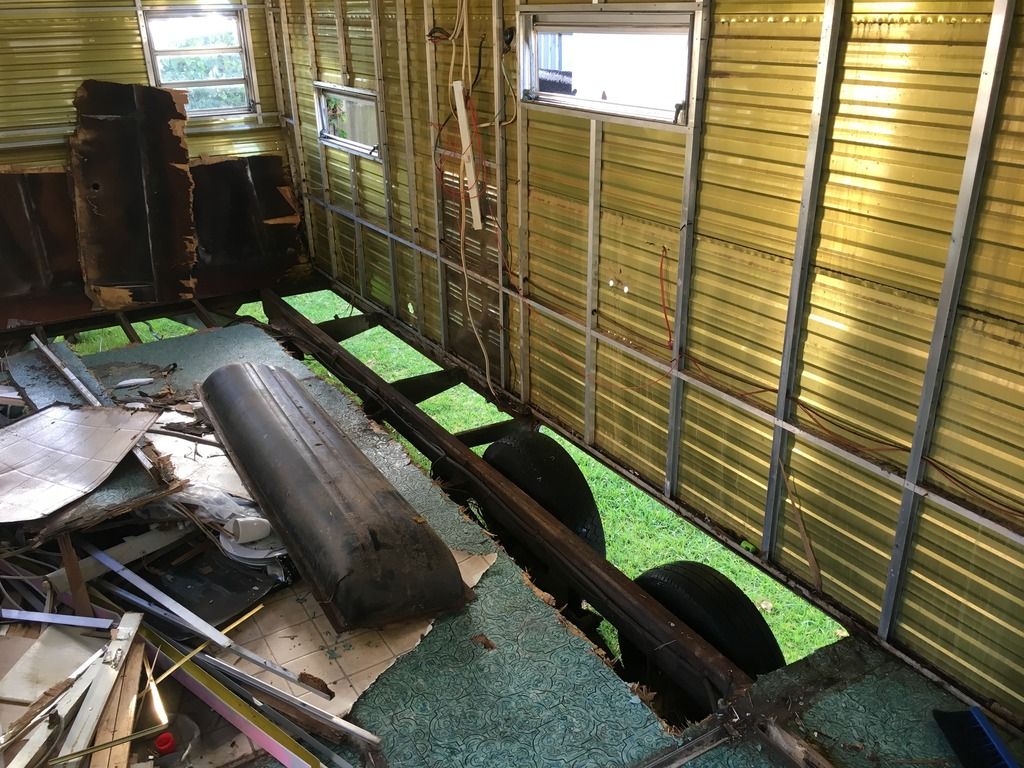 |
|
|
|
Post by 78466noM on May 19, 2017 0:30:45 GMT 10
Looks like a good start on a large project will be very interesting to follow progress  |
|
|
|
Post by Mustang on May 19, 2017 7:23:46 GMT 10
Looks like a good start on a large project will be very interesting to follow progress  Welcome to the forum Brett, what a start, keep the images coming. |
|
|
|
Post by brettm357 on May 21, 2017 0:53:19 GMT 10
Local hardware has 18mm Marine Ply any disadvatage goint that thick
|
|
|
|
Post by brettm357 on May 21, 2017 1:35:56 GMT 10
More Floor Removed 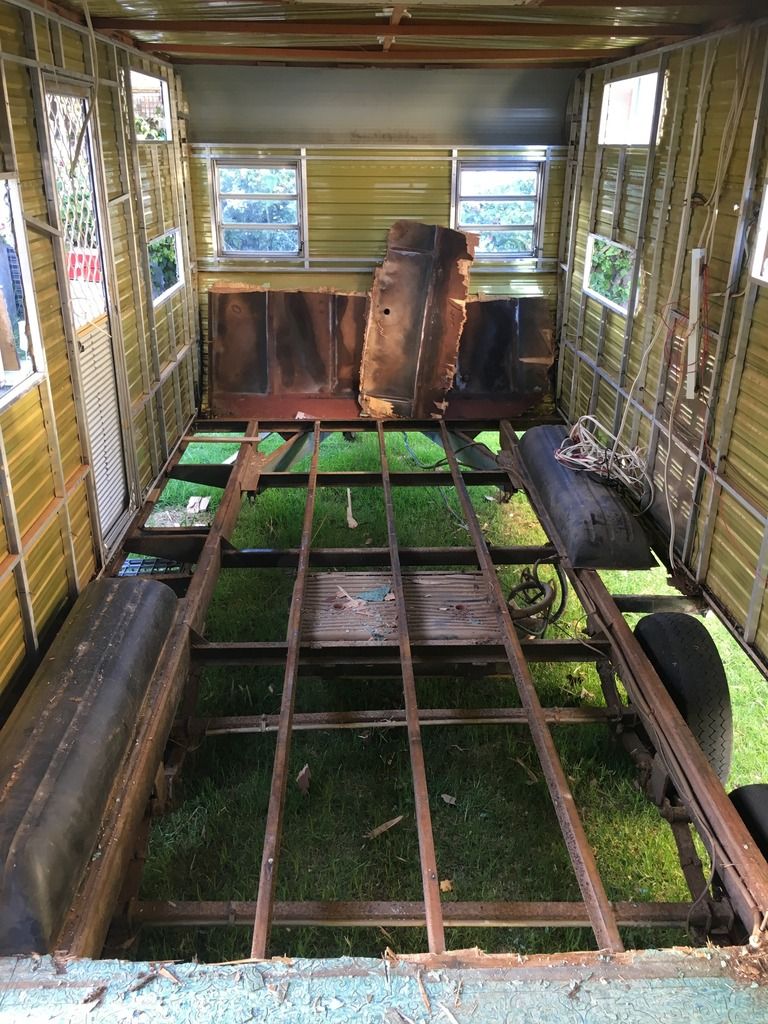 |
|