|
|
Post by 78466noM on Feb 9, 2018 16:02:20 GMT 10
I did four 12 volt led puck lights under top cupboard on kitchen side and a strip light above the puck lights draw less power and shed a better light it was a 240volt set all I did was throw the converter in the bin and run it straight off the 12 volt it was very easy to install after worked out how to run the wires out of the way.
|
|
|
|
Post by snoops on Feb 9, 2018 18:18:26 GMT 10
Yeah, had a set of those in the Franklin - worked great. Might see if I can dig up another set as they woukd be good above the stove I think. 👍
|
|
|
|
Post by snoops on Feb 9, 2018 18:38:58 GMT 10
While waiting for it to get dark, I started the wiring. What's shown here is the supply from the batteries to the solar controller and back to an isolator and to the main switch panel. Total load from the solar won't exceed 40 amps and the load in the van won't get up to 15 amps even if I have everything running flat out. This is all seperate to the inverter wiring which will be much larger. Not that I've ever pushed it but it can pull 100 amps DC when chooching hard. I'll be using 4BS cable for this. Equipment is laid out to take as little room as possible while still being in the easiest and most central location to everything. Hopefully have the rest done tomorrow. Fuse panel has 6 circuits and I have 7 things that need DC power, but all are low current so I'll stick the toilet and TV together as they are close to each other. Wire size here is 8BS. 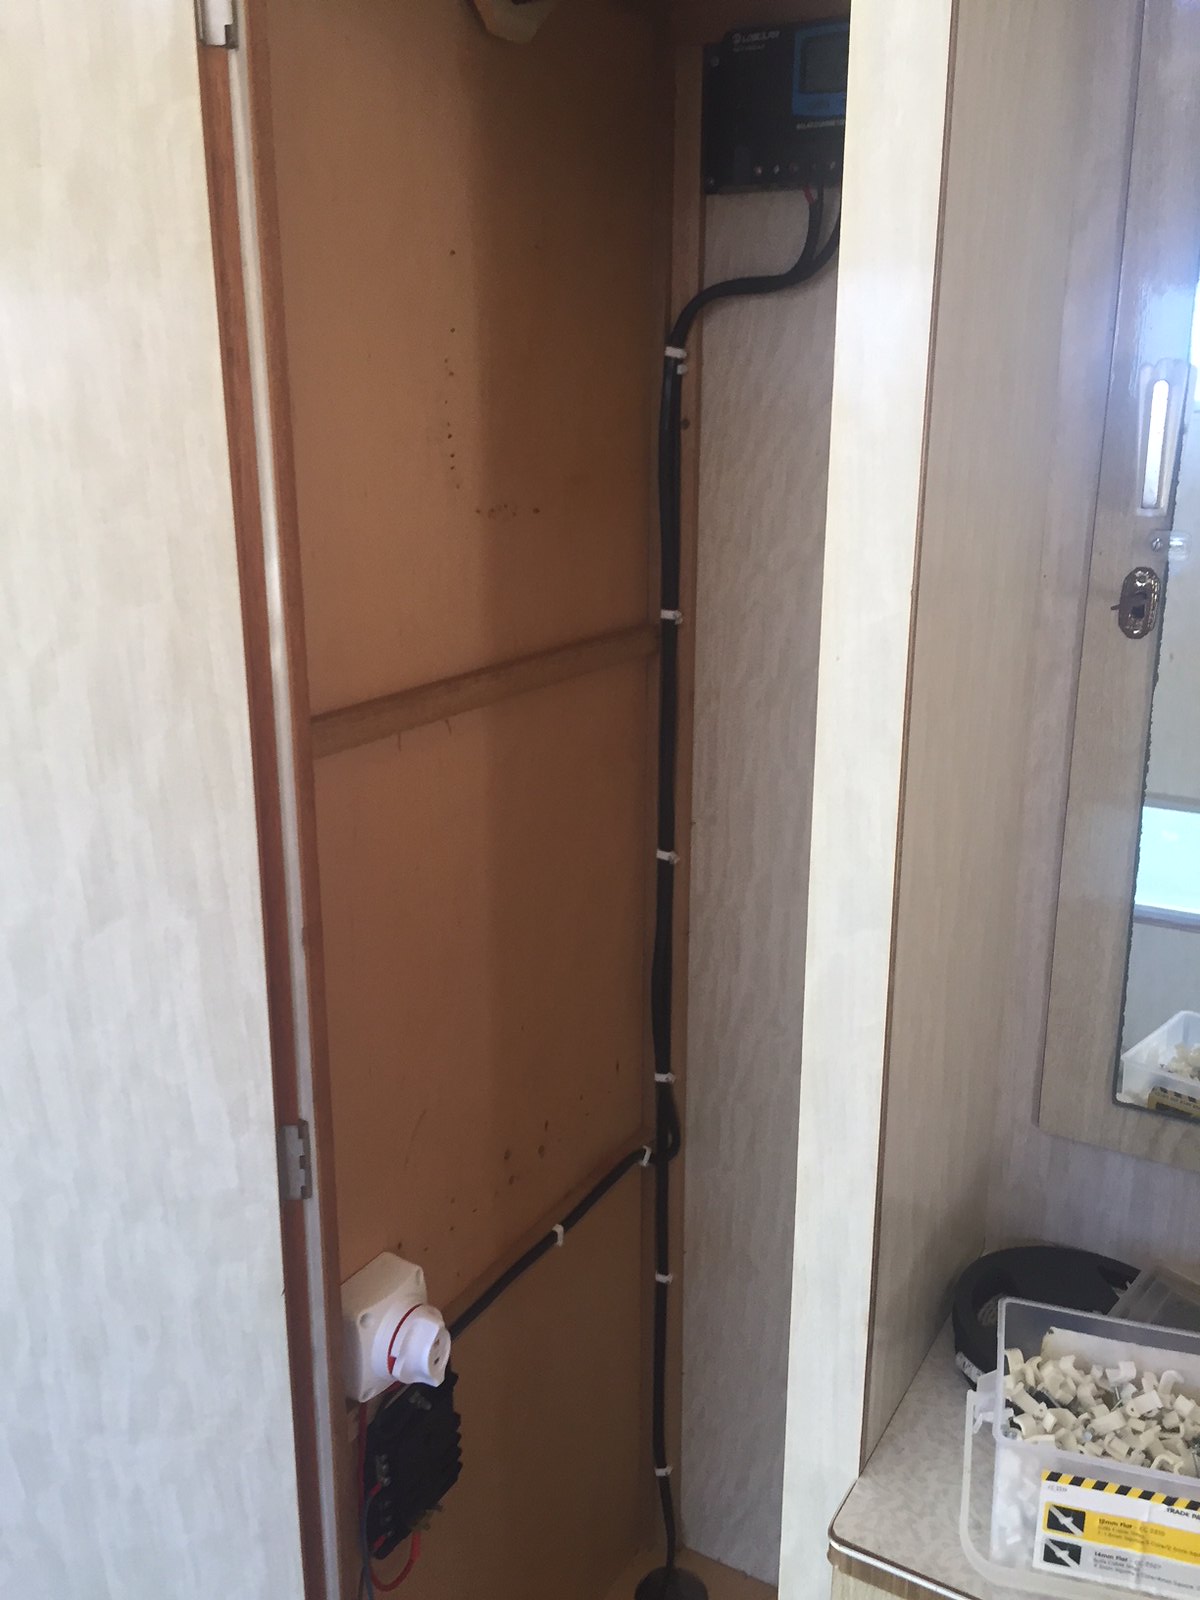 4218A9CD-94AF-409E-80EF-CFBD47E6086F 4218A9CD-94AF-409E-80EF-CFBD47E6086F by Gavin Gregory, on Flickr The circuit that's wired in is a temp supply to the lights. Don't worry, that 20 amp fues will be a 5 amp unit when it's all installed, that's just the first one I found when testing today. 😊 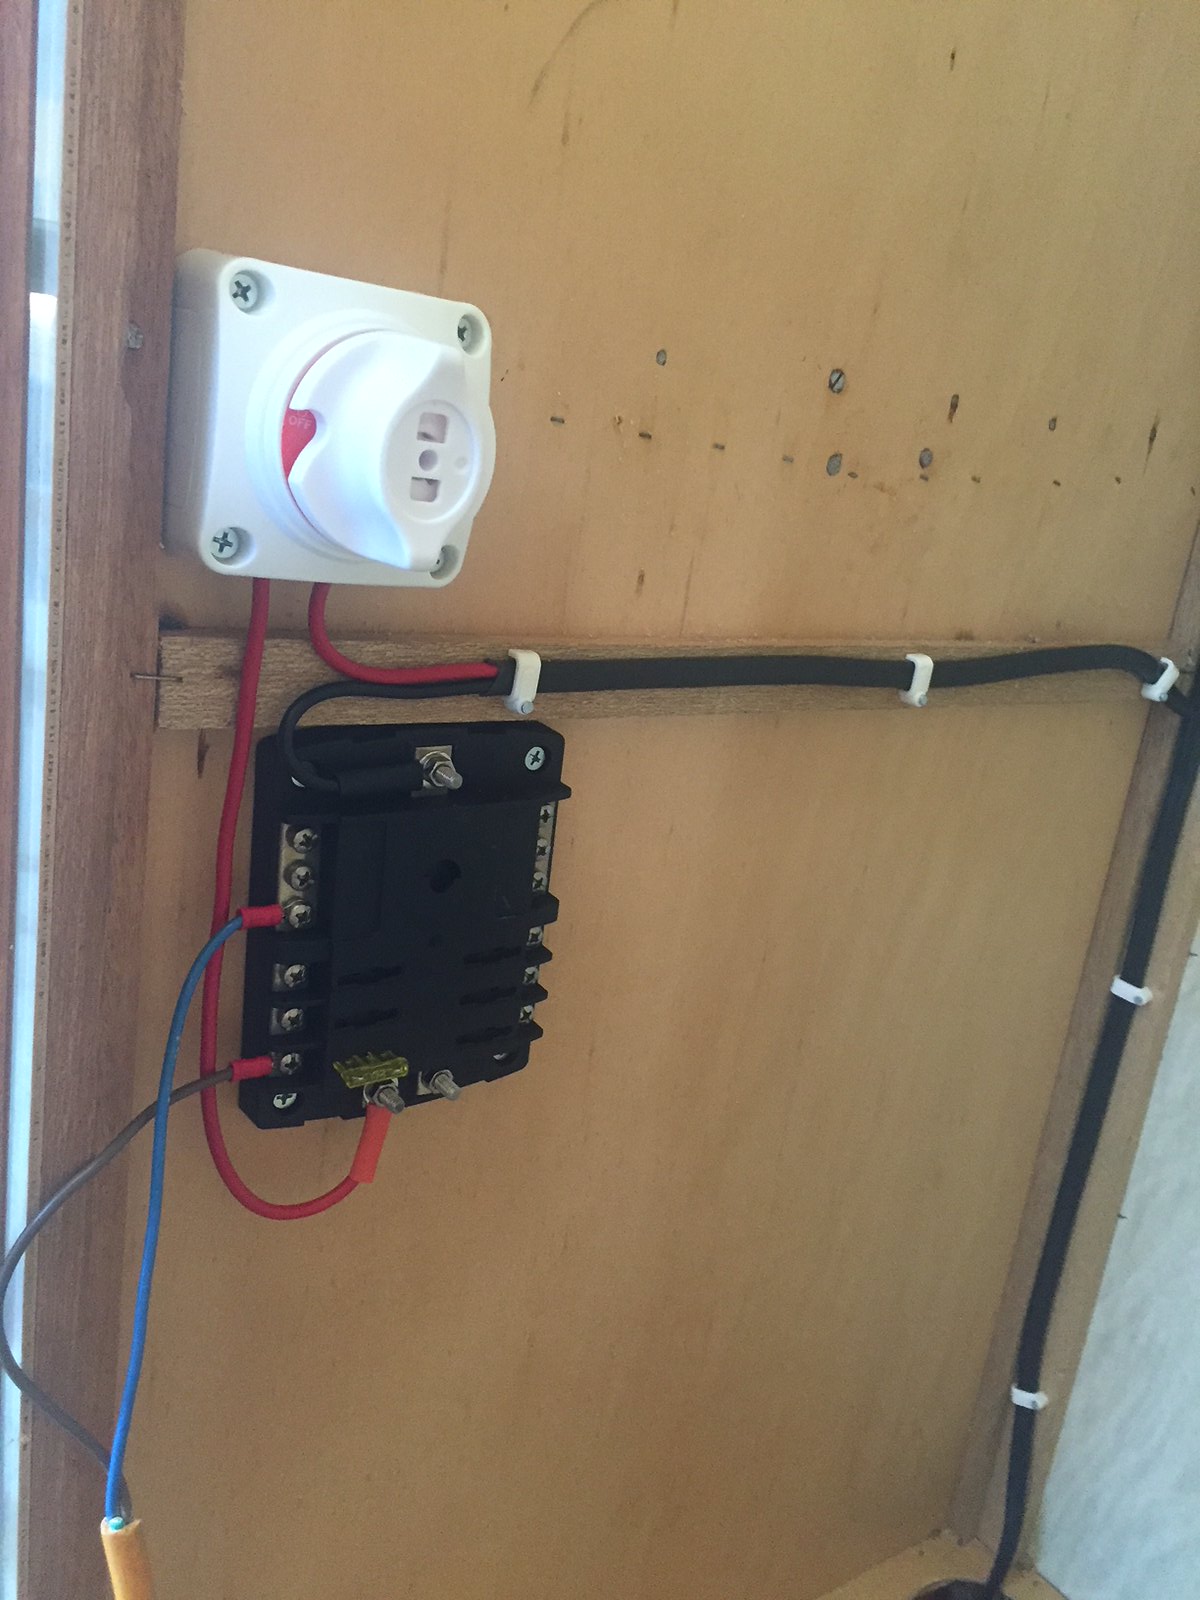 53E17662-2515-4E84-B1C7-3CB25F865C0A 53E17662-2515-4E84-B1C7-3CB25F865C0A by Gavin Gregory, on Flickr |
|
|
|
Post by snoops on Feb 9, 2018 20:28:46 GMT 10
Well all my ebay items showed up today to allow me to do the electrics the way I want. Started simple and thought I'd convert one of the light fittings to LED globes. New Phillips 8 watt LED 240 globe fitted with standard 9 watt auto globe for the 12 volt side - very dull at night for the power input. 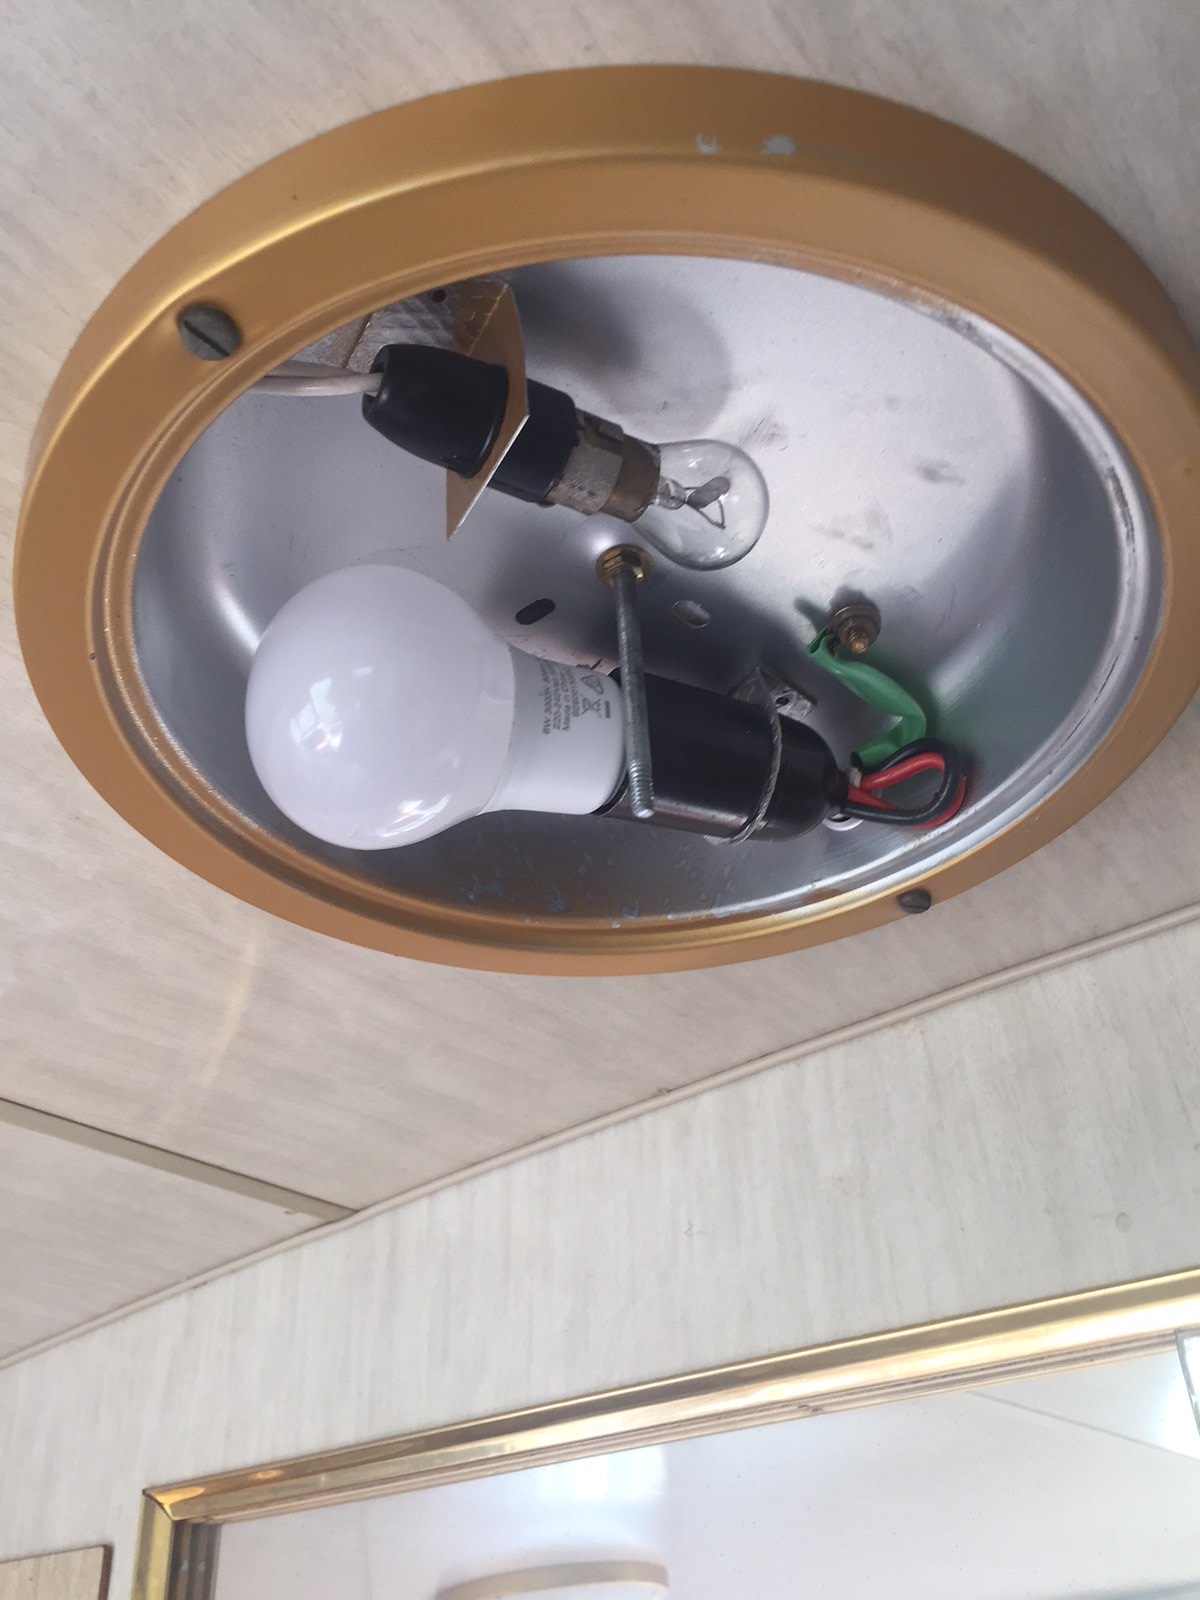 40640D4D-1289-432E-93BF-F6129C5C2B8D 40640D4D-1289-432E-93BF-F6129C5C2B8D by Gavin Gregory, on Flickr So, here's what I did. Removed the globe holder and ran an LED strip a couple of times around inside the fitting. 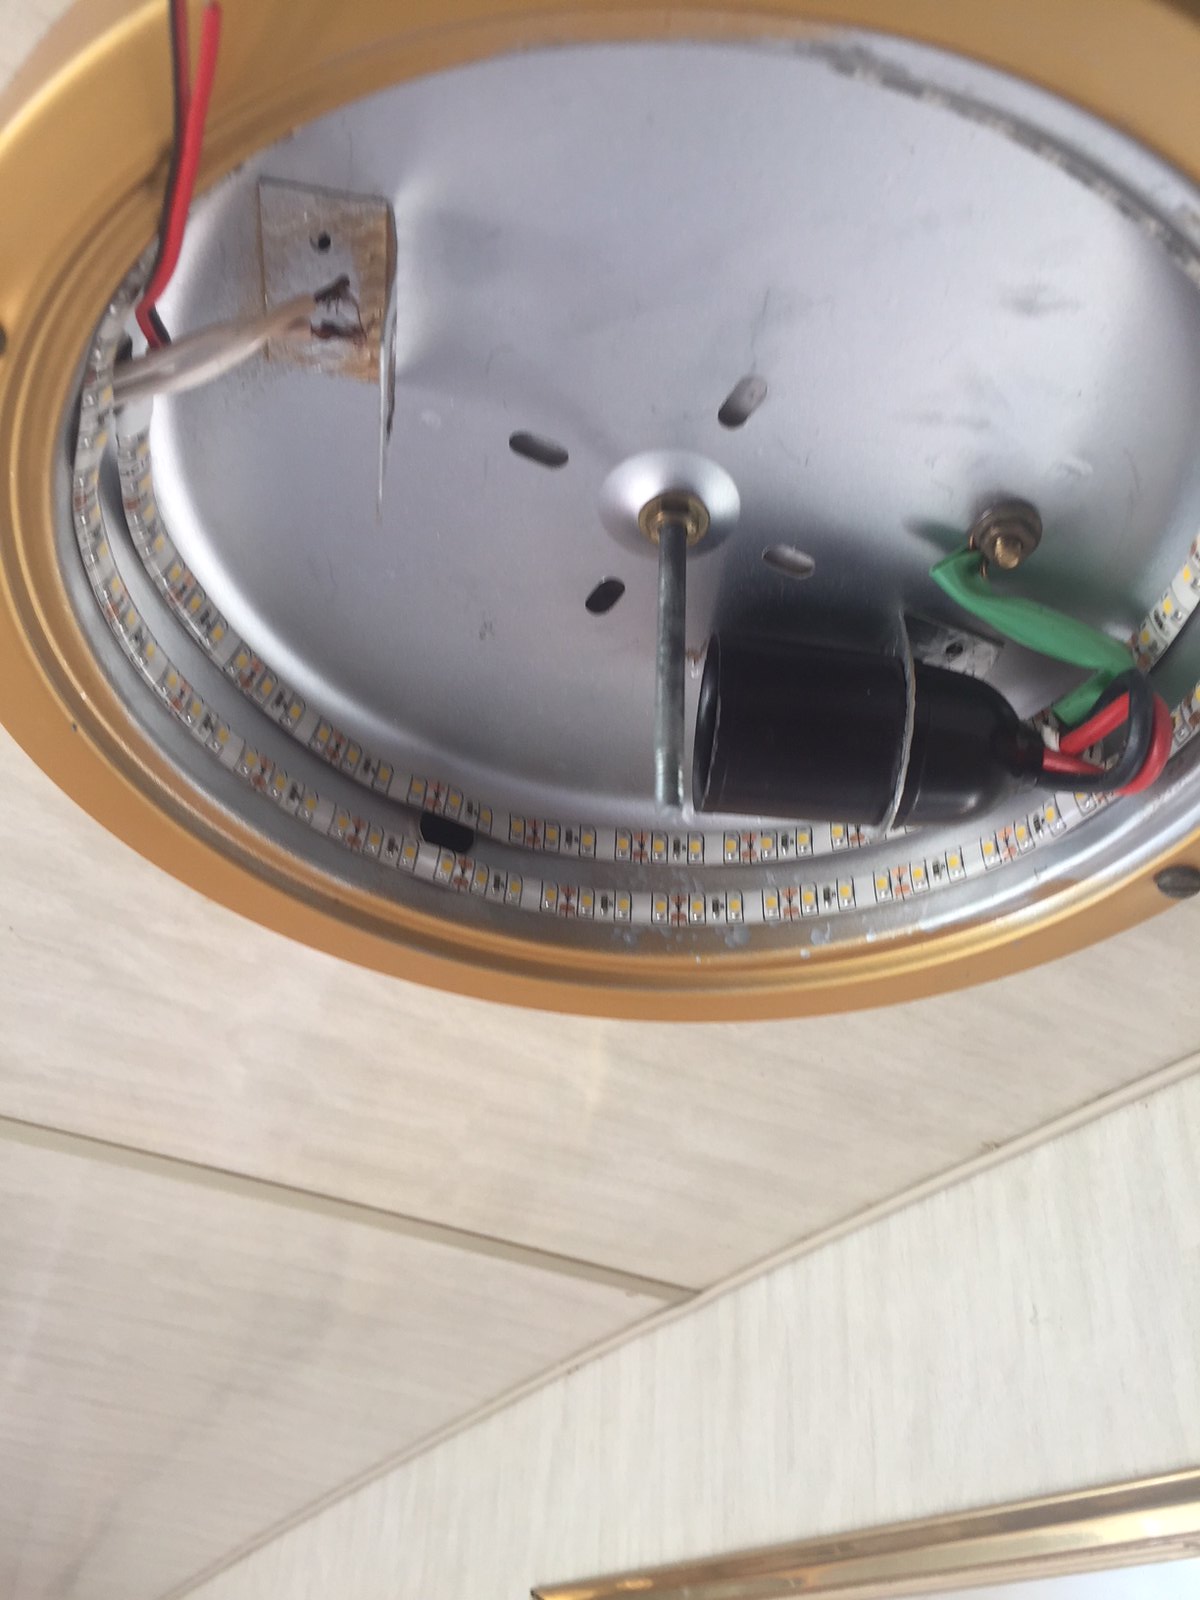 71ED4A89-7E4C-4455-8DEB-7DC20A506F0D 71ED4A89-7E4C-4455-8DEB-7DC20A506F0D by Gavin Gregory, on Flickr Wired in and tested - it draws 6 watts now, but much brighter than the other globe. It's spread out nicely across the fitting too, which looks better. Supposed to be warm white, but not quite as warm as other strips I've used, but it's not too white either, so ok with that. 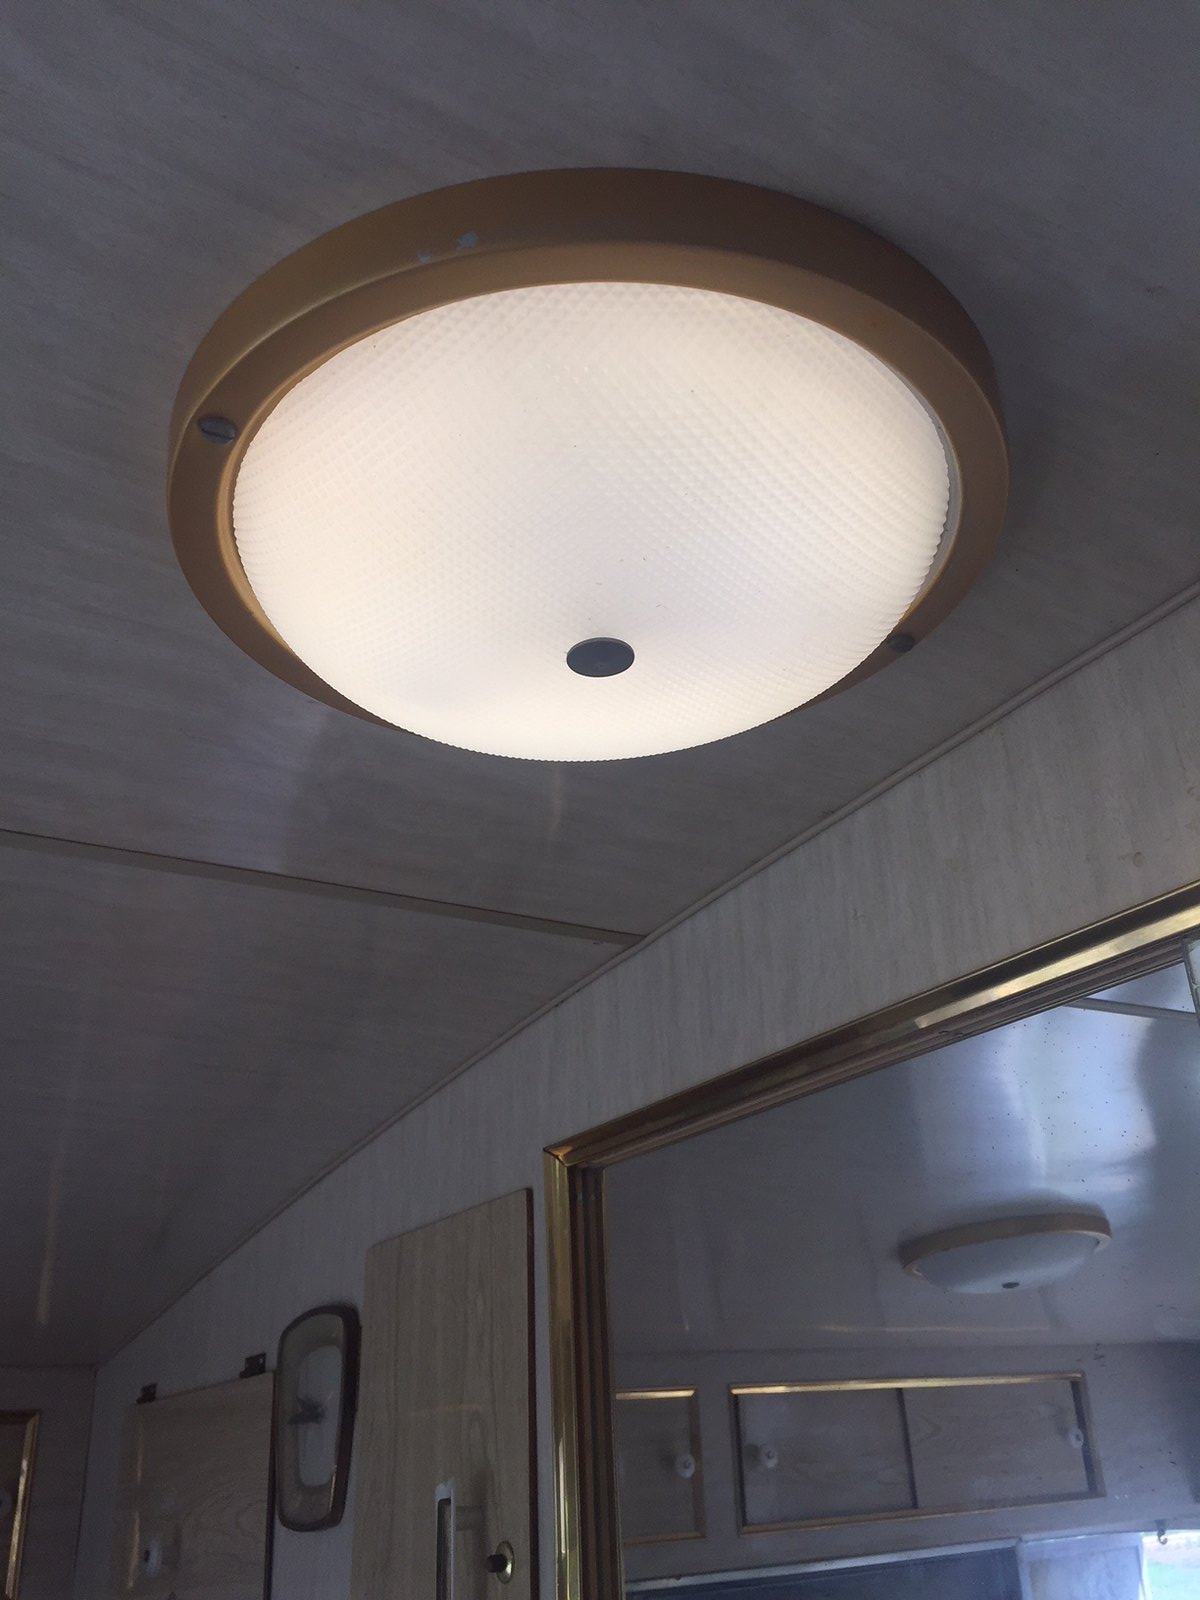 F527A73F-89C2-4FBB-8B39-477CB735F10F F527A73F-89C2-4FBB-8B39-477CB735F10F by Gavin Gregory, on Flickr Here's what the 8 watt Phillips LED globe looks like - much brighter, but all in one spot. 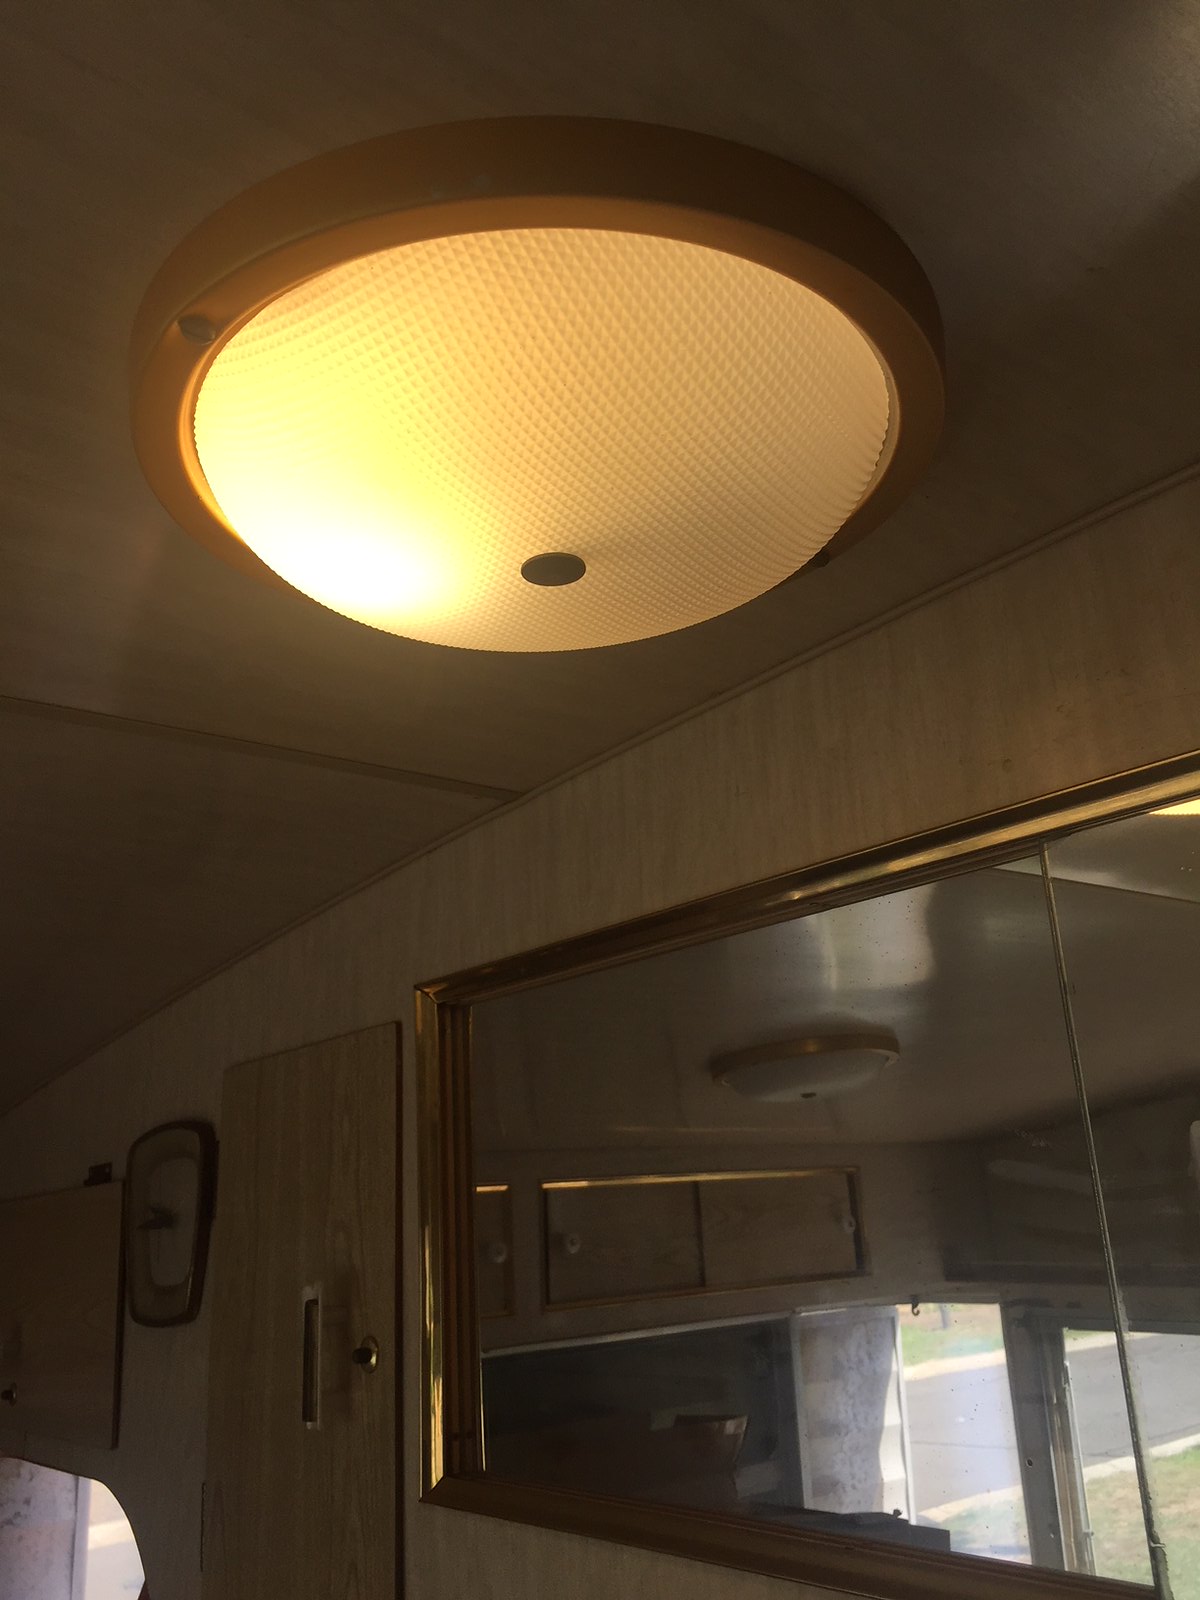 556C6764-FD1C-40DD-A85D-C59D84D5190B 556C6764-FD1C-40DD-A85D-C59D84D5190B by Gavin Gregory, on Flickr Tonight I'll be able to tell if the change was worth it - I'll let you know. Easy and quick and didn't damage anythung original so can be put back if I need to go to plan B Modified light works very well - brighter than the standard globes, not as bright as the 240 volt globe, but workable. 👍 |
|
|
|
Post by atefooterz on Feb 9, 2018 21:35:29 GMT 10
With lights now days i get interested at how folks use them. Gone are the days of a central 80w bulb that everything was done around. I like snoops diffused oyster & could probably read by it, if not previously blasted by glare spots elsewhere. If you regularly enter the caravan from dark or very dim light then your first switch should give mood lighting to see enough to enter, put things down & find other switches easily. Eyes that are not lazy from over brightness are amazing. I get driven mad by mates who surprise are nowdays night blind and always need huge light imput to maintain their "iris habit" lolz.
|
|
|
|
Post by Mustang on Feb 10, 2018 6:40:33 GMT 10
I notice you have an original clock. Our's had an original drop weight movement (still working), but oh so loud.
I fitted a "no tick" movement, now its great.
|
|
|
|
Post by snoops on Feb 10, 2018 12:15:04 GMT 10
Was looking at the clock last night actually thinking I should stick a battery in it to see if it works. If it is loud, SWMBO will get the shits with it, so a quieter movement may be in order. 😊
|
|
|
|
Post by snoops on Feb 10, 2018 16:07:45 GMT 10
No pics today, but a lot done. As per the post in the brake thread in the Tech section, I got one side converted to new electric brakes today, quite an invokved job. Also got 5 out of the 7 circuits run for the 12 volt stuff. Fridge is nice - draws around 4 amps and auto switches to 240 volt as soon as you plug mains in. 👍
Just have the TV and toilet to wire in and that's another job put to bed. Still have to install the solar panels on the roof yet as well.
Tomorrow is the other side brake conversion and more electrical I think.
|
|
|
|
Post by snoops on Feb 11, 2018 16:04:57 GMT 10
A big day today and a lot accomplished even though it doesn't look like much. Rather than do the brake conversion on the LHS, I decided to get the entire RHS 100% complete. Not only did the brake wiring need installing, but the water pipes to the HWS needed attaching to the chassis, other wiring tided up, earths remade and other accosiated bits and bobs. Electric brake wiring was fully installed from the plug to each side, and on the RHS wired all the way to the backing plate - used split corrugated conduit over the wiring where it loops down and put a P clamp at each end to make sure it will survive long term. I'm very happy with the result. Greased the new bearings in the new brake hub, and also fitted new bearings to the back hub. While I had both wheels off, I jacked up the van at different points to allow me to remove, clean and regrease all the spring hanger pivots. Cleaned out the grease nipples and got all of these working too as a couole were bunged up with gunk. Sprayed in between the leaves to get them moving too, then degreased, wire brushed and painted everything under there. Gave the chassis a coat of silver too and it looks pretty bloody good under there now. Couple of pics - fully mechanically overhauled and all painted up and looking ready for action again. 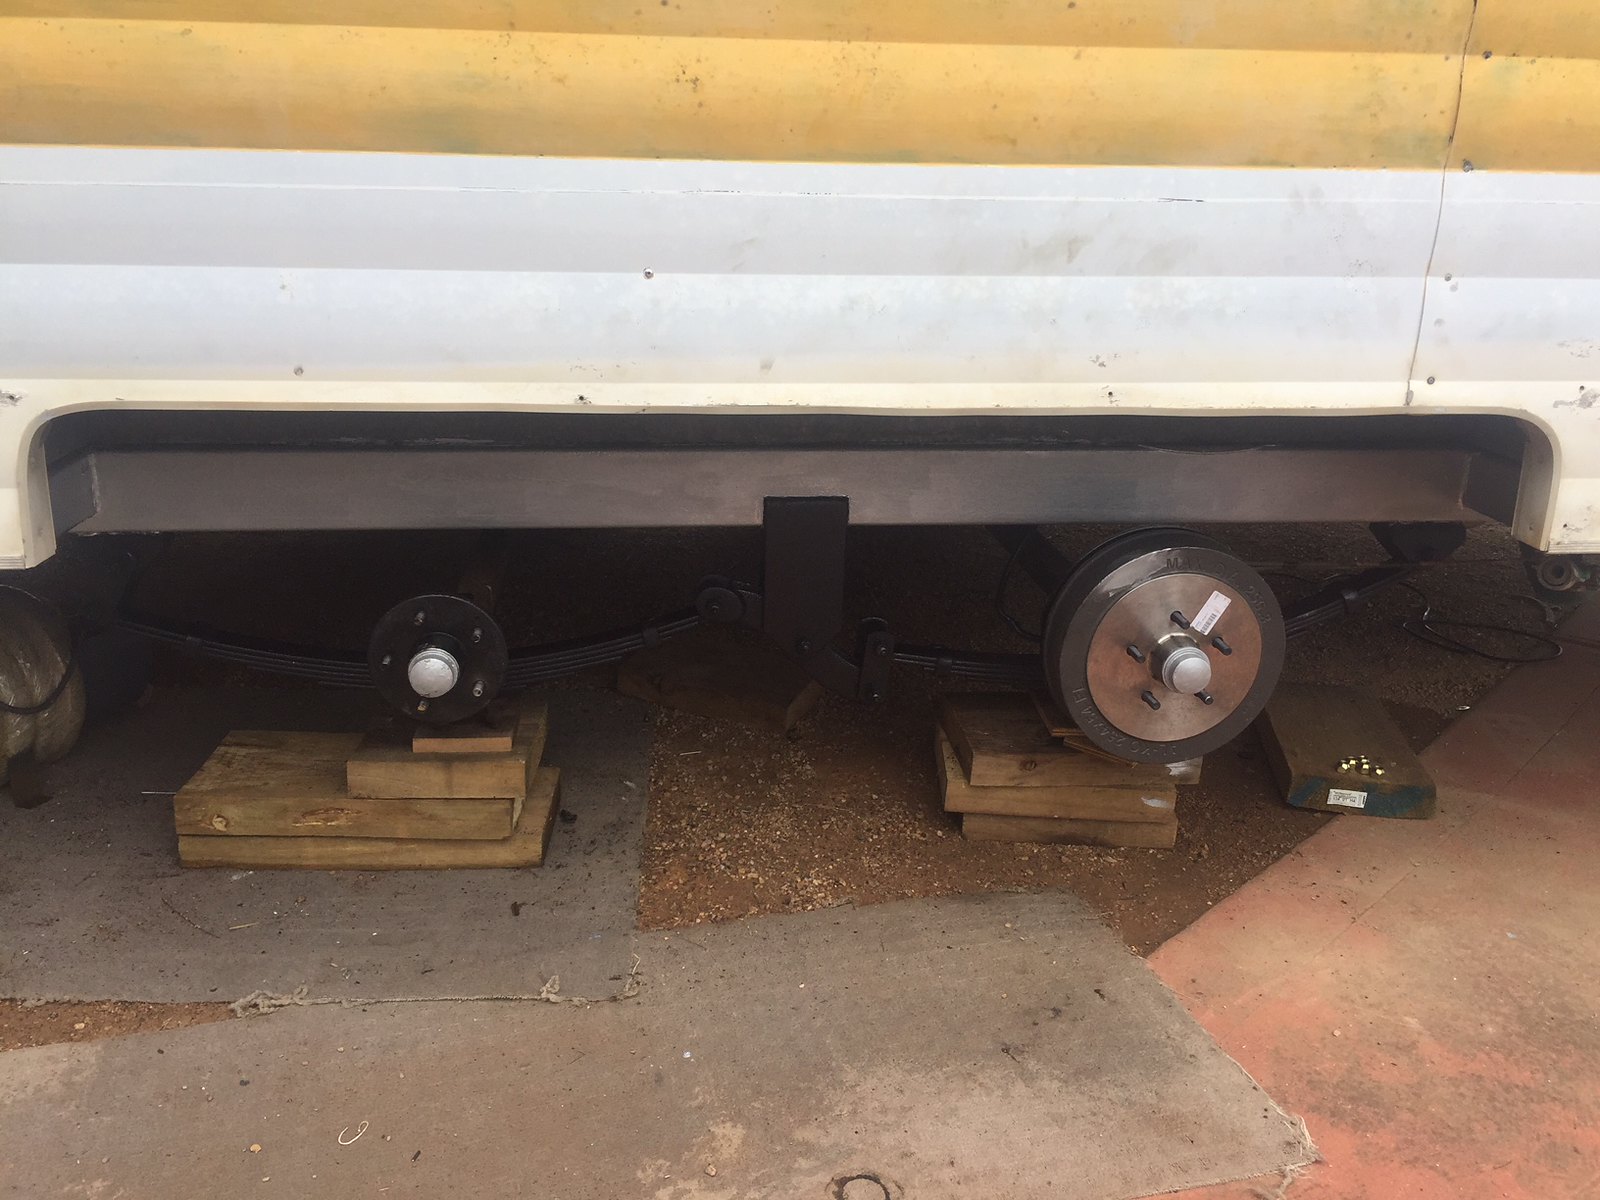 9F83AA68-204C-4844-832B-BB08C1C75CFB 9F83AA68-204C-4844-832B-BB08C1C75CFB by Gavin Gregory, on Flickr Rims and tyres cleaned, tyre polish applied and refitted. I won't be getting the old rims sorted for a while yet - I've run out of funds and time to do this before Corowa. 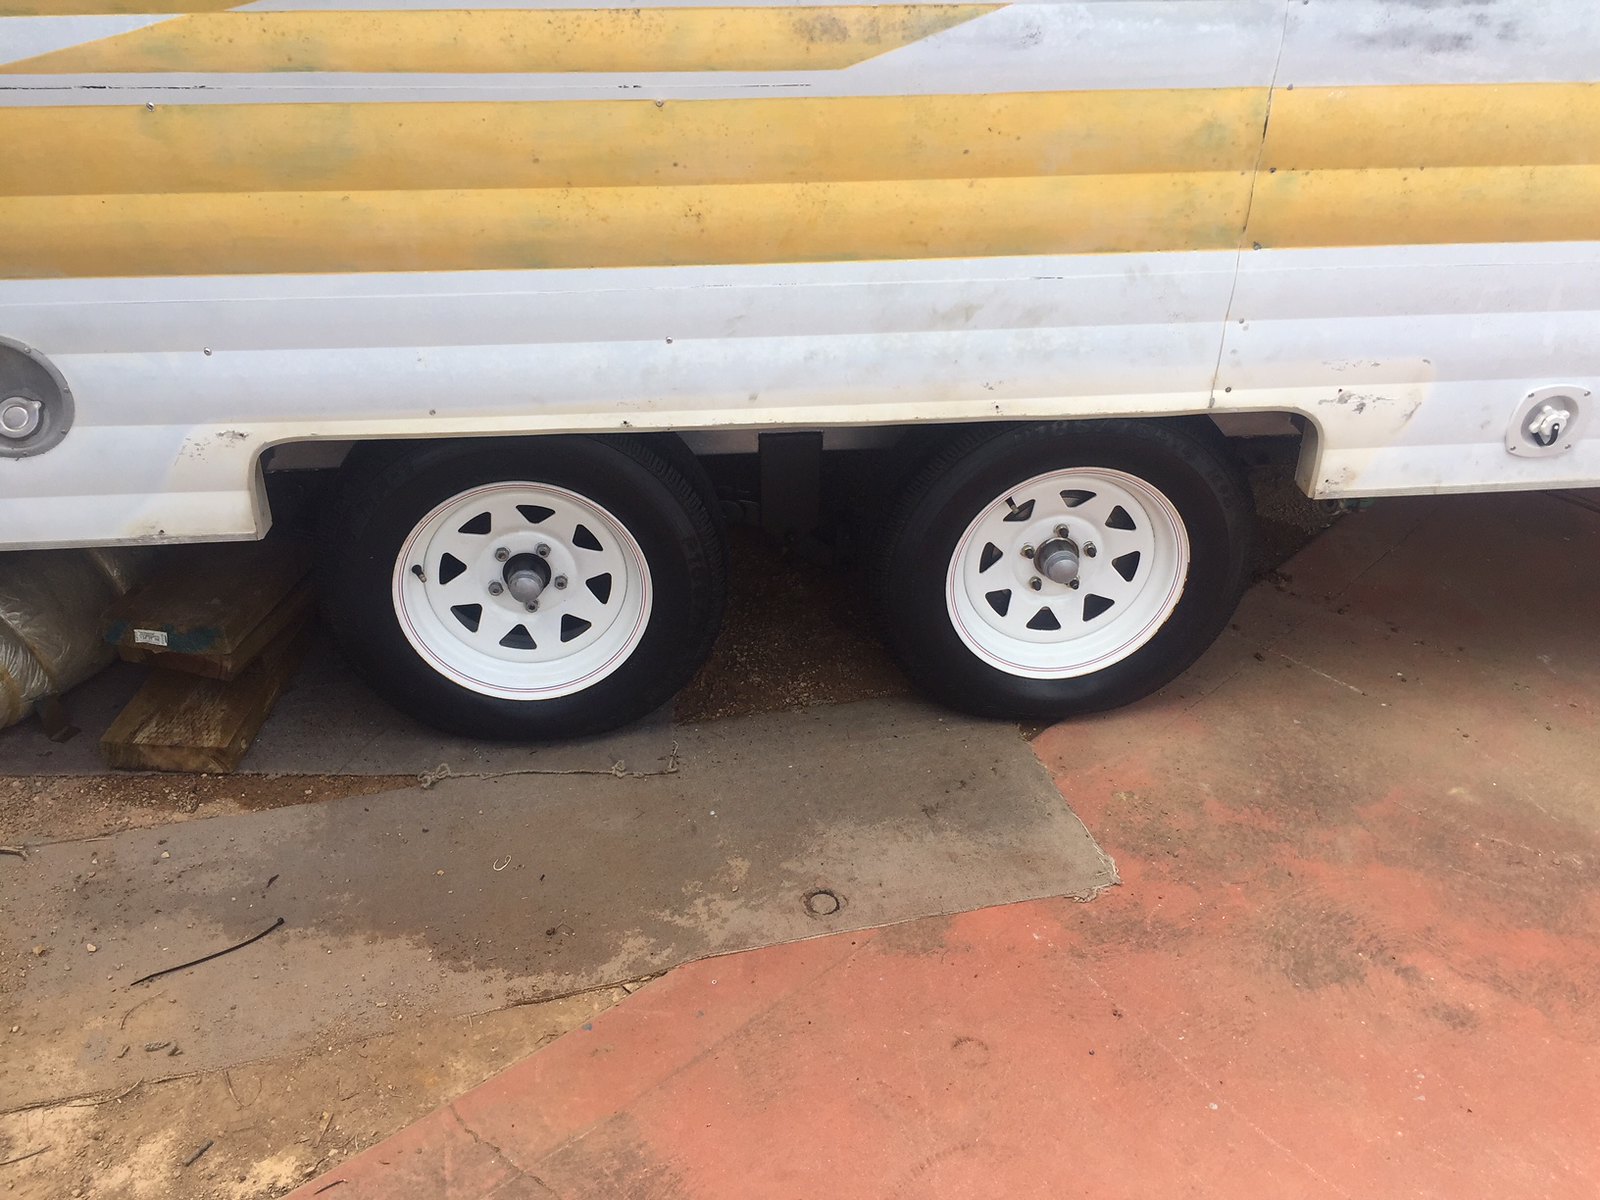 F4B73180-98BC-4E8A-B66A-B06B9B0EAB69 F4B73180-98BC-4E8A-B66A-B06B9B0EAB69 by Gavin Gregory, on Flickr And a shot looking at the services all run and secured underneath. This side is done. 👍 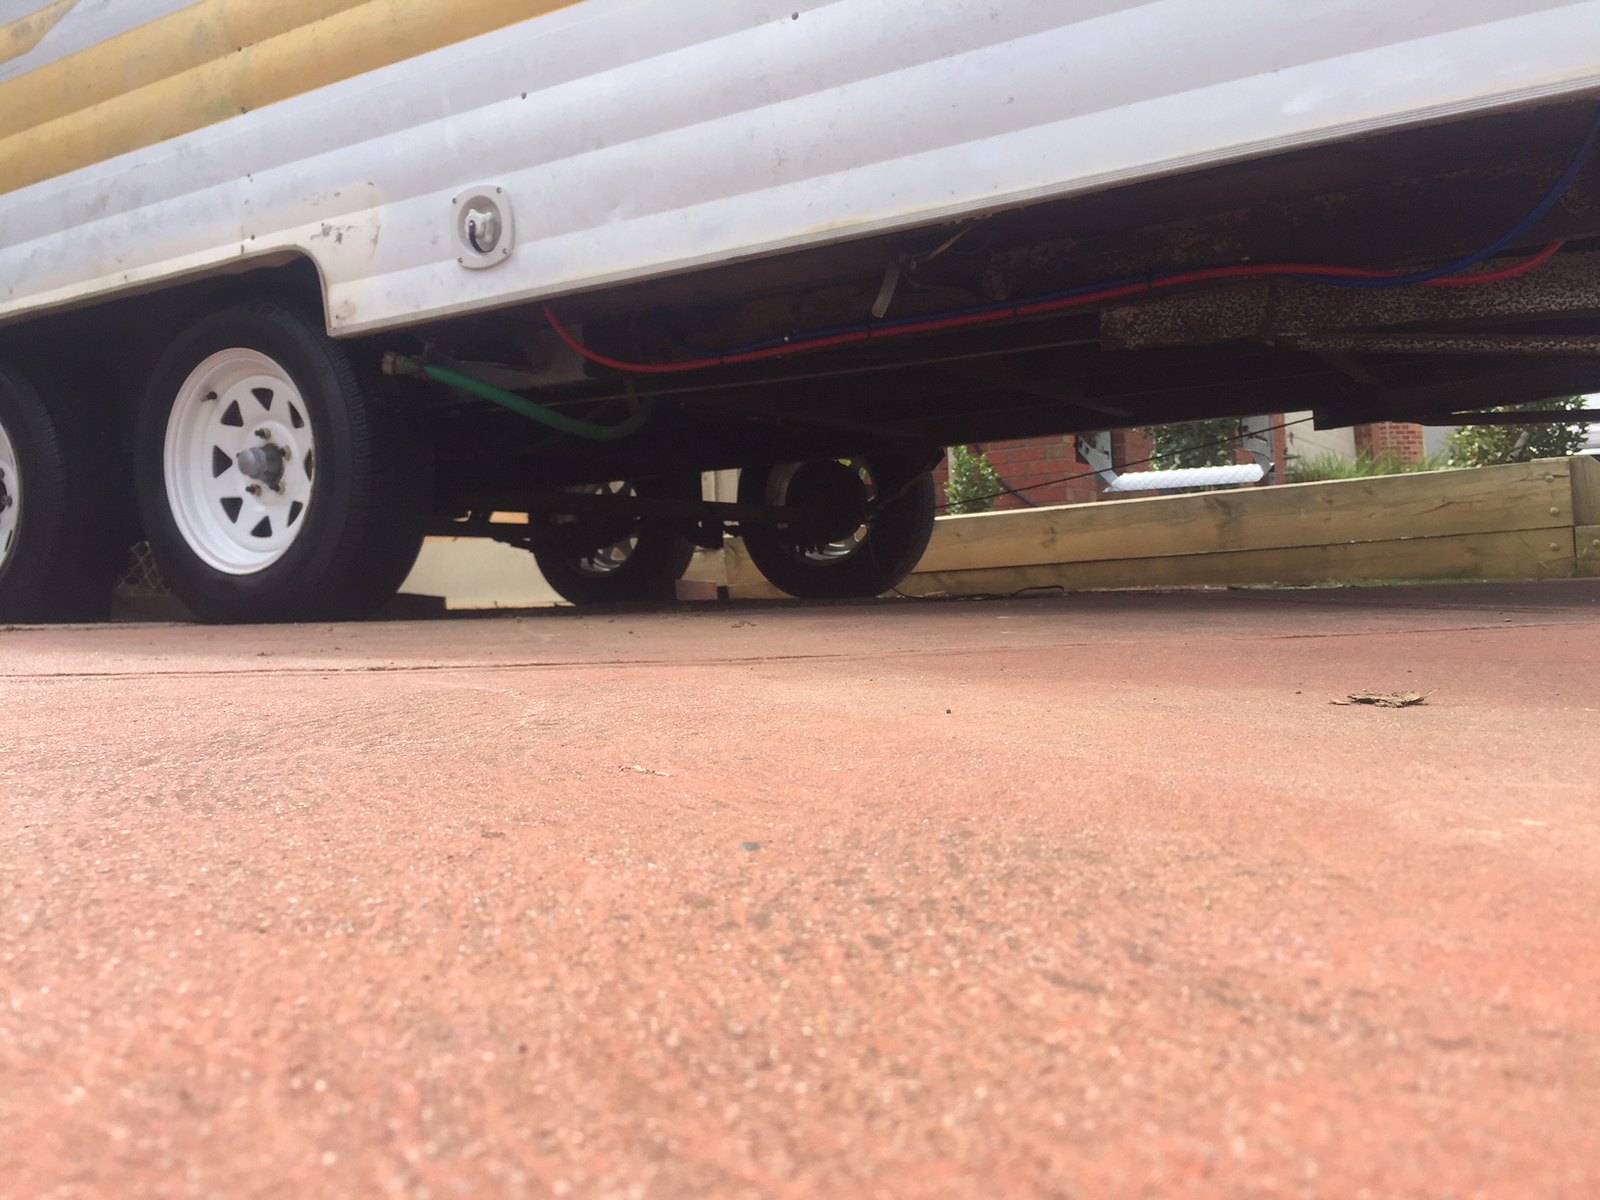 68746AD3-AA93-4D9B-AC88-AB41EA8E3F06 68746AD3-AA93-4D9B-AC88-AB41EA8E3F06 by Gavin Gregory, on Flickr |
|
|
|
Post by Husky on Feb 12, 2018 12:28:40 GMT 10
Hey snoops dunno if I told you or not but I've got four original Viscount wheels and hub caps up here. Might need some new rubber but there yours if you want them
|
|
|
|
Post by snoops on Feb 12, 2018 19:26:34 GMT 10
Thanks mate - might need 1 or 2 at some stage - after Corowa when I have some time. 😊
|
|
|
|
Post by Husky on Feb 12, 2018 19:37:07 GMT 10
Yep good stuff I'll set them aside for you. Bring the sunnies with you? Also Lisa would like the details of where you got your fridge as she would really like one in our van
|
|
|
|
Post by snoops on Feb 13, 2018 4:16:24 GMT 10
|
|
|
|
Post by snoops on Feb 14, 2018 19:43:58 GMT 10
Day .... I've forgotten.... All the days are starting to merge into one and I think delerium is just hours away..... Sort of feels like that sometimes. 😆 Got the rest of the fuse panel wired and all circuits run although still have to fit off the HWS and TV but they aren't installed yet. All batteries are wired together woth 16mm cable and the inverter is also wired in now - just needs a shelf above it for SWMBO to stack her clothes on. Toilet is wired in and working so that's ready to go too. 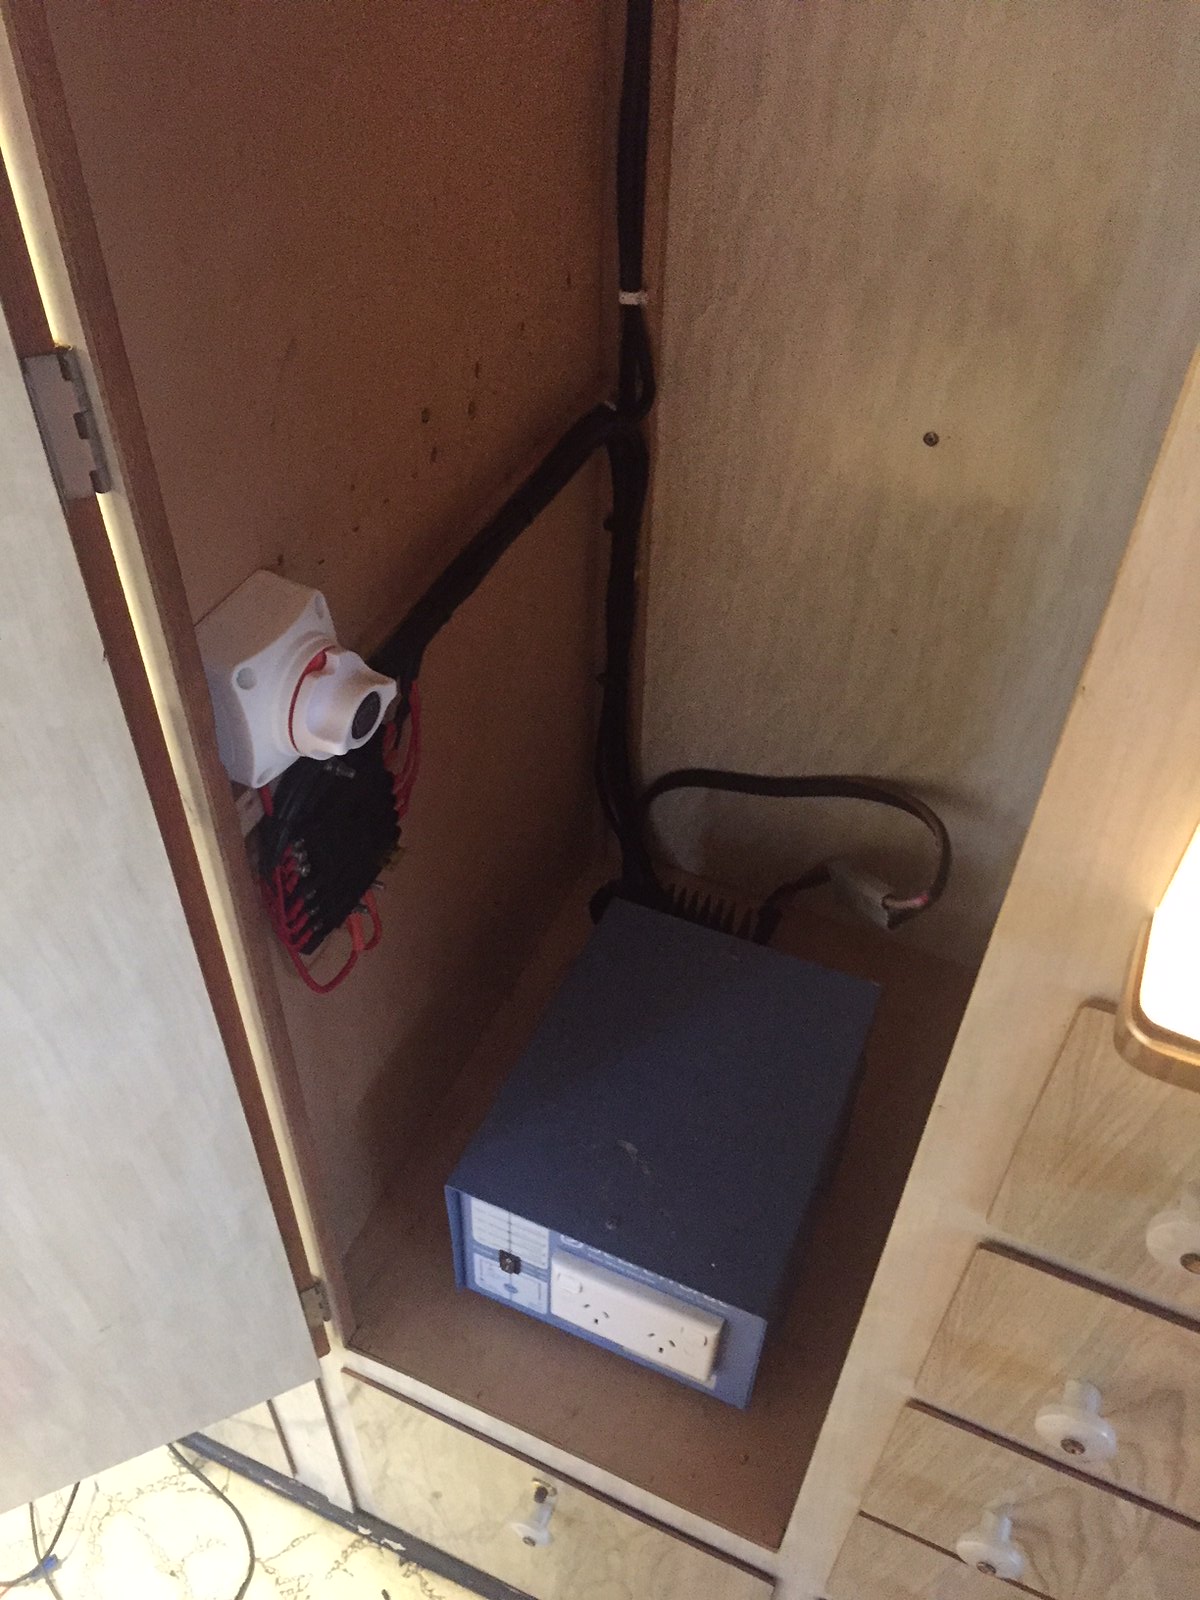 94E0340D-050E-4395-ACD8-3E1BBFB8C0FF 94E0340D-050E-4395-ACD8-3E1BBFB8C0FF by Gavin Gregory, on Flickr Got some more lighting done too - wired the 12 volts to a couple of strips of LED's under the overhead cupboards over the sink and stove - was quite dark in there before. With the 240 volt light on. 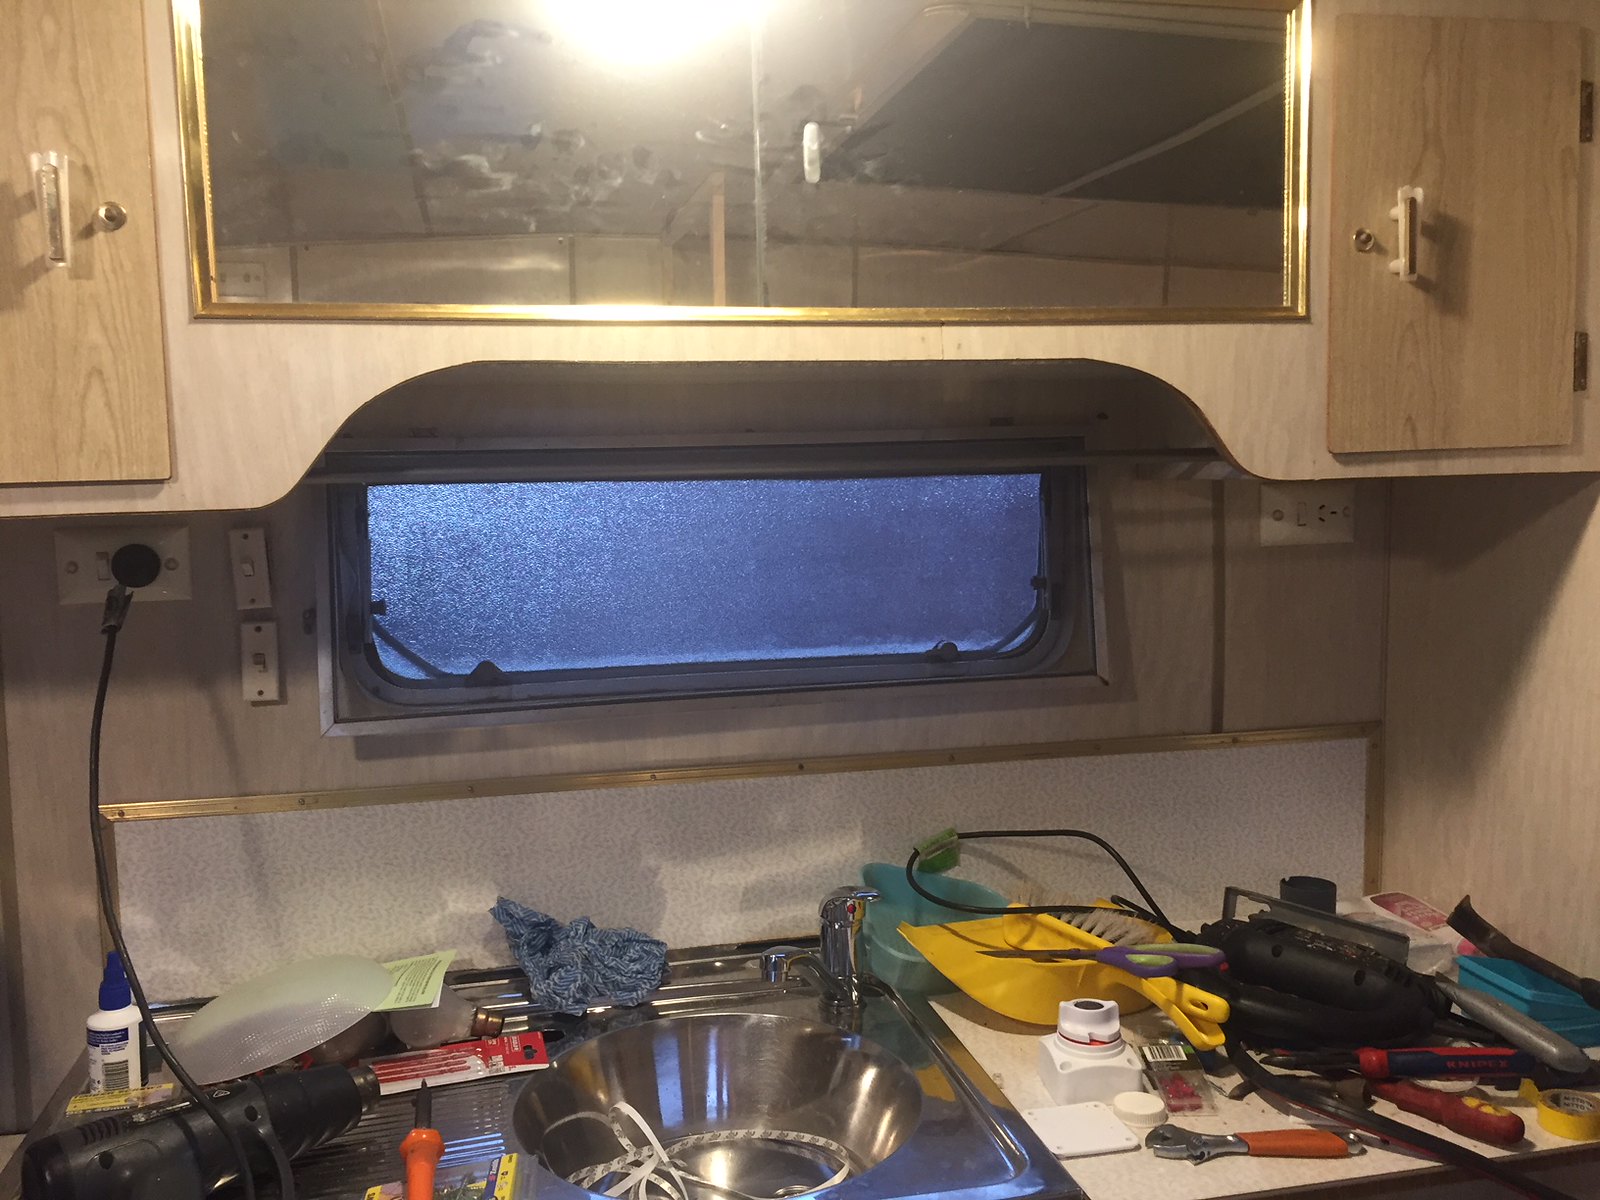 0ABFEFE8-F147-4E55-A463-FCAB6F2AFBE1 0ABFEFE8-F147-4E55-A463-FCAB6F2AFBE1 by Gavin Gregory, on Flickr And the 12volt lighting on. A bit hard to tell from the pics, but believe me, it is much brighhter with the 12 volt lighting on. 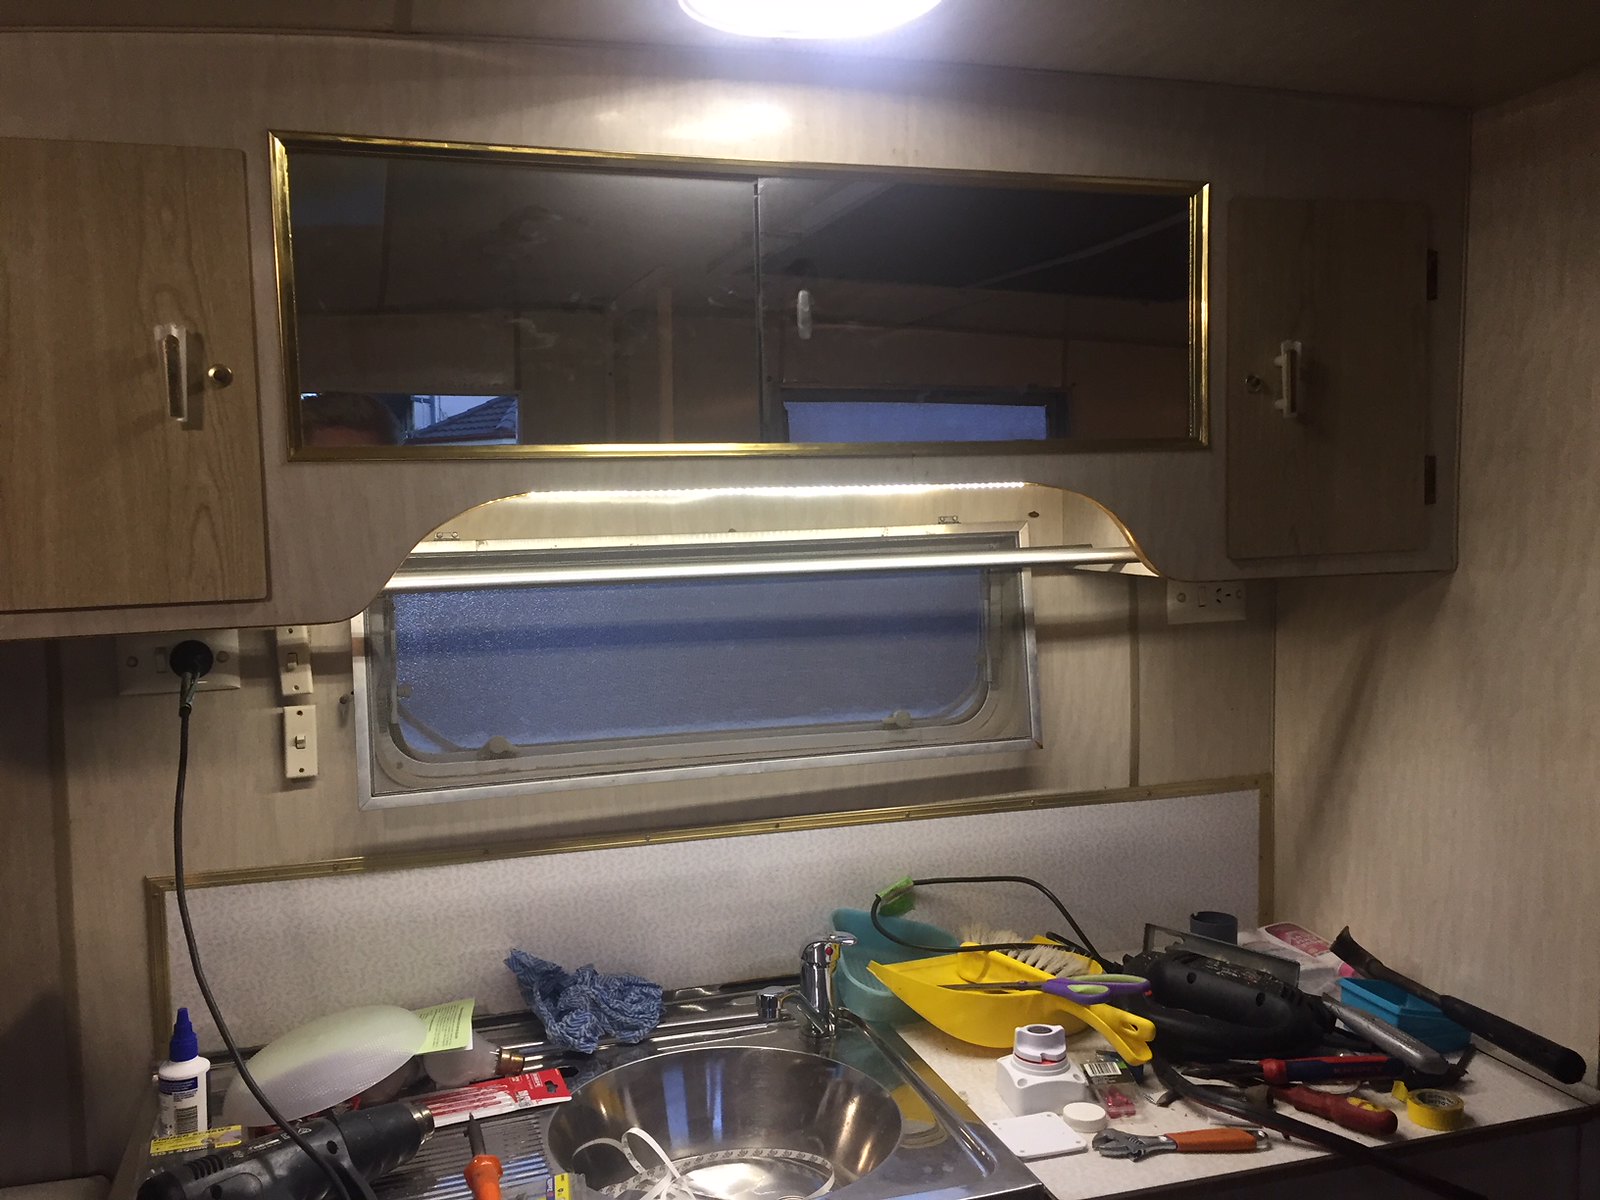 C895694A-6715-4A07-99CA-81133FFC33A1 C895694A-6715-4A07-99CA-81133FFC33A1 by Gavin Gregory, on Flickr And a shot of the LED strips. 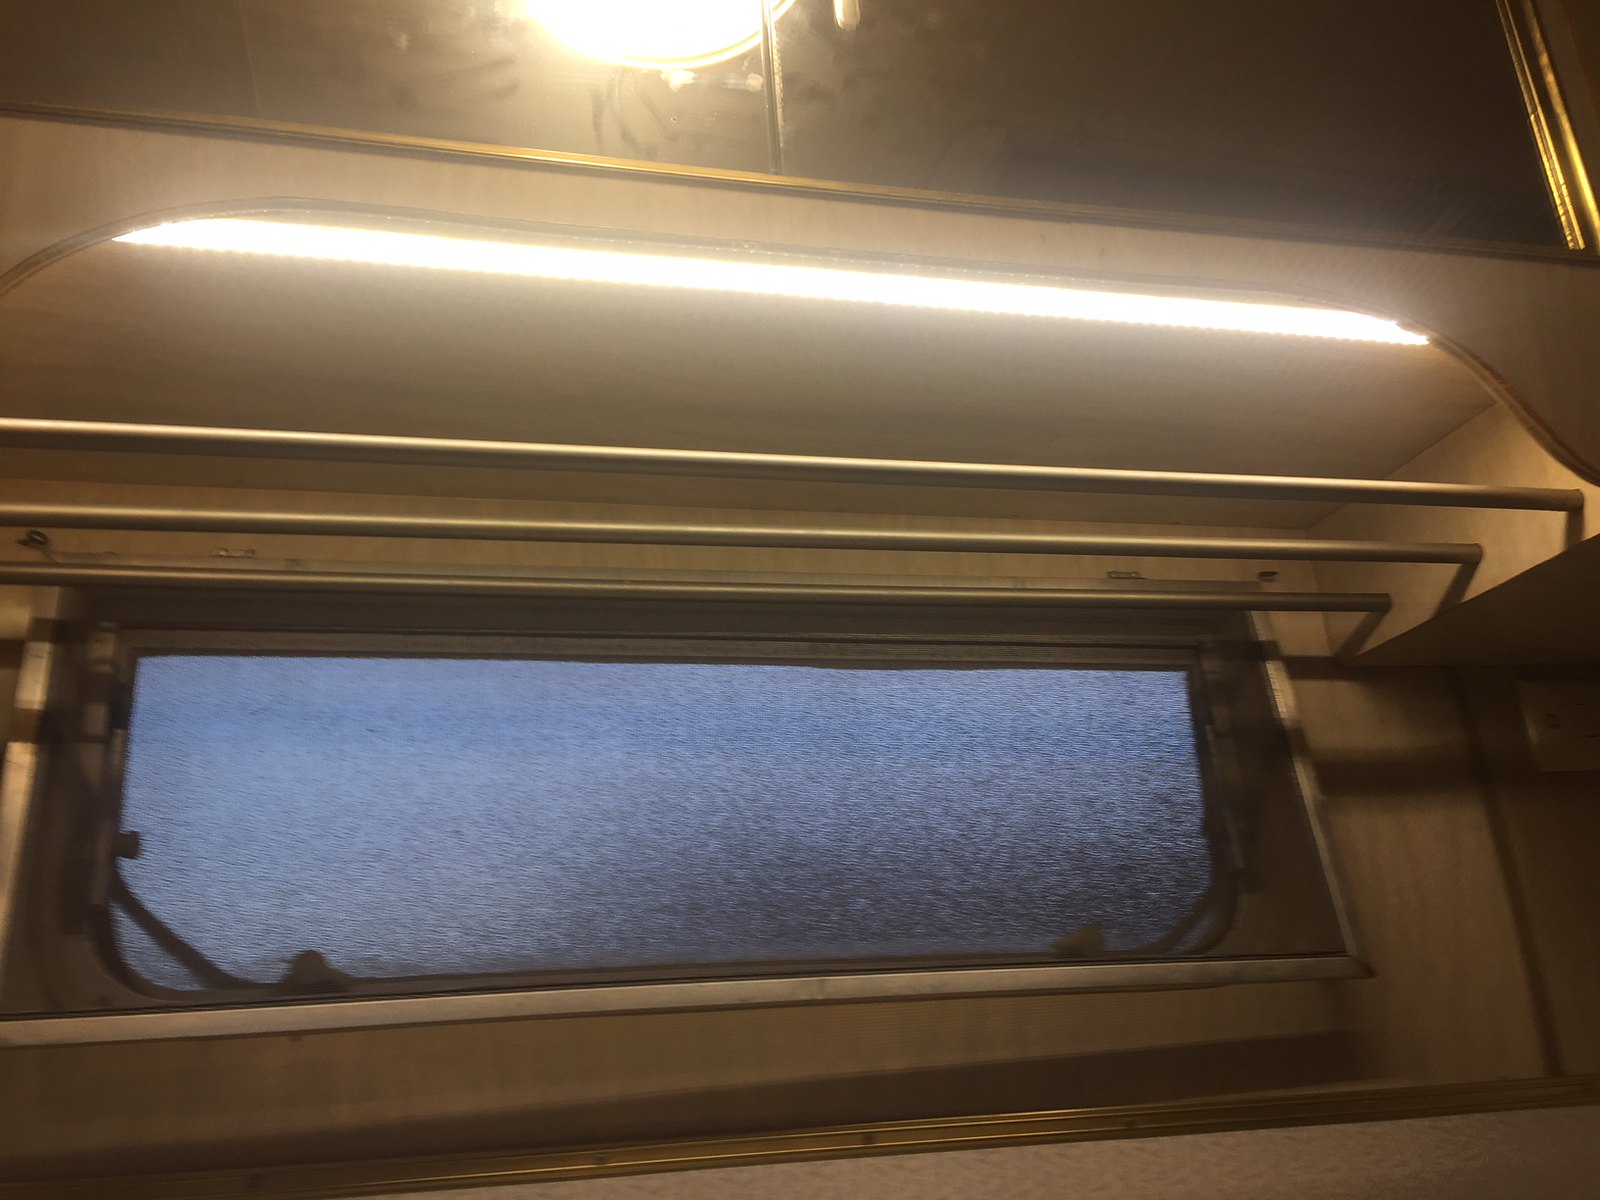 B50D5EF3-151C-45FB-BABD-A88C60D67631 B50D5EF3-151C-45FB-BABD-A88C60D67631 by Gavin Gregory, on Flickr |
|
|
|
Post by snoops on Feb 15, 2018 9:14:25 GMT 10
Ordered some interior window trim - found caravans plus do this I can replace the brittle stuff that's there now. 👍
Ordered some of those pillars and rail - bloody expensive but will be worth it.
Ordered a flash new Wingaurd antenna that folds uo and down and rotates all from inside the van. 👍
Nothing like giving myself more work to do so close to a deadline... 😁
|
|
|
|
Post by snoops on Feb 15, 2018 17:40:36 GMT 10
Ensuite framing complete - again, only dry fitted as the side wall will need to come out later so I can reline the entire ensuite. 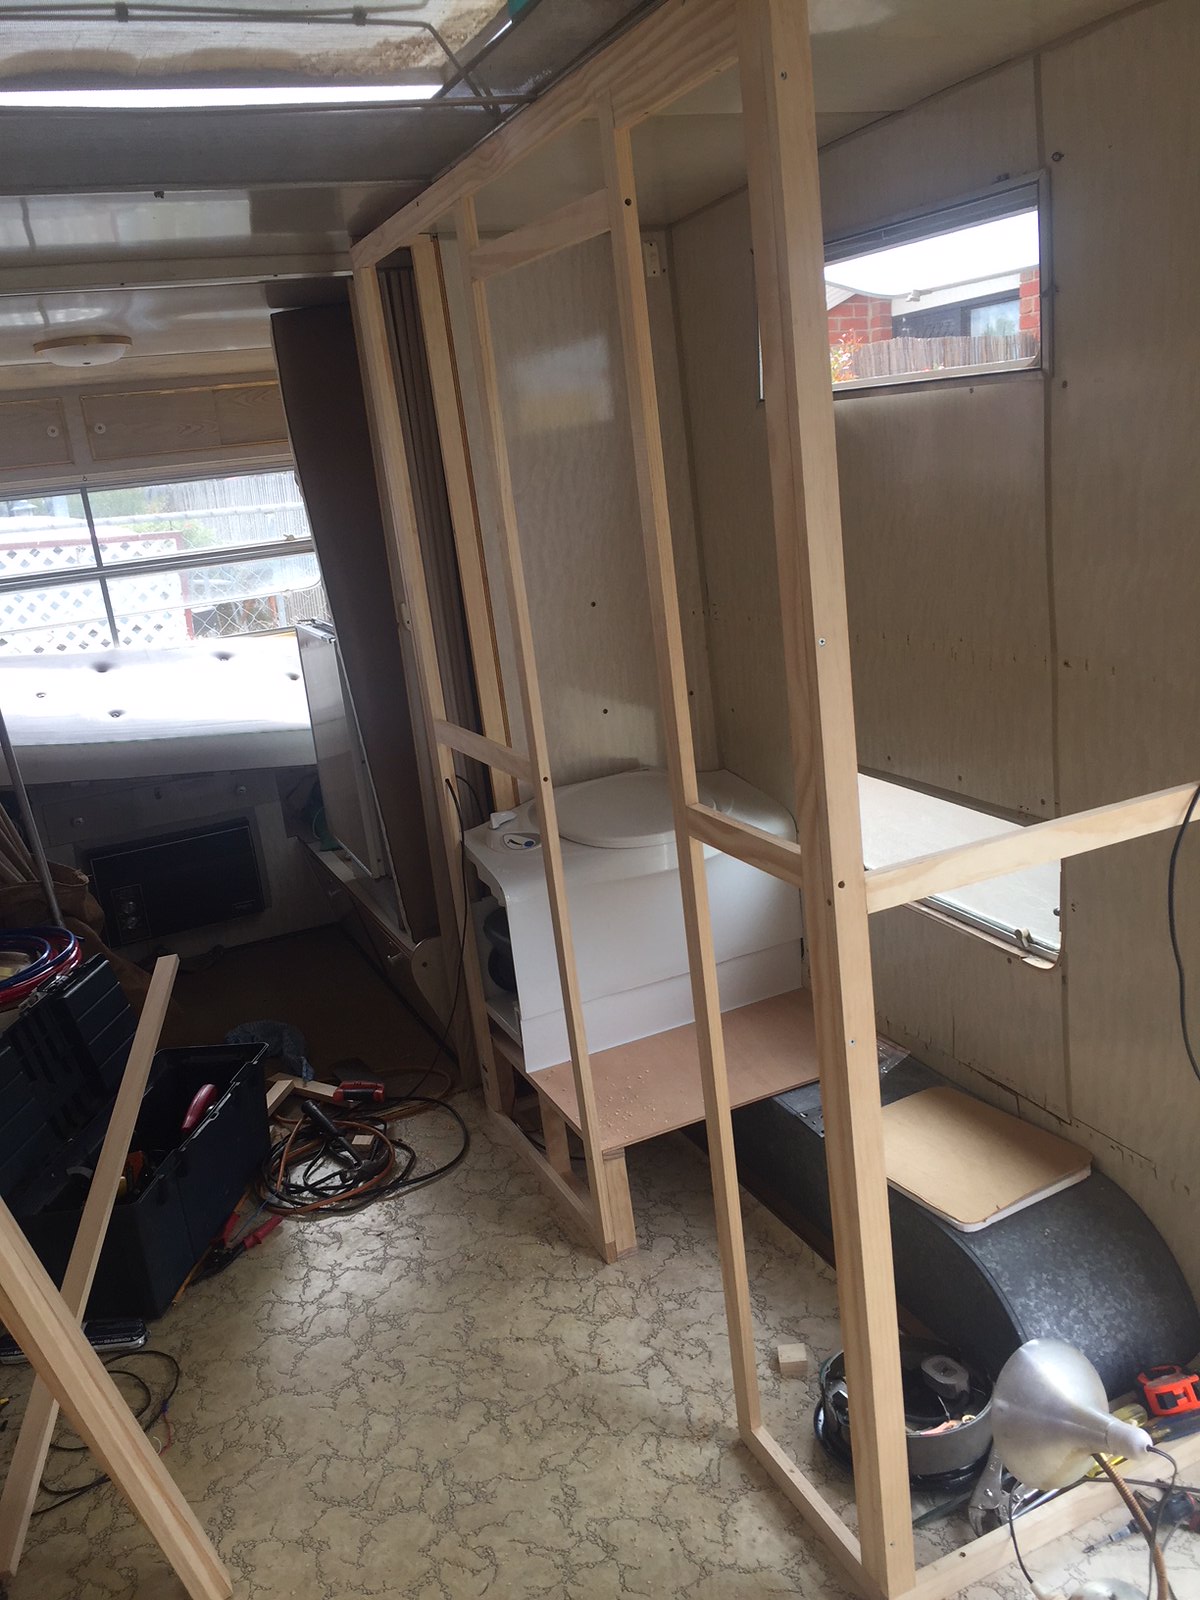 450C25EF-38B9-4079-8DC8-097A8C9895EB 450C25EF-38B9-4079-8DC8-097A8C9895EB by Gavin Gregory, on Flickr And clad - the side wall with the door way in it is just clad in a super cheap, lightweight panel to allow privacy formthe time being, but it will go when I do the ensuite properly and find the right panelling, The end wall that you see as you enter the van is done in 3mm ply - I picked this piece as it has a nice pattern in it. There will be shelves and the TV built into the end and all timberwork stained and varnished as a feature wall - more to come on that as I build it, I think it will look pretty good, it will have a book shelf and everything. 👍 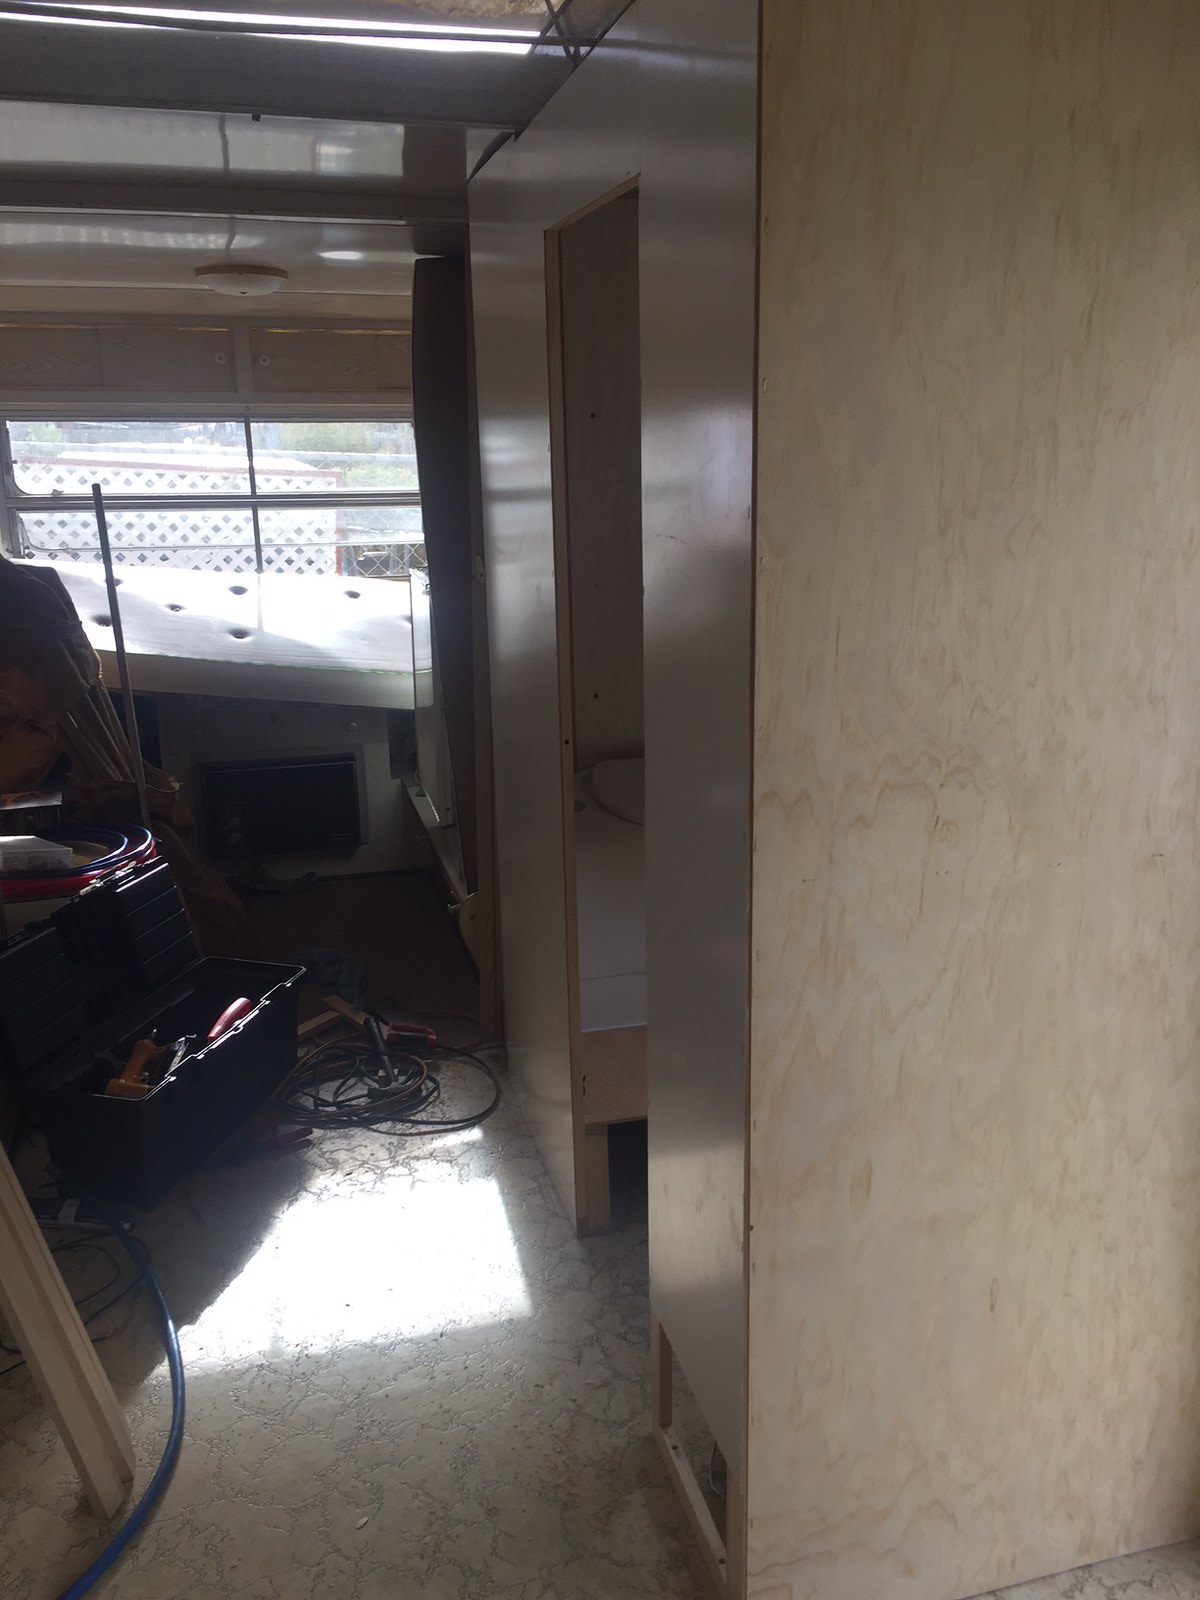 61DAFF87-5F44-4208-ACDB-508C24F7F211 61DAFF87-5F44-4208-ACDB-508C24F7F211 by Gavin Gregory, on Flickr |
|
|
|
Post by snoops on Feb 17, 2018 12:30:23 GMT 10
Lunch time. The other side went much quicker that the first side (as is always the case) and the new electric brake assembly is fully fitted and adjusted, wheel bearings all changed and greased and I went one step further on this side and changed the spring to axle U bolts, so I've got one more job to do on the first side now... 😁 Originals looked ok, but I've changed everything else apart from the axle and springs so thought I should do them regardless. It's all back on it's wheel again, ready for a test which will hopefully be next week sometime by the time I clean everything out of the van from my construction and fit the brake controller to the Hilux. After lunch is the solar panels - see how far I get with these today, the sun's got some bite in it today. 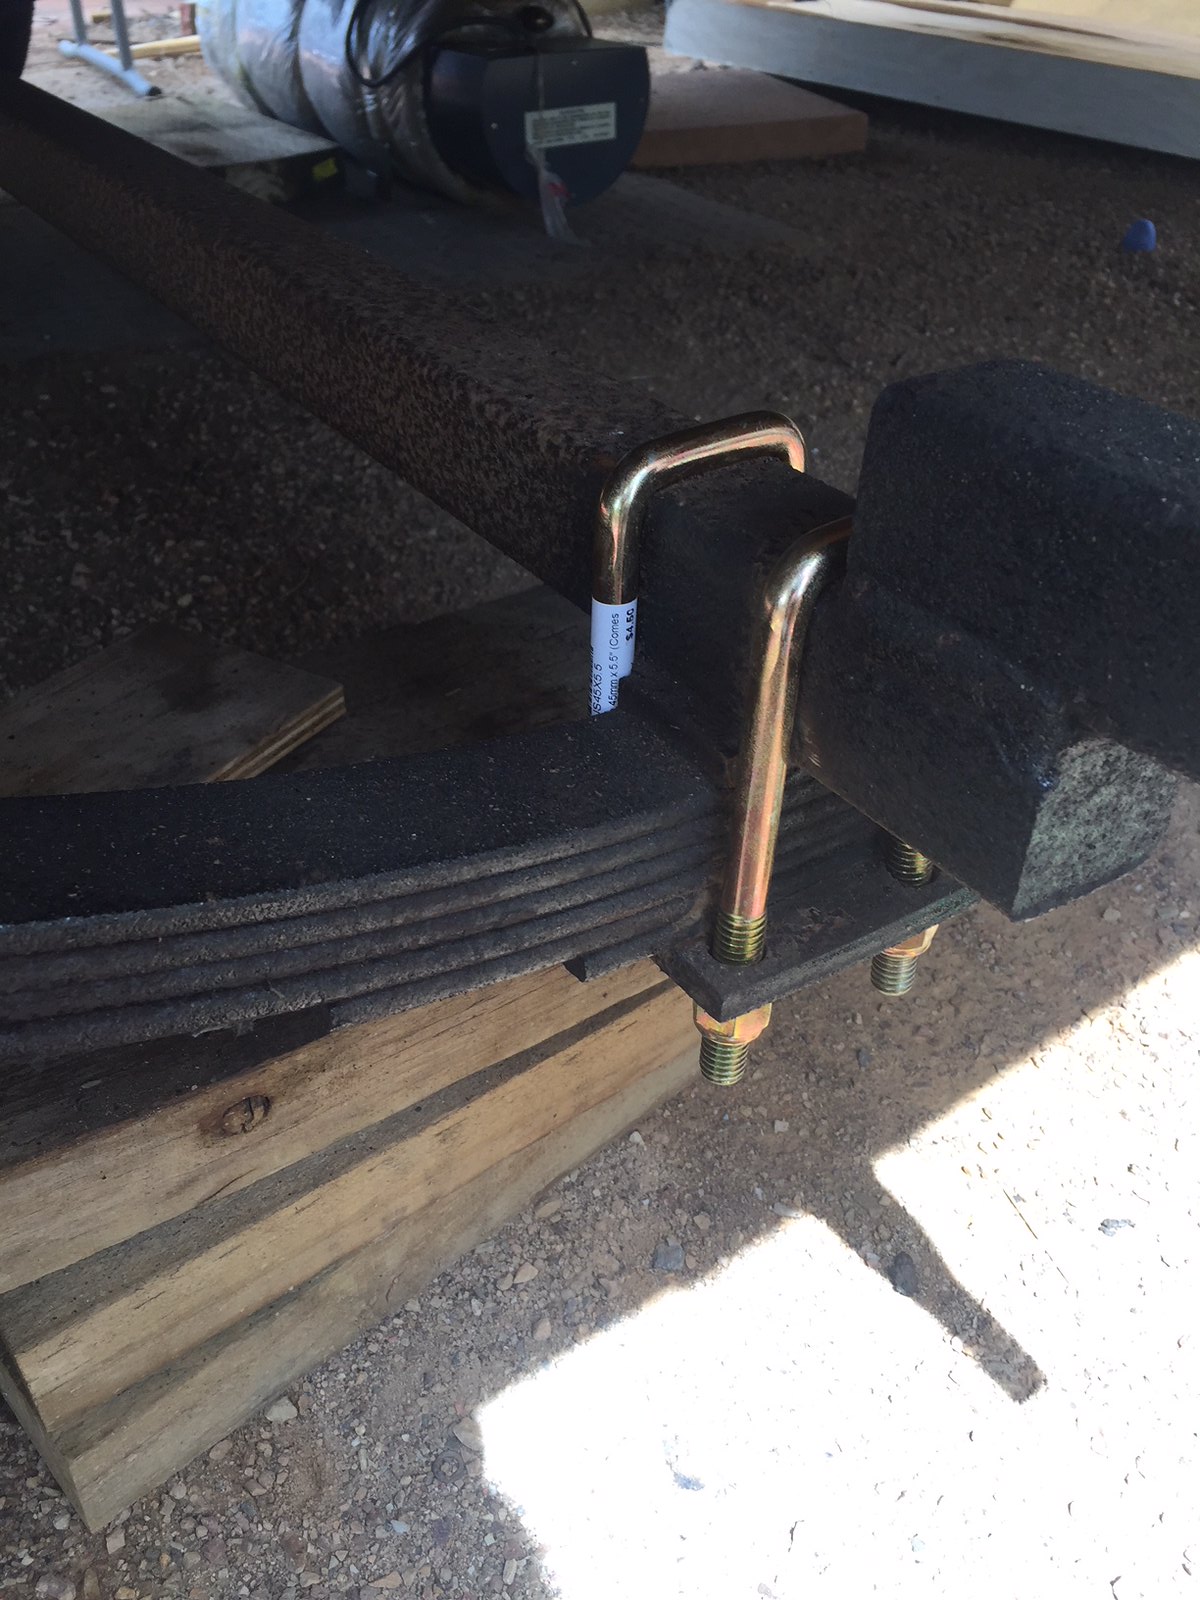 9B8D0707-08A9-4248-AB51-A6C9AE951FF6 9B8D0707-08A9-4248-AB51-A6C9AE951FF6 by Gavin Gregory, on Flickr |
|
|
|
Post by snoops on Feb 18, 2018 15:17:15 GMT 10
Got all the solar panels up today and wired in. 5 x 90 watt units - all checked, tested, cleaned and installed. 2 at the front and 3 at the back. The offset on the front panels is to allow the new antenna to go next to it. 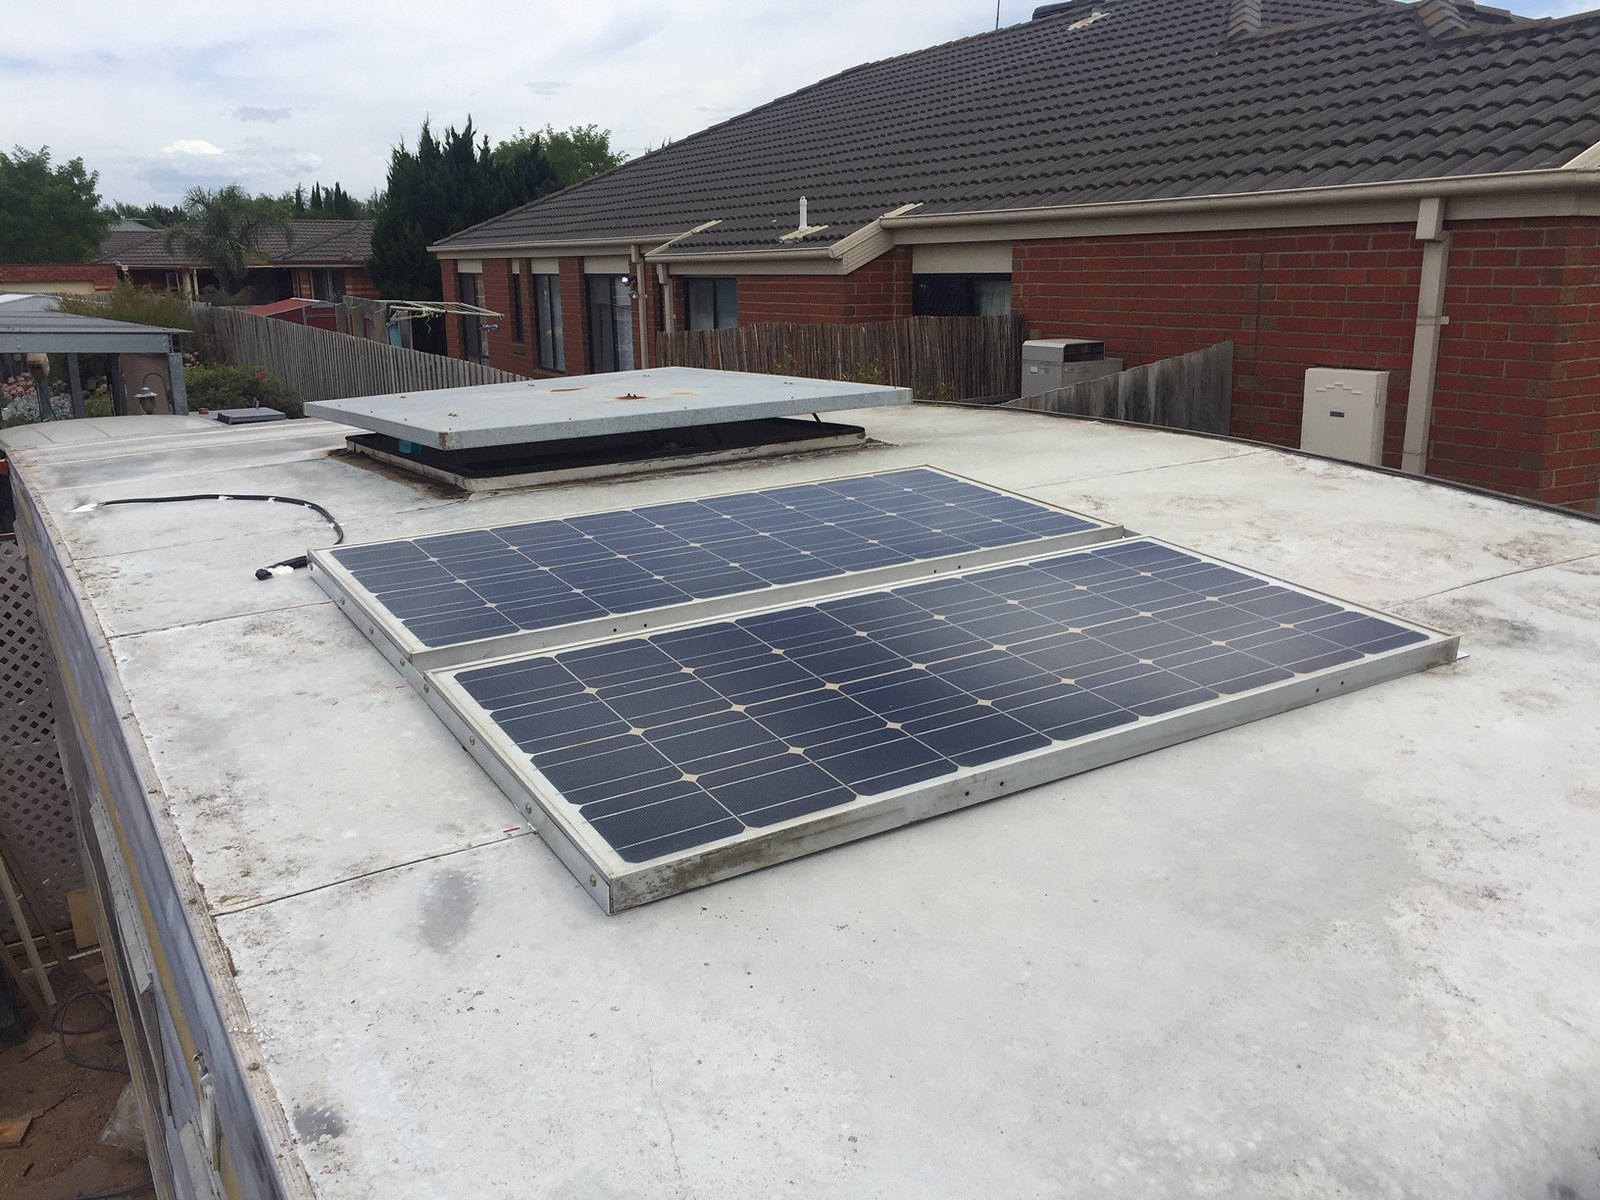 BA44789C-83A8-4E53-9A4D-A6B0B3A82BEE BA44789C-83A8-4E53-9A4D-A6B0B3A82BEE by Gavin Gregory, on Flickr Still need to fit the ali angle on this side and do a bit of cable management but my knees are toast from climbing the ladder what seemed like 100 times today... 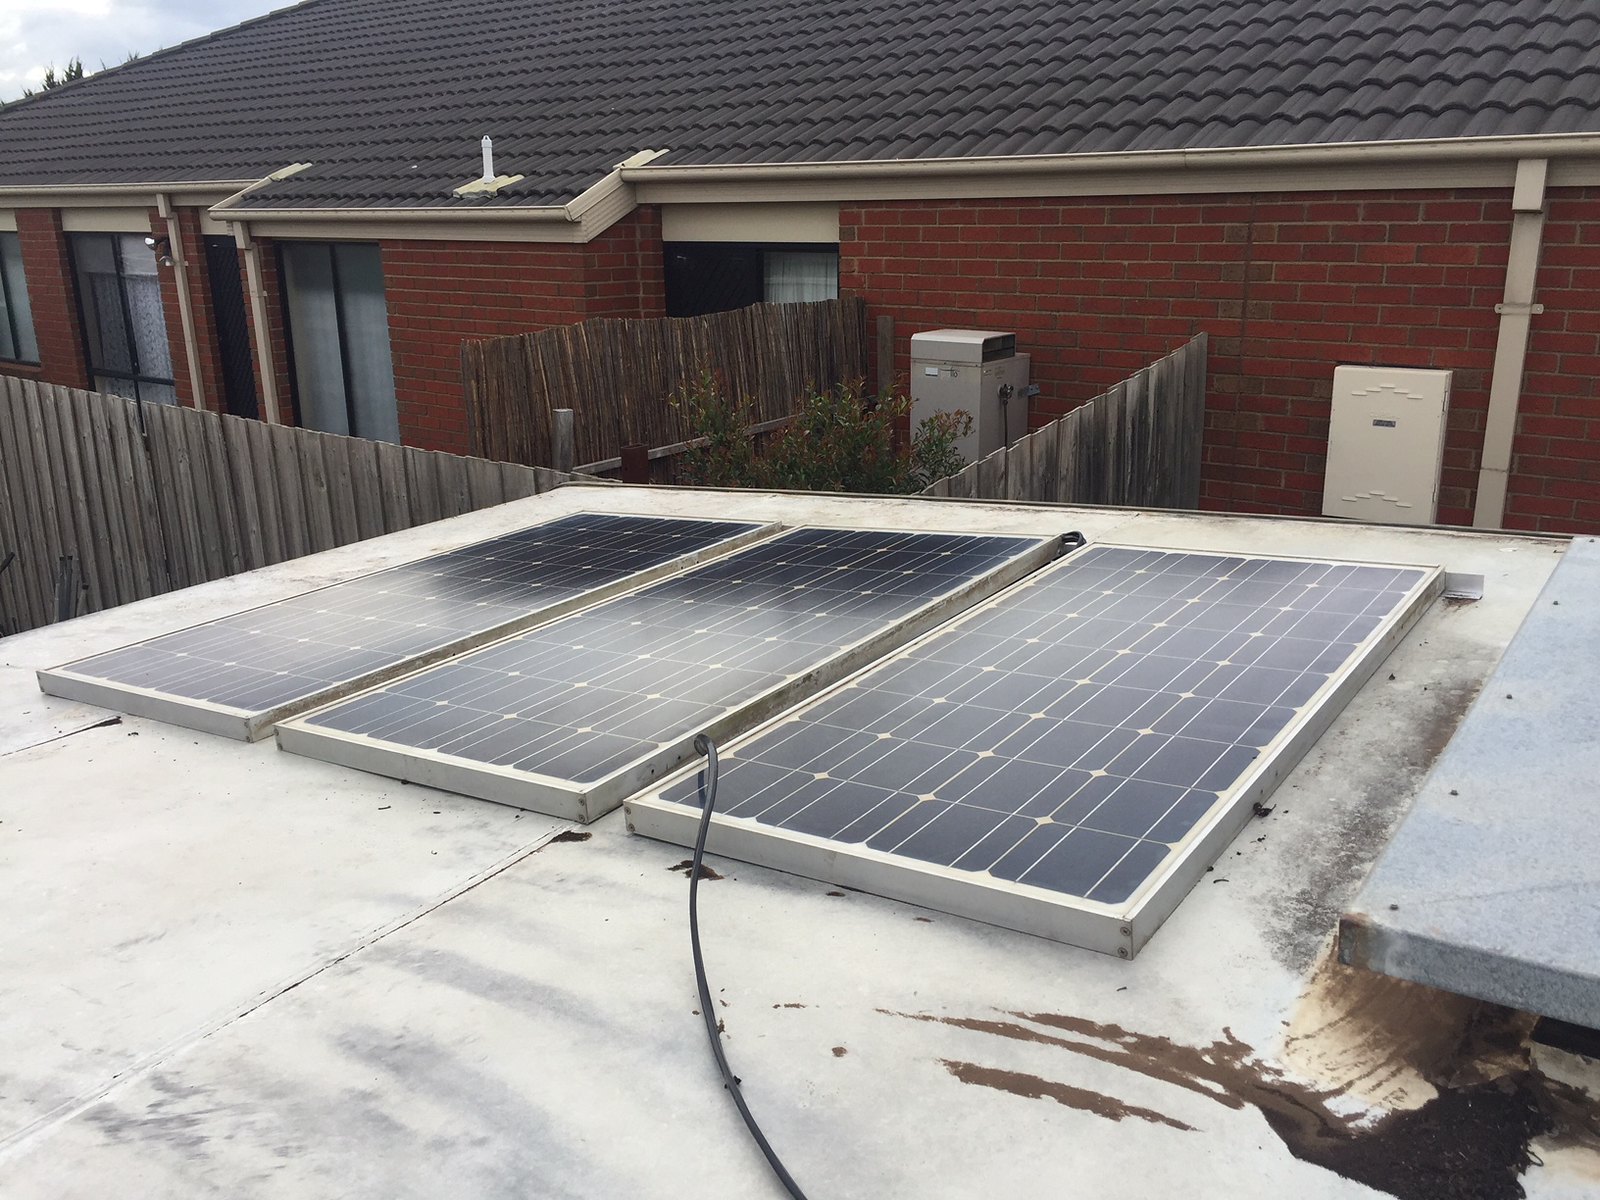 45445515-3ECC-4583-8819-67A9D7101150 45445515-3ECC-4583-8819-67A9D7101150 by Gavin Gregory, on Flickr |
|
|
|
Post by snoops on Feb 18, 2018 19:44:39 GMT 10
And finished for the night. Got the ensuite trims cut and installed. Started cutting the timber for the shelves that will be installed in the next few days.
Go back to work tomorrow for a break....
|
|
|
|
Post by Mustang on Feb 19, 2018 8:24:07 GMT 10
Hey Gav, when you are not using the van you can plug back into the house & send some power back down the grid!!! I notice that some of your overhead cupboards are "sliding" as ours are. As your van is mostly original is there any factory fitted "method" to stop these sliding open during travel. I just install a this piece of ply in the channels with a leather lace at one end to quickly remove. (see image) I tried fitting a magnetic catch inside the cupboard, but after an hour of working in reverse with a mirror , the ply was a much easier solution. 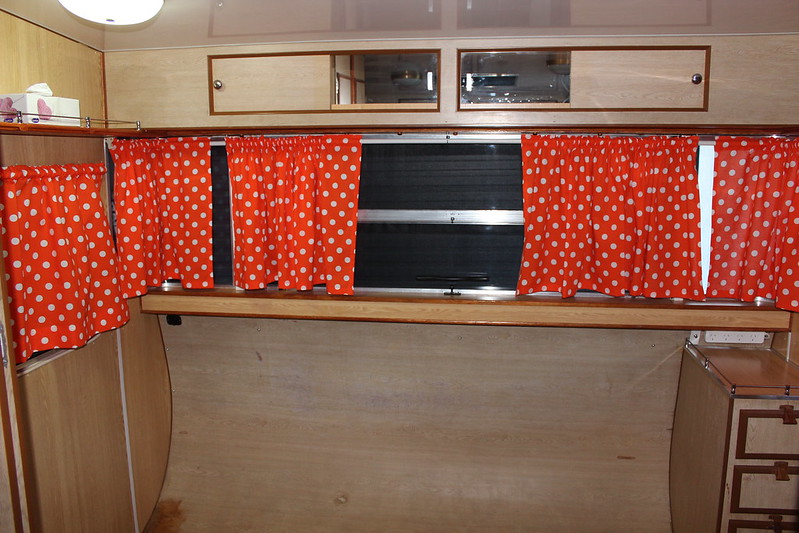 |
|
|
|
Post by snoops on Feb 19, 2018 10:05:52 GMT 10
Ah - I haven’t had sliding cupboards before so never even thought of that! Will see what I can come up with. 👍😊
|
|
|
|
Post by snoops on Feb 19, 2018 18:00:14 GMT 10
Another modern luxury fitted. 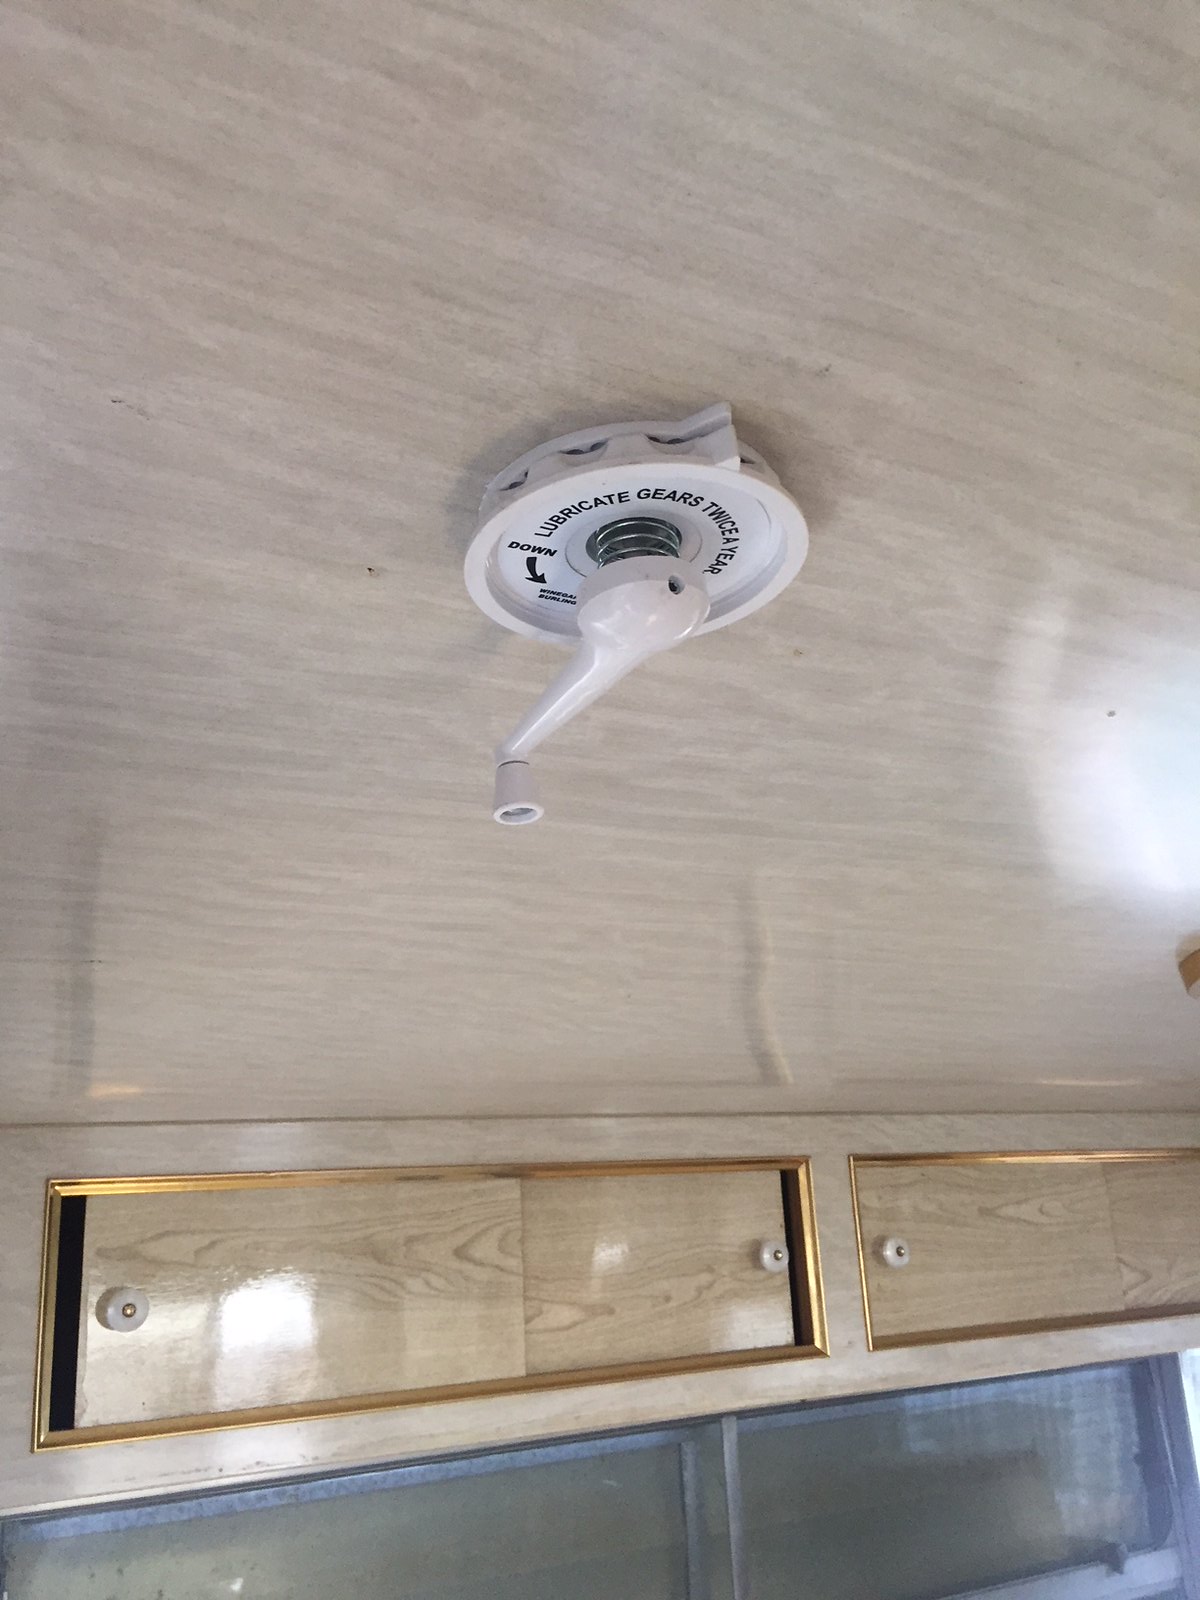 990BE9E1-DFD8-47CA-9959-F92E17834563 990BE9E1-DFD8-47CA-9959-F92E17834563 by Gavin Gregory, on Flickr 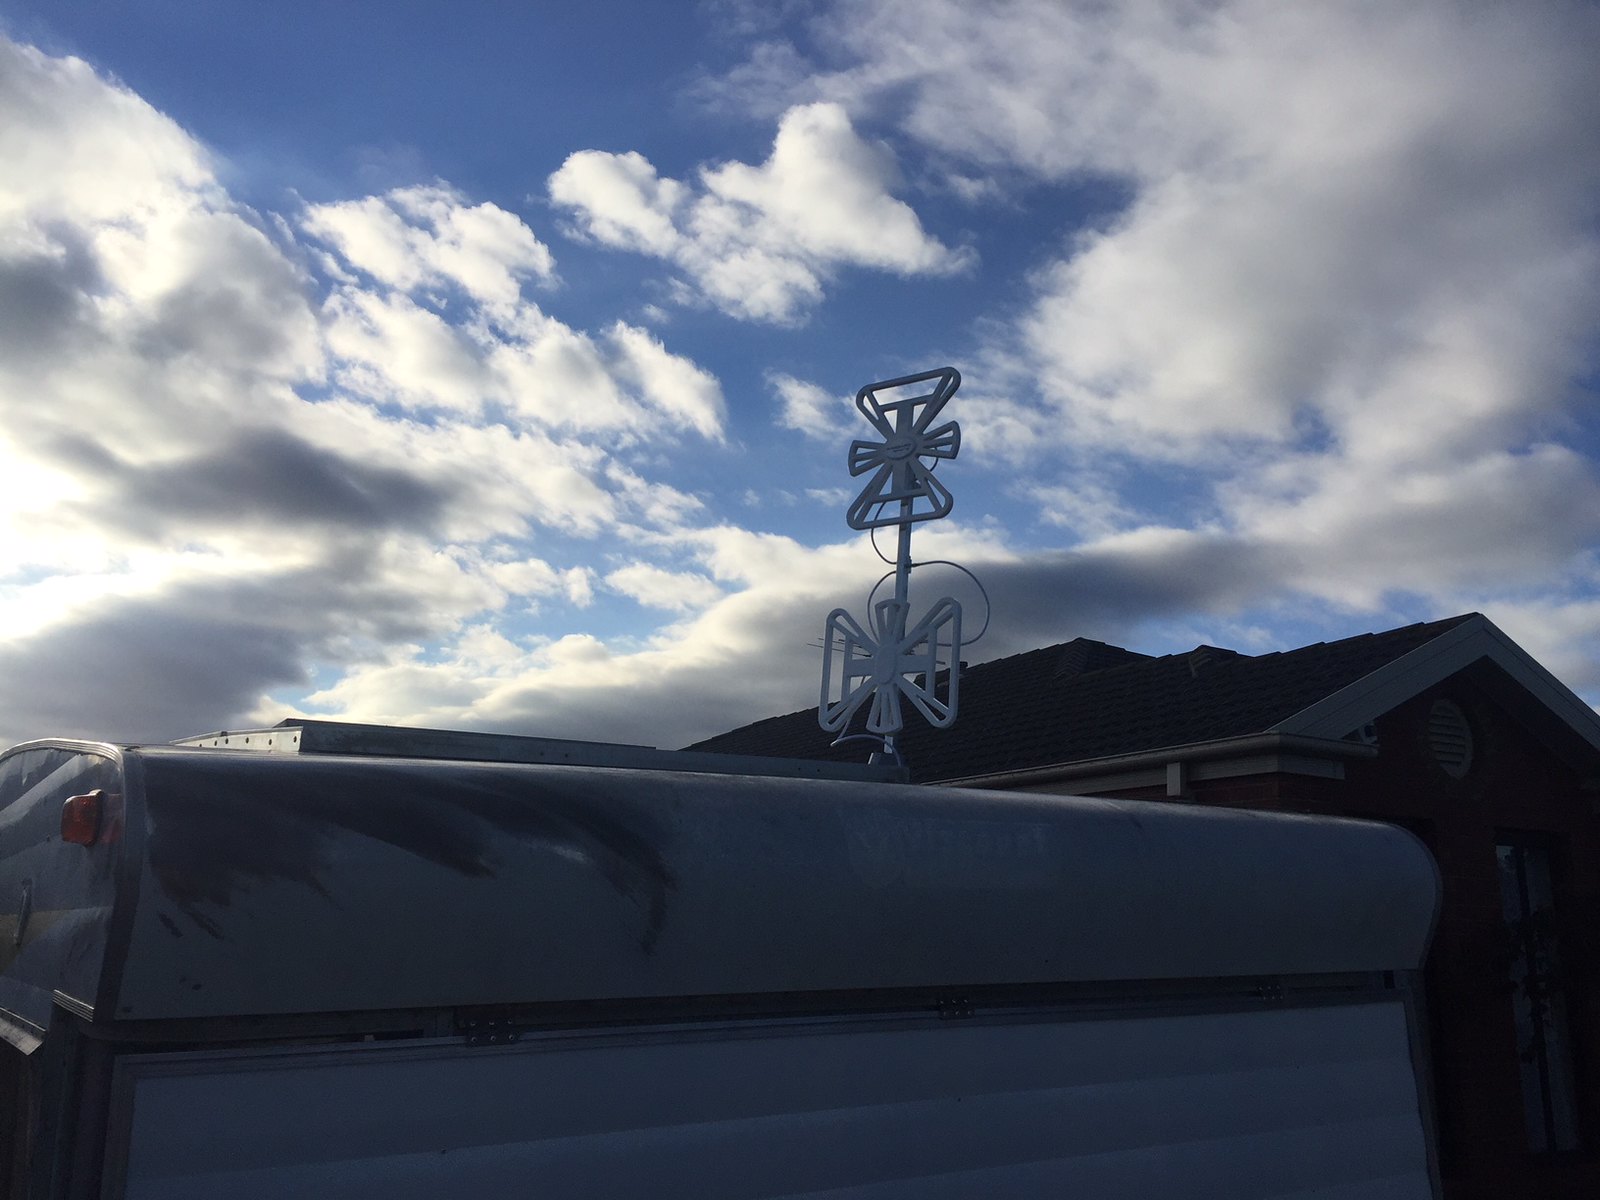 62042F80-44E6-47B2-9097-5C6668352E03 62042F80-44E6-47B2-9097-5C6668352E03 by Gavin Gregory, on Flickr Like a lot of modern van bits, it isn't designed for older vans and although not that difficult to fit, they are designed for van manufacturers and not as an afterthought due to where the cable has to run and how solid the base needs to be. I overcame both these issues by pulling an internal ceiling panel down a couple of inches at a join and fitting a block of wood under the top mount and also ran the cable through the roof cavity at the same time. It's not 100% but it is plenty solid enough. |
|
|
|
Post by Mustang on Feb 20, 2018 6:49:55 GMT 10
Download "Antenna Mate" it shows where the tower direction is with the best signal in your area.
|
|
|
|
Post by snoops on Feb 20, 2018 8:13:16 GMT 10
Download "Antenna Mate" it shows where the tower direction is with the best signal in your area. Yep, got it. 👍😊 |
|
|
|
Post by thehohars on Feb 20, 2018 13:13:54 GMT 10
I looked for "Antenna Mate" in the Play Store. I got several different apps but not "Antenna Mate" more info please?
|
|