|
|
Post by Husky on Mar 18, 2017 22:52:19 GMT 10
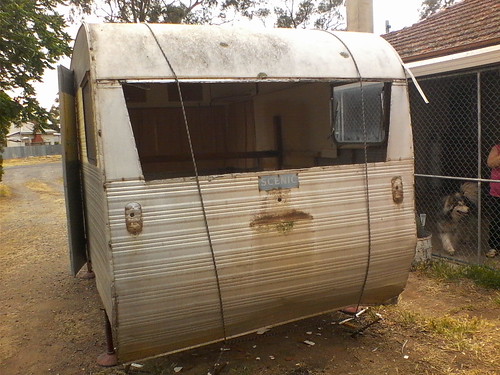
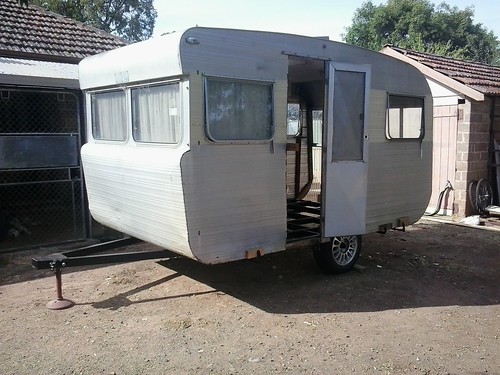
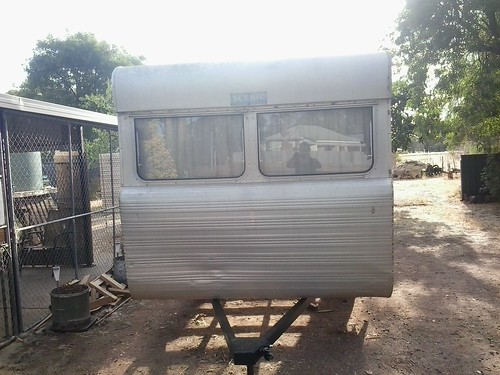
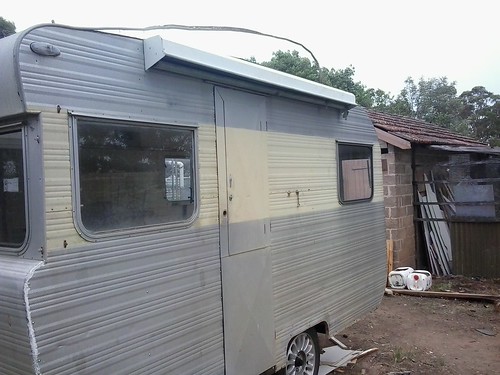
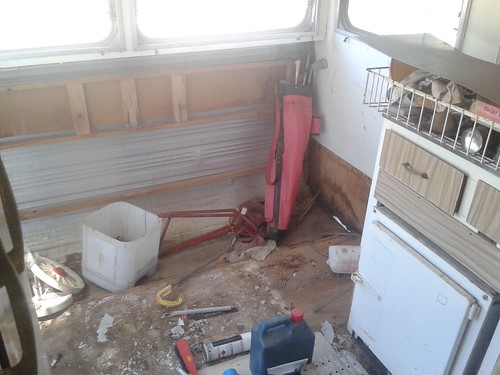
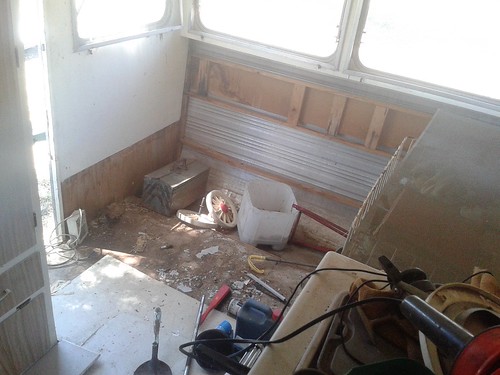
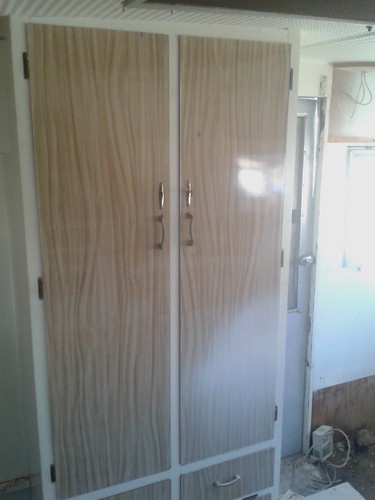
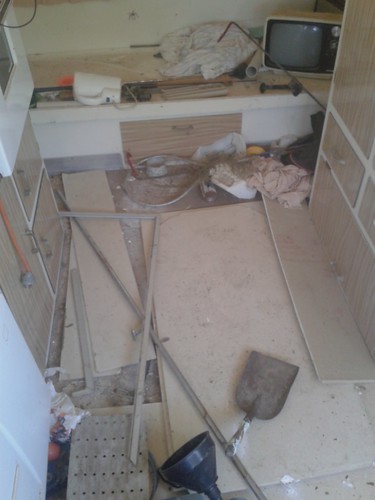
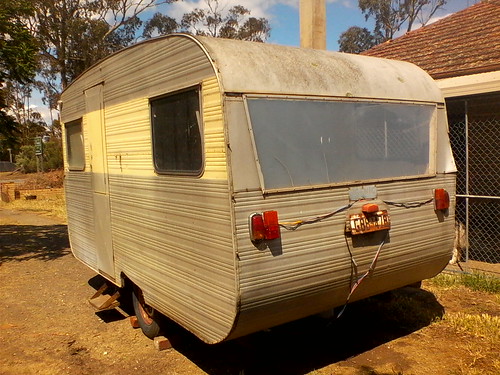
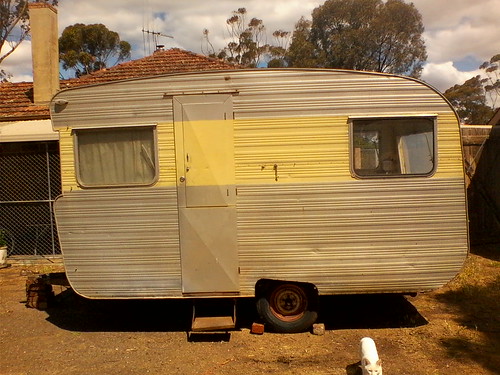
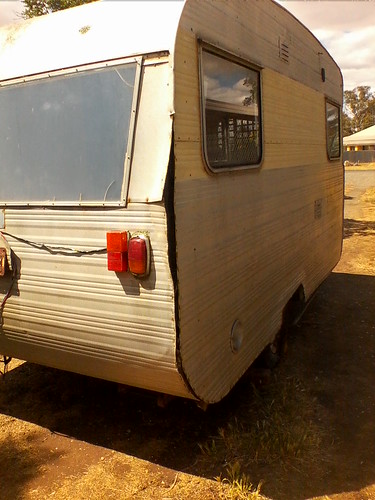
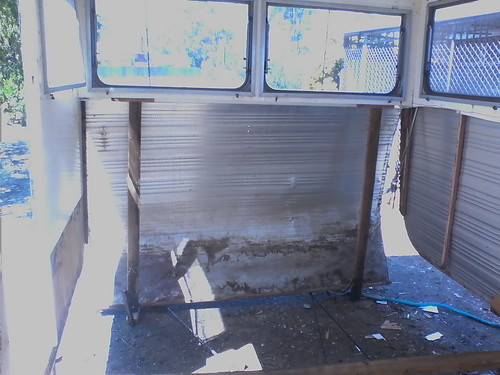
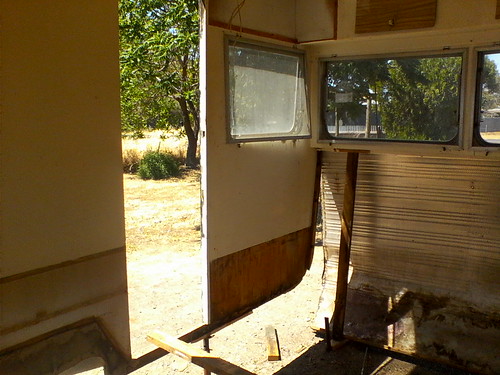
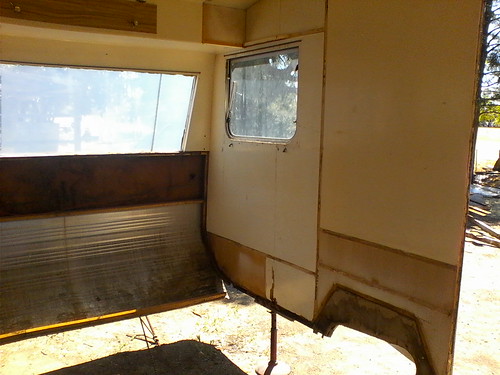
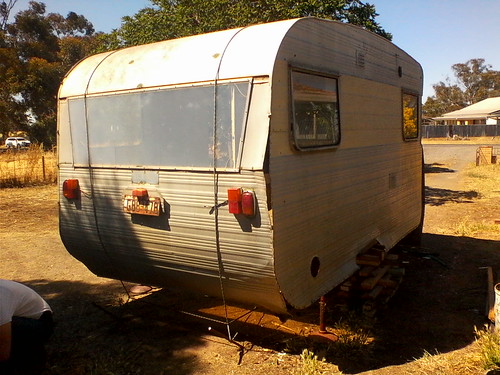
VAN: 14 ft 1955 Scenic Caravan TIME TAKEN: 7 months BUILD STARTED: 18/10/2014 STATUS: Incomplete REASON: In Use  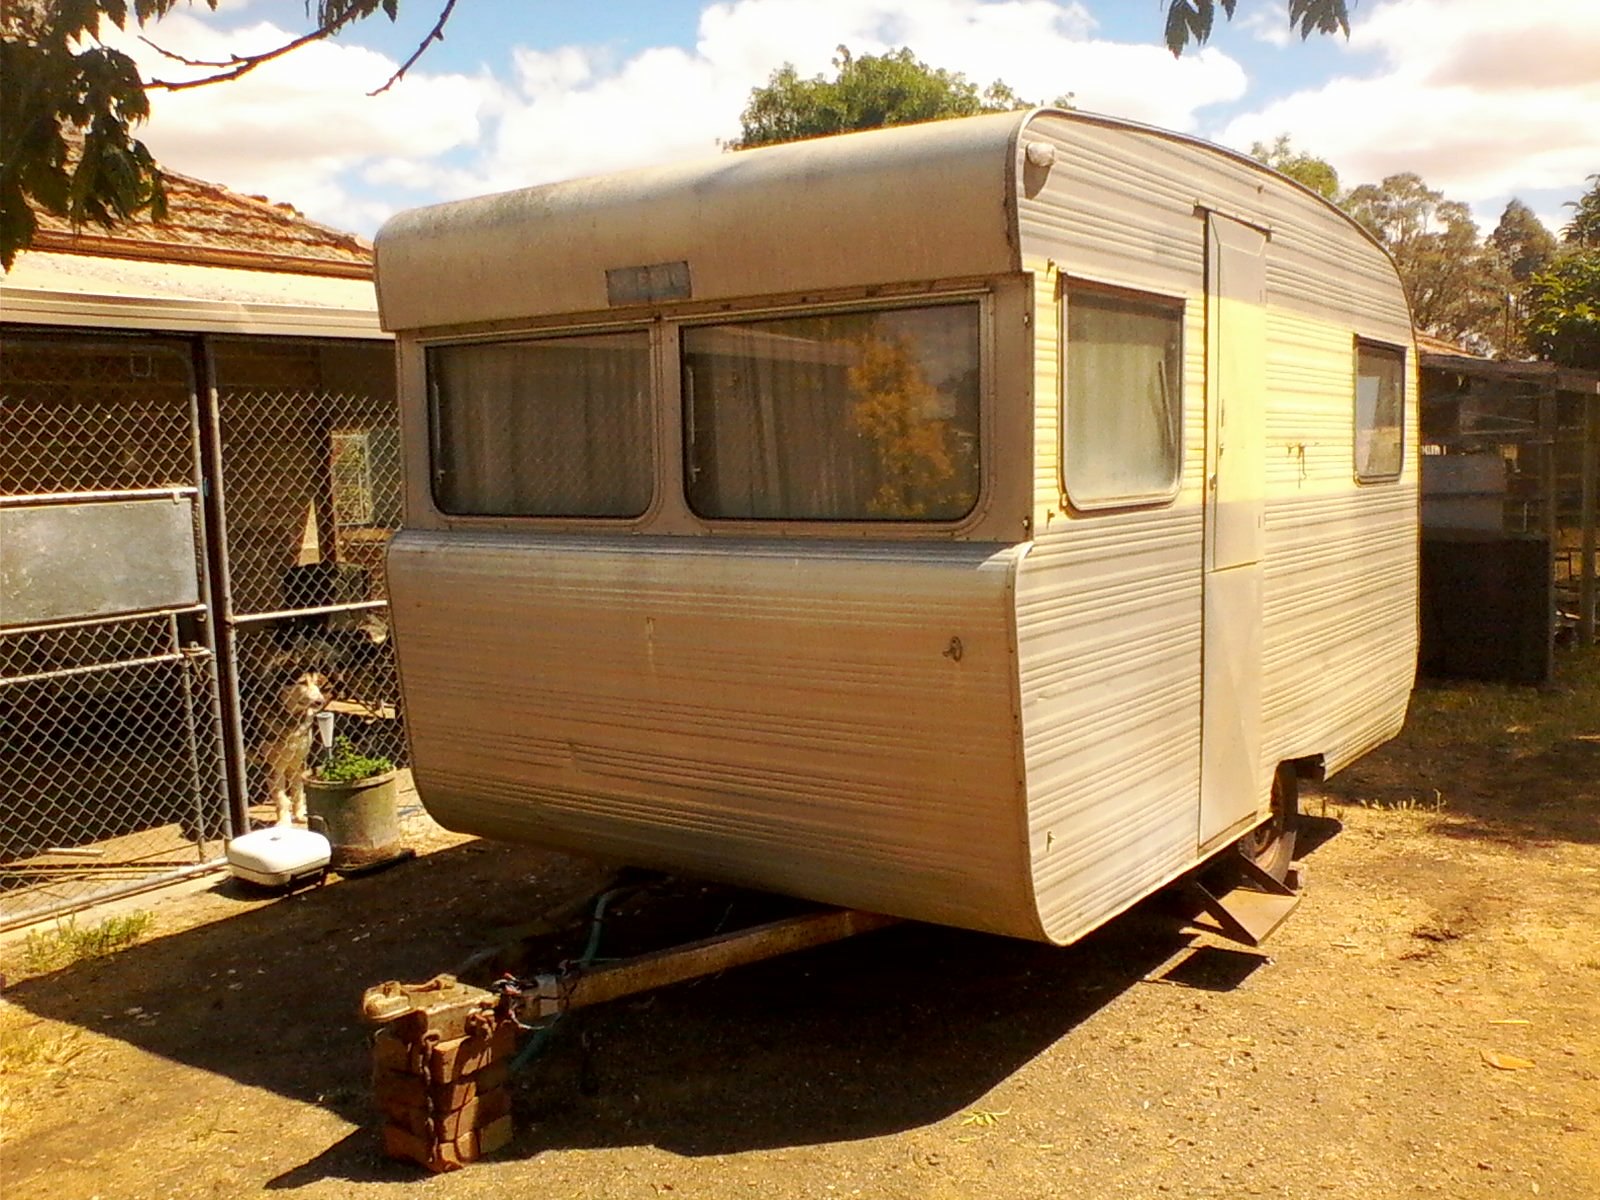 I remember this day like it was yesterday. After three race seasons sleeping on the ground in a tent during winter with temps at -5 to -10 degrees C i was on the look out for a Van. What was i doing you may ask? Well between my partner and i we own 15 Huskies that we race in Dry Land and Snow Sledding. Back then i was single and had six dogs and was just looking for a van i could put some transport crates, a bed, maybe a kitchen and some storage areas in for my business to take it mobile. When a customer of mine was cleaning up her property to sell she offered me the van for free IF i could get it out of her paddock that day. It had been sitting there for 19 years and beside Lake McQuarie for 15 years prior to that so were talking buried wheels to the axles on perished flat tyres that probably last held air when Jesus was a boy.
Challenge accepted.
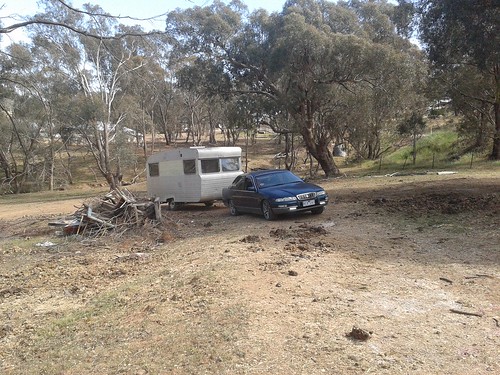
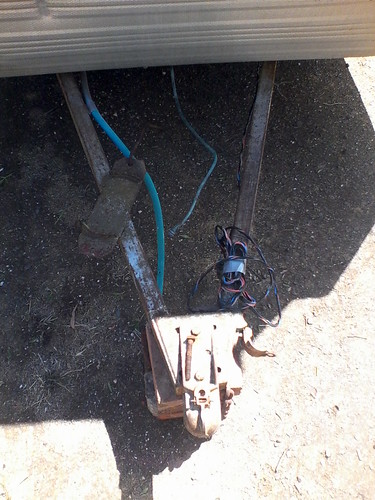
Believe it or not i just pumped up the wheels with my air compressor once i un buried the valves gave it a few minutes to see if they would either go boom or deflate but they held so i un seized the tow hitch, latched it on and pulled it out then proceeded to tow it 10 mins down the road to my place. I took a few pics before starting then got stuck in right away. 7 months till next race season and it had to be done.
THE GREAT PLAN: Tear out everything inside to bare frame, rewire for 12 volt and 240 volt system, insulate, line and fit out. if time allows electronic brake axle and new leaf springs
There are over 450 photos to this build so i'll do a post a night or every couple with a few pics and try not to blab on to much. I come from a mechanical engineers back ground (15 years in the trade) and my dad is an A grade electrician and we have both renovated a few houses in our time.
How hard could a caravan be?
|
|
|
|
Post by tasmillard on Mar 19, 2017 6:27:11 GMT 10
Its not everyday you get given a van for free. Funny thing with your story, we had a similar experience where we had heavy rain one night which was the 'straw' decision. After years of tenting the Millard was a luxury!
|
|
|
|
Post by Husky on Mar 19, 2017 17:34:24 GMT 10
Sounds interesting tasmillard, got a build on that one?
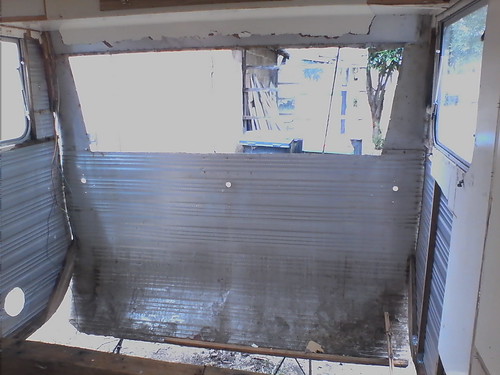
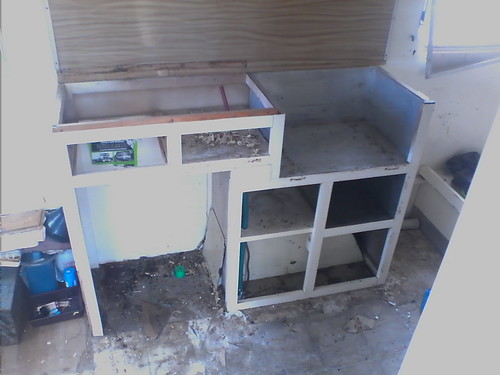
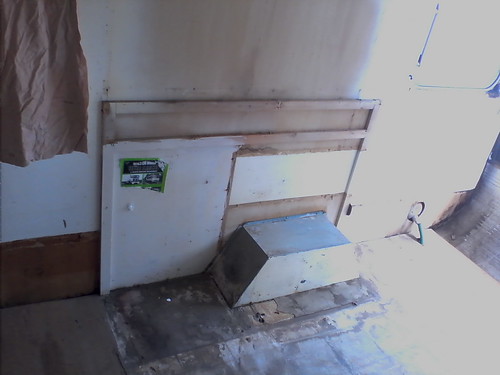
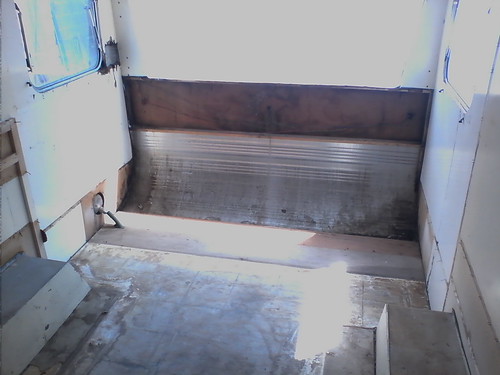
Stripping out was pretty easy even though i had to get used to the inside out way caravans were constructed. As i wasn't planning on keeping any of the original fittings the jimmy bar and 4 pound mesh hammer made short work of the now 59 year old cupboards, bed and kitchen.
|
|
|
|
Post by Mustang on Mar 20, 2017 7:51:43 GMT 10
OMG!!!!!!!!!!!!!!!!!!!!!!!!
|
|
|
|
Post by tasmillard on Mar 20, 2017 8:20:49 GMT 10
You got very lucky there not to get seriously hurt, or worse! So I can see that you have had plenty practice with full rebuilds, the Viscount will just be a bigger version of it.
|
|
|
|
Post by Husky on Mar 20, 2017 9:35:45 GMT 10
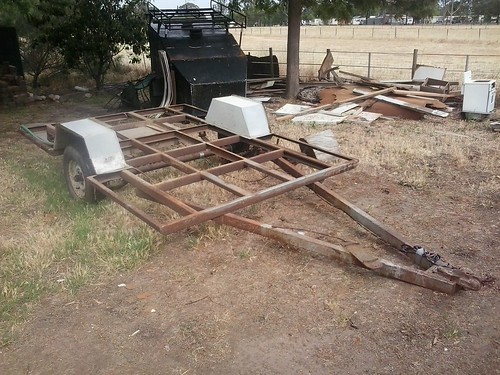
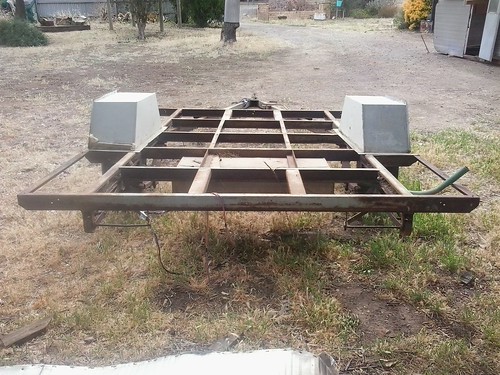
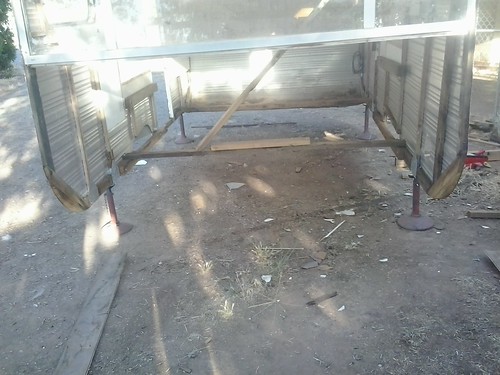
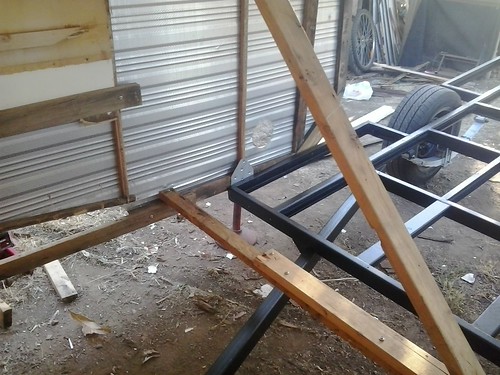
i know how hurt i could have been, even killed so i'm hoping everyone who looks at this thread learns from it. I sent my dad a couple of pics of the van in this state with a message "I think i need help" 2 seconds later he was on the phone having received the message but not the pics. Once he saw the pics the language got pretty colorful as i lived on my own. 35 years old and copped a massive lecture from my dad who then jumped in his car, was at my place 10 mins later and the lecture continued in person. Then using whatever leavers and jacks we could find we set about lifting the body to assess the damage. 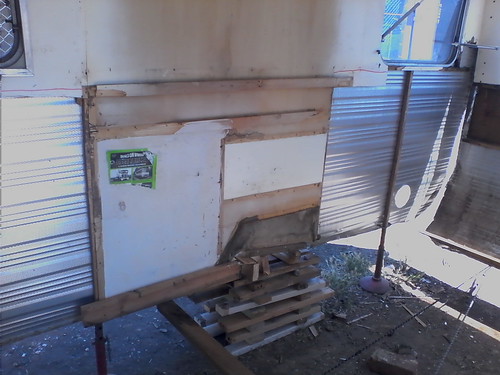 The side still attached to the Chassis was easy. I just put axle stands under it like i should have done all round in the first place. The side on the ground was a different issue but inch by careful inch we lifted it and i got to be a kid again building a pyramid out of blocks. Once up i decided stuff it i'll rip the chassis out too to make re framing the body easier and what the hell i'll overhaul the chassis. Dad thought i was mad and thought the van was to far gone but kept quiet. The fun wasn't over yet and i had nothing else to do anyway LOL For such old Aluminum cladding i was sure it would have torn or something but lucky for me it was all good maybe due to lack of decent framing it just allowed the metal to bend. 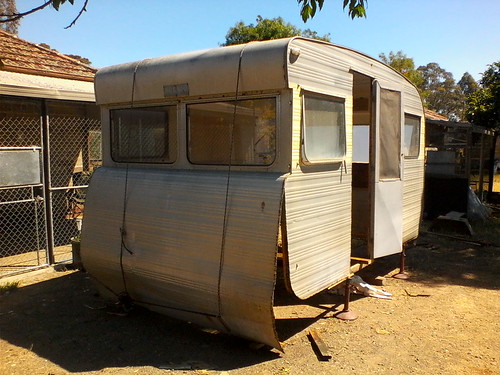 I am not mad or insane i promise  |
|
|
|
Post by Mustang on Mar 20, 2017 19:20:19 GMT 10
My wife thought Vincent was a mess    here is a Blog worth reading!! |
|
Deleted
Deleted Member
Posts: 0
|
Post by Deleted on Mar 20, 2017 20:15:14 GMT 10
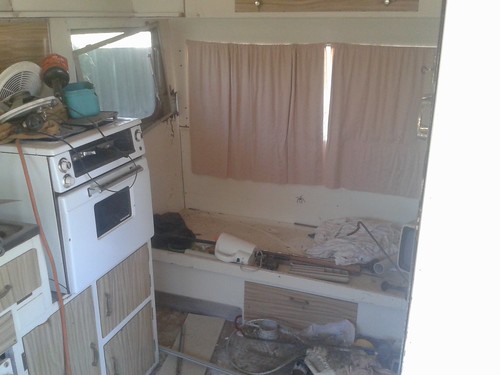
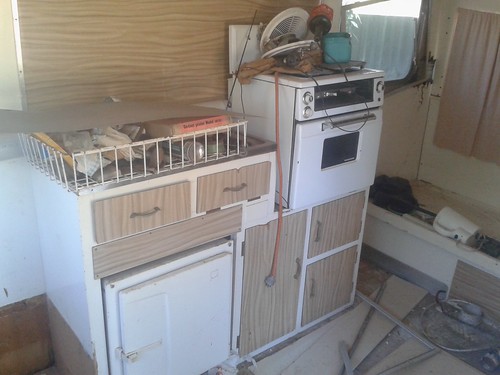
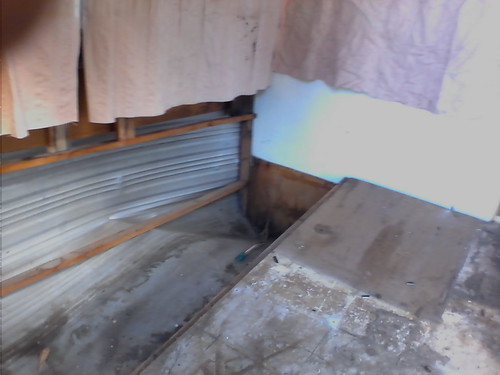
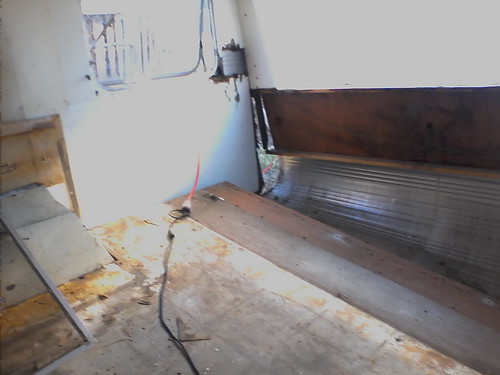
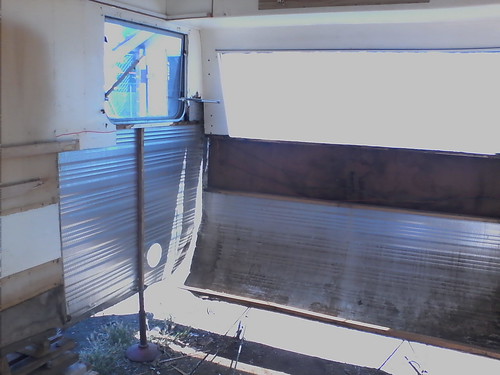
My wife thought Vincent was a mess    here is a Blog worth reading!! Everybody see these vans differently SWMBO thought ours was too old and grubby to be used    I would hate to think what her reaction would be if I took this home  |
|
|
|
Post by Husky on Mar 20, 2017 20:51:24 GMT 10
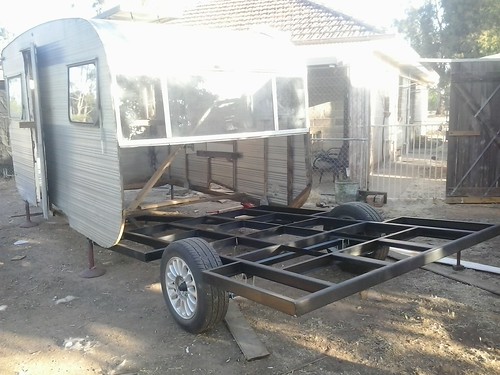
ok so what's next? oh yeah the hover caravan from hell as my dad called it.  With the chassis out of the way I got stuck into re framing the body of the van. i went aged hardwood from the salvage yard for strength, weather resistant and stability. Got some as close to the size of the bits i took (crumbled) out. being an engineer everything was steel reinforced. this thing will last another fifty years if i had anything to do with it.
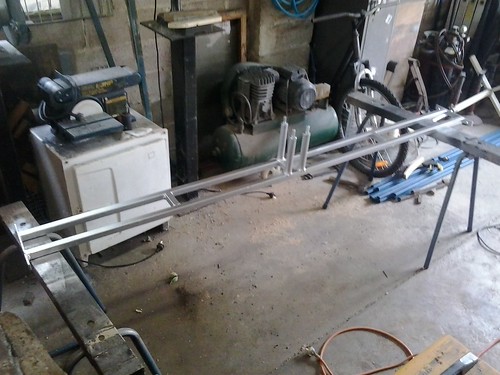
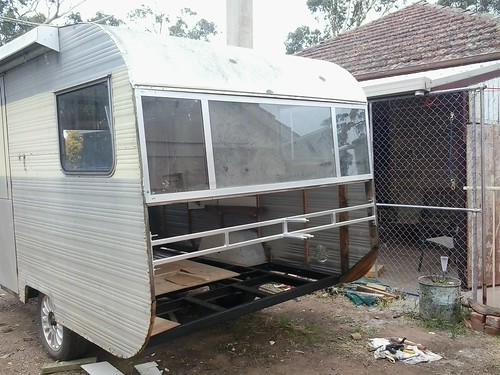
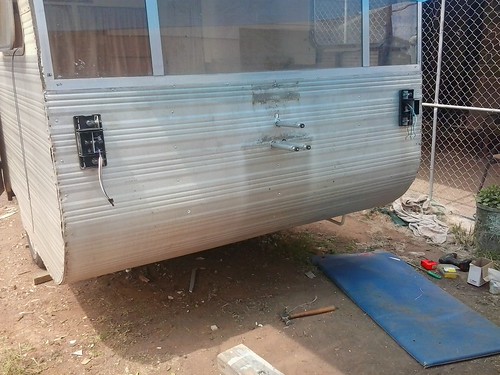
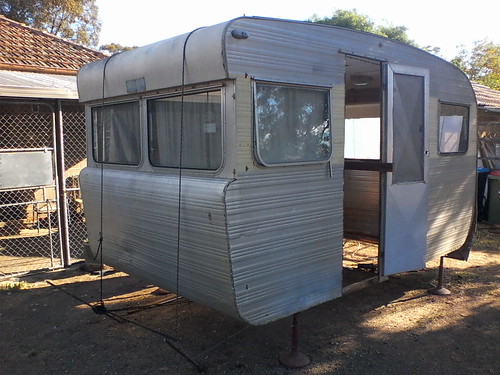 With the front all buttoned up my attention went to the back. it was a mess. Very little solid framing to work from, i had an idea of putting in a steel frame to carry the spare on, the window was some old aged and decrepit piece of perspex the cladding on the outside was all mismatched and i figured i could do better.
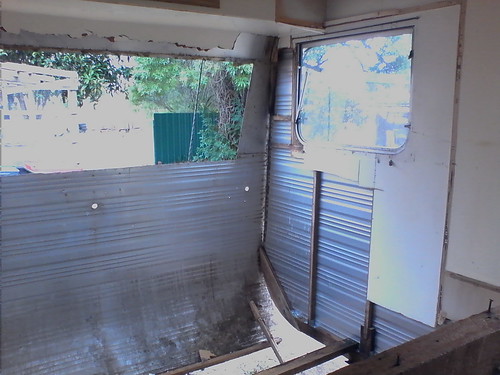 So i ripped it all out 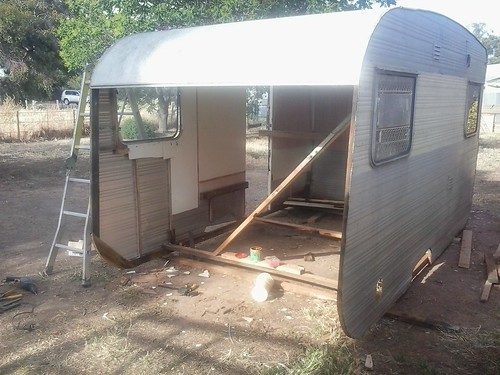 .... and custom built a window to fit 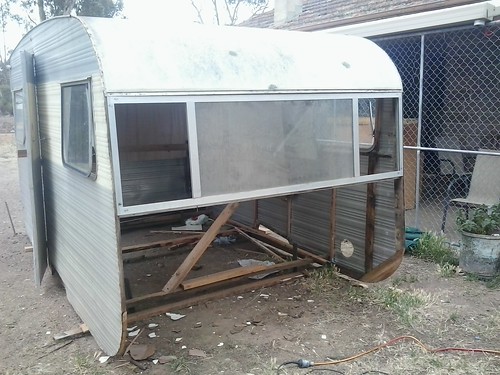 Due to wind picking up i decided to lower the van to the ground to prevent another accident. i also added a lot more cross bracing to keep the box in shape while i worked. Trust me it's not worth the risk. always play it safe. |
|
|
|
Post by pisces51 on Mar 20, 2017 23:01:18 GMT 10
G'day Husky, I reckon you'll find your van is more likely a 19 65 model, or thereabouts. You can read more about the "Scenic" brand of vans on our sister forum for Vintage Caravans here.Hope the project goes well for you. cheers, Al. |
|
|
|
Post by Husky on Mar 21, 2017 7:49:18 GMT 10
Thats awesome thanks Pisces51. i was always curious about the origins. Even lived in Dandenong for a while
|
|
|
|
Post by Mustang on Mar 21, 2017 8:46:25 GMT 10
Now Husky don,t think of moving over there to VV this the best wreck, reno, rebuild, repair ,demolishon , Fun we have had in a while!!!!!
|
|
|
|
Post by Husky on Mar 21, 2017 12:44:40 GMT 10
I'm not going anywhere Mustang don't stress. This van is not finished but pretty much done and dusted and this thread is like a time filler until i can get started on the Viscount which i am itching to do. Unfortunately with my dad sick, a house to build, moving house, race season about to begin and oh yeah a business to run it will probably be a few months before i can get stuck into it good and proper. incedently i am sitting in my office supposed to be doing paperwork for my BAS due in a week but i have CC running in the back ground LOL. As for the home of slot head screws,gas lights timber chassis and dolly wheels? people like that make me laugh. i was the Assistant Mechanical Manager of a Tourist railway for years. Only assistant because i refused to deal with morons who told me the loco i just had repainted was two shades lighter blue than spec or i shouldn't have used a more efficient modern diesel electric motor in a rail car i should have rebuilt the old one which in it's prime was a guttless wonder and blah blah blah. These people normally got a look and if they didnt heed the look then they found out my dad and i have more in common than just blood. first and foremost it has to be practical, it has to work and it has to be comfortable before being 110% as it was coming out of the factory. I have a chair that belonged to my great grandmother that i fully restored. lost count how many coats of polish i put on it, upholstered it using material she had kept from when they were new, used the right tacks (complete with blood blisters on my fingers from the damn tack hammer) cleaned up the inner springs and used the old foam padding as it was still in good nick. now it sits and gathers dust because it is the most uncomfortable chair i have ever sat on.
Anyway to today's post on the Scenic.
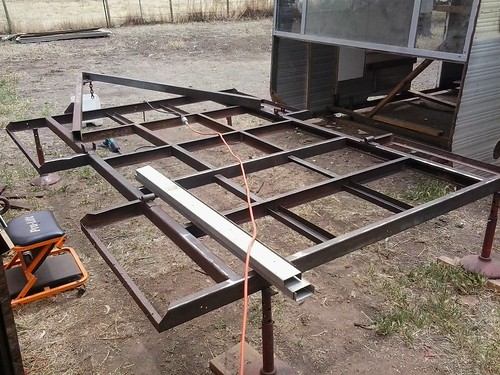
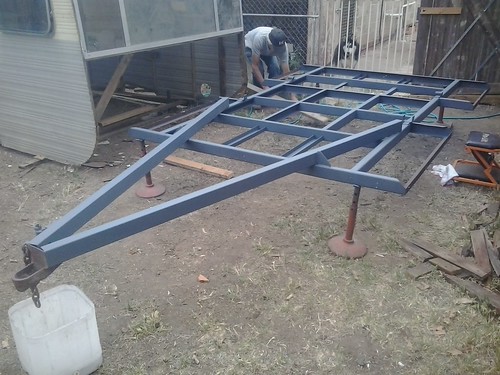
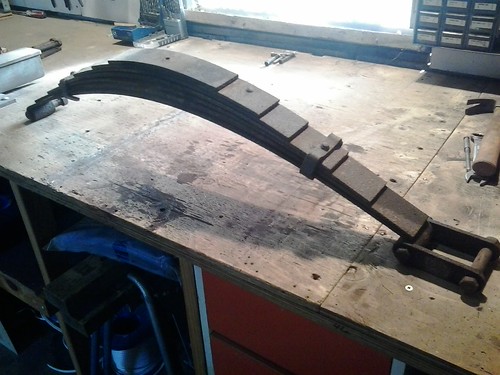
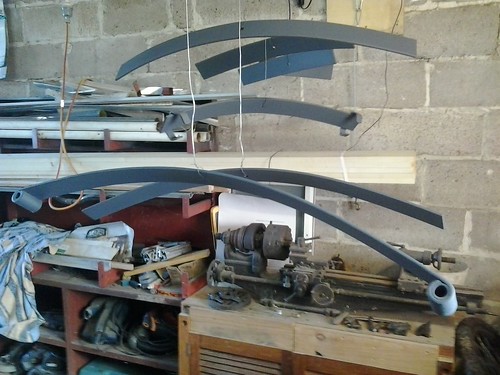
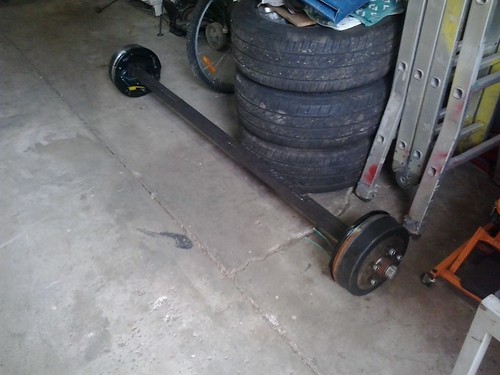
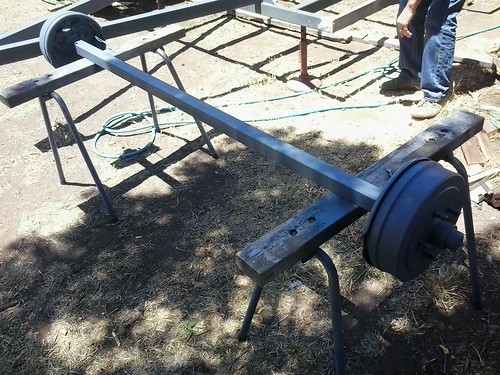
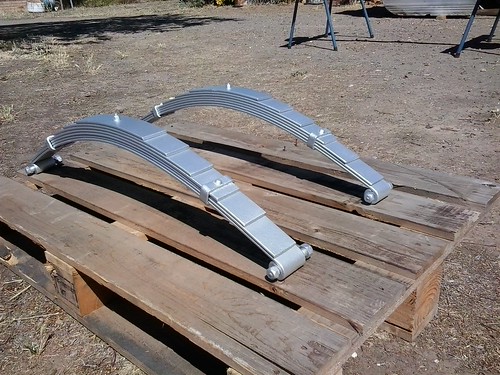
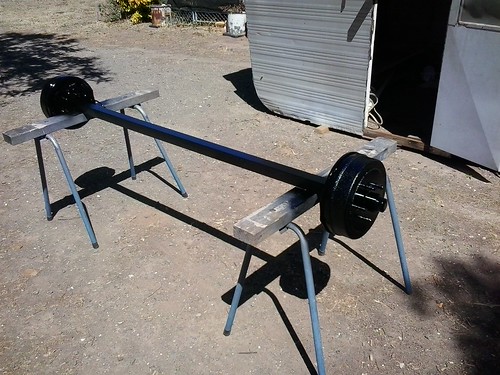
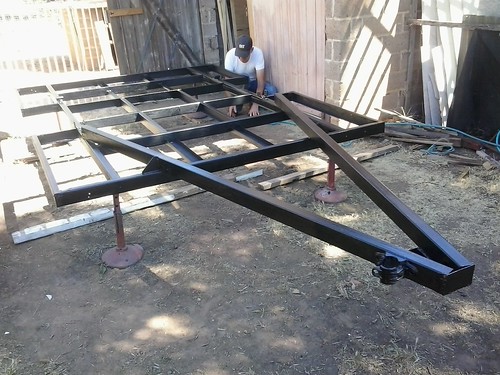
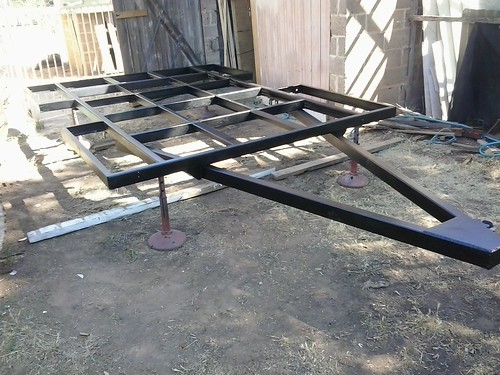
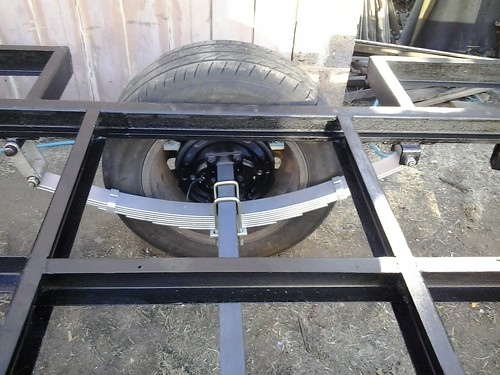
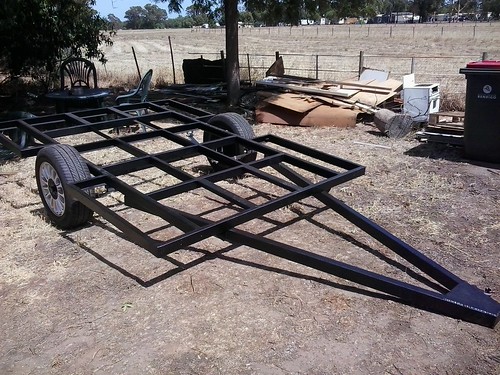
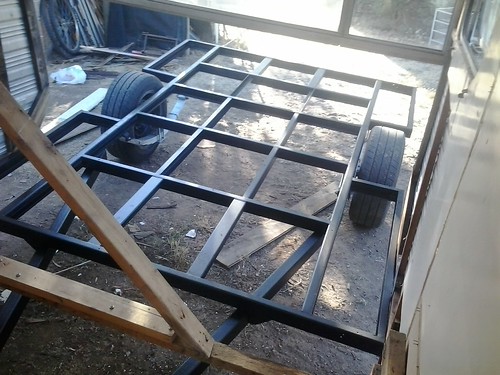
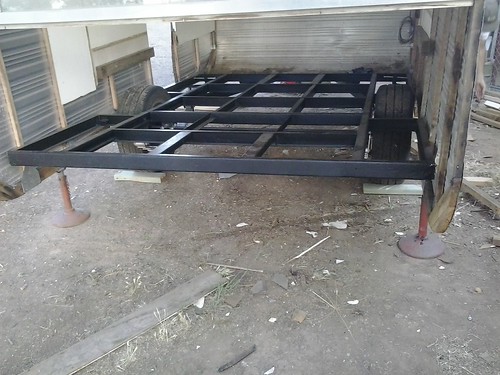
Thinking ahead i decided to set the body aside for the moment and get to work on the chassis. Just a quick clean up like replace rusted out sides, square it up, bare metal the whole thing, etch prime, body deadner gloss coat, rebuild and paint springs, install electronic brake axle, new wheels, you know the quick clean up. Here are some pics
|
|
|
|
Post by snoops on Mar 21, 2017 17:38:20 GMT 10
I'm loving this - no waiting around for months at a time for the next instalment.  Your work is fantastic Husky - all the best for the upcoming season and your new buisness venture. Hope you have time to start the Viscount and post here at some stage. Until then, I'll wait in anticipation for the next post here.  What are the rims off? They look flash.  |
|
|
|
Post by Husky on Mar 21, 2017 18:01:12 GMT 10
Hey Snoops
The rims are off a Holden VS statesman as i had Holden hubs put on the electronic brake axle.
I've been running my business now for nearly 4 years and it's double if not tripling in size and income every year. We specialize in the dry land sledding and snow sledding gear as well as other stuff but winter time we are flat chat. Last year out of 21 weekends we were out camping and racing 19 of them. worse thing last year i couldn't stock up before the season so during the week i was making orders.
Glad your enjoying this thread. it was a lot of fun building it and now i get to show it off.
|
|
|
|
Post by tasmillard on Mar 21, 2017 18:42:56 GMT 10
I look at these photos and think that restoring a van would be easier this way than trying to work around existing structures. Plus you know its done right, better than factory. Keep the pics rollin'  |
|
|
|
Post by 78466noM on Mar 21, 2017 22:34:27 GMT 10
excellent work am enjoying the story of your van you did a great job on the chassis. I am sure the viscount will come up a treat but also some new challengers just to keep you on your toes.  |
|
|
|
Post by Husky on Mar 22, 2017 9:38:15 GMT 10
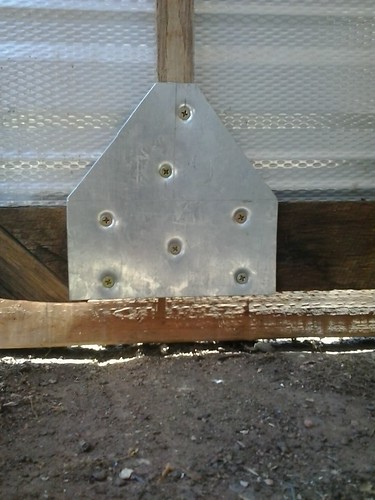
Thanks Fellas i appreciate the comments. i was brought up being told two things. if its worth doing it's worth doing right and second if your not willing to put in 110% don't bother at all. Xmas 2014 had come and gone by this stage and even though it was new years eve as i finished up the chassis i was still hard at it. Time check told me there was only four months left till race season and i still had a caravan load of work to do....  Being Central Victoria it gets damn hot here with 43 - 45 degrees C for sometimes up to two weeks straight so i started getting up early working till it was to damn hot and then going out in the workshop about 6pm and working till all hours. Back to the body, final prep and to satisfy dads curiosity or how the hell i was going to get the body back on the chassis...... easy. Before lifting the body i decided the bottoms of the vertical frames of the body needed some reinforcing. These are just pieces of 1.4mm gal drilled and 45 degree punched so a c/sunk screw would have something to purchase on and still sit flush. Once done it was out with the jacks and stands again and the hover van was back. Remember before i said "with forward thinking i left the back of the van alone?" here is why
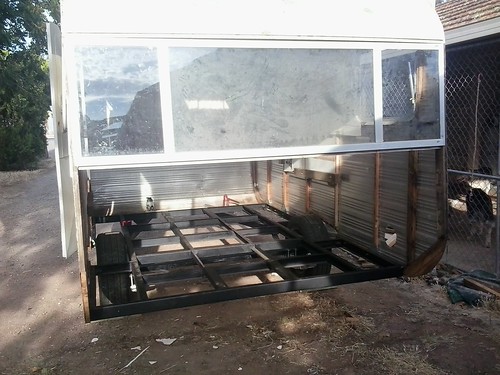
I didnt get a pic of it but to level the Body to the chassis i put the cross braces back in (had to take them out as it was a really tight fit and the chassis wouldn't slide in as planned) i could then lower the body onto the chassis, it self leveled and was safe so i could then go around putting 3 x 3/8 bolts in either side of the wheel arch. there was no way this body was crash landing again. Once bolted up work continued but not before a few pics |
|
|
|
Post by Husky on Mar 23, 2017 15:09:52 GMT 10
ok, with the chassis back under the body i could then focus on where fittings would go on the van. some might think this strange at this point but when doing a final install of beds, cupboards, kitchen and in our case dog transport creates i like to attach these things into structural framing as I had not even thought about wall lining yet except it had to be easy to clean. Thankfully i have a three dimensional design program on my computer from when i was an engineer, where i can design, build and create whatever i want in full size and i can see if it's going to work and take measurements from, before i waste time and material for something only my wild imagination can comprehend. it's a bit of new school, thrown in with old and time is something i had none to waste. Once the design was done i ordered material (brand new pine this time for weight reduction) and about four liters of body deadner paint to seal all timber work in case of a leak or two.
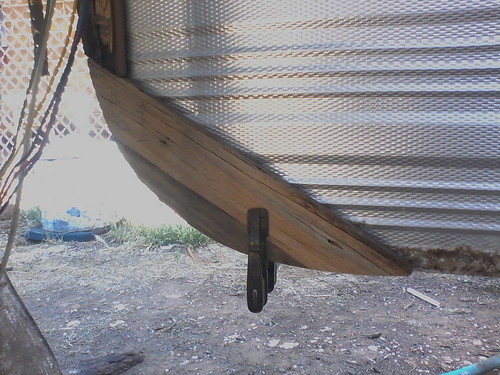
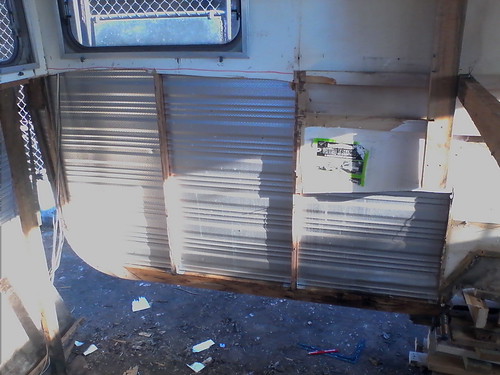
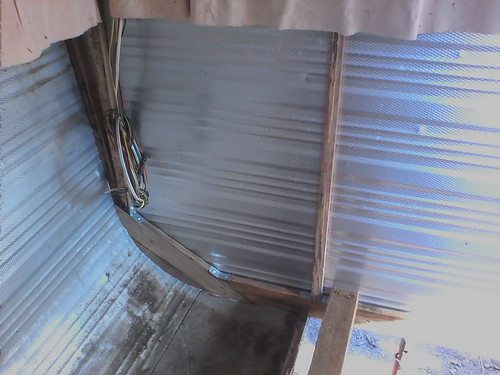
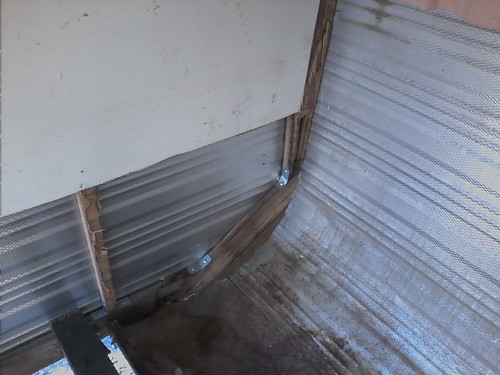
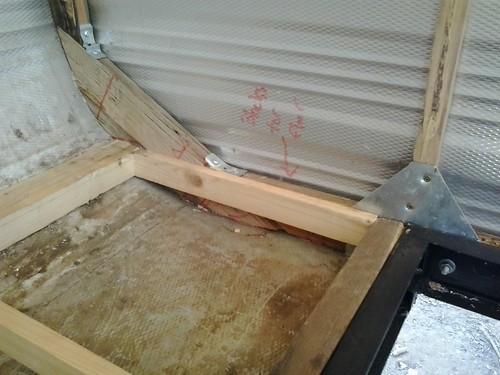
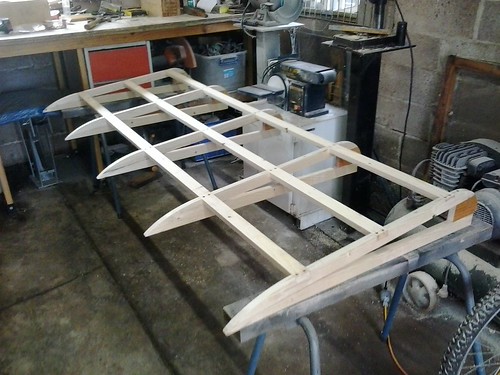
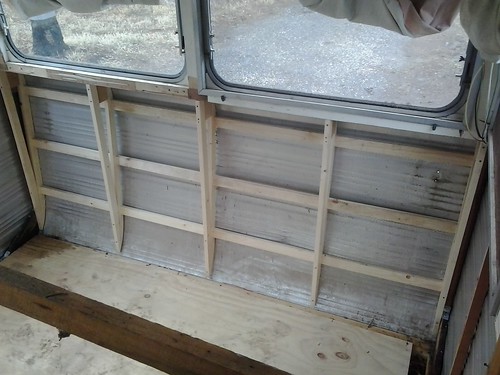
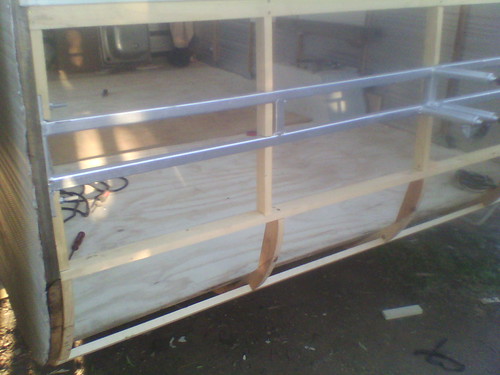
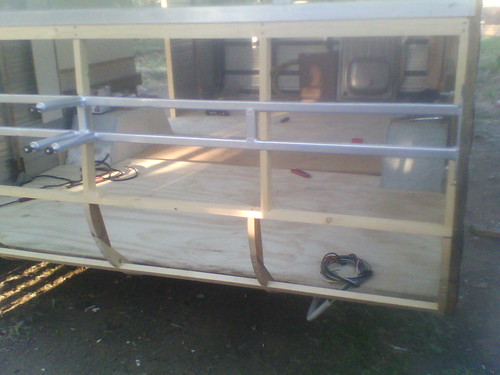
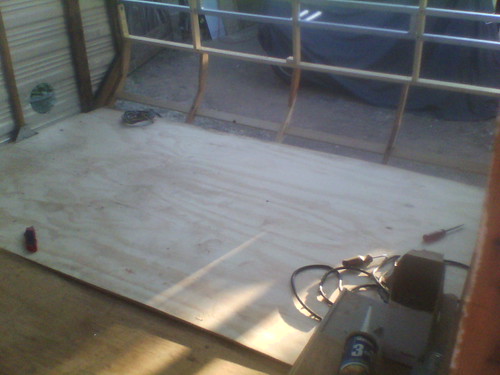
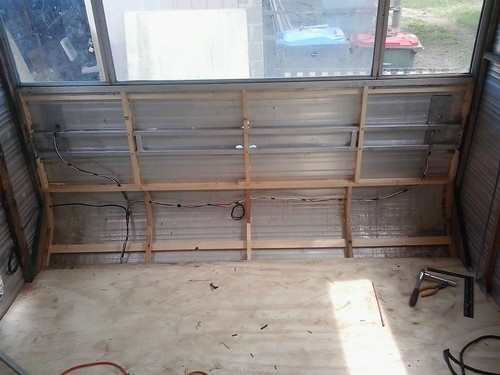
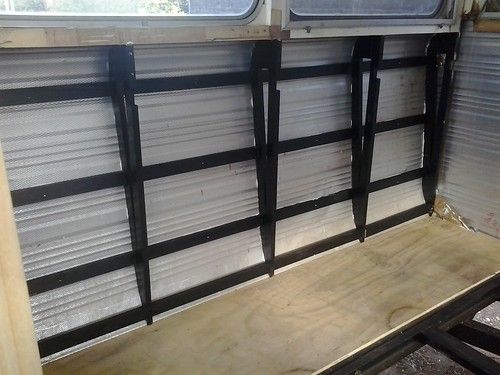 New Framework around the door 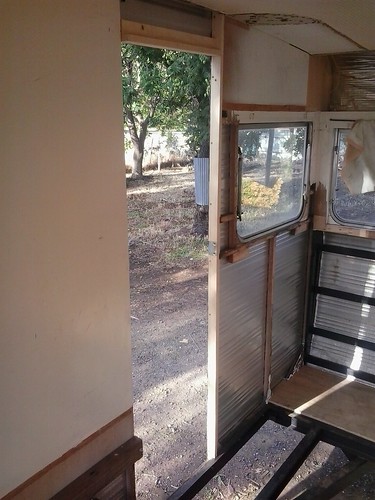 Wheel arches on this van annoyed me. i thought the whole 1960's look of an angled archway was terrible and made getting the new wheels on and off a really hassle. so..... 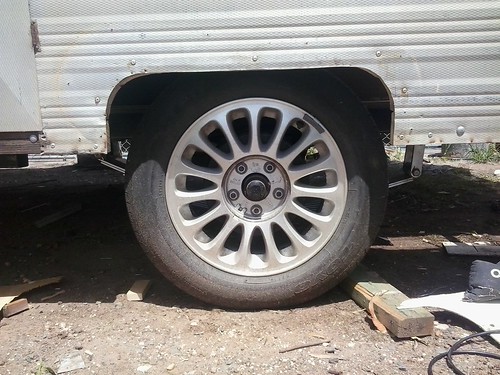 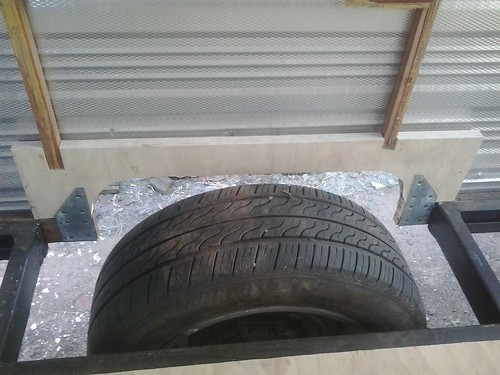 The frame work on the inside of the arch is two pieces of 19mm ply laminated together then cut to shape, notched out to hold current framing and then plated both ends for bonus strength. If i remember rightly it got extremely hot up here about this time so i started fiddling around with what ever i could in the workshop with a fan going flat out. Do you know that annoying plastic slide mechanism inside a piece of aluminum channel on the window braces that get very brittle with age? Everyone in my van was broken so.... 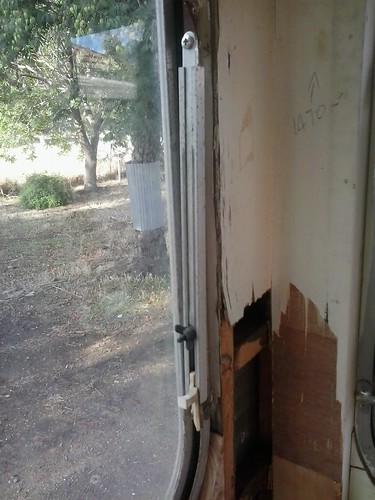 Replace the plastic with Aluminium strap narrowed down to right width, round the ends and drill a hole in each end. Problem solved. Need a duel gas bottle holder for the front? build one out of scrap 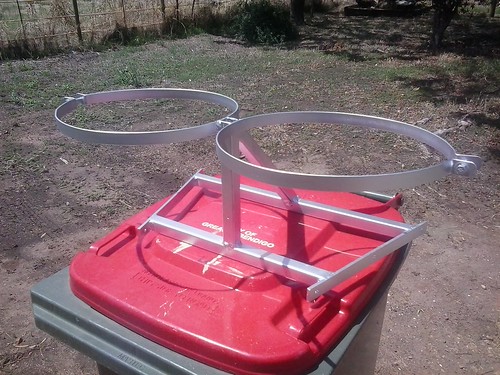 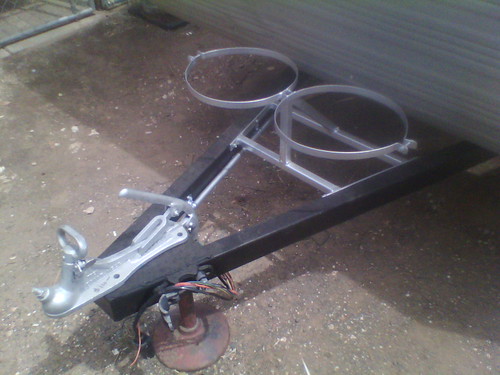 Dont stress the hitch is only placed there for looks and does eventually get bolted down. Trailer light wiring, 12 volt charge system wiring and electric breake axle wiring has been run also. Crap long post this one hmmm better go do some real work before i get in trouble ........ see you tommorrow!! |
|
Deleted
Deleted Member
Posts: 0
|
Post by Deleted on Mar 23, 2017 17:29:35 GMT 10
Mama mia!!!! what a job!!!  You are doing a fine work. I will follow it with interest. |
|
|
|
Post by snoops on Mar 23, 2017 18:05:23 GMT 10
Nice work with the extension of the floor - gives a heap more room.  |
|
|
|
Post by bobt on Mar 23, 2017 18:50:39 GMT 10
Nice build Husky.
Clearly someone was looking out for you when you were under the body. Amazing the things we learn as we progress.
|
|
|
|
Post by 78466noM on Mar 24, 2017 7:28:27 GMT 10
going well waiting for the next installment  |
|
|
|
Post by Husky on Mar 24, 2017 17:39:34 GMT 10
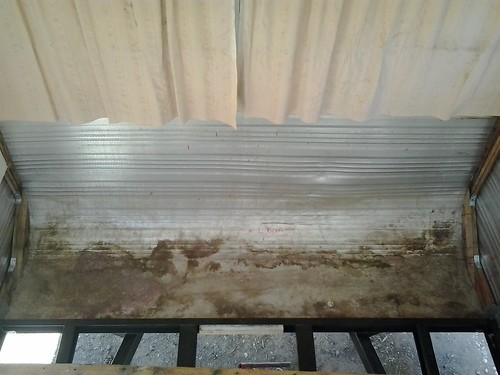
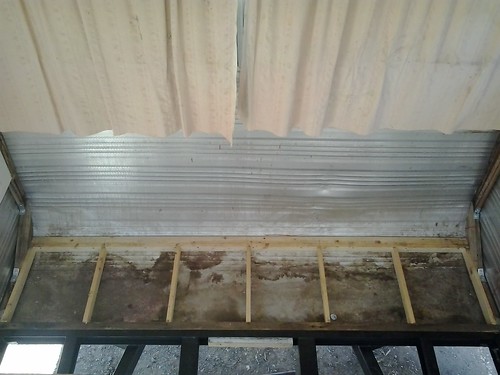
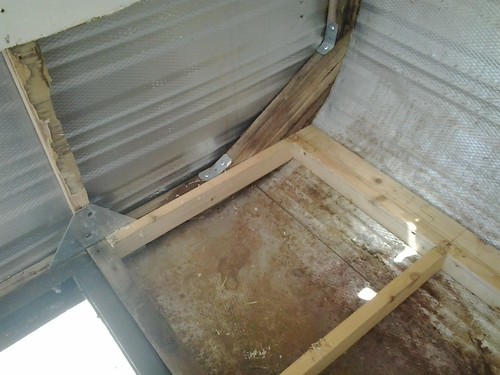
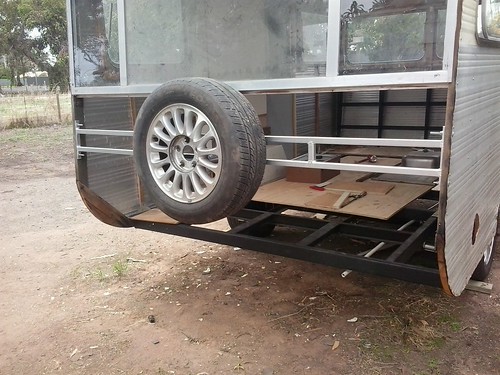
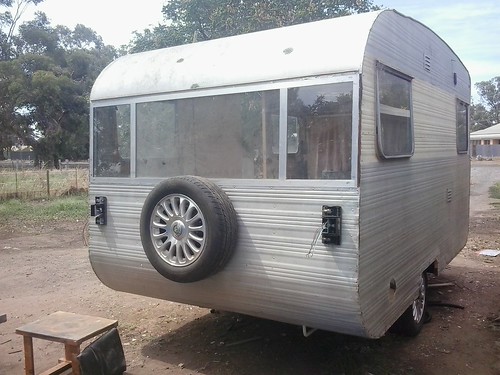
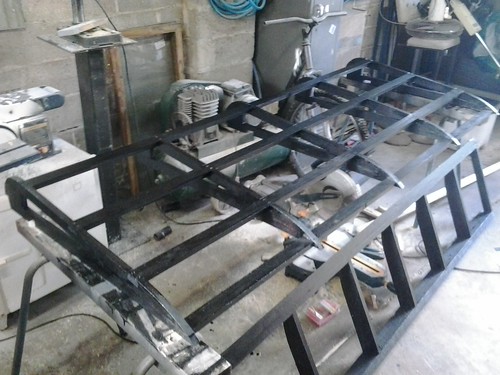
You're right about the floor extension snoops, it ended up giving me just over a foot in floor length. Doesn't sound much i know, but when working with such a small floor space to begin with and the design of the floor plan i needed every inch i could get. Thanks for following along everyone i really appreciate the feed back. I mentioned earlier i was thinking of hanging the spare off the back of the van, the hidden pleasure of this frame would also be if someone decided to back end me and the mess it would make of their car, so delving in the scrap pile of steel again i came up with this, |
|
|
|
Post by Mustang on Mar 24, 2017 17:54:00 GMT 10
Would not be many spare wheels mounted like this!!!! I have never seen a reno like yours, like a good book.
|
|



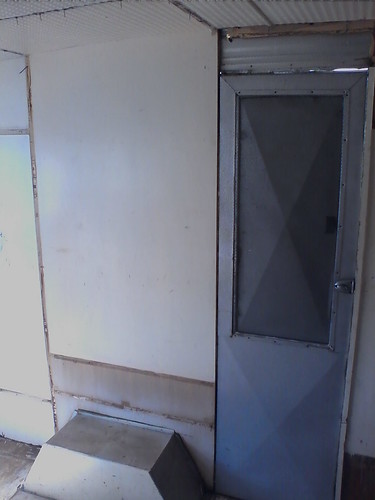
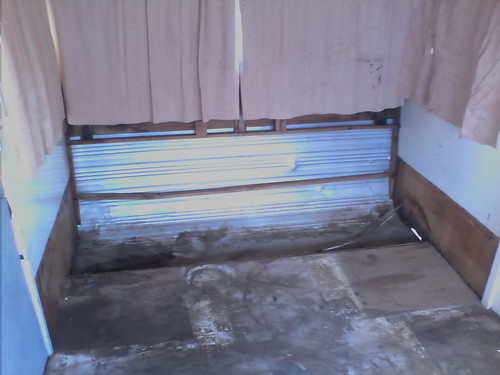
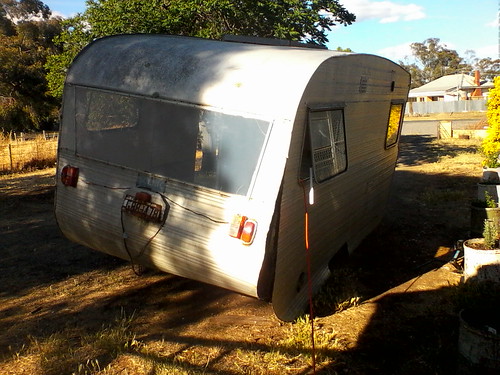
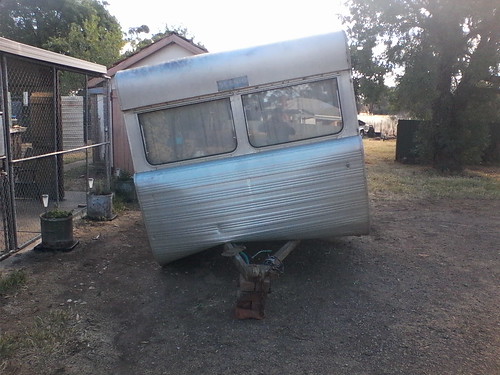



 I would hate to think what her reaction would be if I took this home
