Deleted
Deleted Member
Posts: 0
|
Post by Deleted on Jun 27, 2014 18:47:55 GMT 10
Hi All, Recently purchased a 16ft 1977 Arrow in really good original condition. Considering its age its in remarkable shape. I had originally intended on stripping the interior but considering its condition this would be a travesty. So it will remain original. Only plans include potentially upgrading to an electronic braking system, anyone have an ballpark idea of cost involved? I'll service the braking system soon, replace the master and assess the condition of the drums before making a decision in this regard. Also I intend to install a 12v battery for when we go off the beaten track. The van is wired for 12v, all the black 12v switches are in situ and there are 12v bulbs in the lighting fixtures. Does anyone know where the 12v wiring originates? I've looked all through the cupboards and in the storage areas but I cant locate the wiring for connection to the battery. Chassis seems sound, no rust and the flooring is clean and tidy. Fridge works brilliantly. My major concern is water leaks. There are several in the rear and it has done some damage to the paneling. I have already removed the rotten ply under the rear window and will replace it with new material. I'm almost certain the leaks emanate from where the roof panels meet the side wall. There was an obvious raised section where water had entered and swollen the top wooden frame creating a gap down the side. I have removed the aluminum trim, cleaned the old adhesive and applied pressure to the frame to get it back into position and resealed with neutral cure silicone. Unfortunately the leaks persist so I intend on removing all the trim in time and resealing. There has been some shoddy attempts at some time in the past at sealing the roof, so I have my work cut out for me in removing the old silicone and and resealing. All the seams where the roof panels meet have been heavily covered in silicone, does anyone have experience with these leaking? They look like sound joints in contrast to where the roof meets the side panels, I figure someone just decided to go nuts with silicone with little thought as to where the leak was coming from. At this stage I don't think the windows are leaking but there is a fair amount of dust ingress around the windows seals which have become brittle with age. Does anyone know of a supplier that stocks replacement seals? All in all I'm very happy with the caravan with the exception of the water leakage. But this will be corrected. Also should mention the production number is X5080. 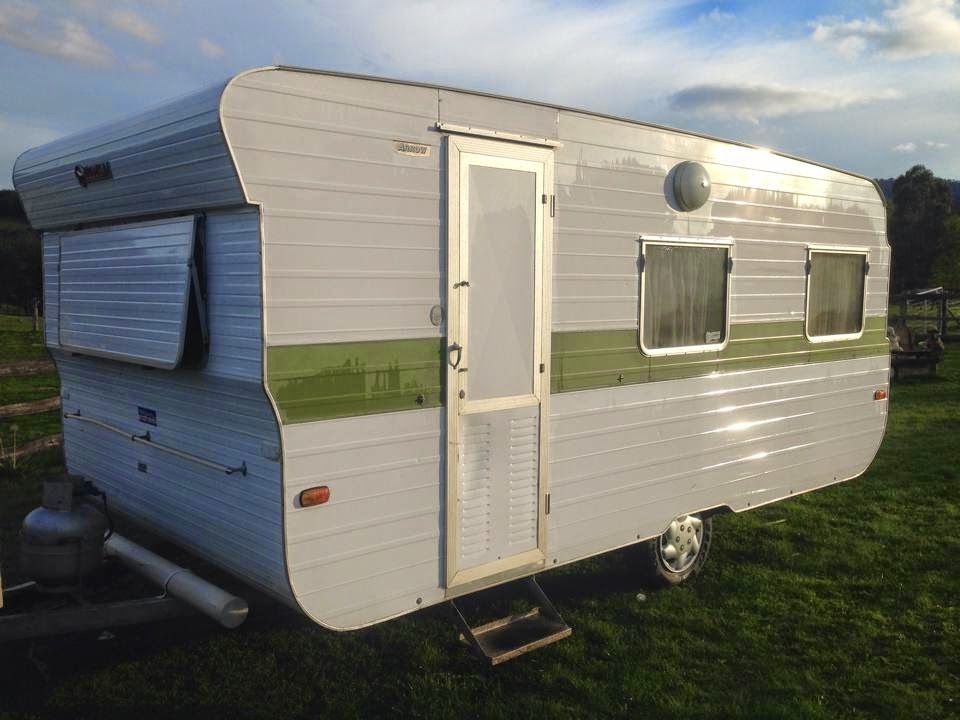 ![]() 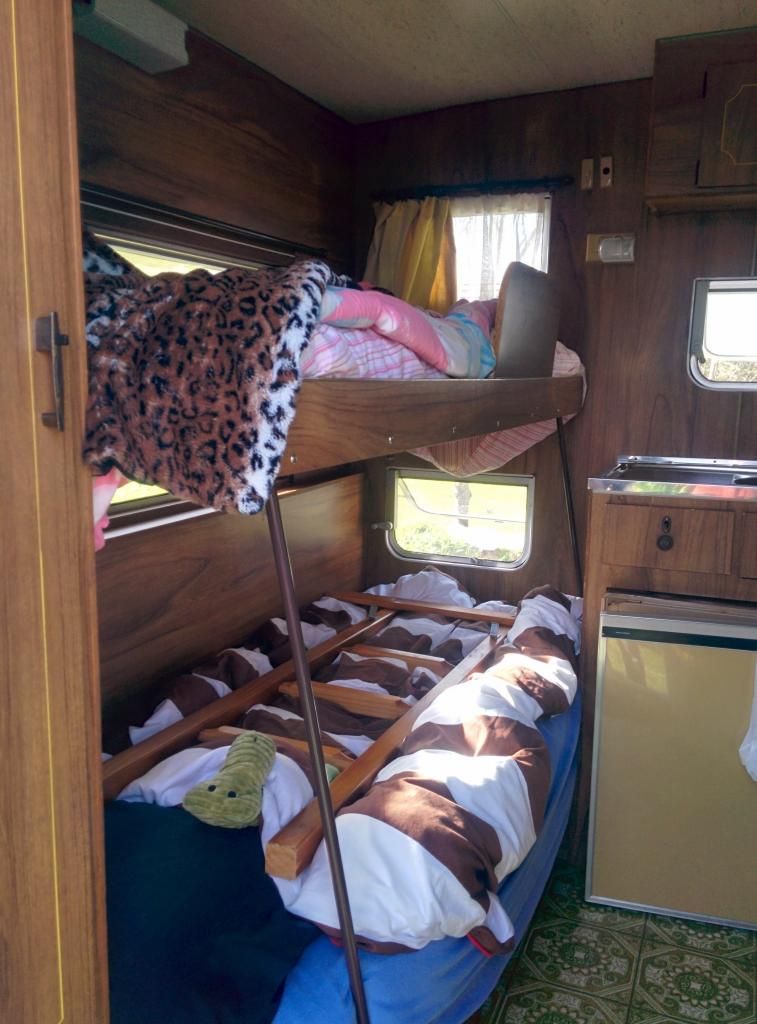 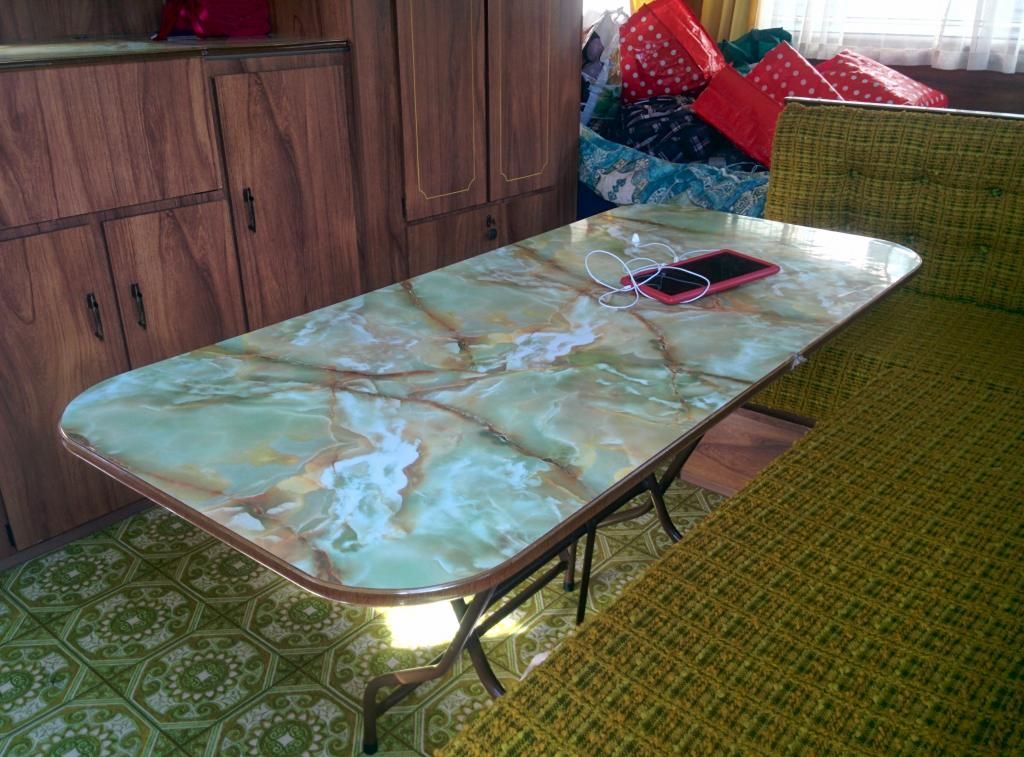 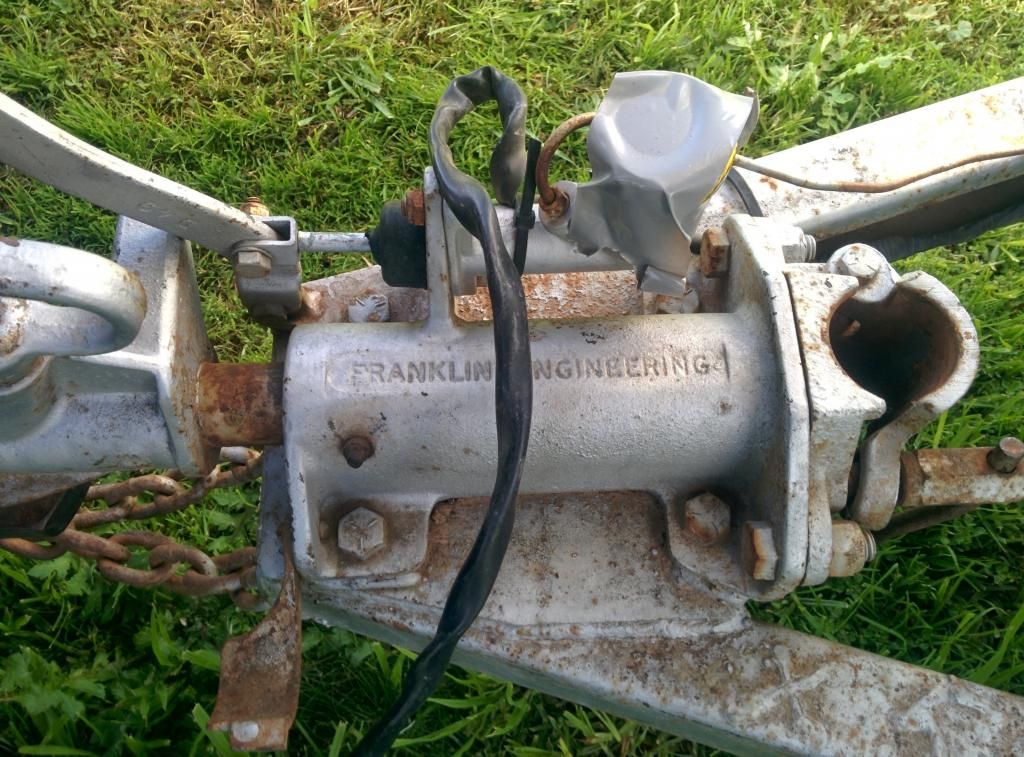 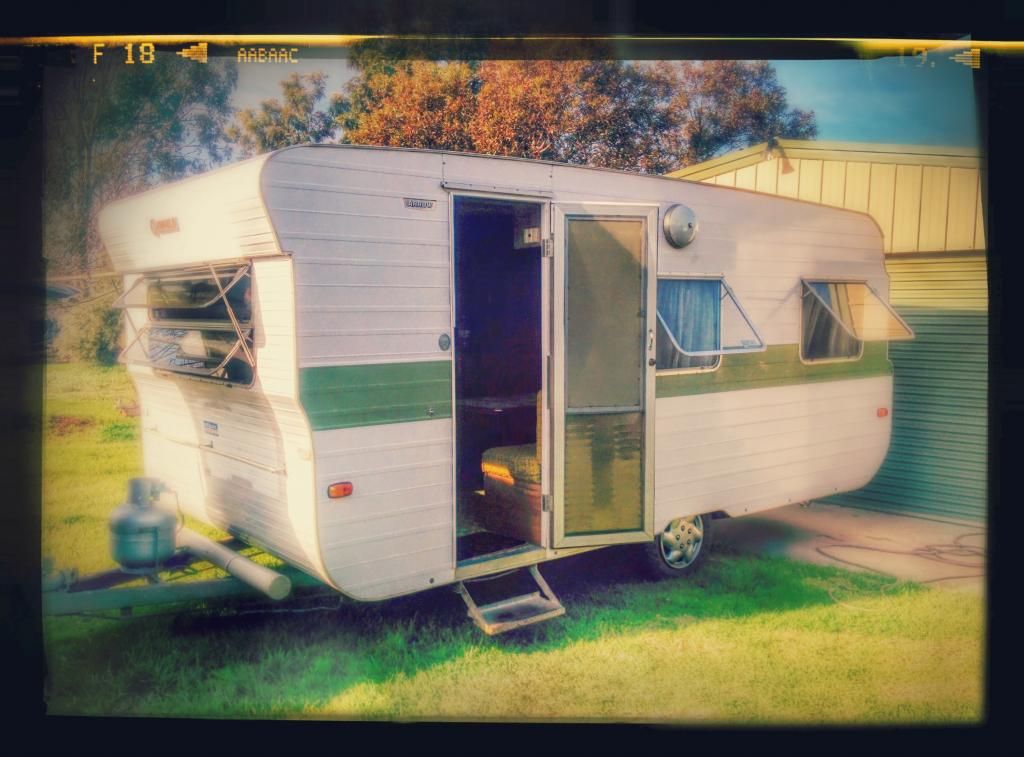 |
|
|
|
Post by Rattles on Jun 27, 2014 20:28:38 GMT 10
The 12v Lights will wire through the Trailer Connector, if you have a 5 pin plug most likely it will be pin 5 ( Electric Brakes) or if 7 pin then Pin 2 (reverse), if have a 5 pin and you want to change the brakes to Electric then you will also have to change up to a 7 and using pin 2 for the, internal lights or change to the 12 Pin and wire to the current Standard, see link: www.campertrailers.org/trailer_wiring_diagram.htmYou may find the trailer wiring has a terminal strip or BB connectors in behind the fridge, from where the Stop,Tail Blinkers,Clearance and the 12v Interior lamps are connected, if not you will have to get under and trace the cable to find where the jointing is done. Rattles |
|
|
|
Post by ForumMod on Jun 27, 2014 21:06:29 GMT 10
G'day kayfam, and welcome to the forum!  I'm not exactly sure which year the 'X' series of chassis numbers is from, but it's either 1976 or 1977, so I've changed your heading and given it the year of 1977. You have the RVMAA badge on the cladding just beside the door, and that initiative was officially kicked off in early 1977, but the manufacturers could have been fitting the badges to vans built towards the end of 1976. Your chassis number means it's the 5,080th chassis built in the year, and that should put it towards the end of whichever year it was built. I've also transferred your thread over to our Hall Of Fame section, and you can just keep adding posts about your van to this thread. You might like to have a read of these two threads which are currently being worked on: 1975 Franklin Statesman - W1962 - 16ft1974 Franklin Statesman V3110 15'9''x7'6''Those two guys should be able to help you with a lot of information about working on your van. The Statesman model was a variation of the Arrow model, but the basic build is very similar. cheers, Al. |
|
Deleted
Deleted Member
Posts: 0
|
Post by Deleted on Jun 28, 2014 16:41:19 GMT 10
Thanks for the responses guys including the 12v info and links to the Statesman threads. Some very useful info there.
Quick question, does anyone have any idea of where to start in regard to sourcing the brake components such as drums and shoes? Did Franklin use a standard setup during this period or will it require me to remove the shoes and have them matched?
Thanks again.
|
|
|
|
Post by ForumMod on Jun 28, 2014 17:13:04 GMT 10
kayfam, I found an old thread about converting to electric brakes. It's a couple of years old now, but the info might still be relevant, or at least give you some ideas to think about if you decide to go that way: Conversion to Electric BrakesAlso, this old thread, just in case you strike the same problem: Can't remove brake drumHopefully someone can answer your question about the drums and shoes. cheers, Al. |
|
Deleted
Deleted Member
Posts: 0
|
Post by Deleted on Jul 26, 2014 14:32:37 GMT 10
Been plodding away with the caravan in between the cold and wet of winter. Determined the rear wooden paneling was pretty damn rotten from the leaking rear window so I pulled it all out. 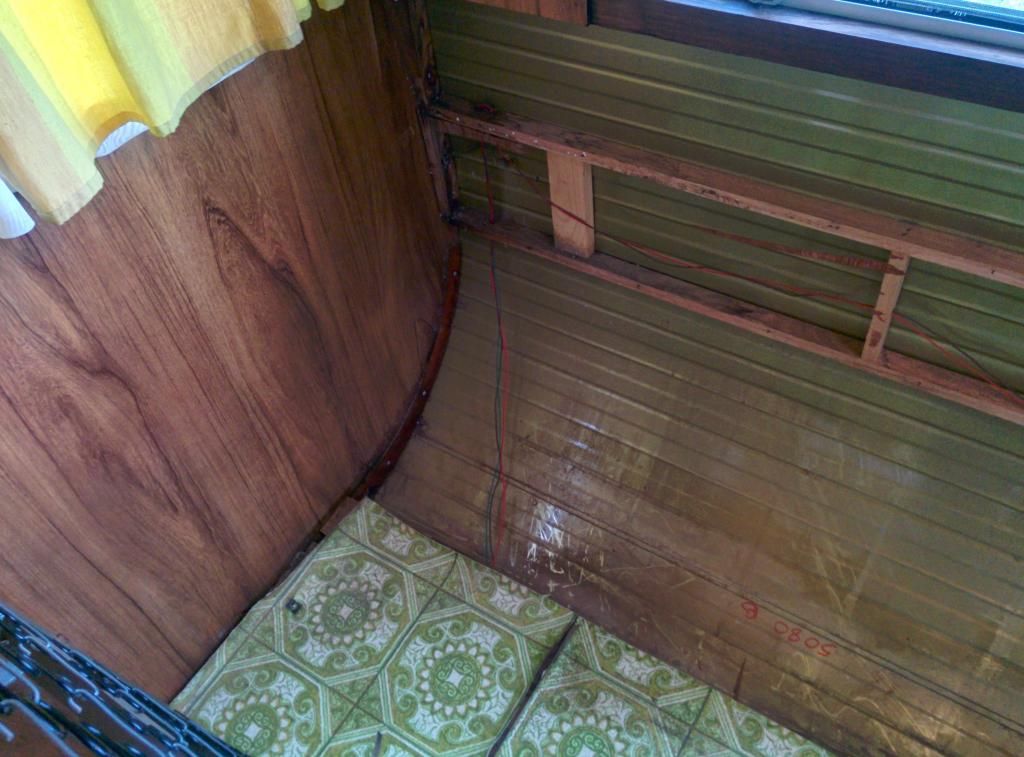 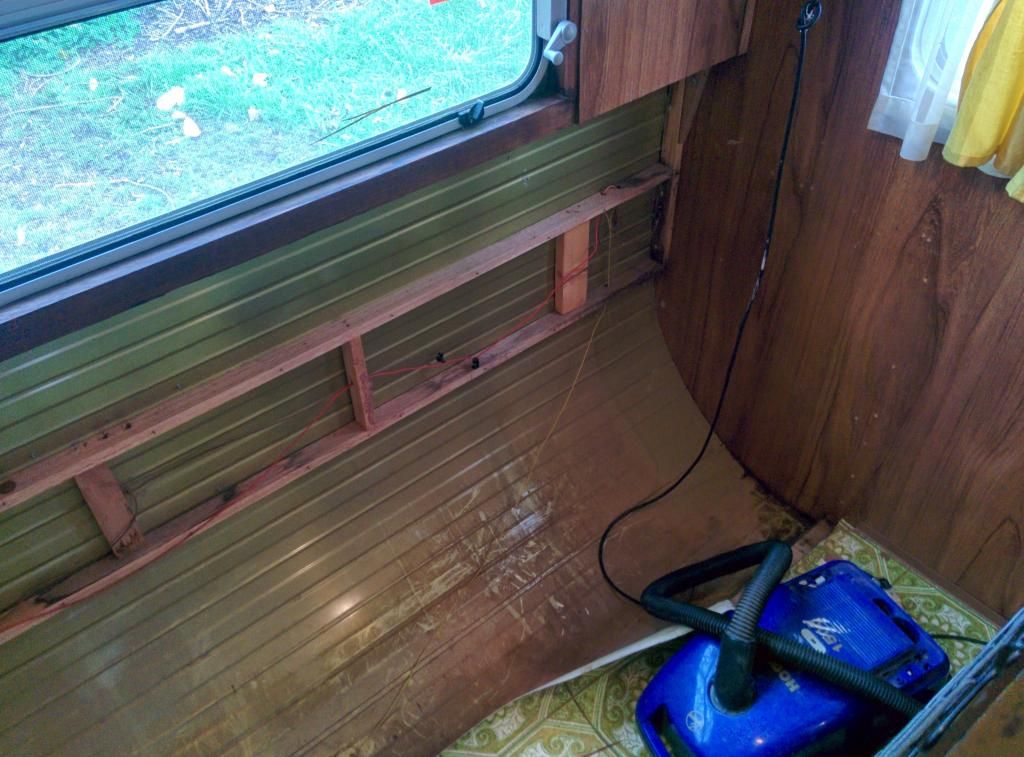 Revealed a fair bit of rot in the bottom frame which I cut out and bogged up. While the rear wiring was exposed I toyed with the idea of installing a reverse camera and had a look at the options available on ebay. I wasn't too keen on mounting a screen in the car for the odd time I reverse the caravan so also considered the newer wifi based systems. In the end I decided to make use of my GoPro Hero. It sets up a wifi network which I can connect to in the car and use my phone or tablet as a monitor. I'll just attach it on the inside of the rear window using a suction cup. Finally I insulated the exposed metal with rockwool and replaced old paneling with new ply. 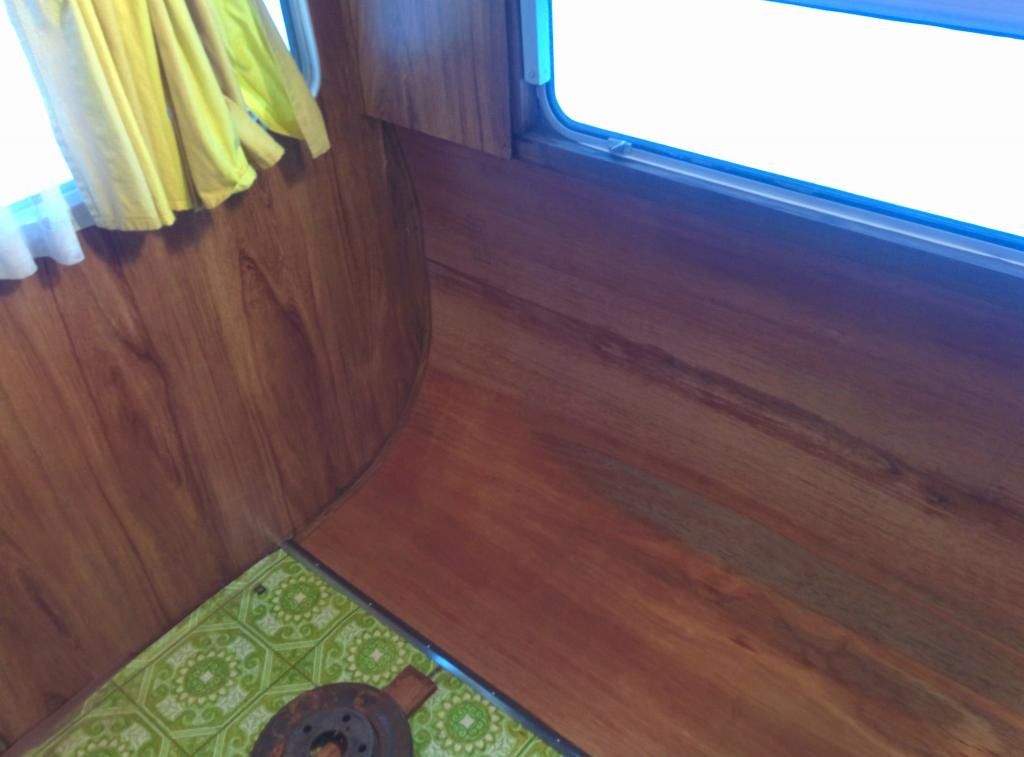 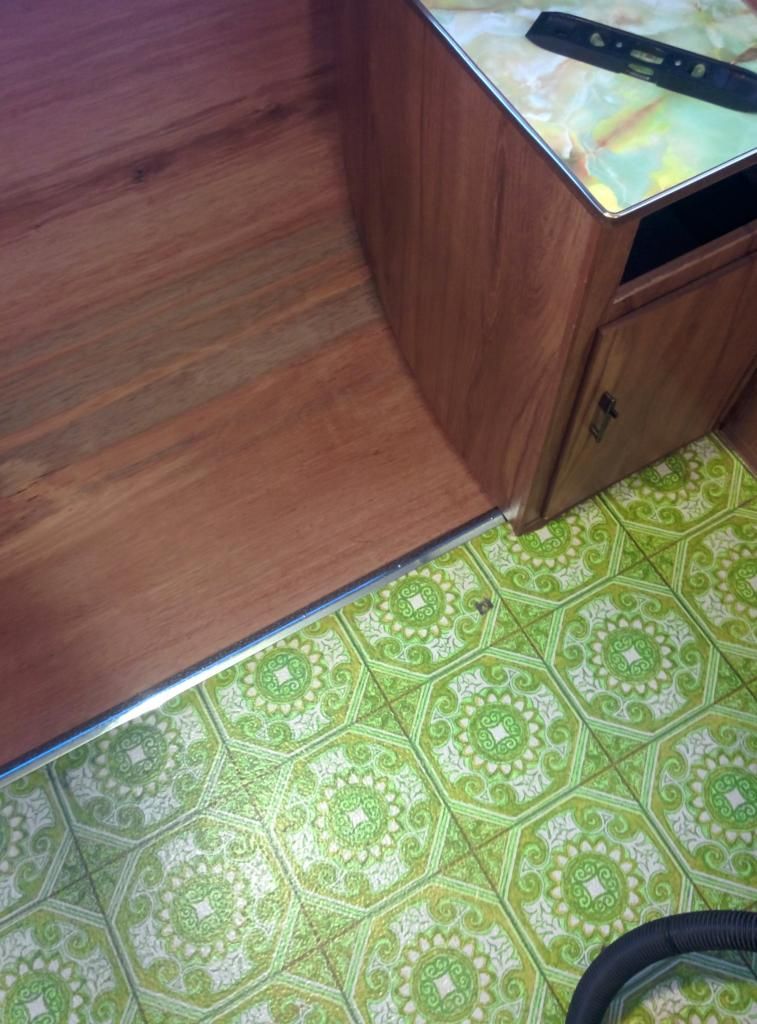 I went to great lengths to try to locate wood veneer that would match the original paneling with no luck. In the end the ply looks ok, and will mostly be covered by the bed anyway. Next job was to reseal the rear window which was very straightforward to remove. 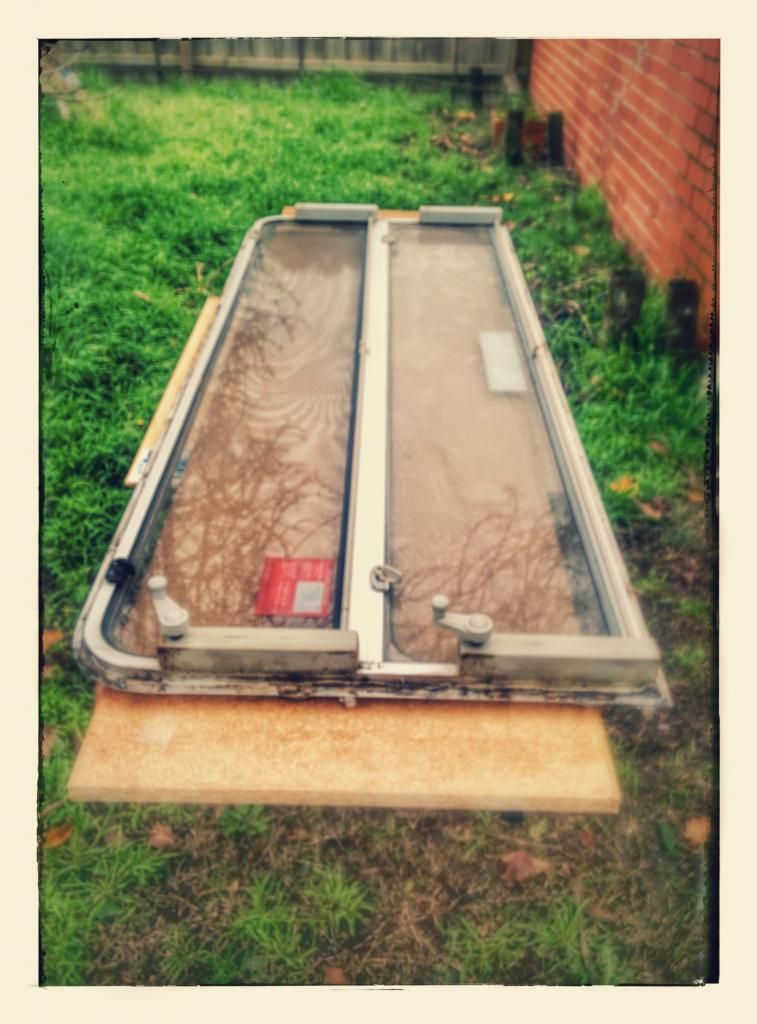 The water intrusion on the frame was obvious. 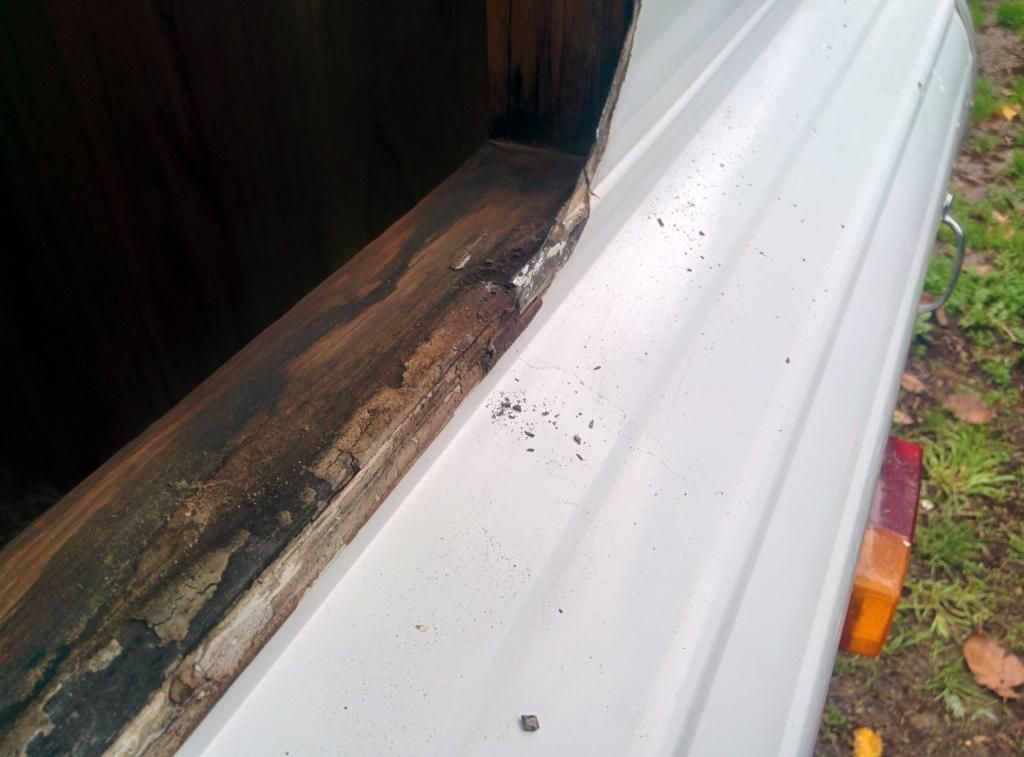 Luckily it was superficial, no rot was present so I sanded back the frame and it looks perfect now. I cleaned off the old adhesive which was a fairly slow process as I didn't want to kick up too much particles due to the asbestos content. I found a metal scrapper on the window frame and a plastic one on the caravan body worked best, followed by wax and grease remover to get the remaining residue. I resealed the window frame with sikaflex 291 sealant and replaced the window. Its now passes the hose test. I've been slowly working around the other window's too, resealing as time permits. In searching for the main terminal block to aid in installing a 12v system, I removed the rear access/vent panel for the fridge and found a thick mess of webs behind the fridge. While I like spiders, I don't like living with them, especially the white tails which are attracted to webs so I covered the vent louvers with fly screen as well as the stove vent. Frustratingly I have not been able to locate the terminal block anywhere. 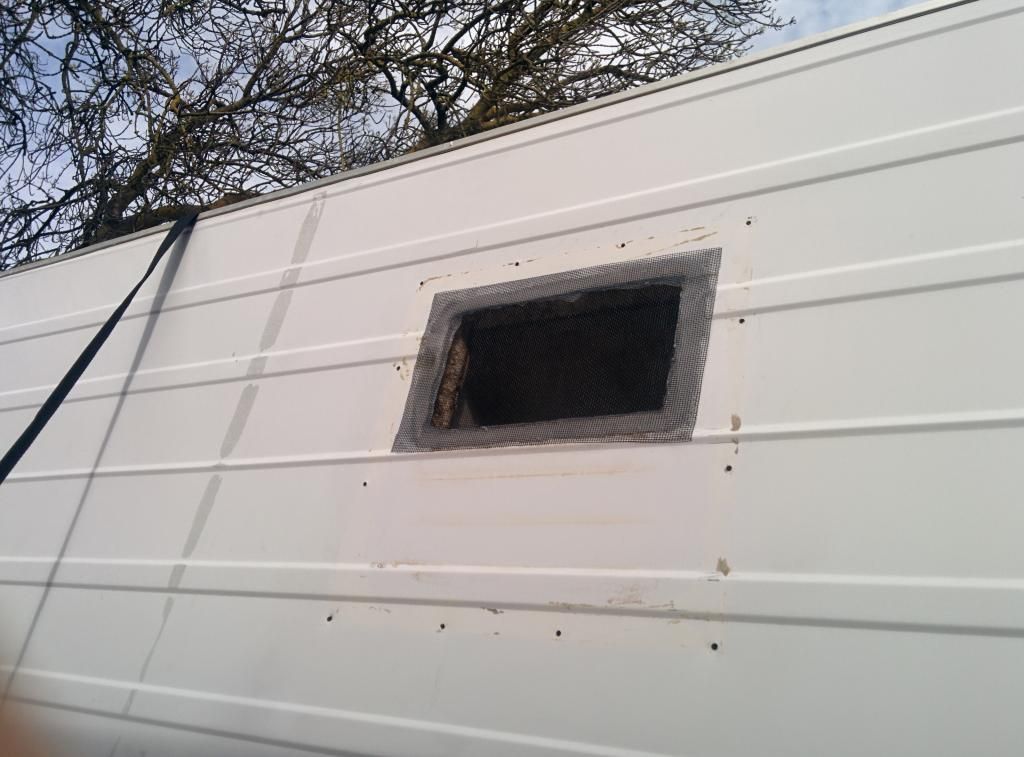 Plenty more to do before the September holidays including replacing flyscreens, getting the main door lock to a locksmith to have a key made for it and servicing the braking system. Finally she has a name. My wife has always called the actress Claudia Karvan - Claudia Caravan, so the name Claudia sticks. |
|
|
|
Post by tedalley on Jul 26, 2014 18:09:08 GMT 10
Hi, Kayfam. While the rear wiring was exposed I toyed with the idea of installing a reverse camera and had a look at the options available on ebay. I wasn't too keen on mounting a screen in the car for the odd time I reverse the caravan so also considered the newer wifi based systems. In the end I decided to make use of my GoPro Hero. It sets up a wifi network which I can connect to in the car and use my phone or tablet as a monitor. I'll just attach it on the inside of the rear window using a suction cup. Gee I wish I knew that I could go WIFI before I struggled with coax cable for the video signal from the camera and 3mm power cable to connect the power from the monitor to the camera. In searching for the main terminal block to aid in installing a 12v system, I removed the rear access/vent panel for the fridge and found a thick mess of webs behind the fridge. While I like spiders, I don't like living with them, especially the white tails which are attracted to webs so I covered the vent louvers with fly screen as well as the stove vent. Frustratingly I have not been able to locate the terminal block anywhere. I've got a '74 Franklin. Even though it's a different model to yours. I traced the wiring fron the "A" frame through the floor next to the right side of the fridge. The wires were joined to the wires coming out of the wall for the 12v ceiling lights. You might have to take the fridge out to get axcess to the joiners. I hope this helps Ted |
|
Deleted
Deleted Member
Posts: 0
|
Post by Deleted on Jul 26, 2014 18:52:40 GMT 10
Thank you Ted. I'll have another look there.
While the WiFi options are easier in terms of cable run and initial installation there is still a delay of 1-2 seconds. If you've done the hard work running coax or cat 5 in the end you're better off.
|
|
Deleted
Deleted Member
Posts: 0
|
Post by Deleted on Jul 26, 2014 19:11:21 GMT 10
FYI for anyone interested this is the WiFi reversing package I looked at. Although this one is Android only there are similar systems available for iOS. Also a range of camera options & mounts available including infrared. As mentioned though there is a transmission delay between 1-2 seconds. pages.ebay.com/link/?nav=item.view&id=261450569814 |
|
|
|
Post by tedalley on Jul 28, 2014 20:55:52 GMT 10
kayfam Hi.
Thanks for that info on the WiFi package --- interesting.
I hope that you find the wire junction.
Ted
|
|
|
|
Post by ForumMod on Jul 28, 2014 21:17:37 GMT 10
kayfam, would you do me a favour please, and tell me the serial number stamped on the oval RVMAA badge on your van?
cheers,
Al.
|
|
Deleted
Deleted Member
Posts: 0
|
Post by Deleted on Jul 28, 2014 21:46:57 GMT 10
kayfam Hi. Thanks for that info on the WiFi package --- interesting. I hope that you find the wire junction. Ted No worries Ted. And thanks, it will be one of the projects for the coming weekend. Looking forward to getting the 12v system sorted. I have just ordered led globes via eBay. |
|
Deleted
Deleted Member
Posts: 0
|
Post by Deleted on Jul 28, 2014 21:47:55 GMT 10
kayfam, would you do me a favour please, and tell me the serial number stamped on the oval RVMAA badge on your van? cheers, Al. Hi Al, Yes sure, I'll post it up tomorrow. |
|
Deleted
Deleted Member
Posts: 0
|
Post by Deleted on Jul 29, 2014 10:38:28 GMT 10
RVMAA badge number is 7678.
|
|
|
|
Post by ForumMod on Jul 29, 2014 18:05:09 GMT 10
Thanks kayfam, That's a fairly low serial number, which makes me think your van was made in late 1976 not long after these badges apparently first started to be used. I think I'll bit the bullet and say the 'X' series is definitely from 1976, and I'll change the heading of this thread to show that. One thing we don't really know at the moment is how the badge numbers were distributed to manufacturers. For example, did Viscount get the first 5000 serial numbers, then Franklin the next 5000, and Millard the next 5000, etc etc?? Perhaps we'll never know the answer to that one.  cheers, Al. |
|
|
|
Post by greedy53 on Jul 30, 2014 9:57:19 GMT 10
just on the rear camera,i hooked mine in to the lights so when i need it i just put the parkrs on,it lets me turn it on and see if i am holding traffic,or parking the van the screen is wired to the reverse lights and a constant power source,the back of the 4x4 is the same,parkrs and constant power
happy traveling
|
|
Deleted
Deleted Member
Posts: 0
|
Post by Deleted on Jul 30, 2014 18:25:22 GMT 10
Thanks kayfam, That's a fairly low serial number, which makes me think your van was made in late 1976 not long after these badges apparently first started to be used. I think I'll bit the bullet and say the 'X' series is definitely from 1976, and I'll change the heading of this thread to show that. One thing we don't really know at the moment is how the badge numbers were distributed to manufacturers. For example, did Viscount get the first 5000 serial numbers, then Franklin the next 5000, and Millard the next 5000, etc etc?? Perhaps we'll never know the answer to that one.  cheers, Al. Thanks Al for the info and narrowing down the year of manufacture. Indeed, I wonder how they were issued, either by batch or ordered as the vans were completed and certified. Very interesting. Greedy, that's a good idea, I did not consider the use of checking traffic behind. Wishing now I did run some dedicated lines or even a draw cord for future use! |
|
Deleted
Deleted Member
Posts: 0
|
Post by Deleted on Aug 18, 2014 16:17:24 GMT 10
Small updates.
Finally found the wire junction as described after removing the fridge. Going to order a 105 amp hour battery soon, some flush mount USB ports and a 12v/240v TV.
Jacked up and secured the van with jack stands on the weekend. Removed the drums. All looks fine in there, decent bit of meat on the pads. Bearings look fine. As a precaution I will probably replace them. Drums have A72 stamped on them, anyone know if these were Ford or Holden based?
Need a new master cylinder too.
|
|
|
|
Post by tedalley on Aug 18, 2014 18:56:44 GMT 10
Glad you found the junction.
You need to find a friendly Brake Parts store ( I use - Weldon Brake & Clutch Pty Ltd) You can take in your Drums with bearings and master cylinder & they will match them. With car parts they come in at less than half price of genuine parts. |
|
Deleted
Deleted Member
Posts: 0
|
Post by Deleted on Aug 18, 2014 19:20:21 GMT 10
Thanks Ted, I'll be doing that. The inboard bearing seems pretty well attached to the axle and would not come loose by hand. What is suggested to remove them? Mechanical puller or heat?
|
|
|
|
Post by atefooterz on Aug 18, 2014 23:09:47 GMT 10
`My similar Franklin has Holden drums/brakes & Ford axle stubbs, i have also heard some have Valiant parts... so best take them,get someone to visit for ID accuracy.
|
|
Deleted
Deleted Member
Posts: 0
|
Post by Deleted on Aug 19, 2014 10:29:30 GMT 10
`My similar Franklin has Holden drums/brakes & Ford axle stubbs, i have also heard some have Valiant parts... so best take them,get someone to visit for ID accuracy. Dropped them off this morning at a local brake place. Bloke said no worries, will have them done by lunchtime. New shoes & machining the faces on the drums. Luckily the drums were still well within spec. Picked up some new Koyo bearings also, $36 for the two wheels seems like cheap peace of mind. Hopefully by the weekend I'll have her off the stands and can begin working on the 12v system. 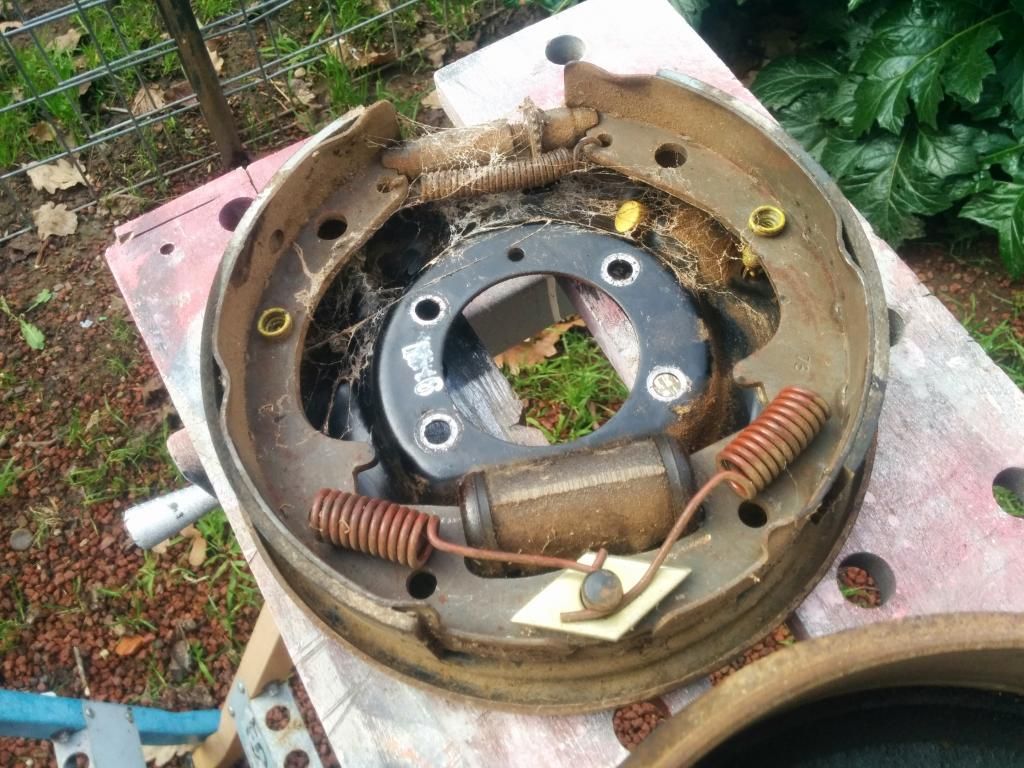 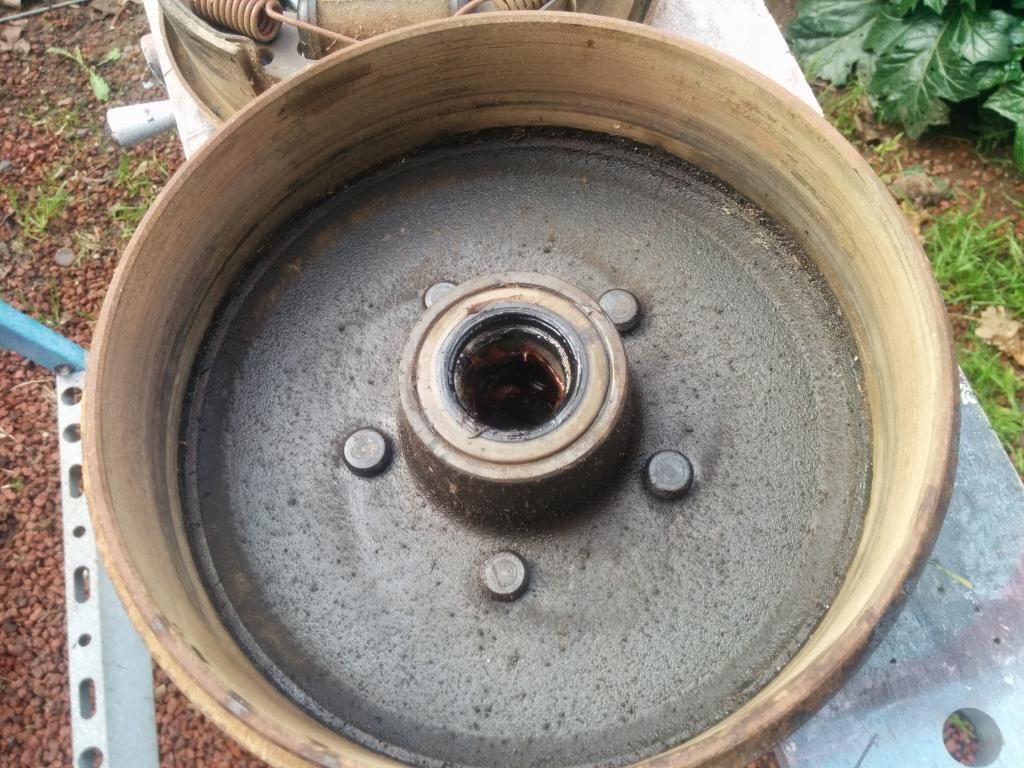 |
|
Deleted
Deleted Member
Posts: 0
|
Post by Deleted on Aug 20, 2014 17:29:34 GMT 10
Day of work today with a rotten cold. Cant stand laying in bed so I thought I'd do a few things Picked up brakes, new pistons and shoes 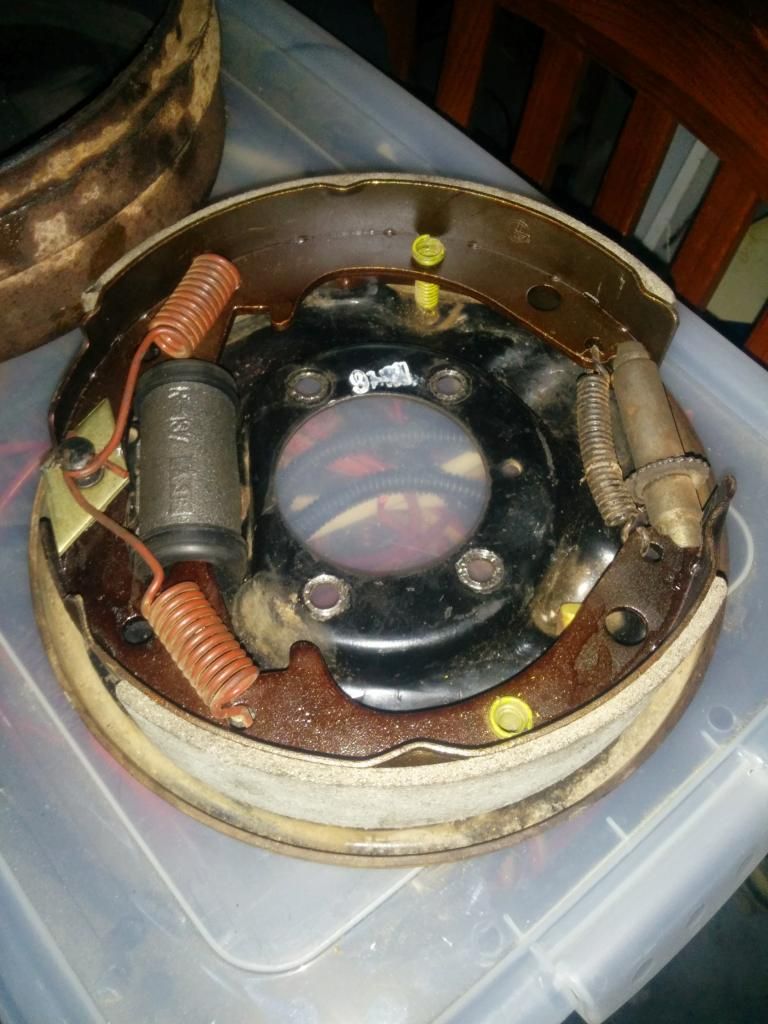 Drums machined 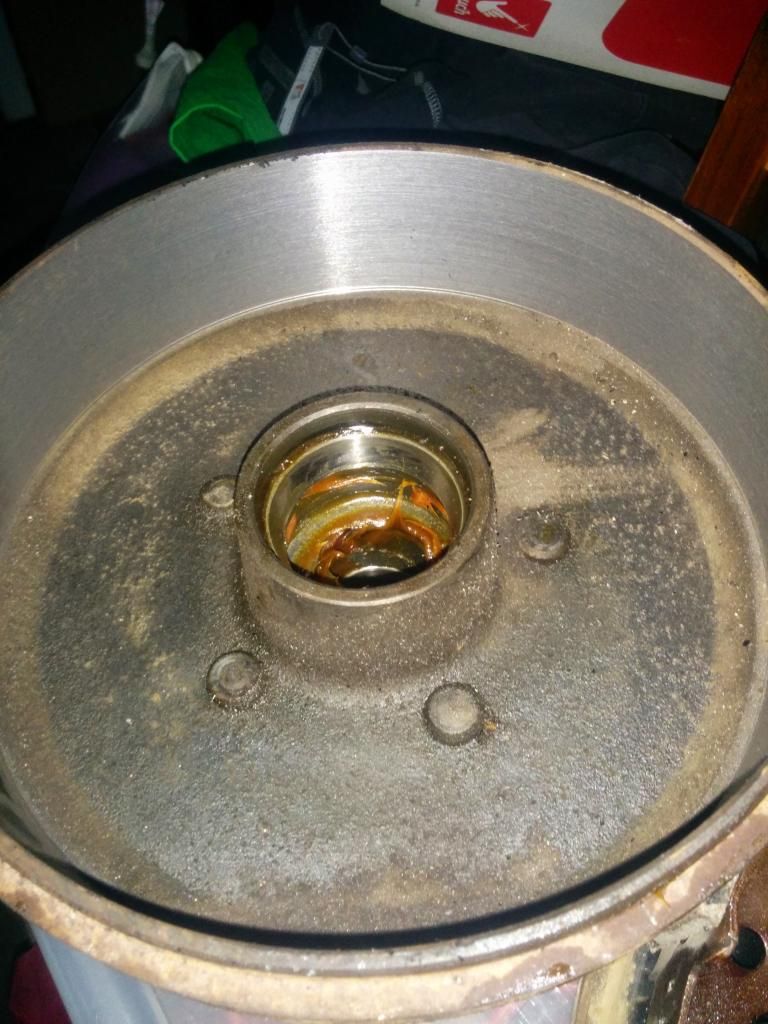 Hate the cheap looking wheel covers that were on the van so I thought I'd give the rims that house the trusty ole Dong Feng's a lick of paint 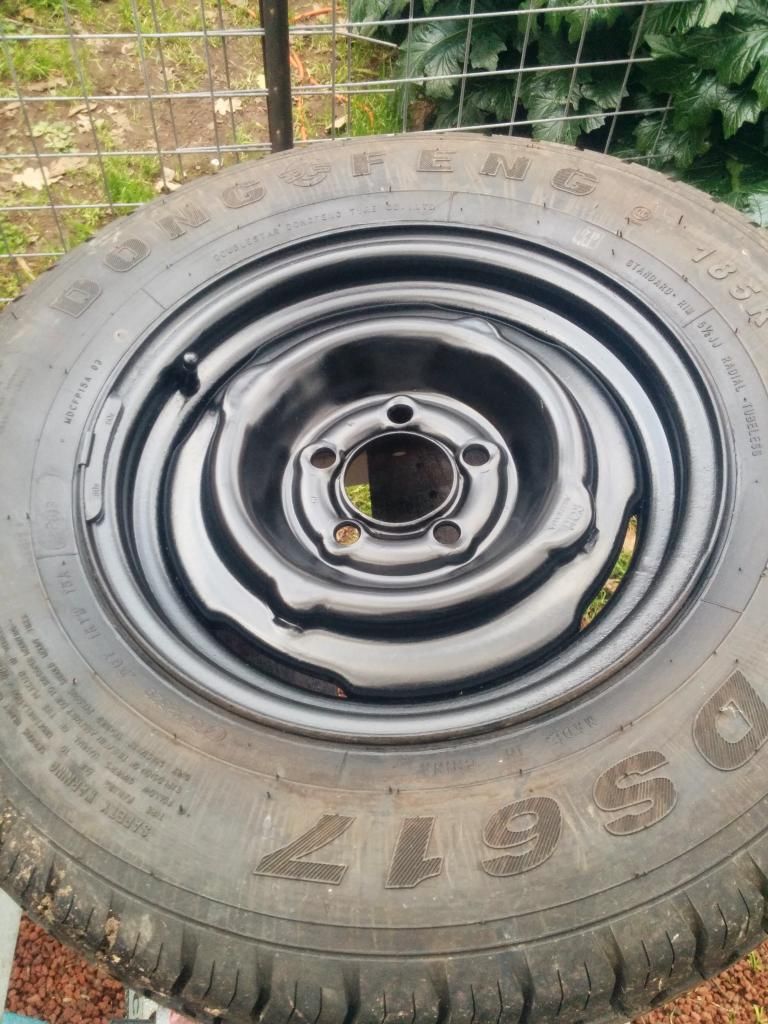 Also got a new master cylinder. Old one was missing the lid so the brake fluid was likely mostly composed of water. 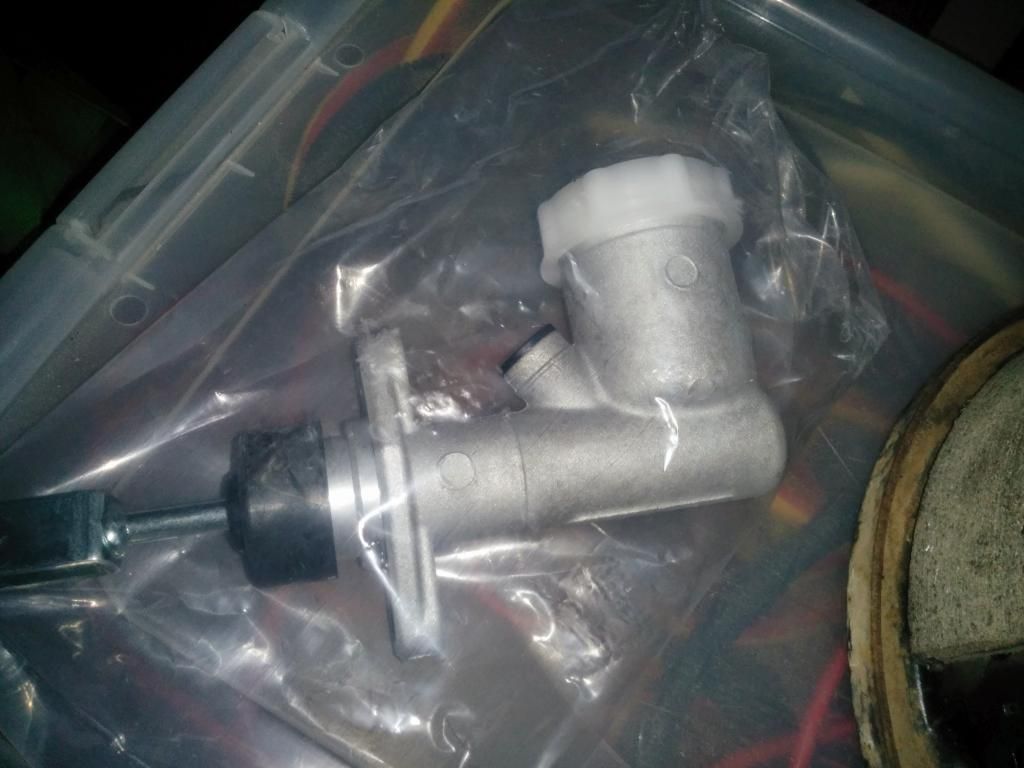 And went on a bit of a spending spree this arvo thanks to eBay/ To mount the spare tyre on the draw bar, a bracket. For the 12v system, combo amp/volt meter, two Narva flush mount USB ports, one with cigarette lighter style power adapter port. Battery tie down for the 105Ah battery I am yet to buy. Kogan 24" 12V/240V LED TV & DVD combo. And a removable tv bracket, to be mounted on rear wall. Will need some reinforcement work before mounting me thinks.I opted for the removable bracket as I figure I'd rather the TV laying down on the bed rather than vibrating on the wall during travel. 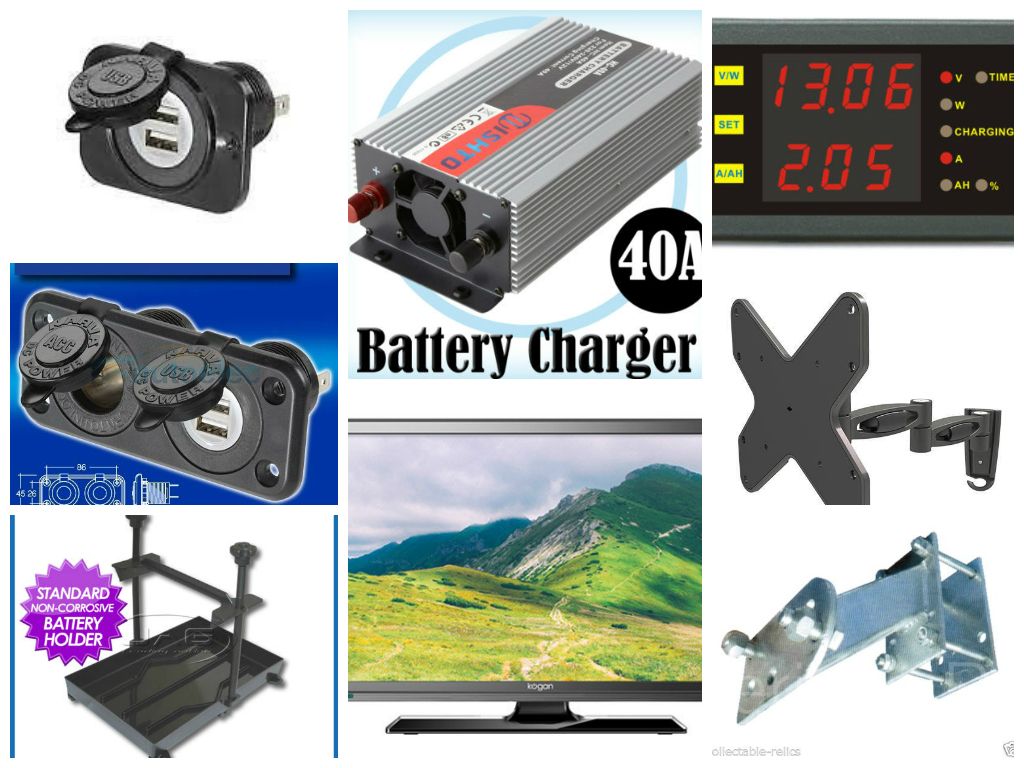 I guess next on the list will be a solar system. Plenty to do before then. |
|
|
|
Post by ForumMod on Aug 20, 2014 21:24:22 GMT 10
G'day kayfam, Good to see you're getting all the necessary bits together.  I can pass on some experience with the type of swing-arm TV wall bracket you've bought. I've got a similar one in our Windsor van, and had all sorts of problems with the TV weight causing the bracket to extend during travel. I ended up making a diagonal strap to hold the TV in position, and have never had a problem with it since. Last trip was 2500 kms to Broken Hill and back, and it never budged. Click on this post to see a photo of the problem, and then scroll straight to the bottom of the page to see the follow-up photos of the diagonal strap I made. That might give you some ideas.  cheers, Al. |
|
Deleted
Deleted Member
Posts: 0
|
Post by Deleted on Aug 20, 2014 22:55:26 GMT 10
Thanks Al. I think I've bypassed the swing problem by opting for the detachable mount, cost a little more mind you! Planning on placing the TV face down during travel.
Also need to work out an antenna solution, a bit hesitant to drill though the body. Will see how a USB poweed antenna works out on our first trip. Result very much depeent on our destination position and signal I guess.
Content wise we rely on Netflix, Going to invest in another Chromecast for screen mirroring. Thinking I need a router with 3/4G dongle capability and the ability to change DNS to unblock.us address. Otherwise preload tablets with plenty of content!
|
|

![]()


