Deleted
Deleted Member
Posts: 0
|
Post by Deleted on Sept 16, 2014 12:58:36 GMT 10
Yes the stand base is too wide to be orientated in that way. Would have made a whole lot of sense to shorten it and orient it your way Ted. Suppose being long before the advent of CAD, not as much thought went into the design stage, or more likely that's how it came from the supplier and they had no choice!
|
|
|
|
Post by peter92 on Sept 16, 2014 13:13:44 GMT 10
Hi Kayfam
just a quick question, you wouldnt happen to have the rego papers with all the weights of your van would you
just trying to find out what it weighs and then look at mine, please
Regards Peter
|
|
Deleted
Deleted Member
Posts: 0
|
Post by Deleted on Sept 16, 2014 13:24:11 GMT 10
Hi Kayfam just a quick question, you wouldnt happen to have the rego papers with all the weights of your van would you just trying to find out what it weighs and then look at mine, please Regards Peter Hi Pete, I dont have rego papers as such, all I got was a confirmation from Vic Roads that it was transferred to my name. There is a rego sticker that says Tare 900KG, which I assume would mean a Gross of 1100KG taking into account water and gas. Hope that helps. |
|
|
|
Post by peter92 on Sept 16, 2014 13:34:37 GMT 10
Ok Thanks for that, that helps alot and with yours ,you also add on 300kgs when loaded, which would bring yours up to 1400kgs
which would sound about right going by what AL said
hows it going down there with yours
Regards Peter
|
|
Deleted
Deleted Member
Posts: 0
|
Post by Deleted on Sept 16, 2014 14:42:40 GMT 10
Ok Thanks for that, that helps alot and with yours ,you also add on 300kgs when loaded, which would bring yours up to 1400kgs which would sound about right going by what AL said hows it going down there with yours Regards Peter Great I'll keep that gross weight in mind. Going well Peter, all ready for our maiden voyage. Brakes are now sound, leaks fixed and damaged panels replaced. TV & 12 volt system installed and working. I've tested everything and its all working. Been a few hours spent but I've enjoyed everyone, very satisfying work. Yours looks like its coming along nicely too for a major refurb. |
|
|
|
Post by peter92 on Sept 16, 2014 15:06:19 GMT 10
Ill have to jump on yours and have a look at it, ive had trouble with the internet, only got it back on at 2.30am today. been using the phone to use the net
Im chasing the cupboard door hinges now if you have any or know of some one that might be selling some, will put a pic up of them
We are still enjoying doing ours, its been a bit of a pain but not that bad, apart from my leaking rear window, i still would love to get it working and not leak
What did you do to yours to stop it leaking and where was it leaking from, any info would be great at this stage
The new window will cost $300 and more weight
Regards Peter
|
|
|
|
Post by peter92 on Sept 16, 2014 15:10:28 GMT 10
Hi again folks Im now after a heap of these hinges please asap 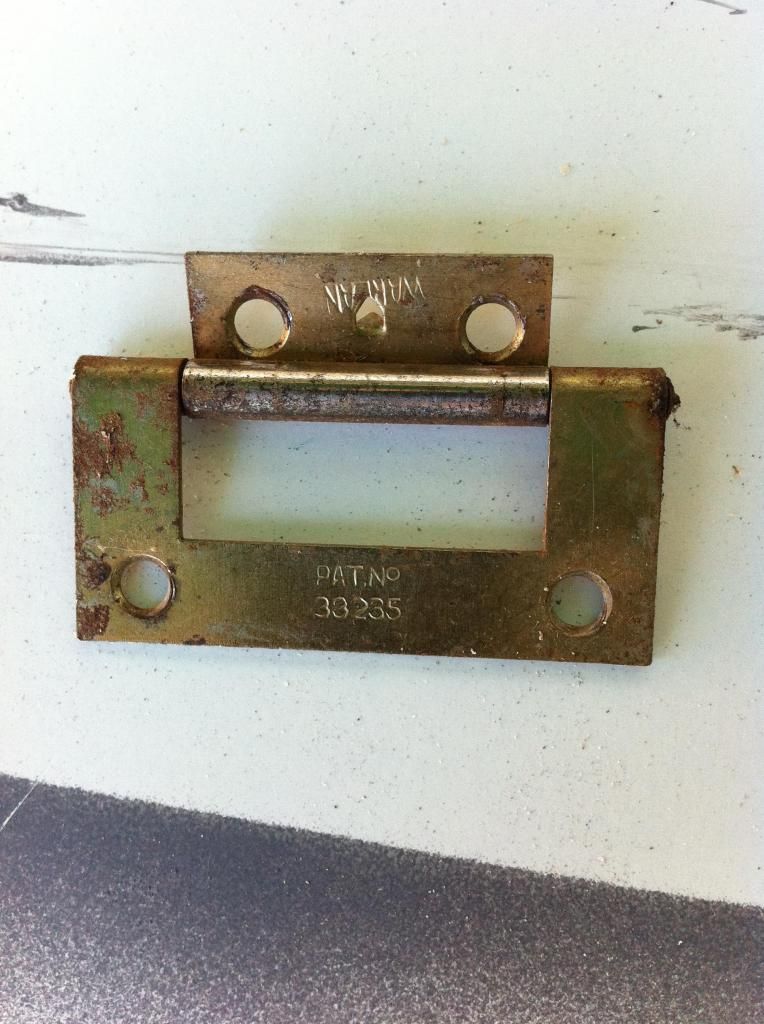 about 22 of them Regards Peter |
|
Deleted
Deleted Member
Posts: 0
|
Post by Deleted on Sept 16, 2014 15:32:09 GMT 10
Peter, I'll reply in more detail about the window leak when I get home.
In regard to the hinges, do they have to perfectly match the ones you have in terms of size and hole centers? A quick eBay search for 'hinge'reveals a range of bulk lots of very similar looking hinges. I think eBay will be your best bet at finding something at a reasonable price. I'd imagine something around $5 each for stainless steel at bunnings.
|
|
|
|
Post by peter92 on Sept 16, 2014 15:40:29 GMT 10
Ok that would be great, will chat to you tonight, thanks
Regards Peter
|
|
Deleted
Deleted Member
Posts: 0
|
Post by Deleted on Sept 16, 2014 17:48:40 GMT 10
Ok that would be great, will chat to you tonight, thanks Regards Peter Peter, in regard to the rear leaking window, I am not exactly sure where the bulk of the water was coming from however there was damage to the frame at the lower corners which seems to suggest that it’s there where the leaks emanated. Looking at the frame with the window out confirmed my suspicions. The mastic sealing around the window I am certain was original. It had hardened and shrunken over the years. To remedy the leaks I did exactly what you have done, remove the window, clean all traces of the previous sealant/mastic off with a plastic scrapper (so as to not damage the cladding) and a steel scrapper on the window frame itself and then copious amounts of wax & grease remover and a cloth to remove ALL the residue. Took about two hour to do this. I was very meticulous. I then applied a generous bead of Sikaflex 291 Marine sealant around the window frame, extra in the corners and with a helper firmly pushed the window back into place and screwed it back in. The sealant protruded from the screw holes which assured me the screws themselves would be sealed as well. I had to remove a fair bit of excess sealant which was squeezed out – I left it about half an hour before doing this so it was slightly set – made it much easier. I wish I had seen the foam seal damn trick before attempting this – would have made excess clean-up easier. I also have a nice consistent bead on the inside around the window which I’m not going to bother removing. I’m sure you followed a very similar process to do yours. I think it was Ted that suggested that perhaps your leak’s origin was elsewhere. I noticed water dripping from under the rear frame on the left of the window. I checked the aluminium trim piece up top that seals the vertical cladding (side) to the horizontal (roof) cladding and found that a section had been slightly raised due to water ingress and swelling of the top frame. I removed the trim piece along the whole length (three pieces), cleaned and resealed it too. I have not had issues since. If you are having leaks still after resealing your rear window I strongly recommend checking that aluminium strip especially if there is a delay between water falling and dripping, I think the water takes a while to work its way down. From memory you have resealed the all seasons hatch? That would be my next port of call. |
|
|
|
Post by peter92 on Sept 16, 2014 17:59:21 GMT 10
Thanks Kayfam
Yeah ive done the same as you have and the cladding on mine has already been sealed with 291 also
so i know theres no leaks from the hatch or the roof
Ive still got the ply off the back window and theres no water coming down the side of the window only at the corners
,i have put pics up tonight showing the gap between the cladding and the frame, if you want to look at my thread
Im not sure what to do there
The only thing i havent taken off the back is the FRANKLIN emblem, could it be leaking in threw that ?
Regards Peter
|
|
Deleted
Deleted Member
Posts: 0
|
Post by Deleted on Sept 30, 2014 15:53:21 GMT 10
ur maiden trip in the van up to Rawson, Vic went well. Spent close to a week, van towed well and was very comfortable. At one point going through Moe a car pulled out in front of us and I jumped on the anchors and the caravan wheels locked up which gives me confidence I got the adjustment of the drums right. Highly recommend Rawson, the caravan park is dog friendly, each site has its own shower and toilet and its only 20 mins from Walhalla, one of the most amazing little towns I've ever had the pleasure of visiting. Some pics of the van in action, 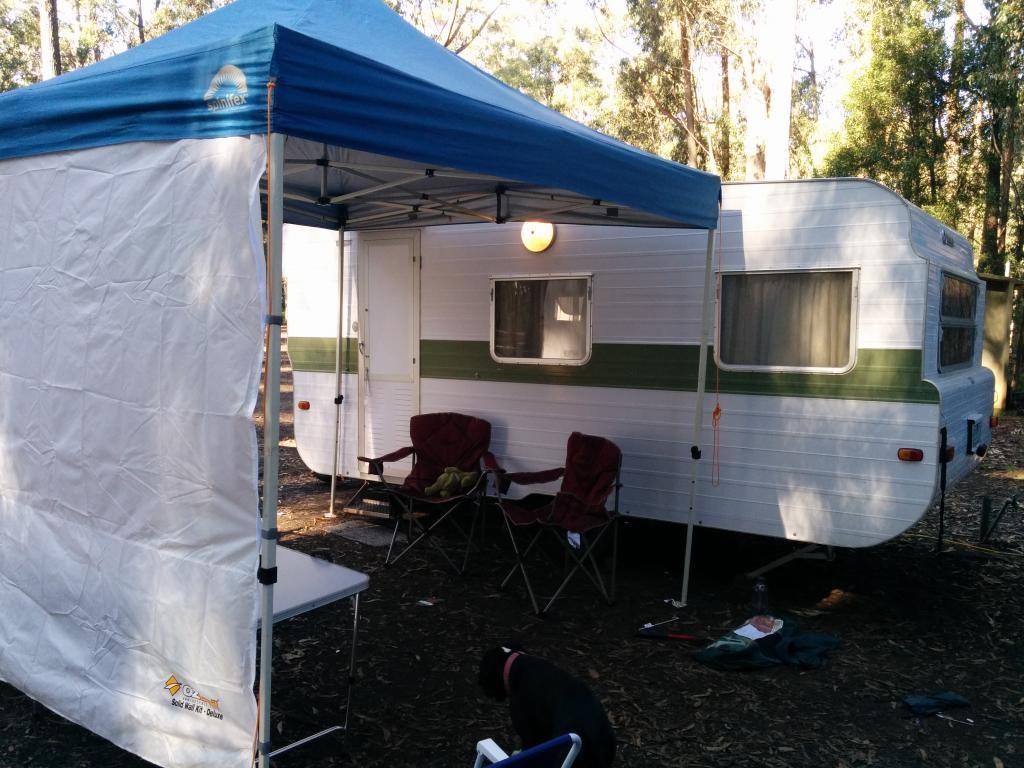 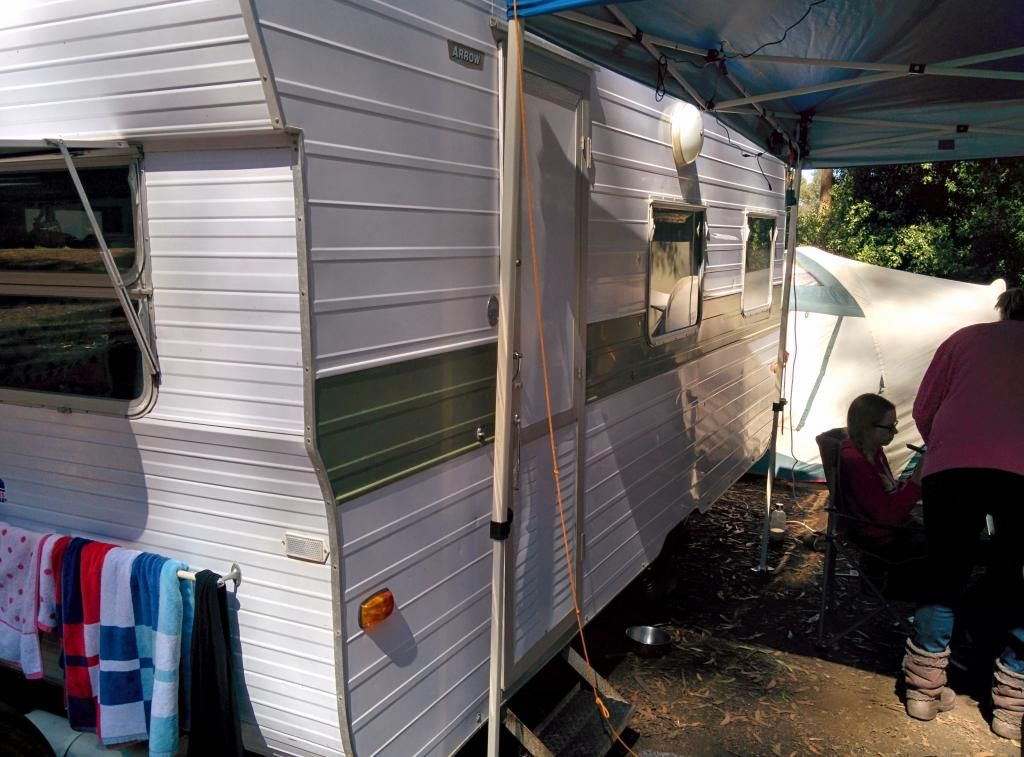 Girls having fun Night we got home there was very heavy rain. Four season hatch leaked rather badly so it came off the next day and I resealed it using the 'dam' method on this site. No leaks now. Good opportunity to clean it up too. 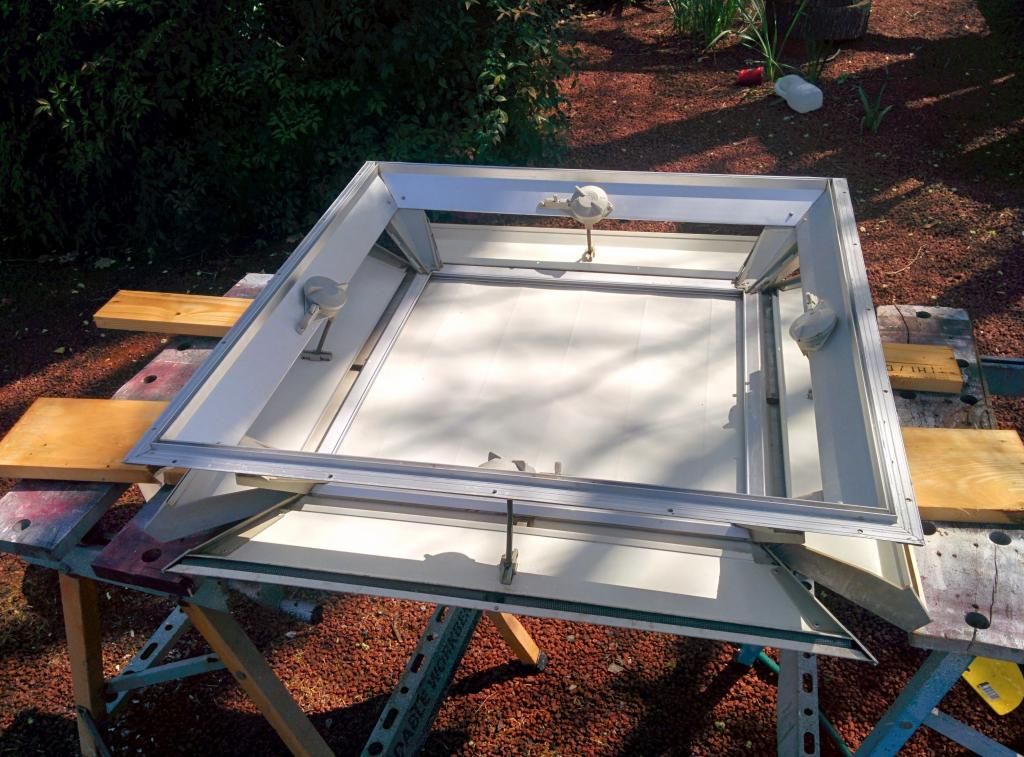 Planing on having a 'boys' weekend in the next few weeks up in Gembrook. Proper camping, 12v and gas only. |
|
|
|
Post by doublechevron on Sept 30, 2014 16:06:42 GMT 10
If the window is still leaking, try the same "dam" method from sealing it. Have a look the "Tidying up the old Chesney" ... You can see where the sealent forced it's way right through to the insides of the windows. I can't see how they could possibly leak when done like this ?
I still need to do the 4seasons hatch and roof seems ........... I'm not looking forward too it and tend to think I should leave them well alone while there not leaking.
seeya,
Shane L.
|
|
Deleted
Deleted Member
Posts: 0
|
Post by Deleted on Sept 30, 2014 16:17:52 GMT 10
If the window is still leaking, try the same "dam" method from sealing it. Have a look the "Tidying up the old Chesney" ... You can see where the sealent forced it's way right through to the insides of the windows. I can't see how they could possibly leak when done like this ? I still need to do the 4seasons hatch and roof seems ........... I'm not looking forward too it and tend to think I should leave them well alone while there not leaking. seeya, Shane L. Hi Shane, I assume your commenting in regard to Peter92's window issues. I agree, I think the 'dam' method is the way to go as it does force the sealant and hydraulically seal the joint and also provides a nice clean seal externally with no excess sealant spewing out. My four seasons hatch was fine until a heavy downpour, at which stage is leaked in all four corners and damaged the roof trim quite badly. Wish I had resealed before then. The mastic was very brittle. All in all it was not as bad a job as I had expected. I highly recommend 'wax & grease' cleaner for removing the old mastic, I ran out and had to use turps which was no where near as effective. |
|
|
|
Post by doublechevron on Sept 30, 2014 16:34:25 GMT 10
Woops... Yeah I didn't realise you were talking about a different caravan  I was wondering why you didn't do the window in the same way as the 4seasons hatch! seeya, Shane L. |
|
|
|
Post by peter92 on Oct 1, 2014 8:05:11 GMT 10
If the window is still leaking, try the same "dam" method from sealing it. Have a look the "Tidying up the old Chesney" ... You can see where the sealent forced it's way right through to the insides of the windows. I can't see how they could possibly leak when done like this ? I still need to do the 4seasons hatch and roof seems ........... I'm not looking forward too it and tend to think I should leave them well alone while there not leaking. seeya, Shane L. Hi Shane, I assume your commenting in regard to Peter92's window issues. I agree, I think the 'dam' method is the way to go as it does force the sealant and hydraulically seal the joint and also provides a nice clean seal externally with no excess sealant spewing out. My four seasons hatch was fine until a heavy downpour, at which stage is leaked in all four corners and damaged the roof trim quite badly. Wish I had resealed before then. The mastic was very brittle. All in all it was not as bad a job as I had expected. I highly recommend 'wax & grease' cleaner for removing the old mastic, I ran out and had to use turps which was no where near as effective. Hi Kayfam, im glad every thing went well for you and the van worked well, my hatch leaked badly also and if you look in my thread you,ll see where i did a tear down of the hatch and i resealed it and also used the DAM method to reseal the hatch, hope it hast damaged too much in the van I havent got around to doing the rear window yet but hopefully soon, thank you for the advise also Regards Peter |
|
Deleted
Deleted Member
Posts: 0
|
Post by Deleted on Oct 3, 2014 11:03:46 GMT 10
Hi Kayfam, im glad every thing went well for you and the van worked well, my hatch leaked badly also and if you look in my thread you,ll see where i did a tear down of the hatch and i resealed it and also used the DAM method to reseal the hatch, hope it hast damaged too much in the van I havent got around to doing the rear window yet but hopefully soon, thank you for the advise also Regards Peter Thank you very much Peter. The damage was pretty bad in terms of the roof lining cracking but I will miter cut some architrave similar to what others have done here to go around the hatch and it will cover the most of the obvious splitting. |
|
Deleted
Deleted Member
Posts: 0
|
Post by Deleted on Oct 13, 2014 9:40:44 GMT 10
Had the opportunity to take the van up to Bunyip State Park on the weekend past, we stayed a night at a nice little camping spot called Nash Creek. Peaceful spot, we saw quite a few wallabies, koalas, sugar gliders and a Goanna sunning itself. Just a word of note - beware the leaches! Little bastards take every opportunity to land on you if you brush against foliage. Was a little surprised to learn that camping now requires a booking which involved returning to Gembrook to get mobile reception and make a booking. Still $11.70 per night is not too bad, and I had a chat with the Ranger who promises better maintained facilities with the funds collected. 12 volt system worked perfectly, powered about 6 hours of LED lights (10 X strips for our site and 3 X internal lights), charged my phone and an iPad overnight and we watched a movie in the morning. Only used 6% capacity of the battery which I was happy with, 105 amp hours seems a good size for a long stay in the bush. Fridge worked well on gas too, very cold inside and it generated a good amount of heat in the caravan, welcome this time of year but in summer it would be tedious. Amazes me how well a 40 yr old fridge can work! The road into Nash creek is approx 12 km's of graded unsealed surface with many potholes. I went at crawling pace in first gear but I did notice the floor of the caravan start to squeak after the journey suggesting perhaps the floor has at least partially loosened off the bottom frame. Nothing major though. I may try the old talc powder trick to see if I can quiet it down. Any one have any tips? 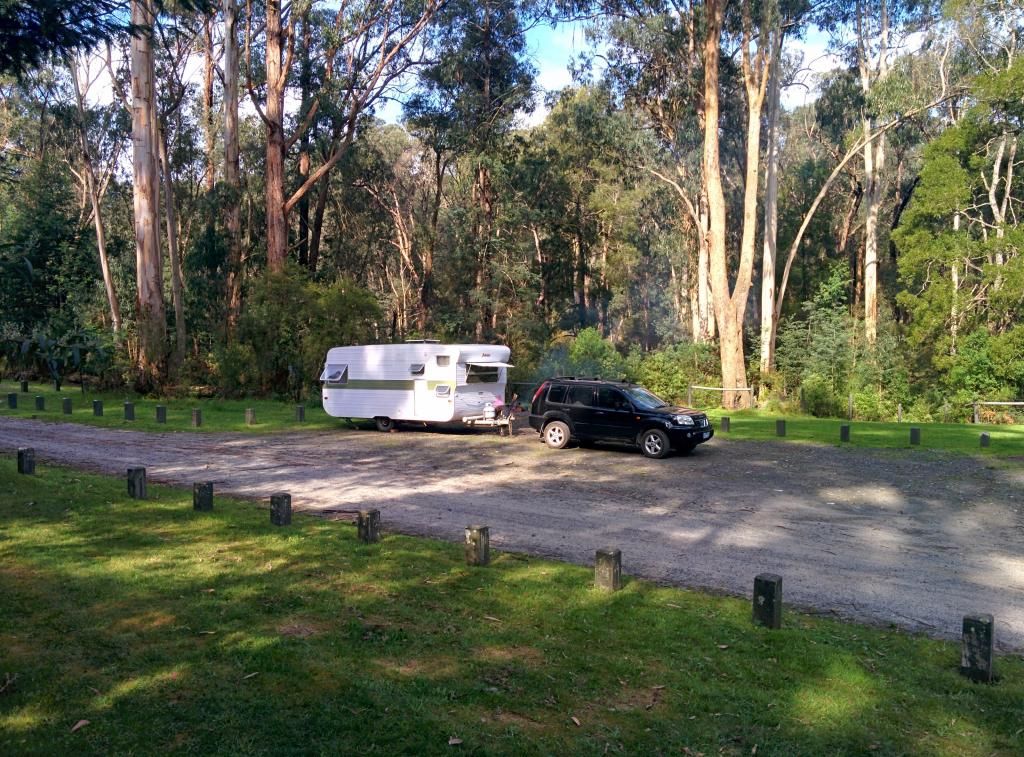  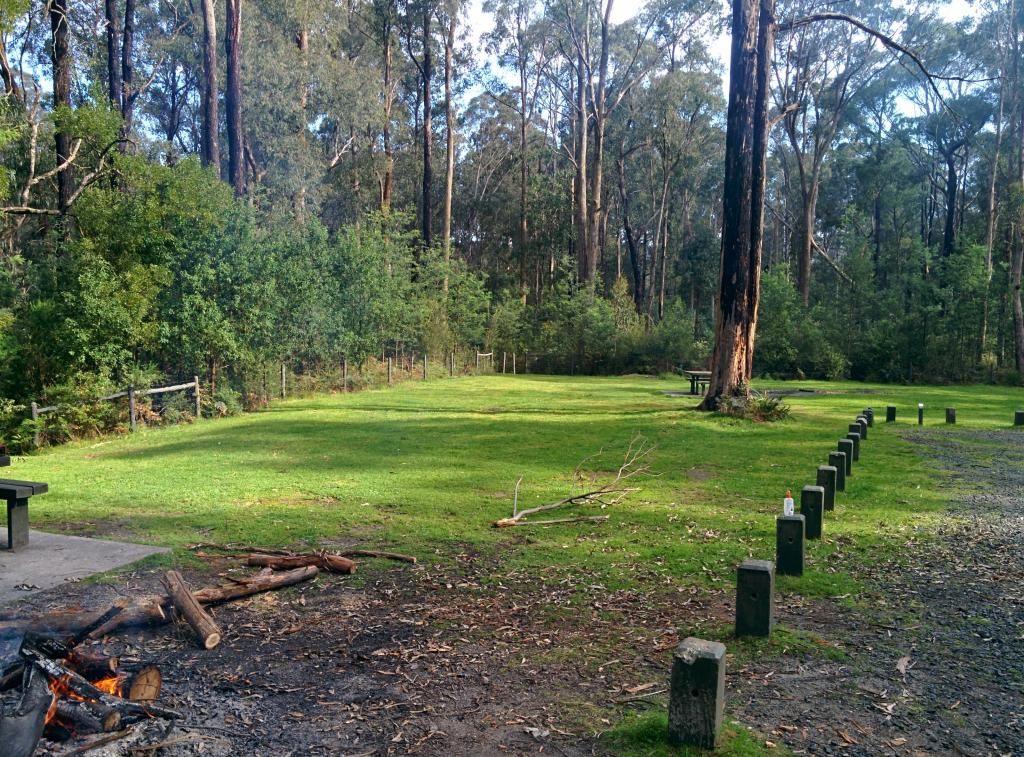 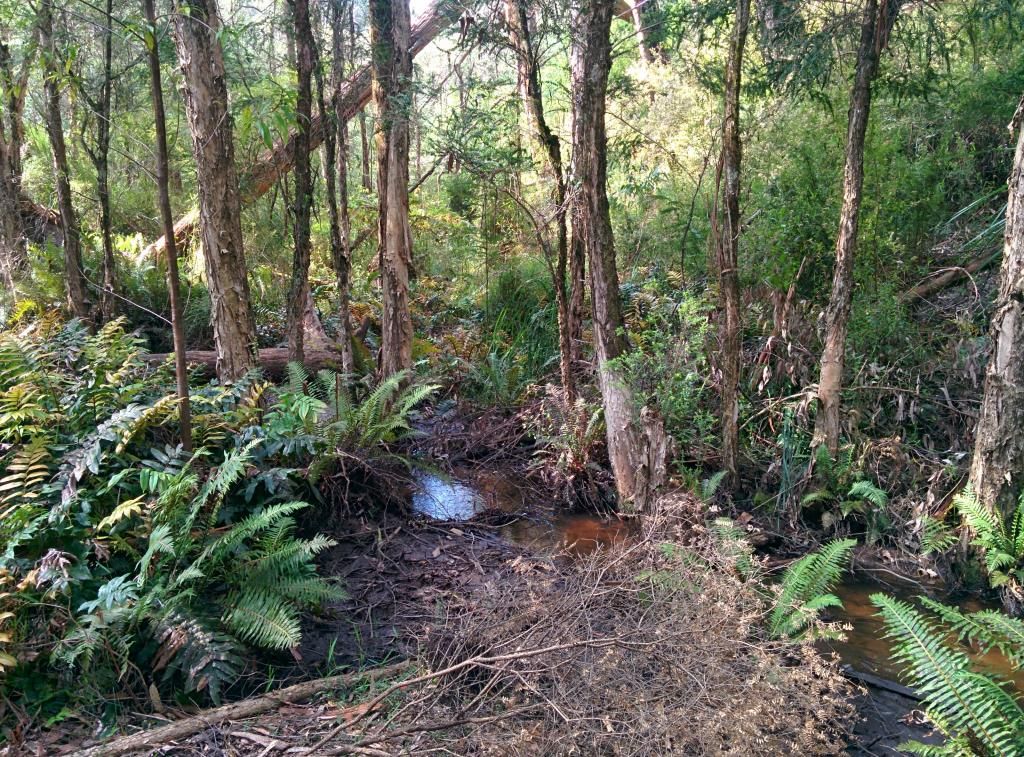 |
|
|
|
Post by peter92 on Oct 13, 2014 21:18:53 GMT 10
Hi Kayfam
Im glad your trip went well, we have a 105 amp FULLRIVER AGM and we can use the weaco for 4 days before having to charge it, looks like the kids are having a great time
i see you have used the oz trail wisely as we do that also
Did the van travel ok
Regards Peter
|
|
Deleted
Deleted Member
Posts: 0
|
Post by Deleted on Oct 14, 2014 10:55:36 GMT 10
Hi Kayfam,
Great to see another 'Classic' Van out there doin it!!
'Keep the good Vans rollin'
Cheers, Des
|
|
|
|
Post by tedalley on Oct 14, 2014 12:12:59 GMT 10
12 volt system worked perfectly, powered about 6 hours of LED lights (10 X strips for our site and 3 X internal lights), Kayfam Hi. Great looking site - Nash Creek. I'm not sure what you meant "10 x strips for our site & 3 x internal lights" Ted |
|
Deleted
Deleted Member
Posts: 0
|
Post by Deleted on Oct 14, 2014 15:38:59 GMT 10
Peter: Van traveled very well, I don't think the offroad portion was very good for it despite crawling along at snail pace. The floor is a little squeaky now.
Des: Thanks! Got quite a few compliments from the other campers on having a classic van! They were all amazed at the size inside, its definitely a bit of a tardis.
Ted: It is a great site. However I don't think I will take the van there again as the road in is heavily pot holed. Felt bad shaking the old girl like that. In fact there was a camper there who was stranded having gouged a whole in the sump of his VW Golf on the way in. The rangers were looking after him though sourcing him parts and oil.
Sorry yes a little vague. I bought a LED kit from Aldi a couple of months ago that has 10 LED strips with double sided tape one the back. They are roughly 10 LED's per strip and are remote controlled and can change colour etc. Very bright actually. I used them to illuminate the camp site by stringing them along the side of the van. Internally I bought 3 X 12V LED lights to replace the automotive style bulbs in the original lighting batons. These are also surprisingly bright. Needless to say we were well illuminated with our 12 volt setup.
|
|
Deleted
Deleted Member
Posts: 0
|
Post by Deleted on Jan 29, 2015 18:02:46 GMT 10
Thought I'd check in since its been a while that I have posted. Done a few trips with the van over Christmas, she performed well. Got a few nice comments in regard to the condition of the van. Still very happy with my purchase, been many heavy downpours in Melbourne and thankfully Claudia has been leak free. Look forward to planning some trips for the coming year.
|
|
|
|
Post by atefooterz on Jan 31, 2015 14:21:19 GMT 10
Great news thanks Kayfam, hope all the trips go well.
|
|
Deleted
Deleted Member
Posts: 0
|
Post by Deleted on Feb 29, 2016 18:21:13 GMT 10
Hi everyone my first post so I'm not sure how it all works, but my partner and I have a 76 or 77 Franklin arrow. 16ft we are trying to get to get a bit more info about Gvms and etc but can't seem to find info to re-register the van. Can anyone help? Thanks! Number on the draw bar is 5910-1 if that means anything.
|
|