Deleted
Deleted Member
Posts: 0
|
Post by Deleted on Aug 23, 2014 18:44:15 GMT 10
Super frustrating day today but I guess ultimately successful. Removed old bearing casings and press fitted new ones. Packed hubs with grease. Refitted reconditioned drum brakes and fitted new master. Was not able to pump master. Something was blocked. Disconnected lines and used air compresso rto isolate blockage. Seems the flexible hose had imploded on itself after all these years. Came to a realisation that brakes have not worked at all in the time I have had the van, feel less bad about forgetting to flip over the reversing lockout on occasion  . Tried unblocking line with compressed air, steel line and solvent. Was completely blocked up. Took to local brake place, luckily was open till 12 today. They made a replacement on the spot. Bleed lines, topped up and adjusted drums (slow and horrible process), Claudia now has effective brakes and is back down on the ground! 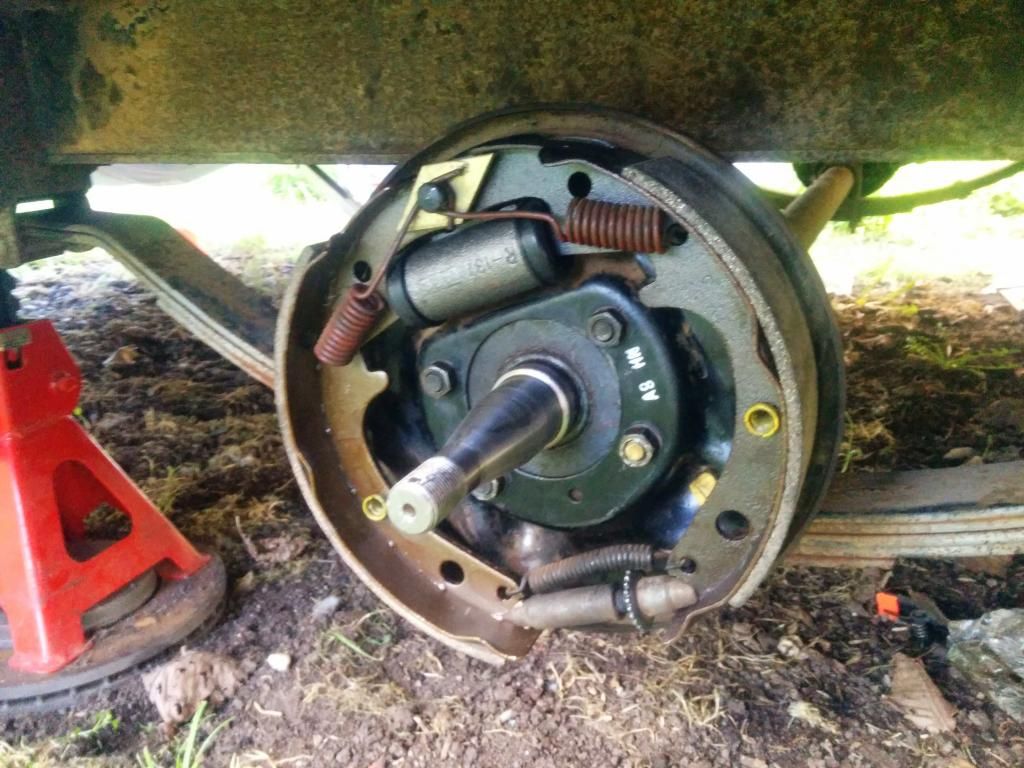 Old flexible hose was the same thread as my air gun minus the end. So I could try to put full pressure through it. Blocked to f@@@ 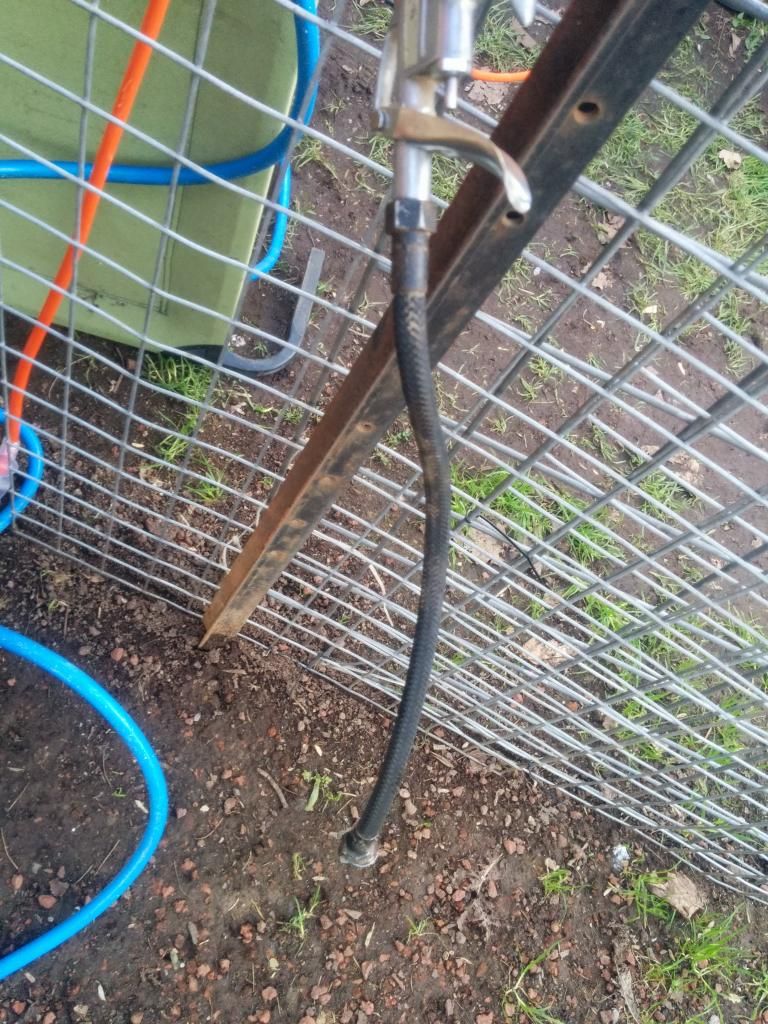 New line with old. Hopefully this one lasts another 30 years. 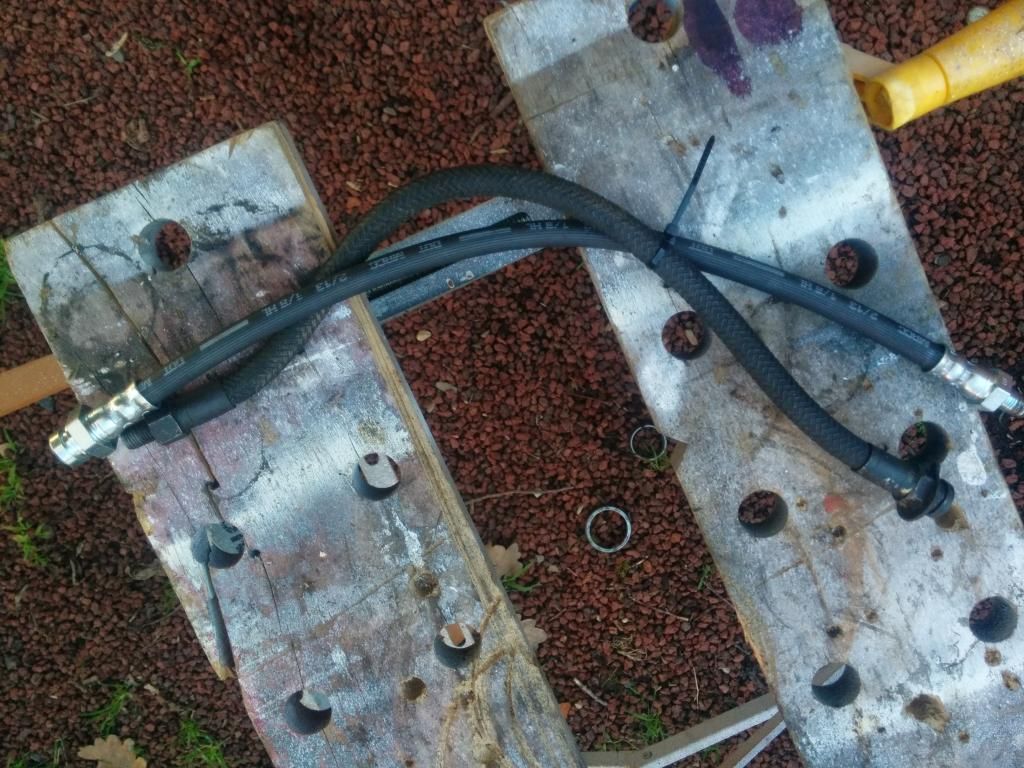 |
|
|
|
Post by peter92 on Aug 24, 2014 15:53:50 GMT 10
Hi gee i hope you can help me out, before you put the window back in did you messure the hole
Mines 1530 top
1535 bottom
570mm side
Ive had my window in now 4 times and still leaks,
How is yours
Regards Peter
|
|
|
|
Post by ForumMod on Aug 24, 2014 18:13:21 GMT 10
G'day kayfam, That's been quite a complicated job to get the brakes all sorted out, but it sounds like it's been very worthwhile. I've always wondered how the heck you can tell if the brakes are actually working on these old vans to slow it down, even when the brakes look like they are in very good condition. I guess that's one of the good things about electric brakes - at least you can activate the controller lever to make the caravan brakes operate independently of the towcar. You soon find out whether the van brakes are working properly or not. Full marks for persevering with getting it all done properly. I reckon you'll get another 30 years out of them for sure!  cheers, Al. |
|
Deleted
Deleted Member
Posts: 0
|
Post by Deleted on Aug 25, 2014 10:28:02 GMT 10
Hi gee i hope you can help me out, before you put the window back in did you messure the hole Mines 1530 top 1535 bottom 570mm side Ive had my window in now 4 times and still leaks, How is yours Regards Peter Hi Peter, Mine is square, 1530mm top and bottom, although I don't think a 5mm difference would contribute to yours leaking. What sealant did you use? I used Sikaflex 291 marine grade and was very liberal with its application. I had a friend help push the window in very firmly to hydraulically seal it. No leaks now. Also I took the time to ensure no evidence remained on the factory sealant, I found wax & grease remover very effective at removing the old residue. |
|
Deleted
Deleted Member
Posts: 0
|
Post by Deleted on Aug 25, 2014 10:32:04 GMT 10
G'day kayfam, That's been quite a complicated job to get the brakes all sorted out, but it sounds like it's been very worthwhile. I've always wondered how the heck you can tell if the brakes are actually working on these old vans to slow it down, even when the brakes look like they are in very good condition. I guess that's one of the good things about electric brakes - at least you can activate the controller lever to make the caravan brakes operate independently of the towcar. You soon find out whether the van brakes are working properly or not. Full marks for persevering with getting it all done properly. I reckon you'll get another 30 years out of them for sure!  cheers, Al. Hi Al, Thanks! Yes it took more time than it should have but doesn't everything on these old vans  ? Initial plans were for electric brakes and in hindsight that would have been a good idea. Yes indeed, its still an unknown if the setup as a whole works. I think I'll have to setup a video camera on the rear window of the tow car to see if the ram actually moves when braking to actuate the master cylinder. For all I know the ram could be seized up making all my brake work redundant. I guess all I can do in the meantime is to borrow a grease gun and pump some grease into the nipple. |
|
Deleted
Deleted Member
Posts: 0
|
Post by Deleted on Aug 25, 2014 14:56:21 GMT 10
Easy test is to jack up van so you can spin wheels and get someone to push the lever back, wheels should slow down or stop.
Go and tow van and apply brakes, get out and see if the coupling ram has left a tell tale mark on ram.
I have tested on a dirt road before, and left two lines on the road to confirm they work.
Scotty
|
|
Deleted
Deleted Member
Posts: 0
|
Post by Deleted on Aug 25, 2014 16:12:48 GMT 10
Easy test is to jack up van so you can spin wheels and get someone to push the lever back, wheels should slow down or stop. Go and tow van and apply brakes, get out and see if the coupling ram has left a tell tale mark on ram. I have tested on a dirt road before, and left two lines on the road to confirm they work. Scotty Hi Scotty, I've tested the brakes while it was jacked up, brakes were effective. Its just the coupling ram I'm suspect of. But you've given me an idea, I'll put some masking tape on it and see if its squashed up after a few stops. Thanks! |
|
Deleted
Deleted Member
Posts: 0
|
Post by Deleted on Aug 25, 2014 20:15:07 GMT 10
There will be witness marks on the shaft when brakes apply to confirm its working, probably only 1 to 2 cm long
Cheers
|
|
Deleted
Deleted Member
Posts: 0
|
Post by Deleted on Aug 26, 2014 17:08:16 GMT 10
There will be witness marks on the shaft when brakes apply to confirm its working, probably only 1 to 2 cm long Cheers Thanks. I'll look out for them. Got the TV mounted this arvo on a removable arm. Very happy with the position, it folds out for viewing in a range of positions and folds away neatly under the rear upper cupboards. Started by removing the paneling and screwing a reinforcement bar in place. I was suprised by the strength of the existing frame, all nicely crafted. I had planned on more reinforcement but deemed it overkill. 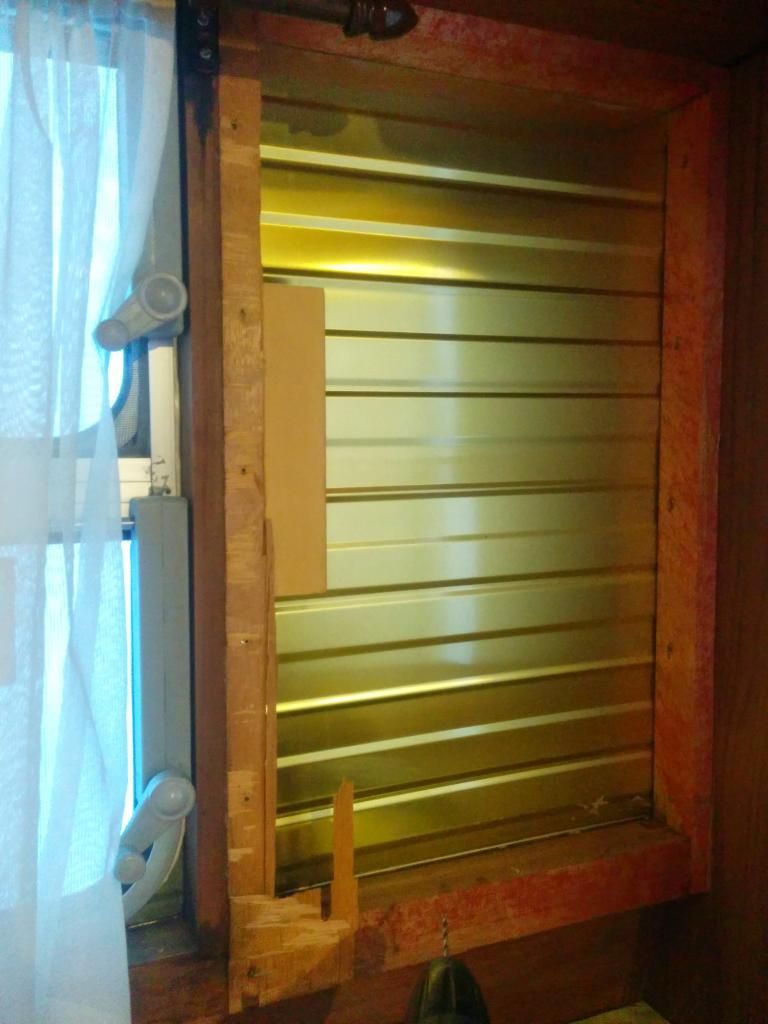 TV in its final storage position.  |
|
|
|
Post by davas1962 on Sept 5, 2014 17:25:30 GMT 10
Wow its amazing what you find on google. I too have just bought a franklin arrow van, 1977 im told. Looks pretty much the same as yours kayfam. Though yours is immaculate comparatively. I spent a few hours yesterday tracing water leaks and found it neccessary to remove some of the panelling on the front right where the fridge vent is located. The bottom timber has rotted away to basically dirt :-(. Does anybody know the best way to fix this, hopefully I havent bitten off more than I can chew. Also you were discussing the braking system, mine doesnt have brakes at all, and no evidence of ever being there. There is a standard coupling on the drawbar and definately no drums on the axle. Should I fit mechanical overrides? Full set available on ebay (complete from coupling to full drum kit, for $250).
|
|
Deleted
Deleted Member
Posts: 0
|
Post by Deleted on Sept 6, 2014 0:17:43 GMT 10
So great your search ended up here!
Rot wise I've found removal of rotted wood and builders putty works well. Have not had a severe case on my van but have used it over the years on other projects.
The front right corner where the fridge is located does seem to be a sensitive area, I think the water gets in from the mastic drying up on the top aluminum strip where the roof meets the side cladding and finds its way down there. I've removed the stripping, cleaned it up and applied sikaflex 291 which so far has stopped any further water ingress.
Also check the sealing of the fridge vent, I removed the mastic and applied raven weather seal which is compressed when the vent cover is screwed down but can be easily removed when access to the fridge is required.
Braking wise, of course if you can fit a braking system do it for safety sake but the van is comparitevly pretty light and as I have recently realised, I have been towing with a t30 Nissan Xtrail which is by no means a heavy duty tow vehicle - with no brakes, and with no ill effects on performance.
If you do end up fitting brakes I would suggest going directly to an electronic system. By the time you fit drums and the hydraulic system as well as the ram style coupling you'll probably find for a little more cash an electronic system a better option.
I'm sure you've not bitten off more than you can chew, rot can be addressed, parts upgraded and in the mean time its not going to depreciate being almost 40 years of age! Plenty of people here to answer questions too so you're by no means alone.
|
|
Deleted
Deleted Member
Posts: 0
|
Post by Deleted on Sept 6, 2014 7:07:15 GMT 10
Hi Davas,
Sounds like you have a "Holiday City) Franklin.
They were built for caravan parks and were all electric,no brakes and minimum cupboards inside.Front and rear lower body was squared off to allow more floor space,and had fixed front and rear windows.Some had a small air conditioner between the back windows.
The layout was front kitchen,mid lounge and bunks(steel frame) and rear double bed.
Does this sound like yours?
They were made to be sited in caravan parks and towed minimum distance to sites.
I remember they cost $1999 brand new!
Hope this helps
Cheers
hughdeani
|
|
|
|
Post by atefooterz on Sept 6, 2014 9:07:17 GMT 10
Hi Davas, sounds like a fun project & some "blank canvas" areas to play with and personalise. hughdeani that sounds like a refined version of my van, apart from the squared off and fixed windows, as it started life static in a park from new, according to the previous owner.
|
|
|
|
Post by davas1962 on Sept 6, 2014 10:52:44 GMT 10
Thanks guys, already some useful info here. Google search revealed the construction of the Franklin was pretty much like sandwich board. The timber was merely put in place to join the corners together. Somewhere for the screws to go more or less. So happy I found this forum. Hughdeani, my van is exactly the same as the pictured van in Kayfams post, all windows open, none are fixed. There is a sign on the back saying 'Arrow', seems original. Have already started to personalise the interior, will be a basic 2 berth when im done, totally self sufficient 12 volt system, solar panel for battery, invertor for fridge etc. Thats the plan at least, any thoughts or suggestions are greatly appreciated.
|
|
Deleted
Deleted Member
Posts: 0
|
Post by Deleted on Sept 6, 2014 17:17:30 GMT 10
Finished installation of the 12v system today. I am using a 105 amp hour battery to power led lighting in the existing lighting batons and USB outlets to power devices such as phones and tablets as well as the TV. I dont think I will bother with an inverter as they are pretty inefficient. The fridge can be cooled with gas so this will suffice for camping. I've installed the battery under the front bunk as far forward and central as possible bearing in mind it weighs 30 kg. I have a 40 amp charger and a power meter with shunt to display volts, watts and amps being drawn. It also displays power remaining as %. 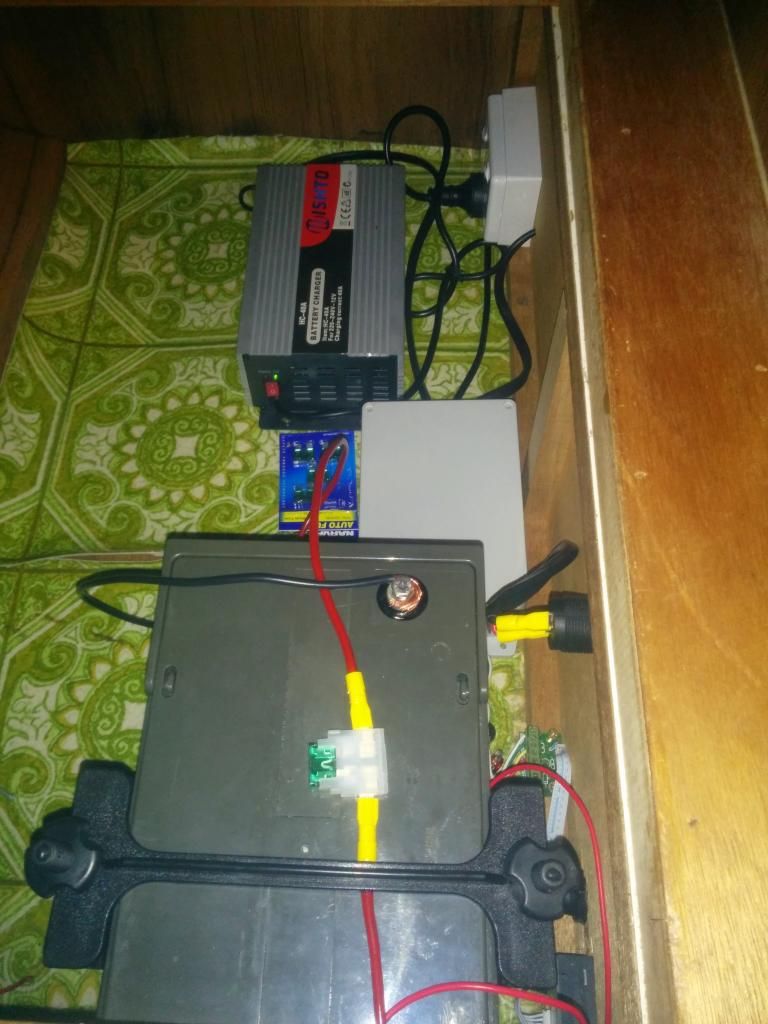 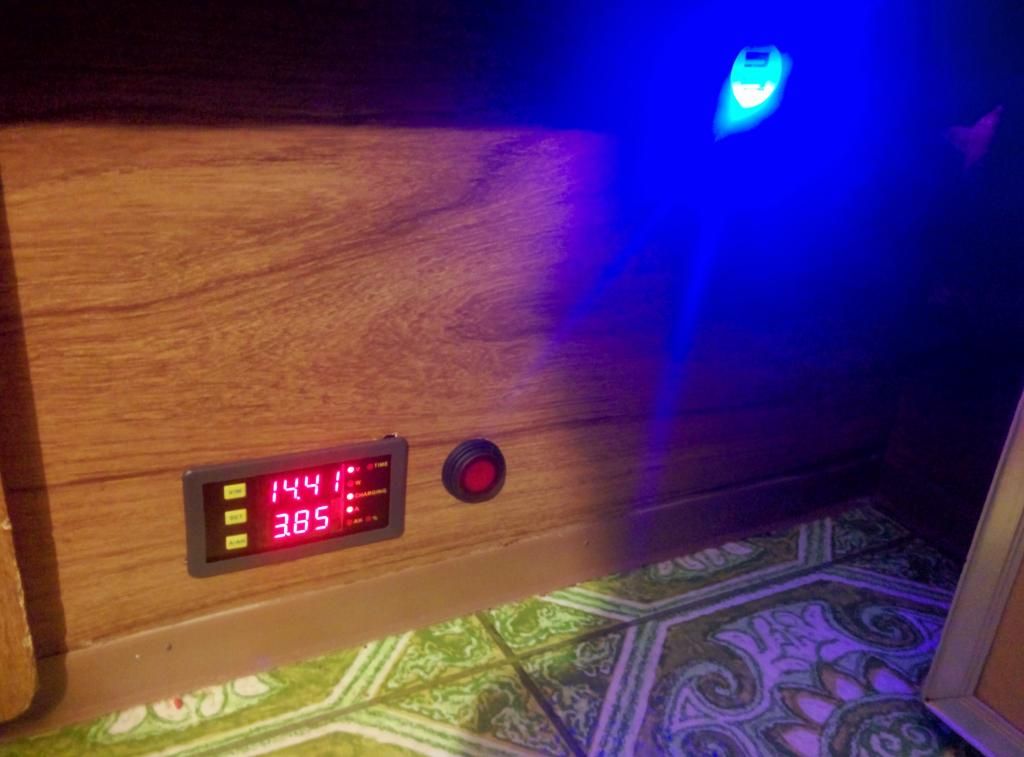 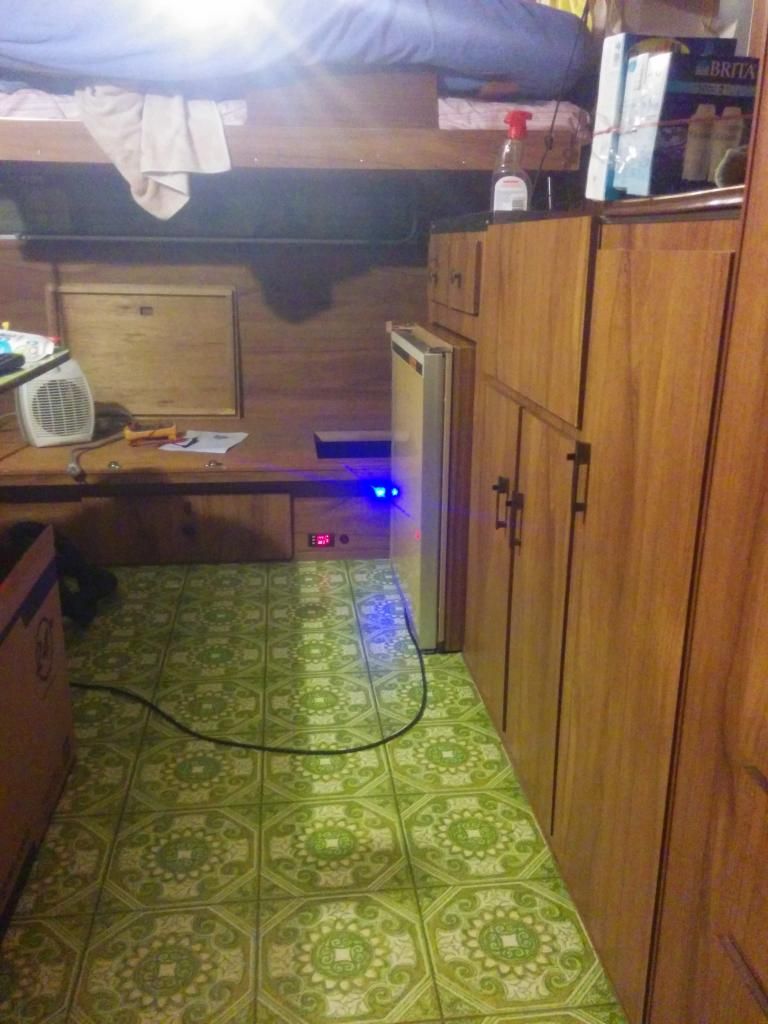 I have another combo USB & cigarette lighter style power point up back to power the TV in the bedside table. 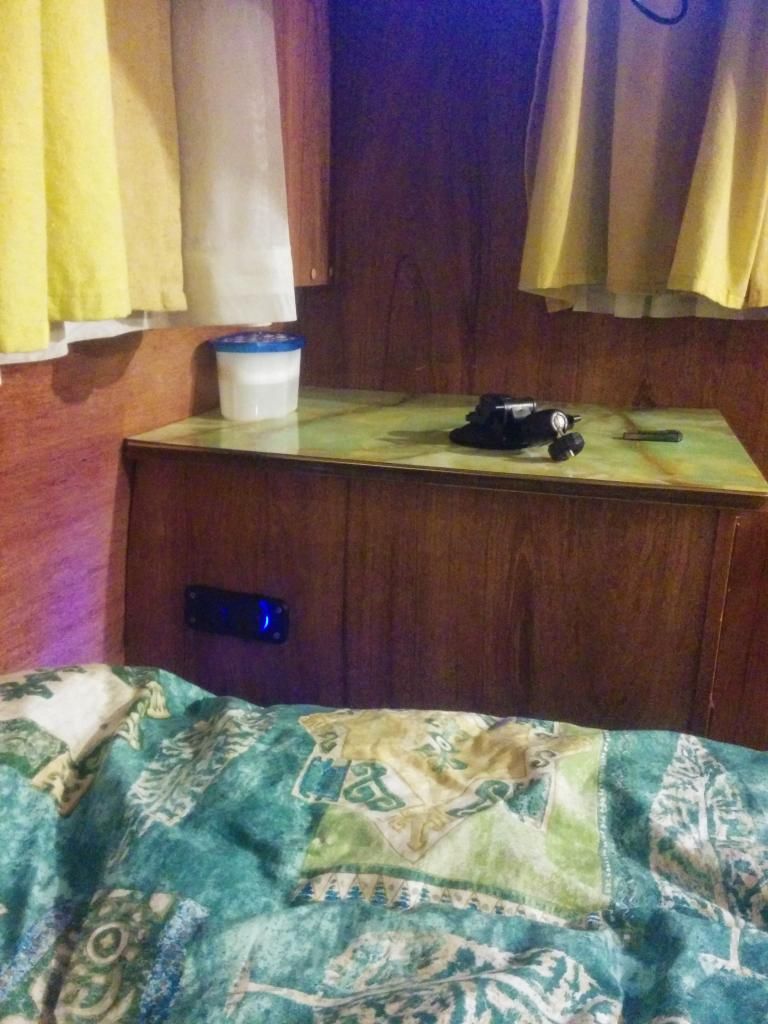 All set for camping now, look forward to taking it out in a fortnight! |
|
Deleted
Deleted Member
Posts: 0
|
Post by Deleted on Sept 9, 2014 18:30:12 GMT 10
Kayfam thanks for posting so many photos, has given me lots of ideas and clever ways to incorporate things that I wish to do with my van.
|
|
Deleted
Deleted Member
Posts: 0
|
Post by Deleted on Sept 9, 2014 20:52:39 GMT 10
Kayfam thanks for posting so many photos, has given me lots of ideas and clever ways to incorporate things that I wish to do with my van. My pleasure. Look forward to seeing your build thread sometime soon! |
|
|
|
Post by atefooterz on Sept 11, 2014 1:26:34 GMT 10
Loooking great with all the good gear now, so jelly about how good your floor lino condition is.
|
|
Deleted
Deleted Member
Posts: 0
|
Post by Deleted on Sept 11, 2014 9:48:26 GMT 10
Loooking great with all the good gear now, so jelly about how good your floor lino condition is. Thanks, yes the condition of the lino is truly a testament to the care of the previous owners. I gave it a mop the other day and it sparkles. Being a kid in the early 80's this kind of design was everywhere at that time, a hangover from the 70's so I kind of love it now. A few friends have commented i have to rip it all out and get something more modern but 'no way'! |
|
|
|
Post by atefooterz on Sept 11, 2014 15:05:56 GMT 10
No way indeed! I would however look at some cover to protect it from general everyday use & sand grit wear, then in another 15-20 years time you will have one of the last original classics, without sterilisation. My mates Grandpa used to have carpet pile down on his EH & HT Holdens & copped heaps but 50 years later the lino is flawless.
|
|
Deleted
Deleted Member
Posts: 0
|
Post by Deleted on Sept 15, 2014 9:44:59 GMT 10
No way indeed! I would however look at some cover to protect it from general everyday use & sand grit wear, then in another 15-20 years time you will have one of the last original classics, without sterilisation. My mates Grandpa used to have carpet pile down on his EH & HT Holdens & copped heaps but 50 years later the lino is flawless. Not a bad idea, I think I'll enforce a 'no shoes' in the van policy. Hoping someone can give me some assistance. Attempted yesterday to get the table to fold down into position to make the table & seating into another bed. For the life of me I cant see how the table is intended for use as a bed base as it does not fold down far enough. From what I can see it has two folded positions, one I think is intended for storage of the table as seen here: If it were to be used in this position the legs would be sticking out tripping people over. 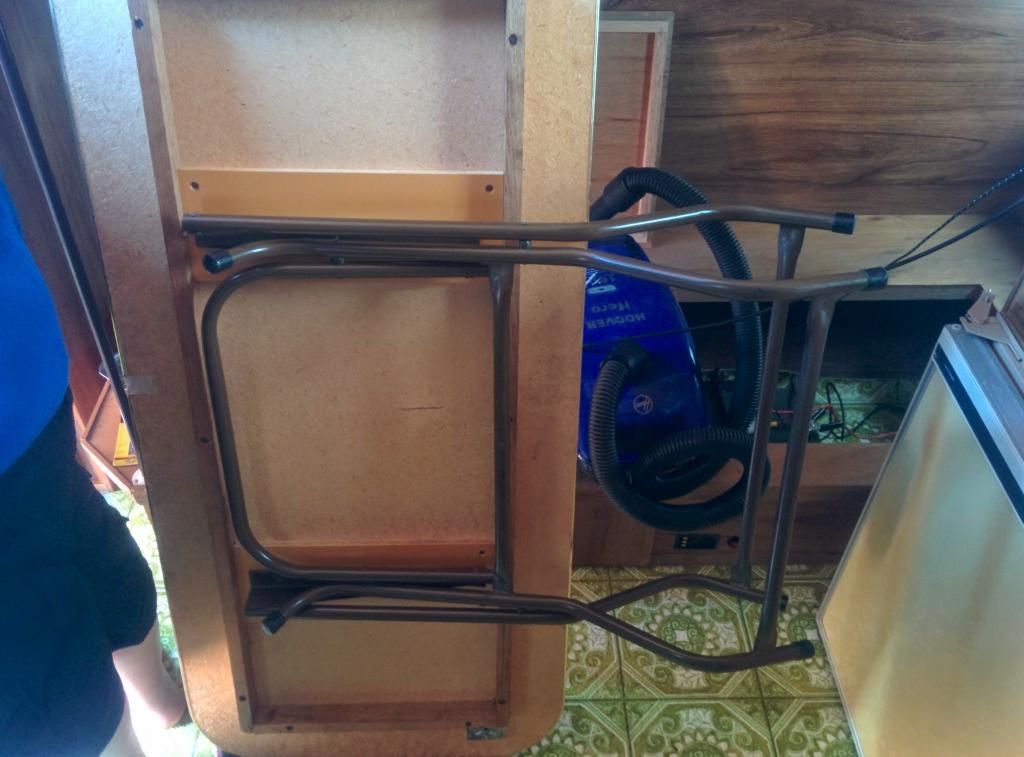 The second position is shown below. This is at its lowest adjustment which I would have thought would be intended for the bedding use, but It is still far too high for use as a bed base. 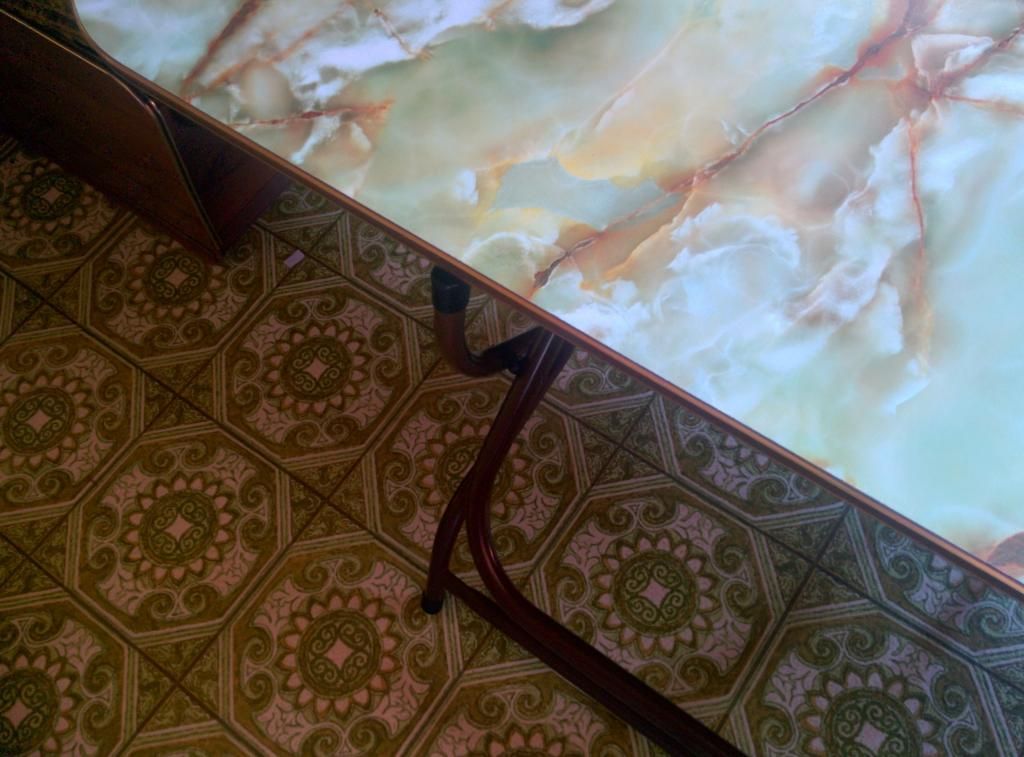 Anyhow I sort of gave up with it, I'll use the table in the annex while camping, I made up an MDF base with legs to slot into position for use as a bed. Still if anyone can point out how its supposed to be used I'd appreciate it. |
|
Deleted
Deleted Member
Posts: 0
|
Post by Deleted on Sept 15, 2014 10:30:32 GMT 10
Hi kayfam,
That's how it works,to trip people up!
The lower setting is called coffee table,they were designed to be used outside so you didn't need to carry 2 tables.
A short wooden leg screws in the corner to support the table as a bed.A lot of people threw away the leg and bought 4 screw in legs and fitted them instead,more legroom too!
Hope this helps
hughdeani
|
|
Deleted
Deleted Member
Posts: 0
|
Post by Deleted on Sept 15, 2014 10:58:34 GMT 10
Hi kayfam, That's how it works,to trip people up! The lower setting is called coffee table,they were designed to be used outside so you didn't need to carry 2 tables. A short wooden leg screws in the corner to support the table as a bed.A lot of people threw away the leg and bought 4 screw in legs and fitted them instead,more legroom too! Hope this helps hughdeani Thanks for clarifying that hughdeani! Wow. What a poor design, I see why people threw the leg away and fitted other ones. It just didn't seem right to me to have the legs sticking out like that. I feel less bad now for making up another base. I was expecting someone to point out something so simply obvious that I missed it! |
|
|
|
Post by tedalley on Sept 15, 2014 17:08:27 GMT 10
Kayfam Hi.
I'm wondering if someone (previously) changed the way the legs fold down as the boards that the frame are attached to look new.
I have a similar setup but the legs on the frame fold down the length of the table top not towards the width as seen in the, following, photo -- which is the storage / bedding position. This way no-one trips over the legs.

Maybe you can change it around.
I hope this helps
Ted
|
|
Deleted
Deleted Member
Posts: 0
|
Post by Deleted on Sept 15, 2014 19:35:44 GMT 10
Hi Ted and Kayfam,
You will see Ted that your table leg is not as wide as Kayfams,hence yours folds under table instead of sideways.
Cheers
hughdeani
|
|