|
|
Post by mausie on Nov 21, 2014 0:37:07 GMT 10
Well here goes nothing - the start of recladding using only advice offered by forum members and Barnes Caravans   The first sheet and already a challenge cutting the shape of the roofline and the top of the oyster-light recess. 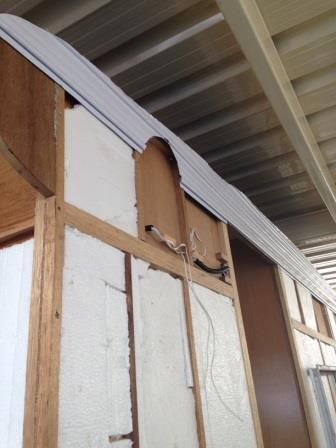 Hmmm! this one is easier - starting to get the hang of using the tin snips. 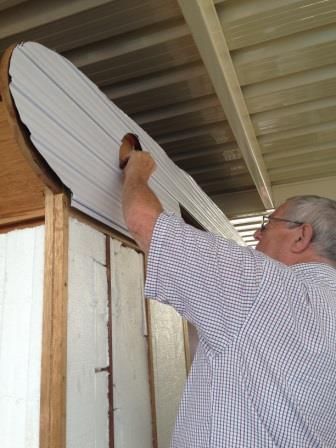 Not too shabby - the first side is done. Lucky (I guess) that it was a stinking hot day allowing the sheets to expand, 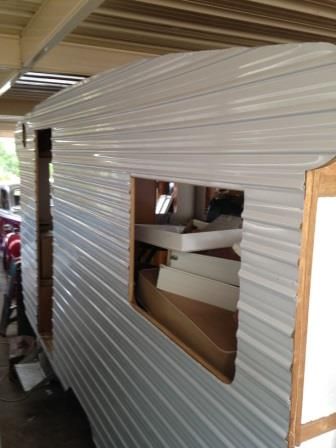 Now for the other side - much easier now 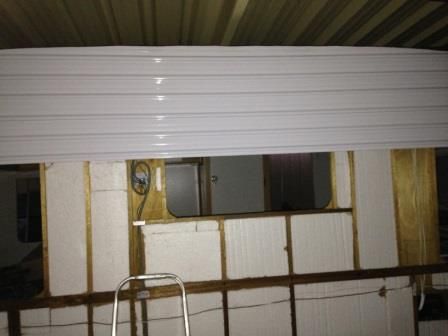 Windows recesses appearing now - still very hot - who said Canberra was a cold place (39 deg today) 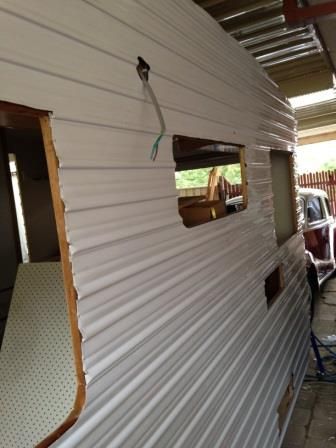 Now for the hole for the water tank filler 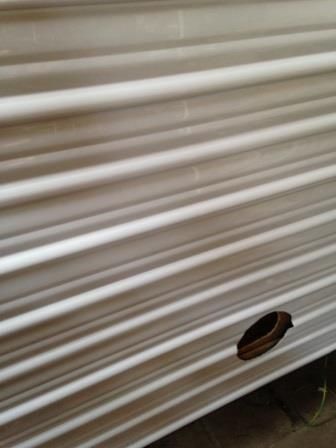 Openings for the fridge vents paying particular attention to getting maximum air flow by putting the top vent as high as possible 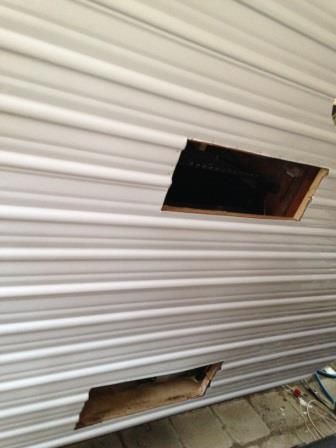 How does this look - really happy with the result so far - starting to look like a van again    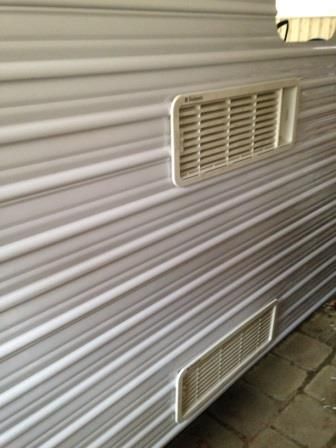 Off to Barnes Caravans again next week to pick up the roof aluminium, It is a pity the old stuff was so damaged - but very lucky the profile is still available ( CPF3) the sides are ( CP10) this is very close to the original profile for the sides. Well that's it for now Mausie and Joe |
|
|
|
Post by atefooterz on Nov 23, 2014 1:35:45 GMT 10
Awesome result!
|
|
|
|
Post by glennv on Nov 23, 2014 7:56:52 GMT 10
Looking good Mausie ! Right from the showroom floor !
|
|
|
|
Post by mausie on Jan 16, 2015 0:22:42 GMT 10
|
|
|
|
Post by tedalley on Jan 16, 2015 16:36:51 GMT 10
Wow ........ that looks great.
I bet all that outside new cladding set you back a bit!!!!
I wish the outside of my van looked that good.
|
|
|
|
Post by glennv on Jan 16, 2015 19:54:34 GMT 10
Sensational. You know, I have been mulling over how one would apply the roof skin, and it makes sense.
Some questions though...
How did you get the 90degree fold in the ally where the roll meets the front and back walls ?
Did you apply the roof as a single piece ? Or as 2 pieces and meet in middle on top ?
Again ... Looks really nice. Am very jealous
|
|
|
|
Post by mausie on Jan 16, 2015 21:46:42 GMT 10
Hi GlennV
The guys at Barnes who supplied the cladding did 2 things for me
1 they made all the folds for us including the bit under the front and rear windows
2 they made the roof seam folds as well. The front section had the seam folded so water doesn't enter. The rear section folds the opposite way.
The front section overlaps over the top if the rear section and has V4 sealant generously applied between the two layers. The overlap is pop rivetted together.
Joe
|
|
|
|
Post by mausie on Jan 16, 2015 21:51:13 GMT 10
The cladding cost a few bob but the old stuff was beyond repair. Looked like someone was let loose with a ball pean hammer in places :-( :-(
|
|
|
|
Post by atefooterz on Jan 19, 2015 21:52:00 GMT 10
Tell you what Joe i do believe that old maxim of "the price is long forgotton as the quality lasts on", and of course your hard caring yakka getting it just so, kudos & a dip of me lid to you!  |
|
|
|
Post by awbeattie381 on Jan 20, 2015 7:39:38 GMT 10
Wow this is going to be a ripper of a van when finished! I have to say Dave at Barnes knows a thing or two about vans (and is more than happy to share!).
I like the way you have gone for originality with new clearance and tail lights.
Keep up the good work!
|
|
|
|
Post by mausie on Jan 20, 2015 11:48:07 GMT 10
Thanks for the positive comments and your encouragement folks - it all keeps us going
We have made a few very subtle changes but hidden where possible:-) trying to keep the van retain its original look should make it look good in the end. We hope.
As far as the cost - we reached a point of no return sometime ago. But are very happy how it is all coming together. :-) we have been keeping a record but are took scared to look at the total now :-(
|
|
Deleted
Deleted Member
Posts: 0
|
Post by Deleted on Feb 13, 2015 16:57:47 GMT 10
Hi Mausie
I'm not experienced with message boards and just found your response now.
Hope things are going well. I have been putting in the hours on the inside of Birdie and enjoying it. I want to paint the outside and my brother pointed out that this it should be done in dryer weather so I have switched my focus now to the prep of the outside. Not as much fun as the interior, thats for sure. I have so enjoyed reading about your Capricorn . What a journey and how satisfying it must be. My makeover is much less thorough. It looks like my chassis # is 2205, I just found it today. Have you discovered what the Deluxe was yet?
Cheers and thanks for your Capricorn tale.
Helen
|
|
|
|
Post by Mustang on Feb 15, 2015 6:33:36 GMT 10
Tremendous effort, congratulations.
|
|
|
|
Post by mausie on Feb 22, 2015 22:07:57 GMT 10
Hi Helen I have no idea what the Deluxe stands for or how it differs from a standard Birdie?? There is so little history on these vans. I found a little and posted it on the forum. Well with a bit of luck our Tweety Bird will be Registered tomorrow or Tuesday - fingers crossed. The only things left to do to finish is to fit the pelmets and curtains, paint the stripes on the sides and to put the Capricorn logo on (when we find where we put them  ?) Mae have a lot more photos to post but after working on the van most days, we are too tired to fiddle with photos. We have some good tips for sealing the edge moulds and hatch. This will be show man in the pics :-) Mausie |
|
|
|
Post by mausie on Feb 22, 2015 22:09:48 GMT 10
By the way did you know the Mustang Nationals were on in Canberra today? Or are you into the horse type Mustangs ??
|
|
|
|
Post by mausie on Feb 25, 2015 8:00:56 GMT 10
WooHoo!
We took Tweety Bird to the weighbridge yesterday, it came in at 820 kg. then off to have it inspected for Rego.
Passed with flying colours !!! :-) :-) :-)
We are stoked.
There are still a few tiny jobs to do. One of which is to post some pics.
Mausie & Joe
|
|
|
|
Post by bobt on Feb 25, 2015 16:51:17 GMT 10
Congratulations Guys,
It has taken you awhile.. it looks really good.
bobt
|
|
|
|
Post by Caprinut on Feb 28, 2015 18:46:59 GMT 10
Mausie, Congrats on launching the Capricorn. I am envious of your weighbridge number of 820kg. Certainly avoided the inevitable weight gains that come from strengthening and improving on original build. Need to see photos of the interior now its done. Also your new hatch and sink drawers and all the bits that take so much effort. Does weight include water tank and gas bottle etc? Pics please! Pete
|
|
|
|
Post by mausie on Feb 28, 2015 21:09:19 GMT 10
The weight includes the gasbottle but no water in the tank.
No spare tyre either :-) we carry that in the ute.
|
|
Deleted
Deleted Member
Posts: 0
|
Post by Deleted on Mar 1, 2015 21:05:17 GMT 10
Glad you got here passed :-).
|
|
|
|
Post by Mustang on Mar 3, 2015 18:44:52 GMT 10
The weight includes the gasbottle but no water in the tank. No spare tyre either :-) we carry that in the ute. When I bought ours back from the chassis blaster, I put it over the weighbridge for fun, as it had no bed or frame, no gas, no bottle, no water tank, , no personal goods, absolutely nothing else in any lockers, (but I forgot the floor jack, ramps & spare wheel in the van, about 40kg). Weighed 940KG, (Expected about 800) Yikes!!!!  total AGM on the registration is 1250kg? makes one wonder about original specs as it is a 17' 6". |
|
|
|
Post by mausie on Mar 13, 2015 13:33:08 GMT 10
Our van is only 12'6"
The chassis on Capricorns were built quite solid. The springs are fairly good too - lots of leaves. If Tweety Bird was much heavier we would have to use one of the other Austins we have. :-)
|
|
|
|
Post by mausie on Mar 14, 2015 18:50:17 GMT 10
Hi folks
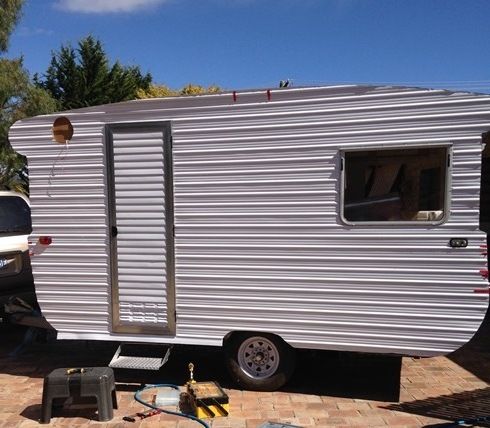
Here are the long awaited photos to complete the Capricorn - Birdie Deluxe "Tweety Bird" 12'6" body.
All this occurred in the last two months. 
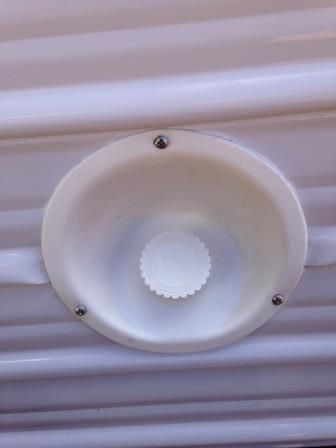
Water filler fitted and connected to tank
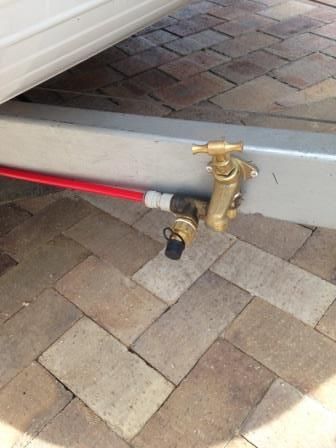
When in a caravan park one needs to take advantage of mains pressure water hey!!
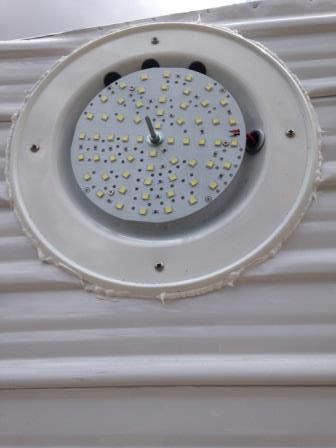
Check out the led fitted to the outside light, Same as inside the van and nice and bright and doesn't draw much power from the battery 
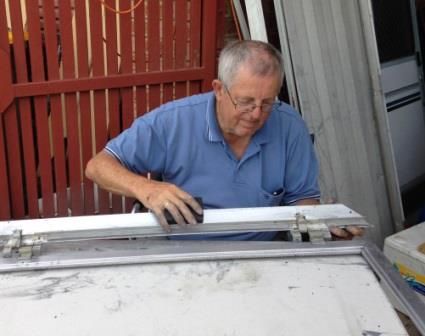
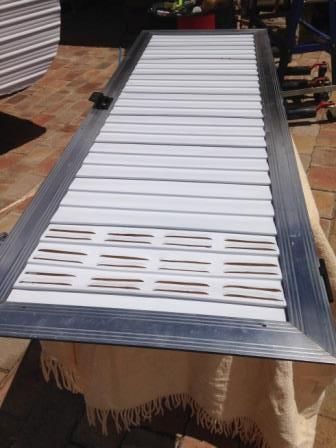
Cleaning up the door frame. Used fine wet and dry then polished with “Purple” metal polish. This took quite a while to do.
Door panel inserts came out of a window awning – it was the only way we could keep the authentic look. Although we took a few minor liberties elsewhere 
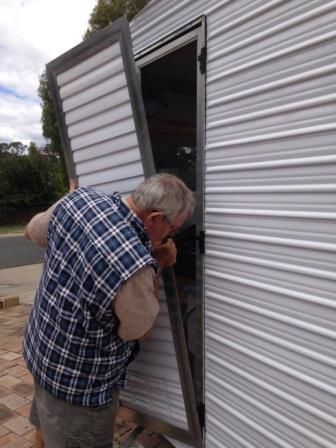
Done !!!
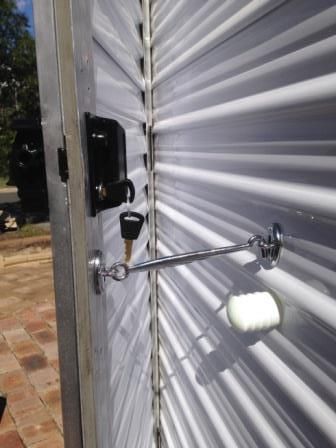
Lock, latch, catch and bump fitted – too easy. Hey this is starting to be fun ;-)
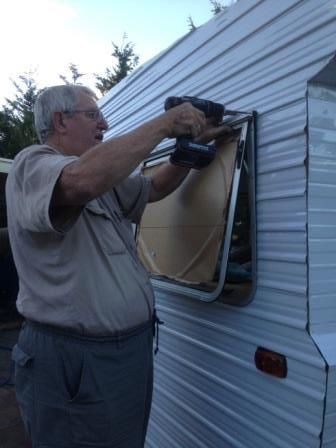
The Windows. We replaced the glass with 3mm Perspex, only because clumsy me broke the glass in the first window. Besides Perspex is ¼ the weight of glass. Total cost for perspex was $170. First two window perspex came from Bunnings $56. The rest came from a perspex shop all cut for $114. We used 1/2" square foam between the window frame and body. The foam has self adhesion on one side, that side goes onto a clean frame. The side facing the aluminium has a 3/16" bead of window clear silastic running around the centre of the foam. I am told that is the way the experts do it, I don't know I just said "yes sir!". The difficult bit was to flatten the aluminium around opening and edges. They told me to staple above and below each high ridge in the aluminium profile then tap down with a hammer. I found I was marking the aluminium so using a piece of a new shovel handle (earmarked for our cocky's cage perch), I positioned the handle vertically and right angles to the high ridge and hit the handle with a hammer. This worked a treat. Stainless Steel screws as originally used secure the window to the opening. The same method was used for the door opening.
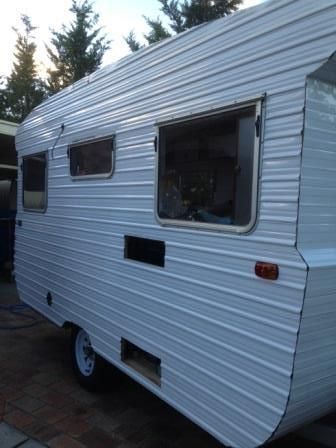
All windows done
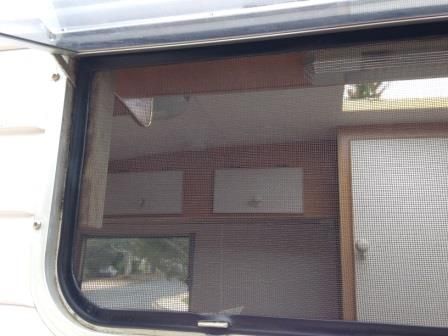
Fly screens from Caravans Plus fitted. The fly screen gives the windows the effect as if they are tinted, If you have double windows on the front and back of van beware – check that the top flyscreen is rectangular and doesn’t curve at the bottom like the bottom one does. I had to take two back for exchange Ooops!
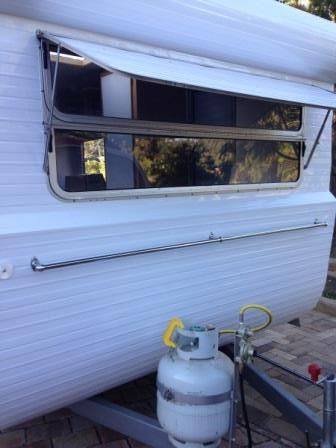
Front awning fitted and gas bottle fitted with a gas fuse,(to be sure, to be sure!!)
Rear awning fitted. Man I love this progress    
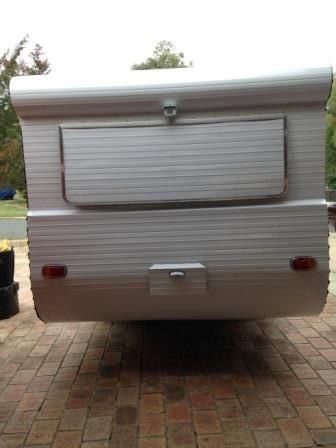
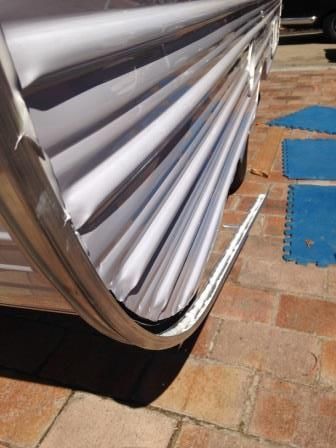
Edge trim fitting. Well we were having fun until I had to bend the top curves in the front and rear roof.    We tried very carefully to bend around a template I made but it was a disaster – the edges rippled badly Damn! Damn! Damn!  Lucky I found an aluminium bending workshop in Queanbeyan. They did a brilliant job bending the roof end rolls and the wheel arches. They also swore me to secrecy about their name and location because they didn’t want to do any more caravan bits, The bottom curves were a piece of cake. They bent easily without an issue. Phew!!
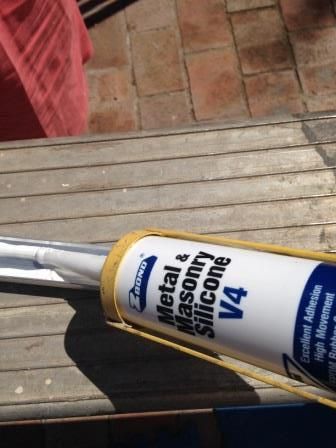
Applying the sealer to the trim before fitting. The advice I was given by Barnes Caravan Repairs is to apply two tracks about the thickness of a pencil, as shown below. They also recommended the sealant. If the sealant doesn’t oooz out after fitting the trim – then you have not put enough on !!!
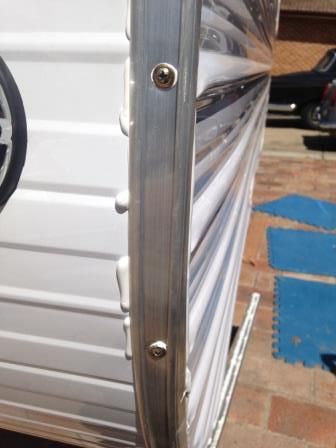
To remove the excess sealant, my tip is to use a bit of perspex, say 1 ½” wide with 30 degree bevel filed on the end. This works a treat. I used Mineral Turps to do the final clean up.
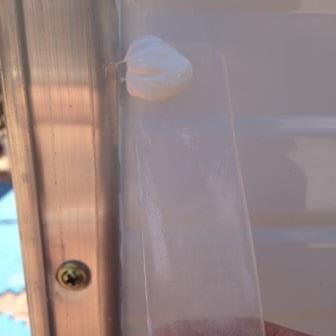
Now for the Four Seasons Hatch. I was lucky to find and aluminium just like the original one at CAMEC, the old one had been damaged by the previous owner. So if anyone wants the old one it its free to a good home plus cartage 
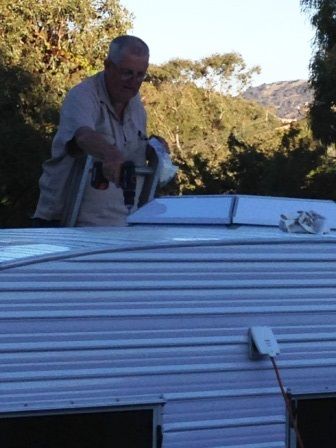
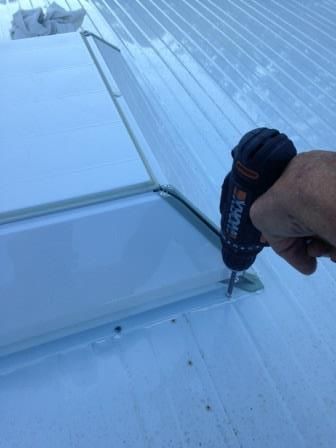
Again, make sure the sealant oozes out otherwise leaks.
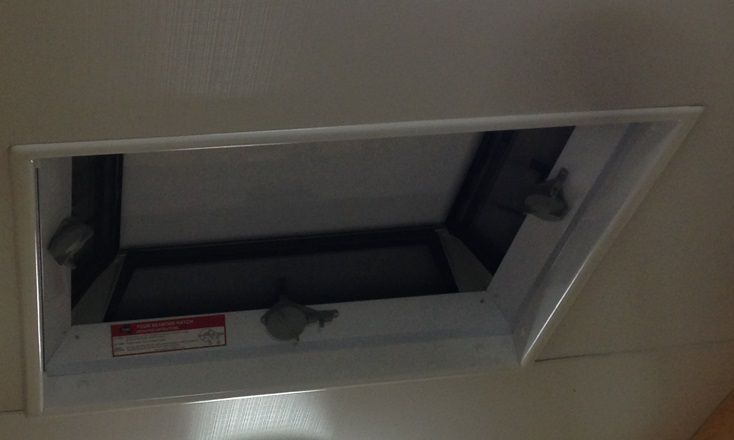
The guy at CAMEC asked if I wanted the inside finishing trim. What could I say !!! but Yes please. This finished the hatch opening perfectly. I had to cut about an 1” off the top bit that fits into the hatch recess because the trims are made to accommodate various roof thicknesses.
Now for a few necessary identification touches
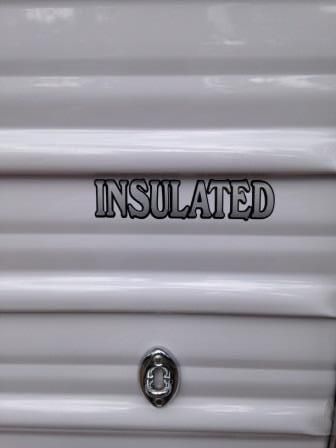
Insulated goes on. Now the van is truly insulated - originally it had the sticker but there was no insulation in the walls just a tiny bit in the ceiling.
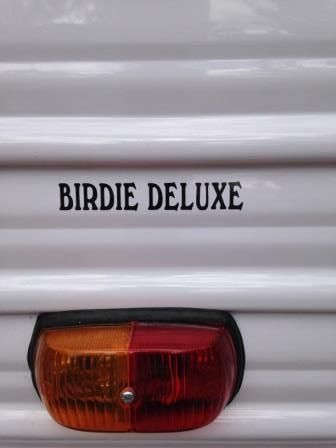
Birdie Deluxe, as the original was
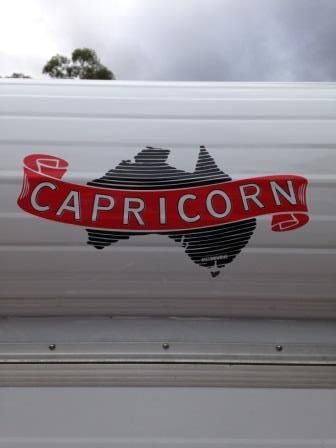
Now the icing on the cake. The Capricorn logo. It is made in two parts and made of UV vinyl. First part is the map of Australia and word Capricorn in black.

Now the red bit. This was tricky because I had to align the word Capricorn. This looks really neat. I had the decals made by a guy I met in the caravan park in Wellington NSW 18 months ago. He makes vinyl signs as part of his nomadic living. I got him to GOOGLE Capricorn Caravan on the internet and quickly we found the logo. I gave him the dimensions and away he went. He had them made that afternoon. I am sure any company who does this could make them up if someone wants them. We had a moment of panic because we had put the decals somewhere safe but couldn't find them when needed.  But Mausie turned the house upside down and fond them where she had put them. But Mausie turned the house upside down and fond them where she had put them.
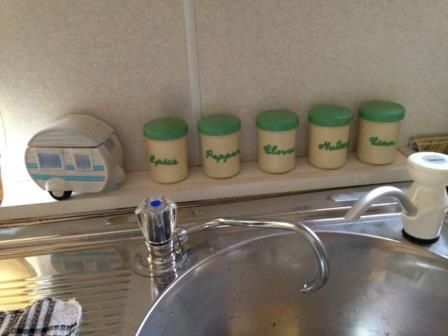
Additional sink tap. In our original sink there was a hand water pump on the right side and another hole on the left blanked off, so I fitted a mains pressure tap in it. The spout is moveable up and own so the position in the photo is not usual position. I also fitted a pressure reduction valve in the line next to the chassis.
Finishing Touches.
The Small Condiment period canisters were donated by our daughter-in-law’s granny – what a darling.  
The little caravan was a gift from our daughter-in-law and son.  It came from one of those Crazy Sam shops. (there is also a money box available in the same design and colour) It came from one of those Crazy Sam shops. (there is also a money box available in the same design and colour)
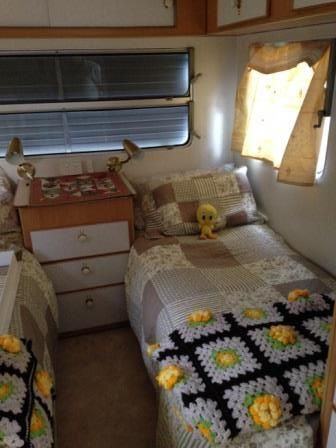
The beds. These are all rebuilt because there weren’t any when we bought the van, same for the in-between cupboard. Mausie made the curtains, bed quilts, pillow slips and crocheted bedspreads, She also found brand new inner spring single mattresses on Gumtree $50 the pair  But I had to take a row of springs off the side an two off the end. This was a S@## of a job    But look how nice it is now. But look how nice it is now. The “Teasmade” atop the cupboard was donated by Mausie’s mum. It makes a cupper for you at the time you specify. When ready the buzzer goes off and the light comes on. It works. Mausie's mum said she thought we wouldn’t need the box it came in so she threw it away. Give yourself and uppercut Mother-in-Law but thank you. The Tweety Bird doll came from Salvos. We have a Sylvester doll for the car too. (yeah! we are big kids  ) )
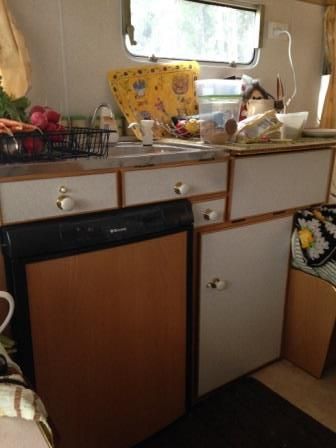
The kitchen cupboard all finished. Complete with bikkies, kettle and vegies on the sink Ooops! Who left that there. The cupboard is original except for the little draw next to the fridge which now holds knives and 2" added to the depth to accommodate the fridge neatly. Oh! We think we mentioned previously that we had to get a new fridge because the old one had to be shot it was so sick.
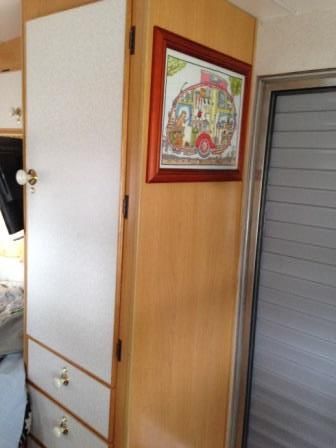
The wardrobe had to be made using the row of staple holes in the original van used as a guide to size. It has three draws below and a fire extinguisher below the draws utilizing the space next to the wheel arch,
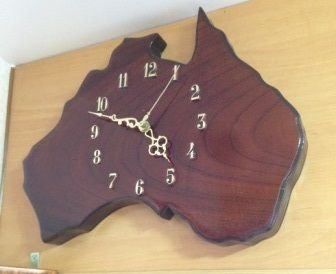
My addition is the Clock I crafted. Notice there is no Tassie. The original Capricorn logo had no Tassie on it (an oversight on the original manufacturer's part  ). However we added Tassie on the logos on the front and rear of the van ). However we added Tassie on the logos on the front and rear of the van 
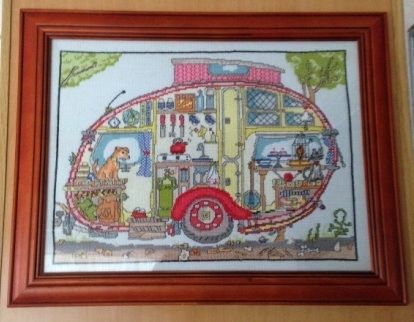
Mausies addition. The cross stitch of a Vintage Van a very nice touch, we purchased the pattern on eBay. The frame came from the Salvos store $5 – bargain.
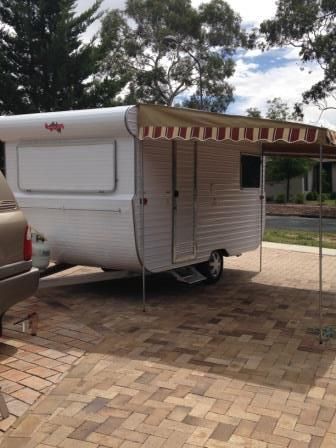
Ah! One more addition, the side awning. This was made for us by one of our car club mates who does brilliant canvass work you must agree. The design is light weight canvass with Mausie’s input on the scalloped edging. This is a perfect fit and can be free standing because it has spreader bars between poles but I will use some ropes on the poles to anchor to the ground in case of wind. I wanted to get some 13" steel rims for the van but all I could find were these sunraysia ones so wheel trims from Supercheap went on. 
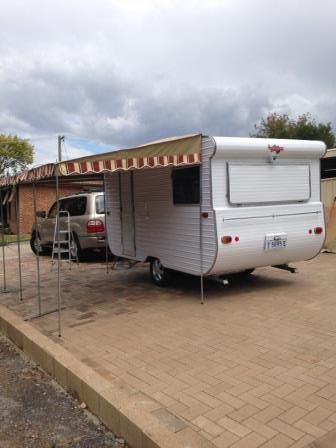
All that needs to be done now is to paint the stripes on the sides.
The van now passed thorough rego check and ready for the Birdie Deluxe “Tweety Bird” shake down trip to Tassie. What!!  To Tassie you say that’s not a shake down that is a mammoth trip. Why ?? Because Tweety Bird and our Austin 1800 Ute “Sylvester” (not restored and only 36,000 miles on the clock) are off to Austins Over Australia in Devonport over Easter. We have left early to explore Tassie. To Tassie you say that’s not a shake down that is a mammoth trip. Why ?? Because Tweety Bird and our Austin 1800 Ute “Sylvester” (not restored and only 36,000 miles on the clock) are off to Austins Over Australia in Devonport over Easter. We have left early to explore Tassie.
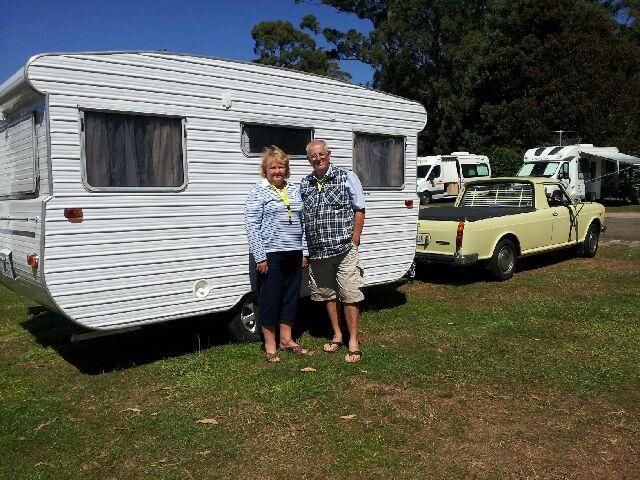
And here we are at Swansea, Tas. Look at the view we have to put up with
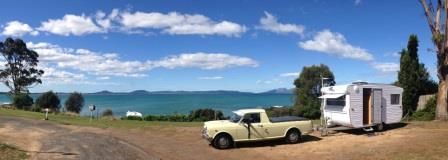
So endeth the restoration. Any questions? And please don’t ask how much it costed. But I can tell you, I now have some neat tools that I didn’t have before but I needed to do the job   
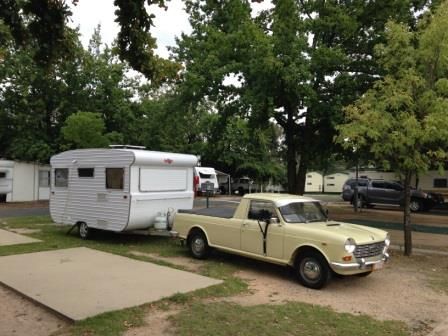
An epic rebuild journey but now can say it was all worth the effort.
Joe & Mausie [/div] [/font][/font][/font][/p] |
|
|
|
Post by pisces51 on Mar 15, 2015 18:25:52 GMT 10
G'day Joe and Mausie, Well, it was back in October 2011 that you guys first appeared on this forum with your van. And here we are now three and a half years later and you've DONE IT!!     Congratulations to you both on an OUTSTANDING effort to get your van looking the way it does - absolutely beautiful both inside and outside!  This thread will live on the forum as a "go-to" thread for anybody who is keen to see top quality work on a Capricorn van. I salute you both!   All the best for your travels in the van. I'm already jealous of you being in Tassie...a wonderful place. Make sure you post plenty of photos of your travelling around. It's always great to see people enjoying the fruits of all their hard labour. cheers, Al. |
|
|
|
Post by mausie on Mar 15, 2015 19:08:14 GMT 10
Hi Al Thanks for the complements  It is due to information on this form, help by wonderful people like yourself, encourgement from members on the forum and our love of vanning that has got us through. We are looking forward to showing it off at the Vintage Caravan Nationals next year. We have also been following your progress on your project and think we have had it easy compared to what you done  Now we will have to put some pics on the travelling thread  You had me confused when I saw your post - have you changed you identity  Joe |
|