|
|
Post by mausie on Jun 5, 2013 1:19:36 GMT 10
Hi Al Thanks for the encouragement  Yes Joe is very clever, you should see what he can do with our cars  Once the wiring is done we can start putting the cladding on - it looks a bit undressed right now  Just can't wait to start using the van and having fun Cheers Mausie |
|
|
|
Post by Caprinut on Jun 5, 2013 22:56:37 GMT 10
Mausie. Good work so far - need photos to view..
Don't forget when you put the cladding on to either preheat the sheets ( how I don't know?) or do it when it is a hot day and let the cladding bake in the sun before. My sheets get all wavy on a hot day because I did it in winter.
Pete
|
|
|
|
Post by mausie on Jun 5, 2013 23:16:20 GMT 10
Great tip Pete, we didn't think that would happen   Might wait for warmer weather before putting the sheets on  Thanks Mausie |
|
|
|
Post by mausie on Jun 16, 2013 21:58:41 GMT 10
  On the go again  Nephew sparky came over today to rewire the 240v cabling. We made great progress power points are in place and cable has been run. We chose to run as much cabling as possible inside the van instead of through the timber frame. We ran te cable inside flex conduit. He is coming back on Thursday to finish off. We can't fit the outside power inlet until the cladding goes back on though. Mausie
|
|
|
|
Post by mausie on Jul 11, 2013 0:34:59 GMT 10
Hi all On the weekend we decided to bite the bullet and get into the 12 Volt lighting system    We went shopping and bought the van a deep cycle battery; charger; voltmeter; fuse box; bus bar; and some wire. Broke again!!  Anyway Joe got into it as soon as we were home again. He made a power board to hold the charger, fuse box, voltmeter and bus bar (for earth connections) and fitted all the bits neatly. Then connected the bits to the battery That done Joe set about running wiring for the lighting. We installed into the oyster lights, our "You Beaut" 60 LED lights we picked up on the internet. The light switches are wired up for 2 way switching - one switch at the door and one next to the bed  Talk about "Let there be Light - and there was Light" I will have no problems doing my knitting and craft now    We also ran the wires to the bedside reading lamps. Joe converted these to use 12V LED globes. Well we took photos but Photobucket didn't want to play tonight - after uploading we just got these spinning wheels where the photo should be. We tried 3 time no luck. Will try again tomorrow - perhaps the Photobucket God is having a nap!! Cheers Mausie & Joe |
|
|
|
Post by mausie on Jul 11, 2013 12:31:43 GMT 10
Success - used the other computer and Photobucket worked - I think it was the wireless connection problem on the laptop  The original Oyster lights now have the original 240V and 12V lamp fittings removed and a straight screw fitted to hold the glass and the new 60 LED light. 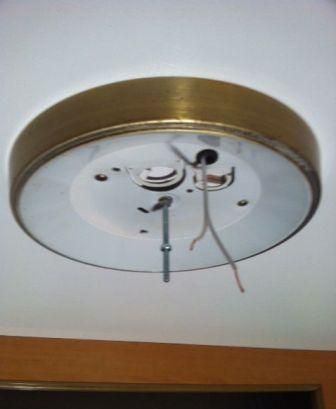 60 LED lamp fitted and wired into the 12V system. To find these do an eBay search on Caravan Oyster LED upgrade - 12v high output light upgrade kit. Only $39 each. 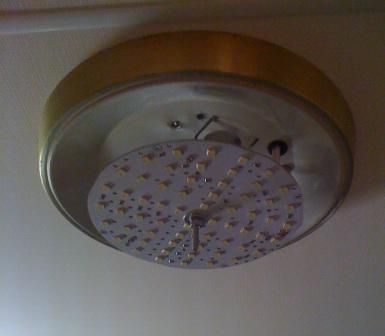 The light test - wow!!  where are my sunnies   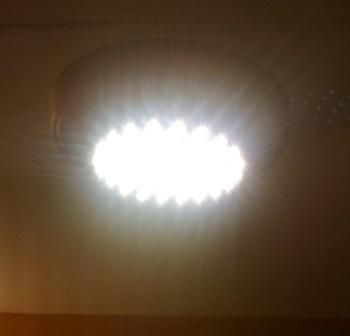 Glass fitted and nice light 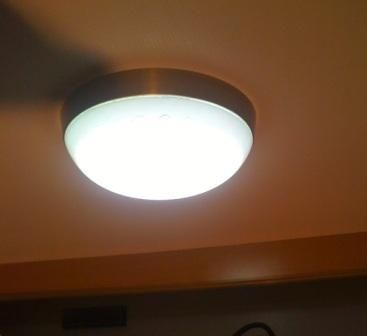 "Let there be light - and there was light" I think knitting and craft will not be a problem with these lights    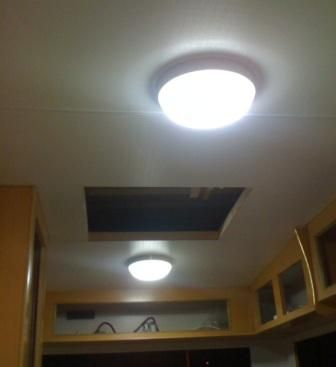 Next post will have the bedside reading lamp conversion Mausie |
|
|
|
Post by mausie on Jul 11, 2013 19:33:57 GMT 10
Back again and a bit more done. Geeze its cold outside  Today's jobs - Joe - Convert bedside reading lamps from 240V to 12V LED. Mausie - put polystyrene foam into the walls. We got the stuff FREE from loading docks of furniture stores. They use it as packing around fridges etc. 2 walls done - pikkies on the weekend  We used the 12V globe holders from our Oyster lights - these can be purchased from a lighting shop if you are lucky - today we did that because someone broke the screw on retaining ring but we got a new one now.  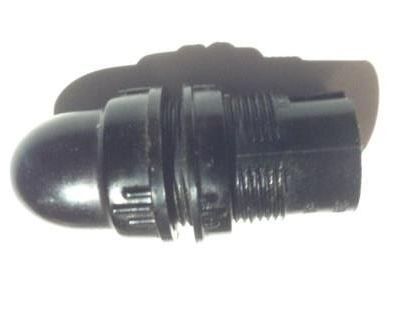 Here is the bracket the bloke who broke the retaining ring made - good job 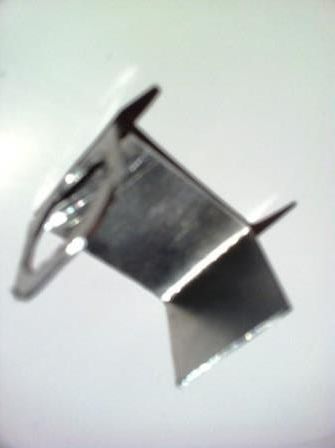 Holder and bracket assembled 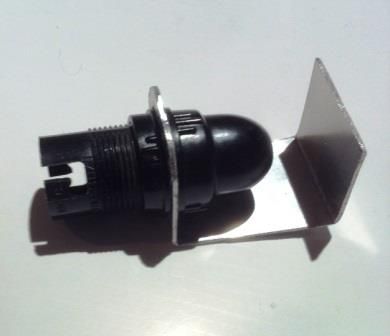 This is the LED globe we used - doesn't look like much 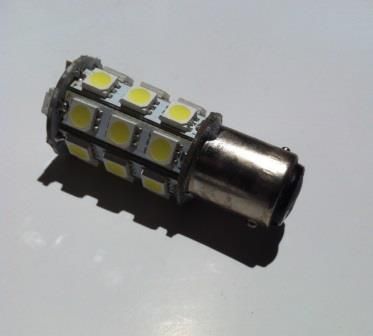 Here is the part no. and description we purchased them from ALLED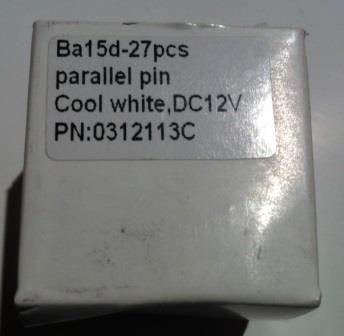 Here is the modification assembled 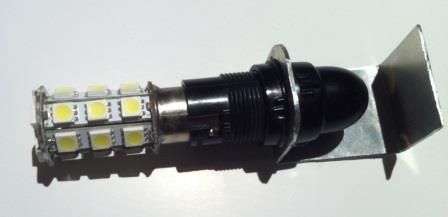 The original reading lamp switches were brittle and broke - new ones almost identical were found at JAYCAR cheap as chips  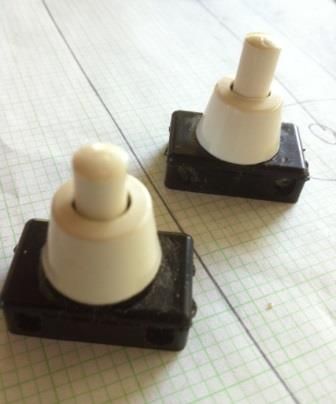 Here it is all inserted into the Reading Lamp - still doesn't look like much does it !! 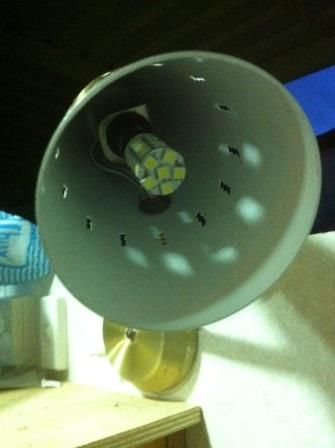 Time to TEST!! WOW!  check it out - no worries reading me thinks  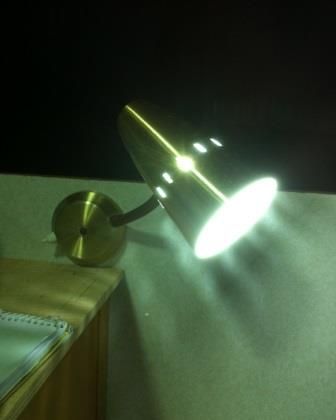 Well that's it for now - hope you found the 12V stuff interesting Cheers Mausie & Joe |
|
|
|
Post by ForumMod on Jul 11, 2013 20:25:20 GMT 10
G'day Mausie and Joe,
Well, you guys have certainly been very busy!
Looks like you've got a few changes happening there, and some very good results out of it as well!
Can't beat the freebie foam, ay?! Another fine example of recycling somebody else's discards.
If you turn all the lights on in the van, I might be able to switch off a couple of lights in our house and just use the glow from your place, heh heh.
cheers,
Al.
|
|
|
|
Post by mausie on Jul 11, 2013 20:52:39 GMT 10
Hi Al We were just looking at the progress you are making on your oldie. Had a chuckle over the ceiling not being on to allow light in  You are doing a brilliant job. I like the old cable ties you used - brought back memories. All starting to come together now on ours but still heaps of work to do. We are trying to keep changes from being too noticeable so basically the van looks close to original except where we can't avoid it. We still have to make the drawers in the cupboards and doors etc. Have to take some pikkies of the beds and cupboards and post them. Cheers Mausie |
|
|
|
Post by mausie on Jul 12, 2013 20:35:52 GMT 10
Some pics of power board to support the 12V system and charge the deep cycle battery This and the battery live under the dinette seat next to the fridge The display is obviously the Voltmeter - to the right is the fuse box - then a circuit breaker 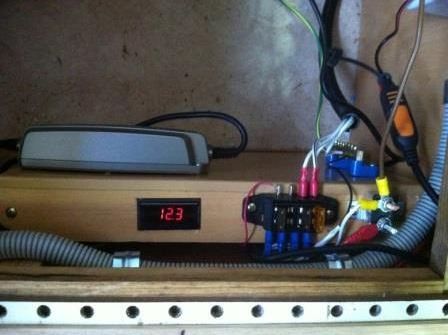 You will recognise the grey CTEK box as a battery charger 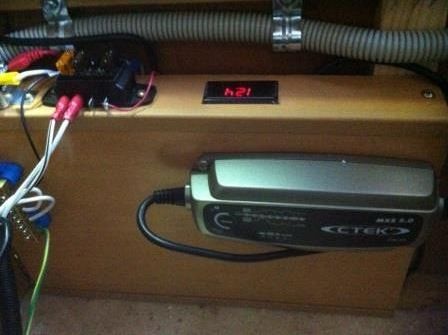 Cheers Mausie & Joe |
|
|
|
Post by mausie on Jul 12, 2013 20:36:25 GMT 10
How busy have we been   Battery fitted and ready for action 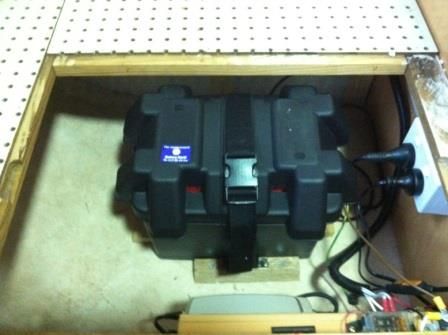 12V power supply under the seat 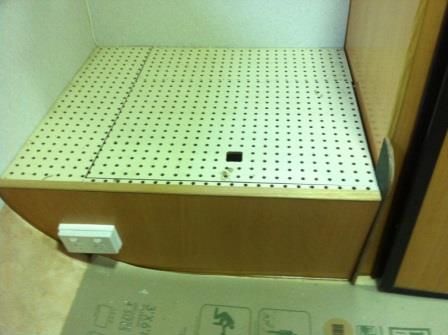 Oh! here is other stuff we have been doing Bedside table - no drawers yet - but will be made soon 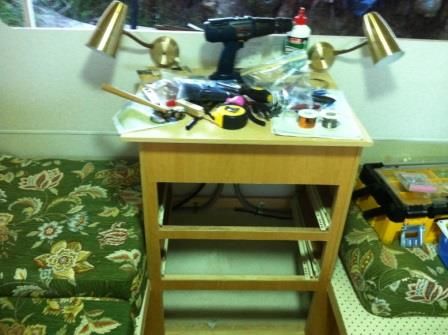 Overhead storage - neat hey!! 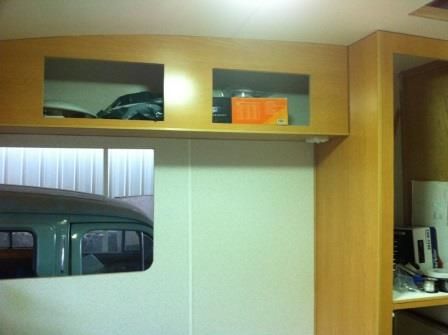 Wardrobe = door and drawers coming soon - note the fire extinguisher recessed in the bottom 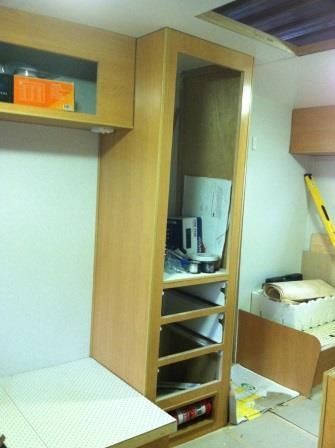 Kitchen in progress 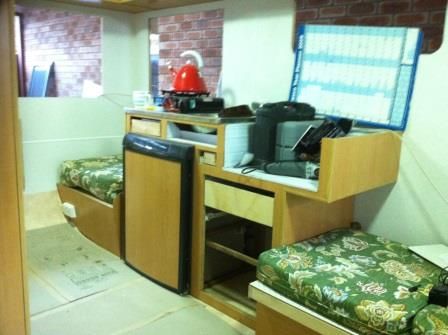 Ah! The clock - more Joe's handiwork  - Sorry no Tassie yet!  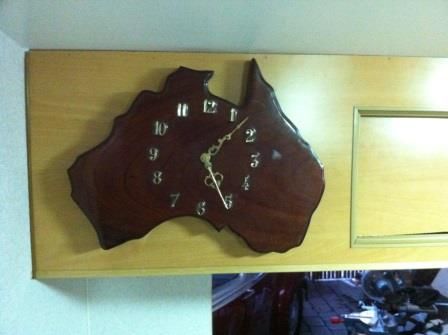 Well I think the next job will be the dinette cushions. Joe is re-upholstering cushions for a mates 1969 Franklin so he may as well do ours at the same time    Cheers for now Mausie & Joe |
|
|
|
Post by mausie on Jul 14, 2013 11:15:36 GMT 10
Mausie's handiwork - the Capricorn is truly insulated now. When we removed the original cladding there was no insulation except a hint under the roof - the original sticker said INSULATED Well now it is true and we have new stickers to apply later as well  The Polystyrene we picked up from the recycling bins around town - good price - FREE!!! I had fun doing this until Joe said you didn't stick that part down yet did you? I haven't finished working on that bit   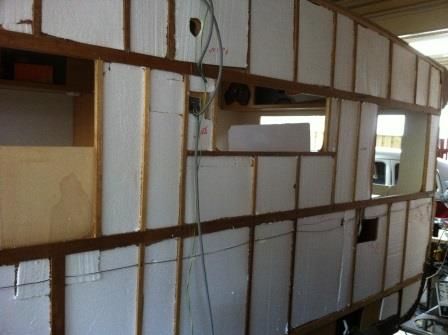 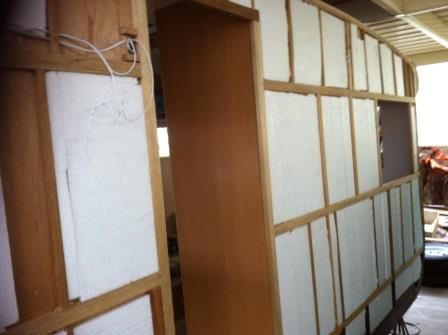 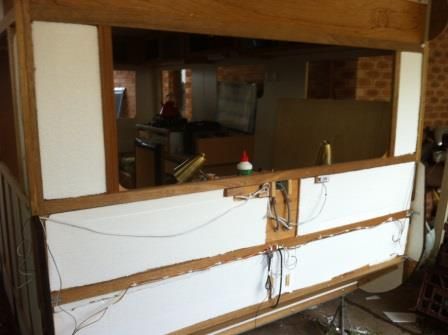 Cheers for now Mausie |
|
|
|
Post by Caprinut on Jul 14, 2013 20:51:31 GMT 10
Mausie,
Fantastic job. Brings back memories of mine. So similar. I would paint all the timber frame that is open now before putting cladding on. Don't know why caravan builders don't seal the timber that is going to be concealed. Any old paint will do and it can only help to stop any future wood rot. Also run as much wire as you can imagine and then some more! When you decide to add a tv or extractor or sound speakers you will be grateful you allowed some extra wiring. Add a 12v power point at the bedroom side for mobiles and recharging of all the incidentals that modern life offers. You can get a small 12v plug with usb 5v port at 4WD stores. Although trunking is the right way to run wires it is still painfull trying to feed more wires through. I added some discrete exterior lights for the annex plus some small lights at the dinette for when you don't want the main lights arcing down on you. Buy the bulk packs of decking lights that draw no current and last forever.With an onboard battery you just need to hook it all up with a switch between. Ikea also have some fantastic tiny spots they make for shelf units which are great if you want to sit and read a book. Just check that they are 12v and not 5v as some are.
Also think about what hooks are going on afterwards on the cladding-ie door hooks and tv brackets etc and glue a block of timber in place before you put the cladding on so you have something for the screws to bite into. Lastly take some measurements so you don't have to go tap-tapping along the cladding looking for the timber frame points. All items I struggled with later. Great job so far, Pete
|
|
|
|
Post by mausie on Aug 5, 2013 18:26:41 GMT 10
More progress. With this cold weather we shelter inside and do little jobs where we can be warm. Brrr!!!!!  Joe dusted off his industrial sewing machine he uses for his car upholstery and started work on the dinette seat cushions ;-) First – for the back of the cushions we make a zipper entry so we can get the foam rubber and padding in. 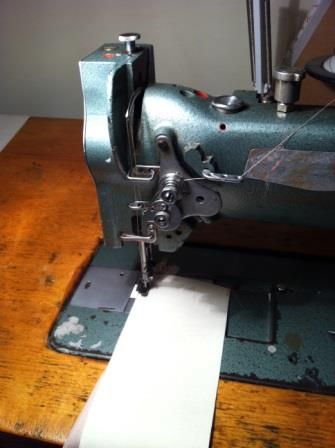 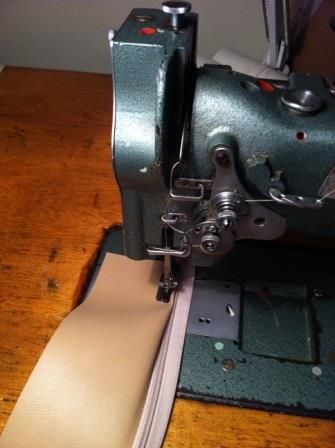 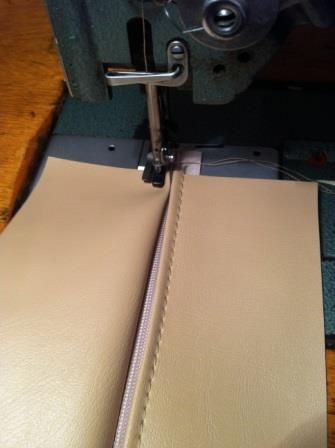 First zipper panel finished. we make one of these for each cushion and backrest. 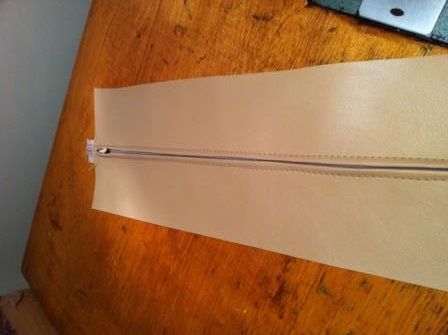 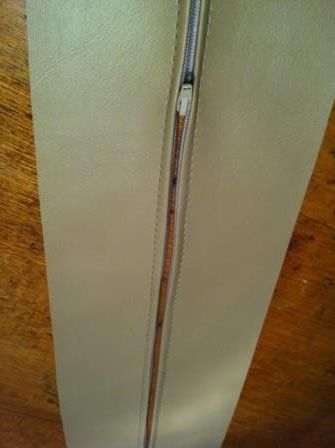 Adding the other 3 sides of cushion skirt (all one piece) 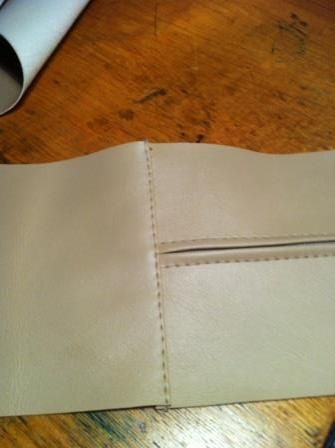 Sewing skirt to top panel (already has piping sewn on) 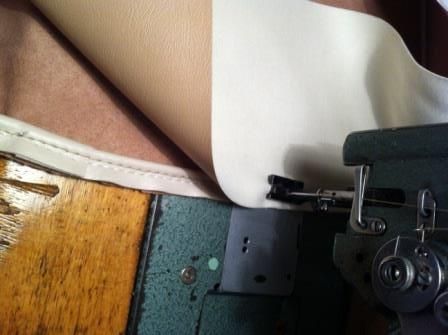 Top panel and Skirt done !! 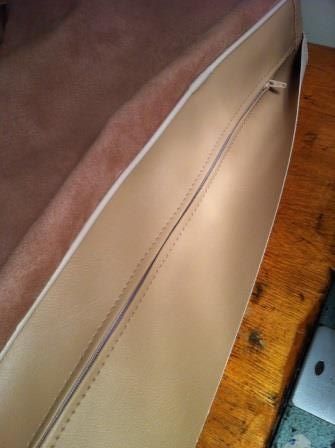 Bottom panel Sewn on 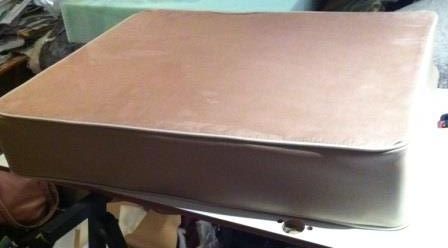 Back rest sewn together – not finished yet still need to insert Dacron wadding; and make covered buttons 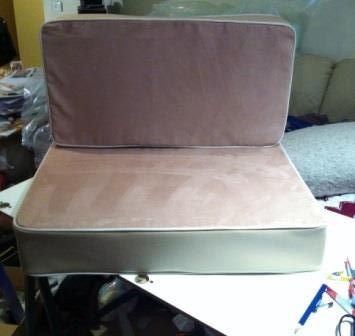 Wadding and buttons in 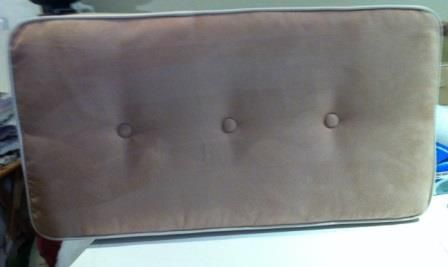 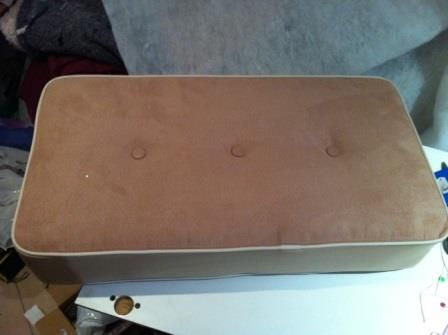 Well that's how its done. Need to take a few pics of them sitting in the van      Blowed if I know why photo bucket does a 90 degree flip of the photos every now and then even though we edited them to be the right way around  Cheers Mausie & Joe |
|
|
|
Post by youngdazza on Aug 5, 2013 19:53:51 GMT 10
Now they are professional looking cushions! Congrats!
|
|
|
|
Post by mausie on Aug 5, 2013 21:35:21 GMT 10
Hi youngdazza
I bought the industrial sewing machine about 20 years ago - still going strong. These are the first van seats I've done. Upholstered about a dozen car seats.
We are Really happy with how they turned out.
Joe
|
|
|
|
Post by ForumMod on Aug 6, 2013 14:24:41 GMT 10
Gosh! Who's a clever boy, then?!! Brilliant job!!!   |
|
|
|
Post by mausie on Aug 6, 2013 19:16:19 GMT 10
|
|
|
|
Post by Caprinut on Aug 14, 2013 19:30:12 GMT 10
Stop it you two! Cant put a price on that sort of dedication and care.  Here's my sewing machine   |
|
|
|
Post by mausie on Aug 15, 2013 1:11:11 GMT 10
|
|
|
|
Post by bobt on Aug 16, 2013 21:49:44 GMT 10
I think I need to get real friendly, I need some upholstery work done in a car..
|
|
|
|
Post by mausie on Aug 16, 2013 23:27:50 GMT 10
Which car and where do you live Bob??  We can talk about it at Rocky  Joe |
|
|
|
Post by mausie on Oct 26, 2013 21:16:28 GMT 10
Back from the 15tg National Caravan Rally in Rockhampton - 585 vans    Checked out the vintage vans visiting Canberra for the "Museum of the Log Weekend" - awesome display of oldies on the bank of Lake Burley Griffin"  Now pumped up to have our Capricorn finished for the Broken Hill rally - sleeves rolled up - tools sharped.  We spent the last two weekends making and fitting doors to the overhead cupboards. They are looking great - will post photos soon  Joe & Mausie |
|
|
|
Post by mausie on Oct 27, 2013 21:11:33 GMT 10
As promised here are the pics of work Joe has done making the doors and fitting them to the overhead cupboards    We will start with the easy ones - the sliders on the ends of the van 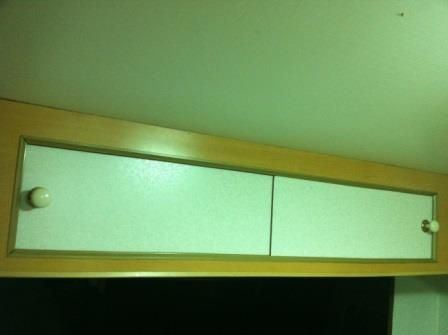 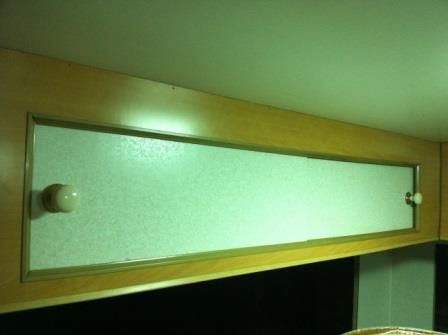 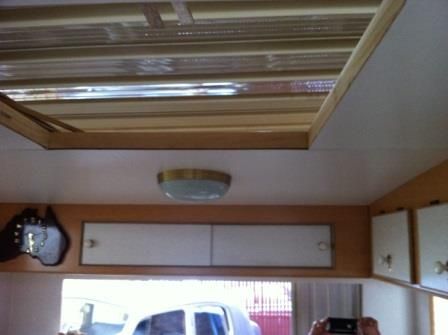 Joe fitting the doors to the overhead cupboard - I think he is clever  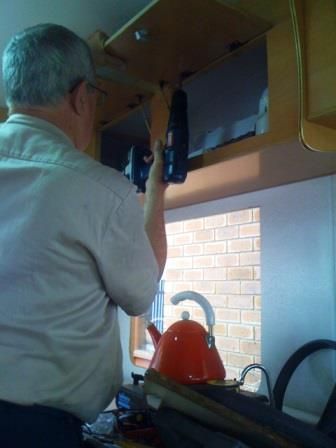 Notice the bright oyster light running on 12V and fitted with LED fitting as shown in previous posts 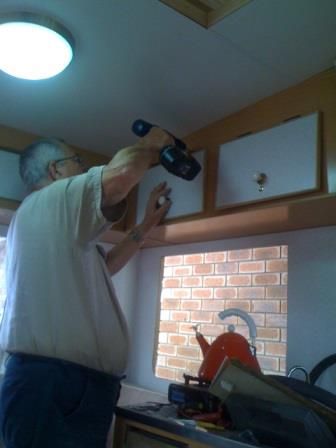 I fittef the little bump pads to the corners    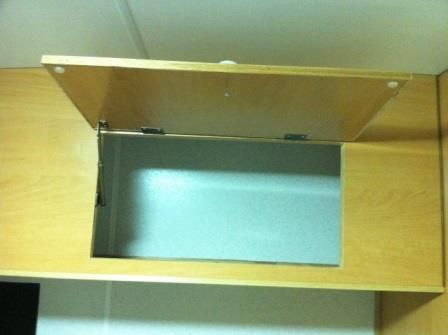 I think they look nice. The original doors hinged from the side but we thought it would be better to hinge from the top so we don't bump our heads if a door is left open  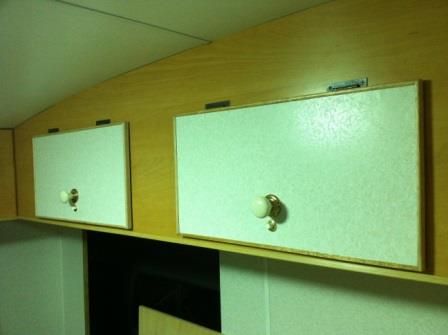 The centre amber sliders are the originals 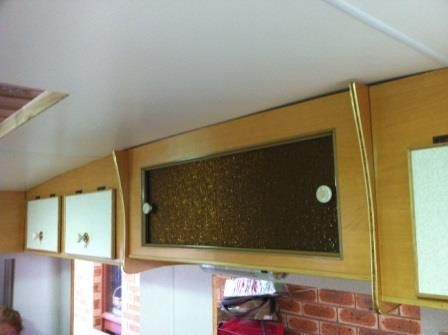 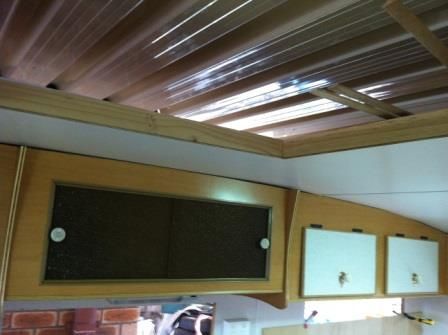 The wardrobe door now made & fitted as well 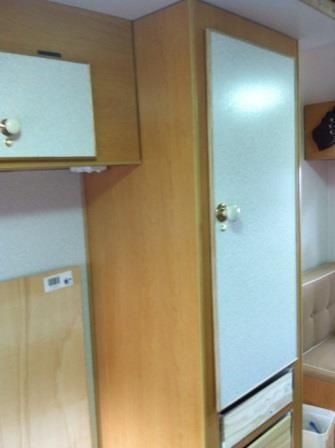 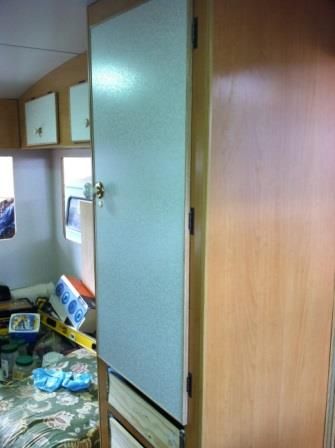 All the doors are made from two 3mm ply with a 4mm gap between. The edging is oak edging from Bunnings - sort of a J shape. The edging was sanded then simply coated with Cabot's clear. The door knobs are second hand ones in very good condition I picked up from recyclers and paid $5 for 24 of them - cheeky hey!! The push buttons were purchased new from Caravans Plus. Hinges purchased from Bunnings and are identical to the originals except for the rust  Next job is to make the draw fronts for the kitchen, lower wardrobe and bedside cupboard. Cheers Mausie |
|
|
|
Post by Caprinut on Oct 29, 2013 22:15:56 GMT 10
Mausie, good progress! Interesting choice of white doors. Looks very modern. I used piano hinges and went nuts screwing then all on! Robe door looks different- only one large panel - not as original? Do I spot a large skylight hatch opening? Maybe a clear hatch like I,ve got? I really love our big skylight view when out camping. Need to see how your kitchen will look. Are the cladding sheets fitted yet?
Pete
|
|