|
|
Post by doublechevron on Sept 11, 2015 8:38:52 GMT 10
I cut out a strip of aluminium sheet and pressed it into the frame and pop riveted it as you can see to "slightly lengthen" the panel so it now slots into the frame correctly. It's frustrating how long everything is taking!
seeya, shane L. ....................................................................................................................................................................................................................................... Haaah , you who had a timetable on windows!!!!!           This happenens to me EVERY day...... This happenens to me EVERY day......
If I were closer I would come & help...Rethinking no I would come & drink beer & watch you!!! Cheers I've only finished the wiindows on one side of the caravan ..................................................................... |
|
|
|
Post by doublechevron on Sept 10, 2015 9:48:29 GMT 10
Well I drilled all the pop rivets out of that window cover. 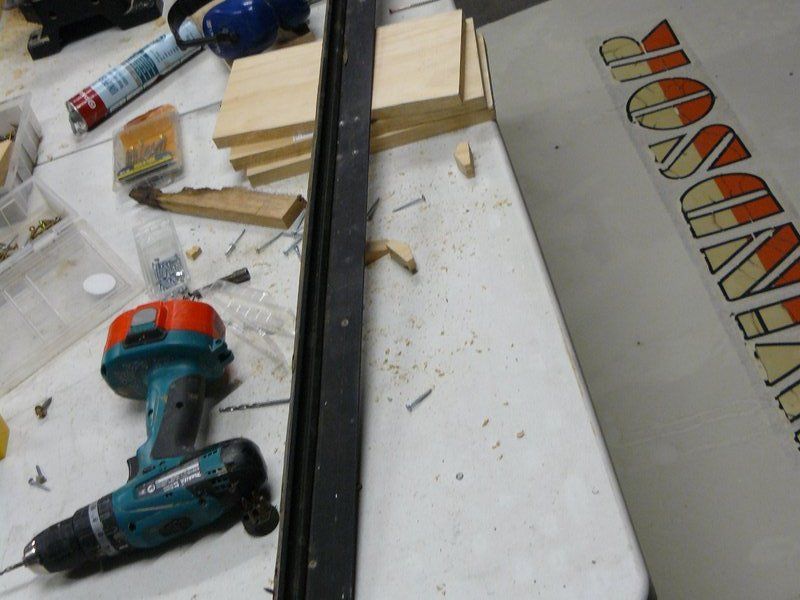 As soon as you remove the big hinge across the top it all falls apart. It's incredibly flimsy one apart. 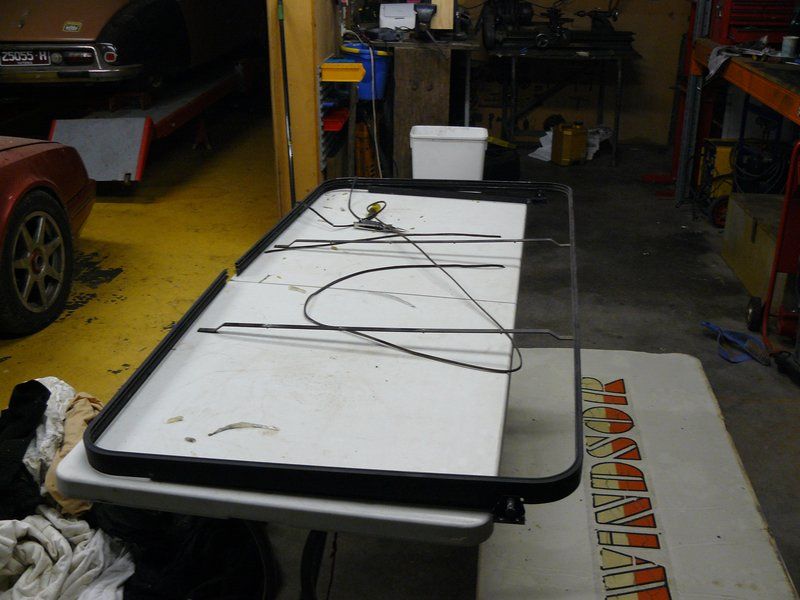 It's been repaired numerious times over the years (given the caravan still has it's original unworn cross plies on it I'd say this sucker fell off and popped apart every time the caravan was moved). I removed the silicon that must have been trying to hold it together as well. 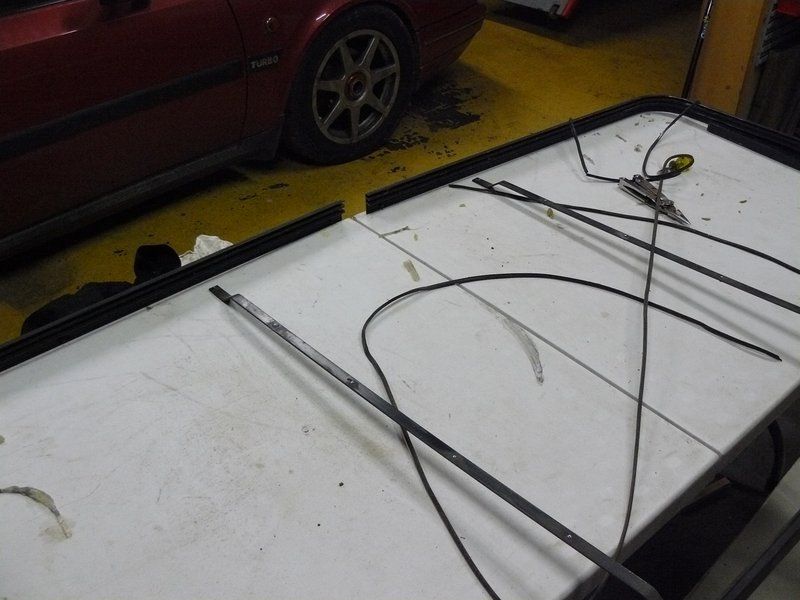 with the top hinge off it "opens" along the top edge. the rubber seal is all that holds the edge of the aluminium into the frame. The seal looks like a long length of window wiper blade rubber. 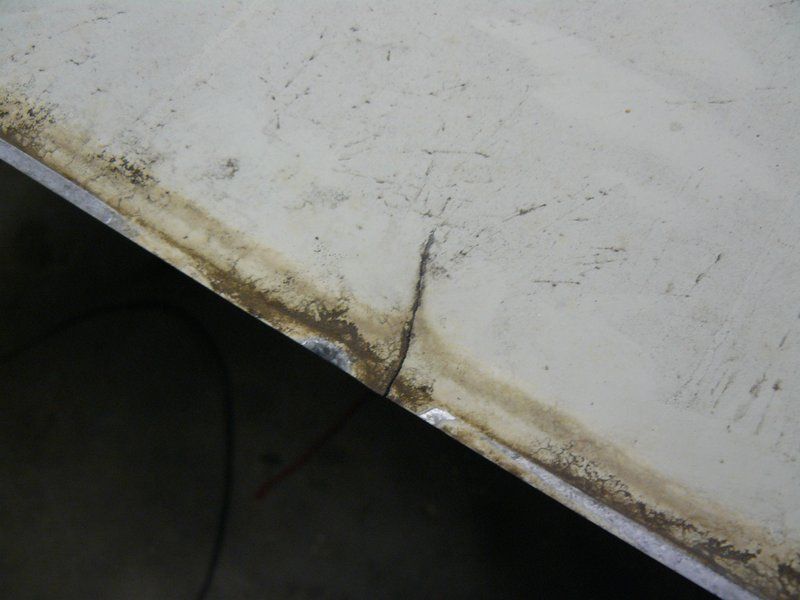 Look how old the cracks in it are.... I'd say this happened when the caravan was new. 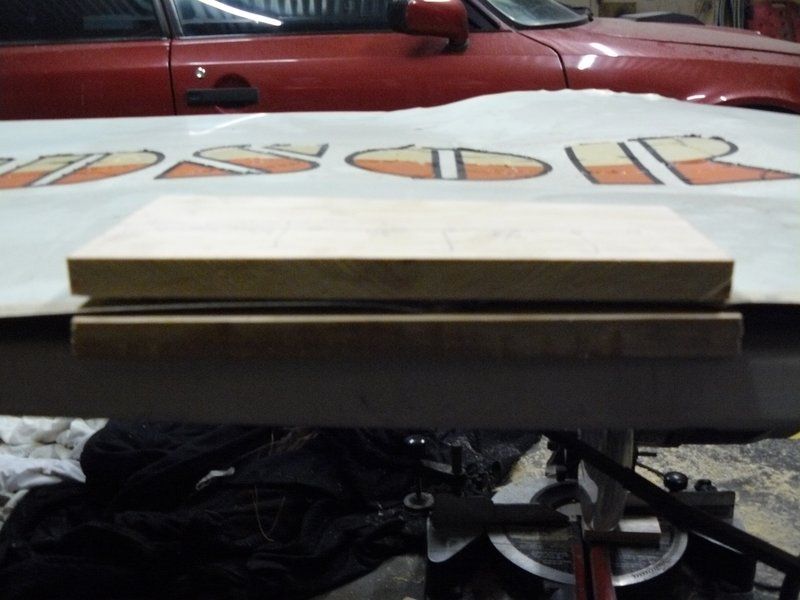 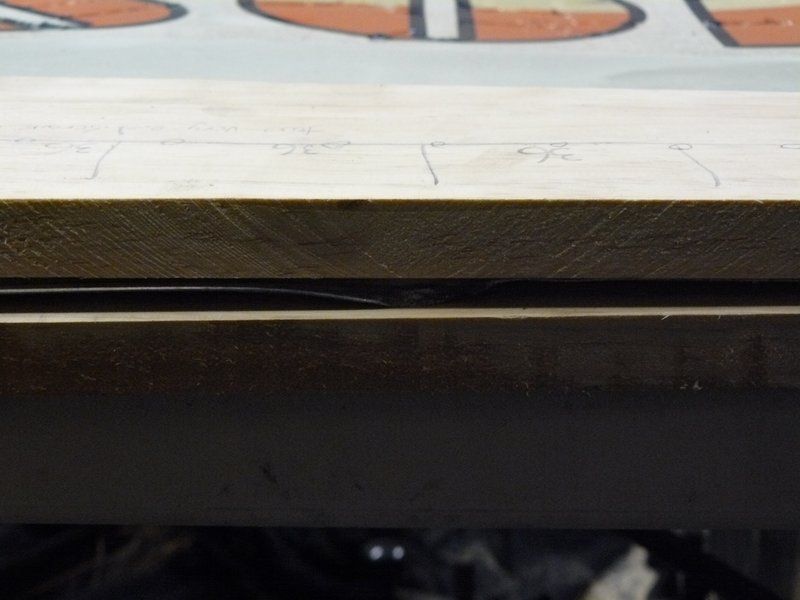 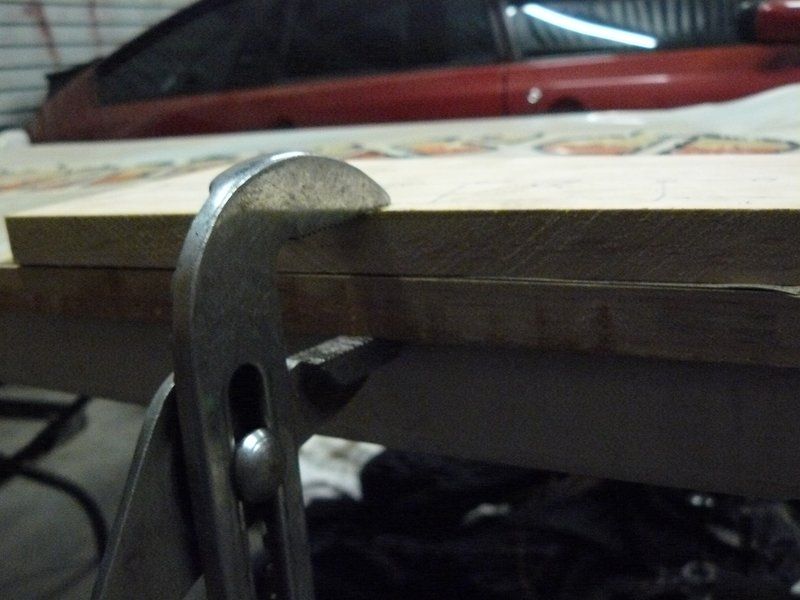 To straigten out the bend edges where it's popped out of the frame I used to pieces of very soft pine to spread the force and avoid further damaging the surface. 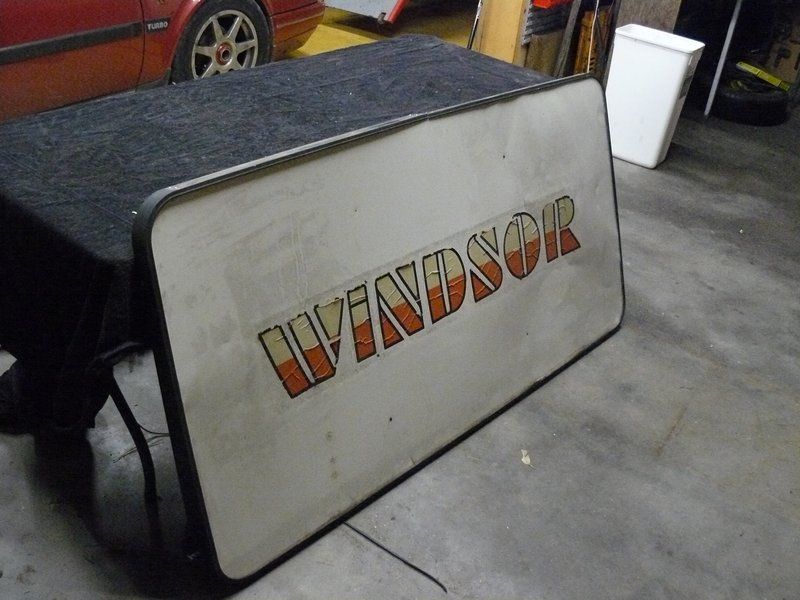 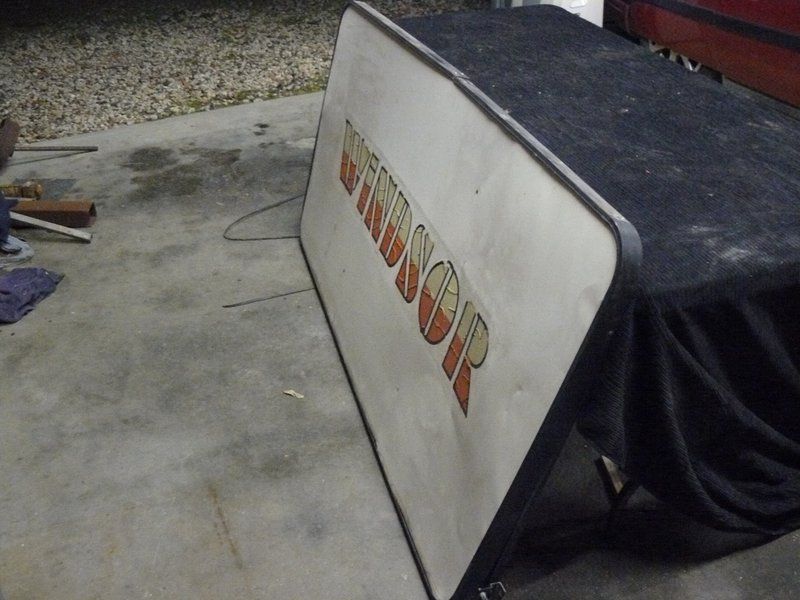 It's just sitting together here ... What I'll do is give it a really good clean and rivet it all back together and refit the seal. If it looks reasonable I'll coat the back of it with sikalfex adhesive, that way the panel can never blow out again (though given it will now be screwed to the caravan frame rather than the cladding, it's unlikely it'll twist/fall off allowing the big cover to twist along it's length now....it's the twisting along it's length as it's mounting screws fall out that will have allowed the cover to pop out of it's frame). seeya, Shane L. I finally got back to this (I'm sick of it cluttering up the shed, a much better place for it is screwed to the front of the 'van). 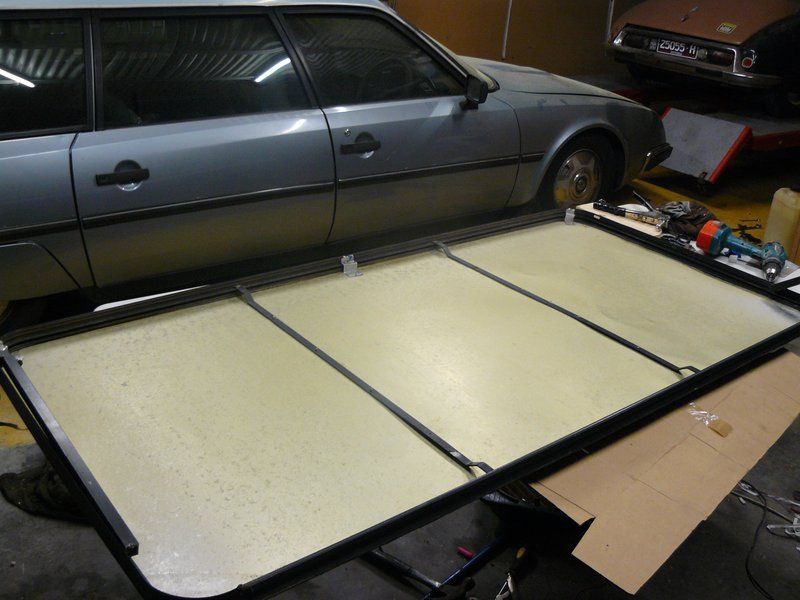 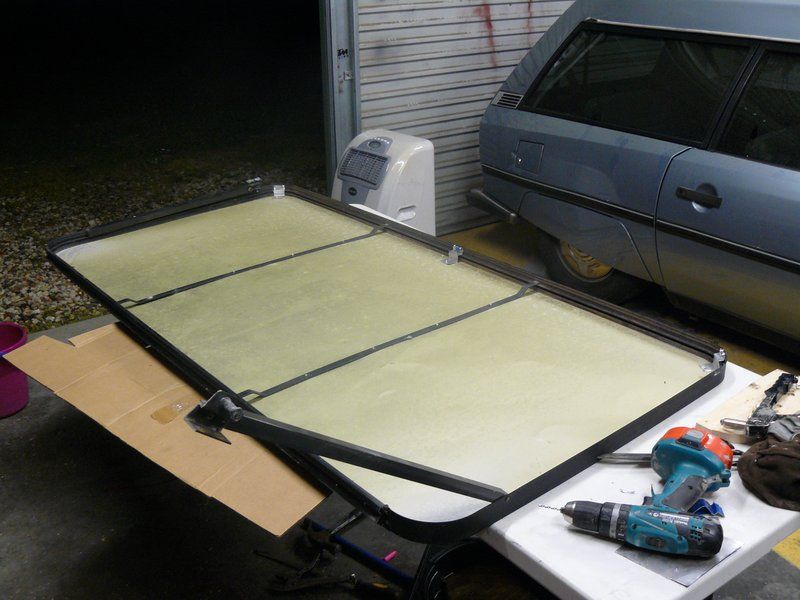 I re-assembled it.... As far as I could see it would just blow out again. The design of it is to fragile and crappy. You can see I've bent up some soft aluminium braces along the bottom and riveted the panel to the frame with a few aluminium pop rivets. 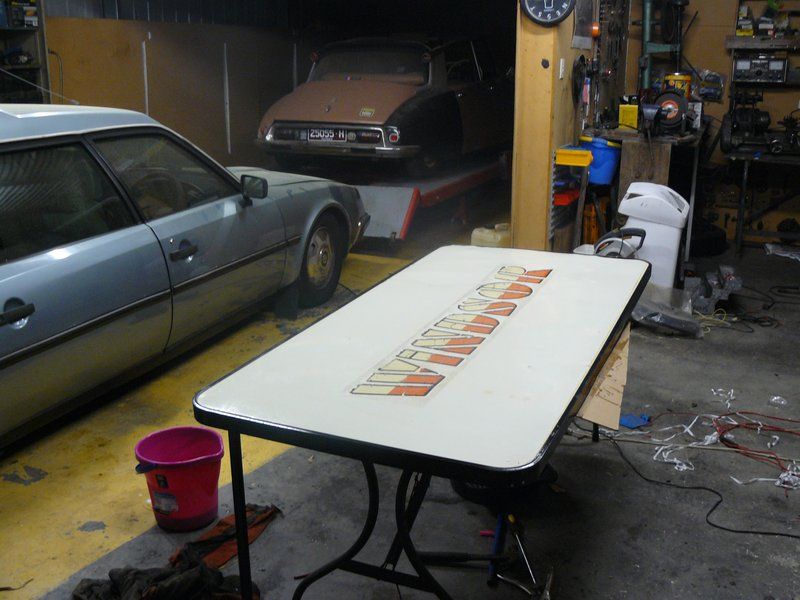 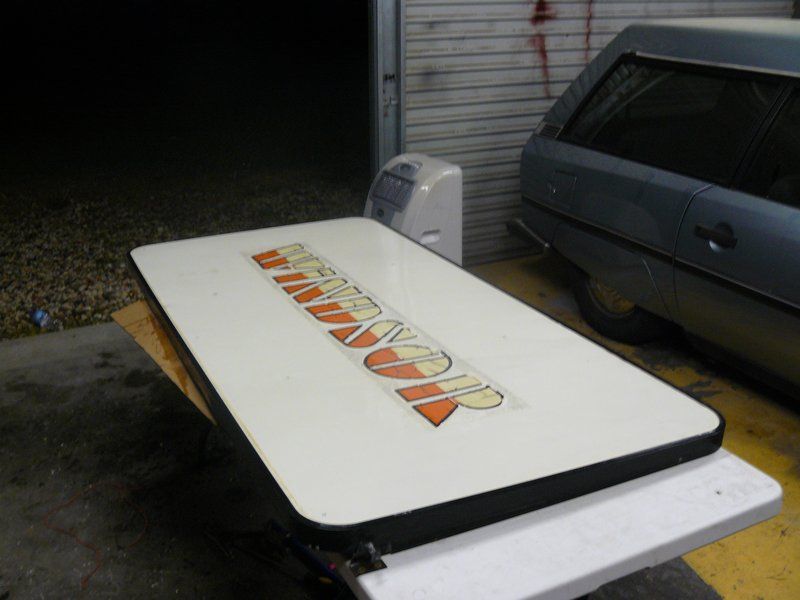 It looks far better than I ever expected. It's not perfect, but it being slightly bent is hardly noticeable. 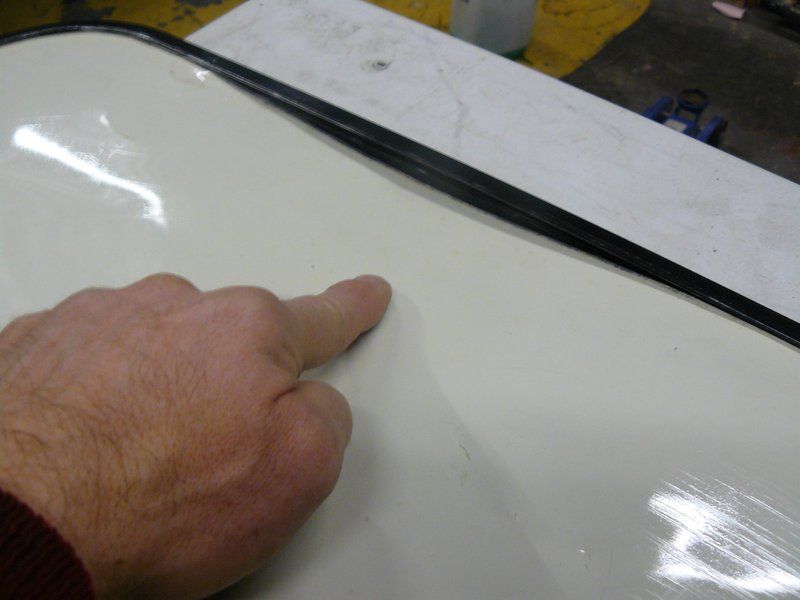 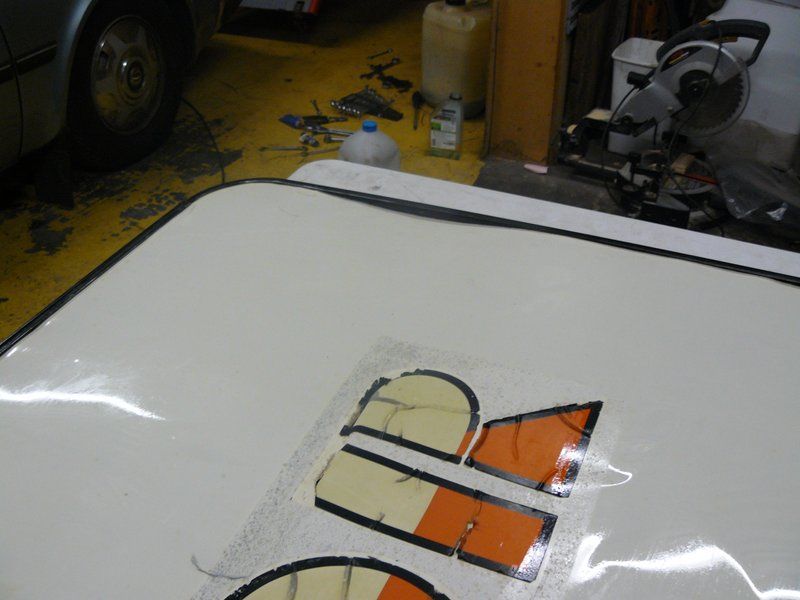 This front cover was never going to work from the factory, it's cut slightly too small. (even forgetting they "forgot" to fit the bits of timber to the caravan frame to screw it too  Everything I've fixed on the caravan, should have been fixed 30years ago under warranty! Amazing right ?). 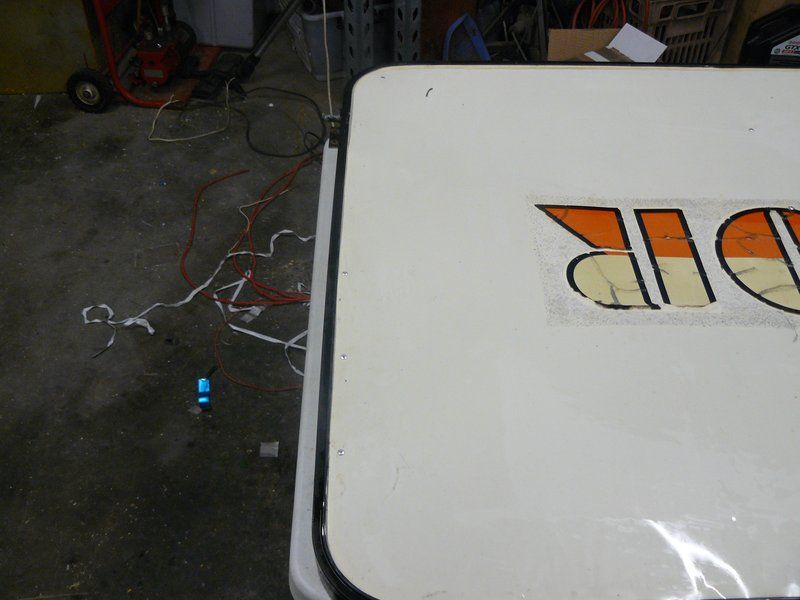 I cut out a strip of aluminium sheet and pressed it into the frame and pop riveted it as you can see to "slightly lengthen" the panel so it now slots into the frame correctly. It's frustrating how long everything is taking! seeya, shane L. |
|
|
|
Post by doublechevron on Sept 10, 2015 9:37:30 GMT 10
This is probably a dumb question  But how are you going to support the body if you remove the chassis ? The problem I see if a wall has been removed (think of one of those crappy garden sheds with a wall removed). seeya, Shane L. |
|
|
|
Post by doublechevron on Sept 9, 2015 16:32:44 GMT 10
I've used ratchet wheels before. They are hopeless unless it's being moved on level sealed concrete.... It MUST be a single axle 'van too. You can't turn anything with more than one axle..... Have a look on ebay and see if you can find a ratchet jockey wheel in your area. SOmething like a Maco Mule.
seeya
shane L.
|
|
|
|
Post by doublechevron on Sept 8, 2015 22:48:43 GMT 10
My grandfather has told me a few times about painting the old dashboards ( he was a motor mechanic ). For many years there was only one guy in town that did dashboards..... He would only paint if the weather was right. He'd heat his paints to the exact temperature, and *brush paint* them. Apparently they were impossible to pick as brush painted and there was no brush marks in them. He got them perfect including all of the highlights painted over the top.
I wonder if they brush painted that "wood look" onto your dash. It sure does still look remarkably well preserved.
seeya,
Shane L.
|
|
|
|
Post by doublechevron on Sept 7, 2015 22:57:23 GMT 10
All ways of water getting in LOL..... Just a quick re-seal job mate ..... Resealing is *all* I have done to the 'van here.... I reckon I'm 50hours in ... and only about 70% of the way through! I've been at it every spare chance I've had for nearly 3months!
seeya,
Shane L.
|
|
|
|
Post by doublechevron on Sept 7, 2015 21:04:29 GMT 10
G'day Shane. That woodgrain isn't wood at all. It's what's called faux or false woodgrain. It's actually painted onto the metal. Back in those days there was a process by which this was done and it's still done that way today. There's a man near Maitland who does this in his workshop and he's given me a quote to do this and repair the steering wheel. I have a friend who has a 1939 Oldsmobile Sport Roadster, also built in Adelaide by Holden. They built 85 Pontiac Slopers in 1939 and only 10 Oldsmobile Sport Roadsters. There are 3 '39 Pontiac Slopers left and just 1 Oldsmobile now. I do intend to replace the wiring. You can buy wiring looms from a couple of companies to the original specifications. The original wiring is deteriorating and needs to be replaced. The 6V starter would turn the engine much faster but there are apparently problems with this according to my friend with the Oldsmobile. You can buy small resistors for the electrical gauges and I'm a qualified auto eleco so this car has a simple electrical system compared to a modern one. Cheers, Ross. Oh Wow ... your an auto-elec ..... I'm off to compile a list of questions for you  (I remember running an old 6volt Renault 4 with a 12volt battery ................... Wow that starter motor could spin the motor over  ) I'm amazed you can get wiring harness for anything american and RHD of that era. I wish I could remember who it was in the Citroen Classic Car club that had the sewing machine that made the woven wiring harnesses. Imagine the unique oddball stuff you could make up to look factory if you could stitch the harnesses up. seeya, Shane L. |
|
|
|
Post by doublechevron on Sept 7, 2015 19:54:41 GMT 10
That car is absolutuly fabulous...... I love that aged patina it has. Only the old laquer does that. It does it even if the car never sees the sun... The ugly pink car here has a similar patina....I just coated it in polish and don't use it on rainy days   I can tell it's the original paint as the factory used that red primer you can see through it. 12volts is a smart move. I bet the 6volt starter works fine on 12volts and just spins the old motor over at a million miles an hour  The fuel gauge will probably be the biggest issue! 6volt wiring should be far heavier to carry the current so will be fine. The dash and windscreen surround in that car is amazing. Is that really the original 75 year old veneer  seeya, shane L. |
|
|
|
Post by doublechevron on Sept 7, 2015 17:51:26 GMT 10
HMMM a sneeky little turbo on the Citroen, a bit of a sleeper? My parents did a job exchange to the UK back in 1996. They bought back with them a Citroen 2cv for mum and the CX turbo was dads. I purchased it from him about 12years ago  .... No it's not for sale .... ever  They were never sold out here, it's a 1985 Citroen CX2500 GTi Turbo 1 Series II. I've retired her from tow duties a couple of years back and found an old Range Rover to take over the heavy work. The old rangie is a brilliant hunk of junk too  seeya, Shane L. |
|
|
|
Post by doublechevron on Sept 7, 2015 16:30:53 GMT 10
The old girl will have down low torque though ... she'll plod along fine no doubt. That is absolutely amazing. Your not restoring I hope! It's such a unique survivor I'd leave it alone and just enjoy  Can PDR work with the super thick metal on that car and get that dent out of the roof (though I can't imagine how you will remove a 70year old roof liner without destroying it  ). seeya, Shane L. |
|
|
|
Post by doublechevron on Sept 7, 2015 15:06:53 GMT 10
So where are the piccies of the Pontiac  ........................ Your going to need a bondwood to tow with it! |
|
|
|
Post by doublechevron on Sept 7, 2015 14:24:11 GMT 10
 , personally I believe that only auto electricians should be qualified to work on electric brake systems due to the safety factor. I'm not saying that owners should not be able to work on their own vans (although I think that's the way things are headed unfortunately) as there are some pretty cluey owners around. Just have a look at all the experience on this forum for example. I think that the mechanic who told the poster above that the large cables caused the problem needs to go back to tech and study Kirchoff's Law and Ohm's Law because he obviously doesn't have a clue. Cheers, Ross. Most owners would care more though ..... I was just fitted a new brake controller to the old tow barge here.... and was most pleased to find all the wiring was already there. I checked it out as I was fitting the controller ..... and found the "professionally fitted" existing wiring had a conductor diameter of about 1.4mm ........ sigh .... So I had the extra work of removing all the old wiring and replacing it with new. Beware of the wire rating too. The "6mm" wire that replaced it only has the conductor diameter of about 2.5mm. Imagine the voltage drop of 4 electro-magnets trying to draw current through probably 10+metres of massively under-rated wire  I just made myself a dash housing out of junk from around the yard ( that cost nothing ) and stuck the controller up on the dash where both me and the passenger can readily access it's slide to manually apply the brakes if the sh!t ever hits the fan   seeya, Shane L. |
|
|
|
Post by doublechevron on Sept 7, 2015 10:35:12 GMT 10
When we went down to tassie a few years back .... I built "The Black Turd" to carry extra luggage and crap in (towing was out of the question due to the costs of the ferry). I came up with this:  The turd sure did work well. It's just four universal cross braces with a home made pod made out of two Citroen DS aluminium bonnets I had  seeya, Shane L. |
|
|
|
Post by doublechevron on Sept 6, 2015 22:38:34 GMT 10
Shane, awesome job on the van. The more I read on this forum the more I see how committed the fanatics are at restoring their vans to beyond better than how they came out of the factory. I agree with snoops, but a mount on the back for an outboard and she'll double as a houseboat. Your post does show me how much I have ahead to do though. Plenty of planning should hopefully make the job go smoothly. Again great job and thanks for all the tips through the post. That's hilarious, I know you can't be talking about me LOL.... I haven't restored or modified a single thing. I'm just simply trying to make the sucker water tight so we can use it and spend the tiniest amount of money that is possible!. 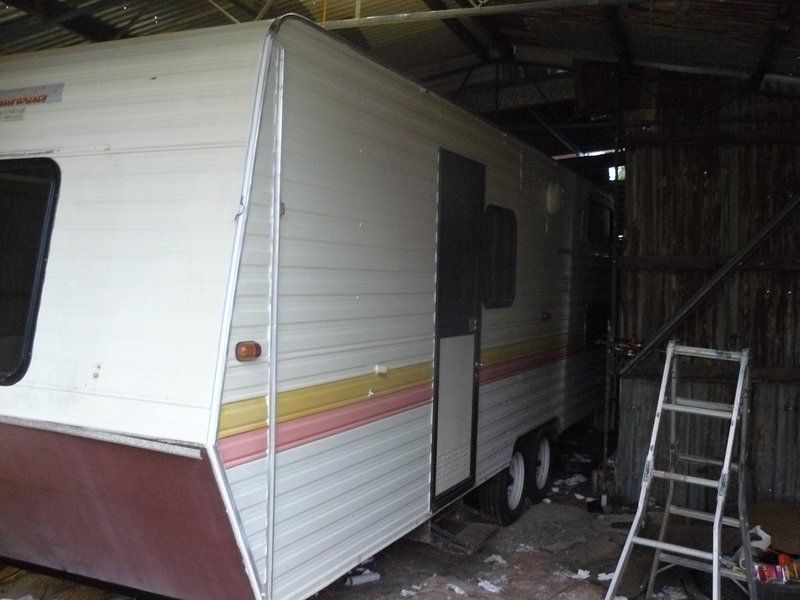 Well finally, one side of the caravan is completely finished. Those annex rails were incredibly bloody painful. I cleaned them all up nicely. and piled the silicon onto the back of them. The roof rail was easy to screw on. The wall rails, I got nice large deep aluminium pop rivets. I really struggled to drill the remains of the old pop rivets out... Infact I was making a real mess. I finaly figured out how to do it.... drill out two rivets.... and pop rivet the annex rail back on.... Now you use the existing holes in the annex rail as guides to drill out the old rivet bases without trashing all the fragile cladding around the harder rivets..... Once all the holes are cleared, then drill out your two rivets you added so you can add the sealer behind the rails (does that make sense). Anyway, the next problem was I put heaps of sealer on the back of the wall annex rails and started to pop rivet them on ..... 24 big heavy pop rivets.... 2/3rds of the way through them your hands are stuffed.... and your getting slower and slower .... By the time you get all 24 rivets installed.... the silicon has skined and you have a mess you can't readily clean up. hey at least it's all sealed now though (it never was from the factory, the wind and rain would have blown in behind the wall rails). My hands needed about 4 beers to fix after the 48 heavy pop rivets  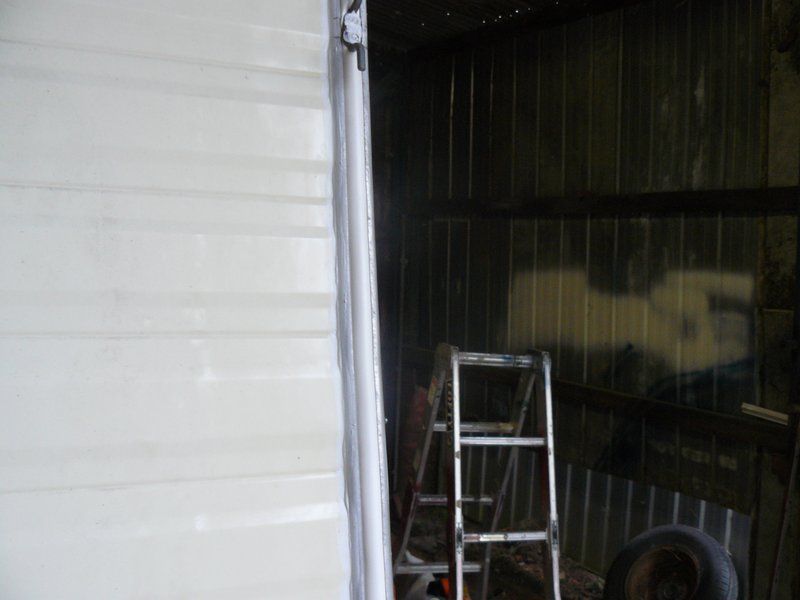 I pulled the caravan out of the shed and put it back in about 2meters further away from the wall so I could get to the other side. Oh yeah, that new Tru-mold decorative trim is very simple to install and dresses it up nicely  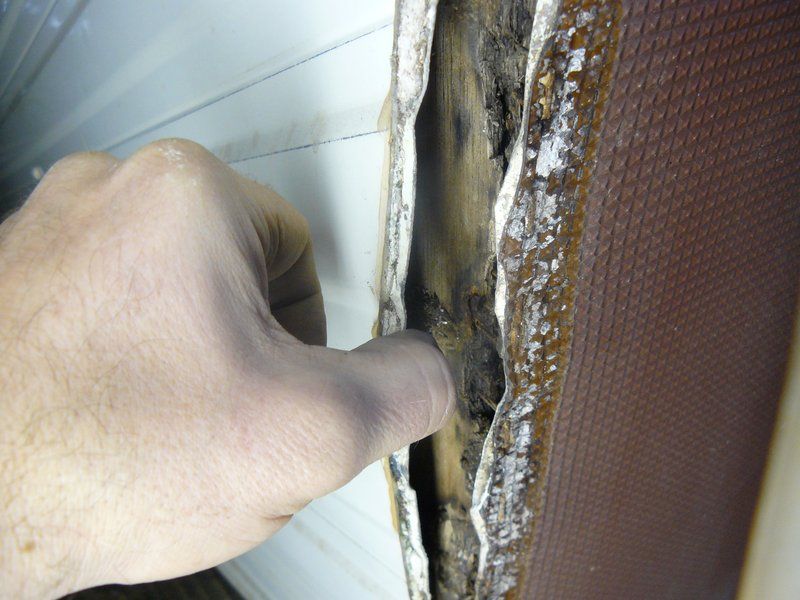 front corner 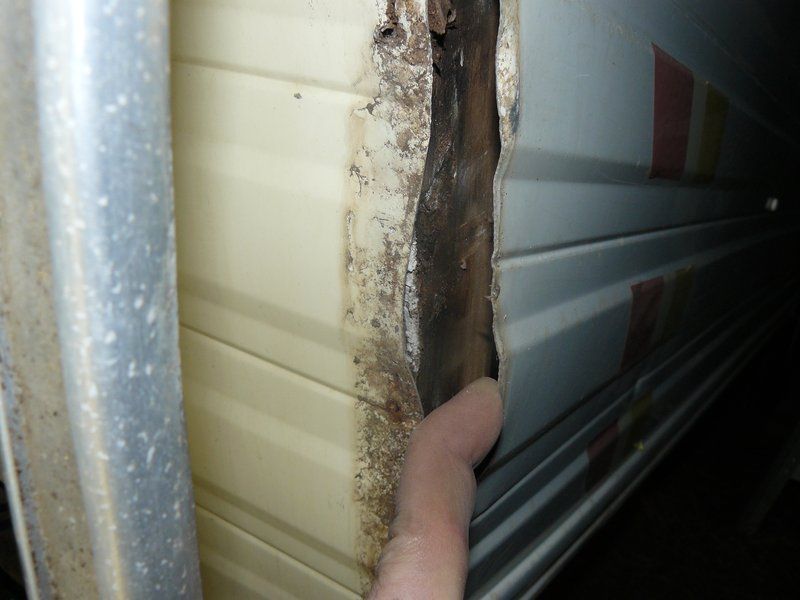 back corner I've released the Tru-mold from the other side at both ends. There is damage to the wood, but it's still sound...... I'm guessing this will be fine ... I'll spend some time cleaning everything getting ready for re-assembly.... if I can't think of a good reason to cut the mostly sound wood and and replace it, I'll leave it well alone. it's only a soft area about 2mm deep along a 10cm section. 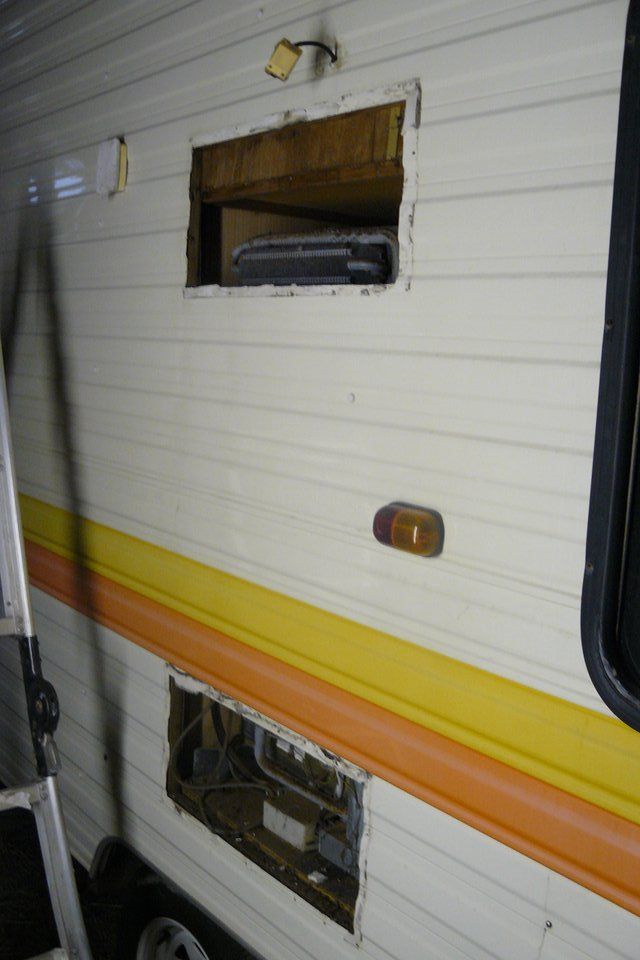 That's an amazing amount of venting this fridge has .... this is an area I've been itching to check. You see it's some of the existing water damage I found inside the caravan prior to purchase. 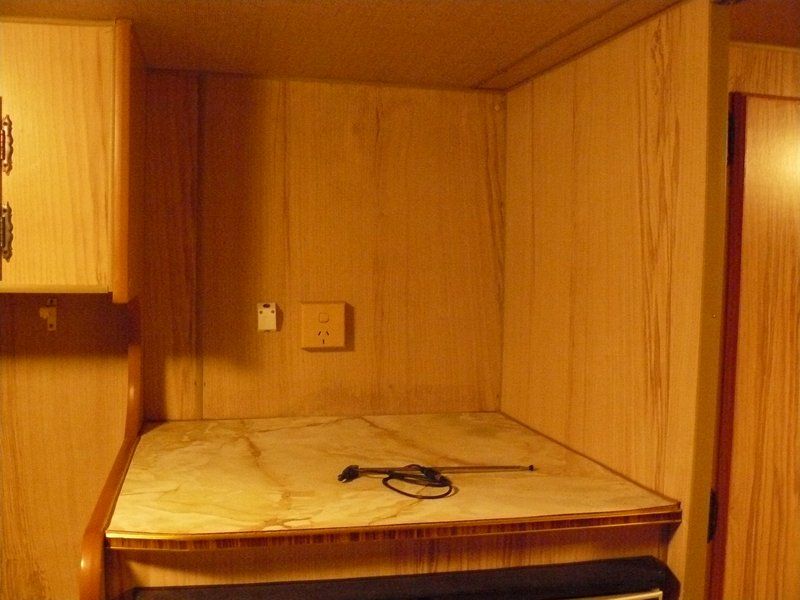 See the staining on the wall up high and at shelf level ... Yes hardly noticable, and will be 100% hidden by mounting a TV here. 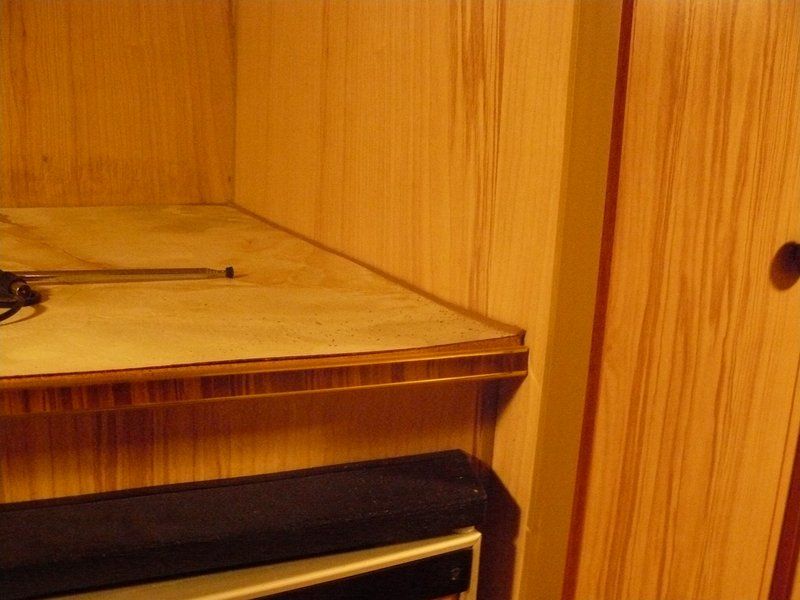 THis tell the story better, the shelf above the fridge has been soaking in a small amount of water for many, many years like a big sponge. It's still fine, but you can see it's slightly buckled and swollen in places. I'm not going to fix or replace this ... The caravan has lived 30years to earn this sort of patina  Given it's structurly sound and still look acceptable it's fine with me. 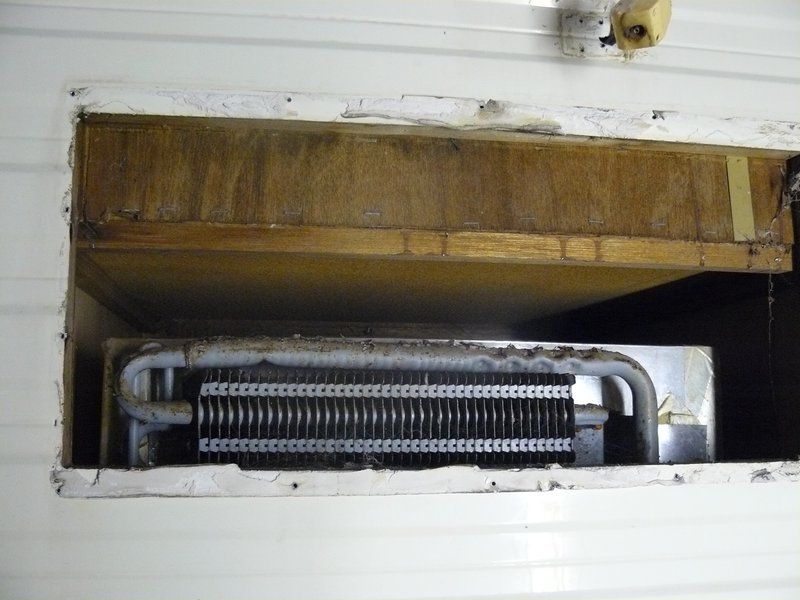 ![]() ![]() 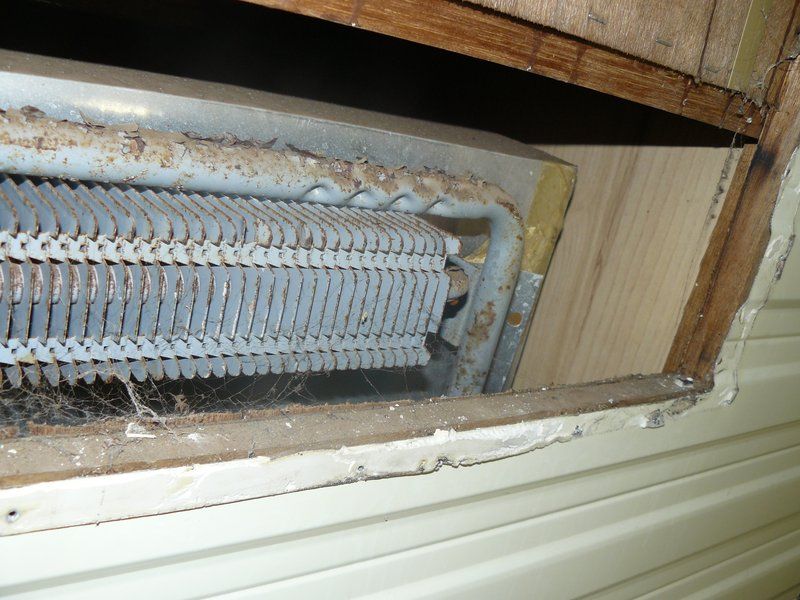 Now that upper fridge vent. I was sure I was going to have to replace all the frame in here due to water damage ...... But it's like bloody new  I've found a moron fitted an aerial to this thing when it was new... this leaked water down the wall, which the chipboard fridge top soaked and and prevent going any further .... so everything else is like brand new. 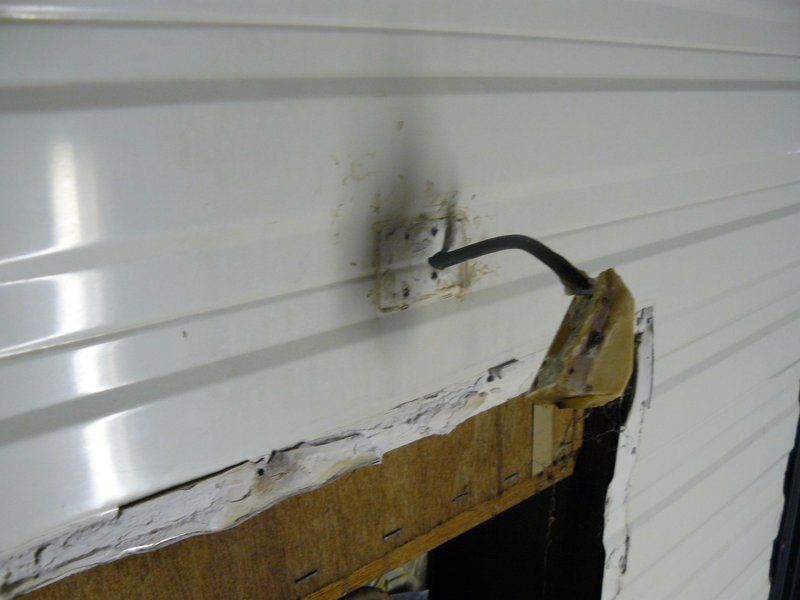 aerial plug has very modern looking silicon on it .... and straces of no other sealant... so whoever fitted it ... let the water pour straight in behind it. And it was fixed untile decades later I'd say.... It Gets Better Though !!! 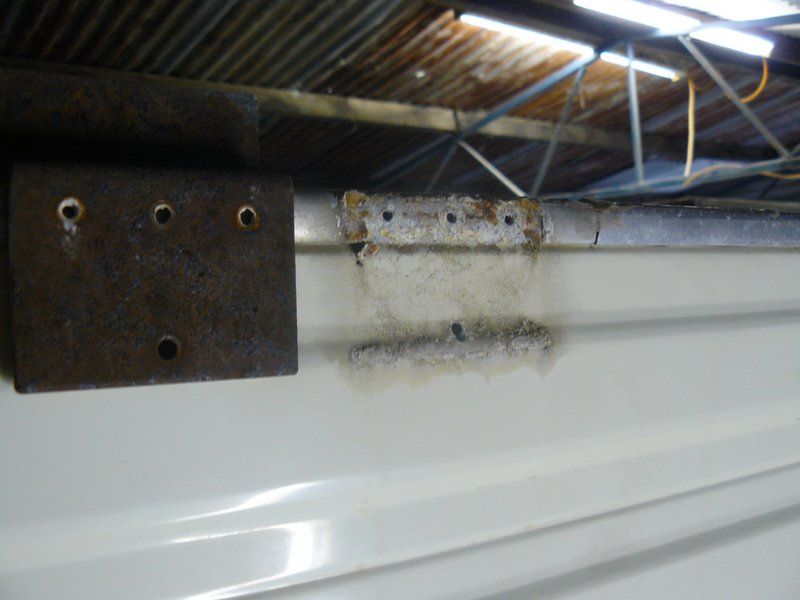 They fitted this bracket to the tru-mold and cladding .... No sealer, metal bracket unpainted...... and damn it all... a hole through the cladding ... that is screwed into "nothing" that would have allowed water straight inot the wall for 30years  ... Oh well, miraculously no structural damage done.... just a slight bit of staining on the inside wall. 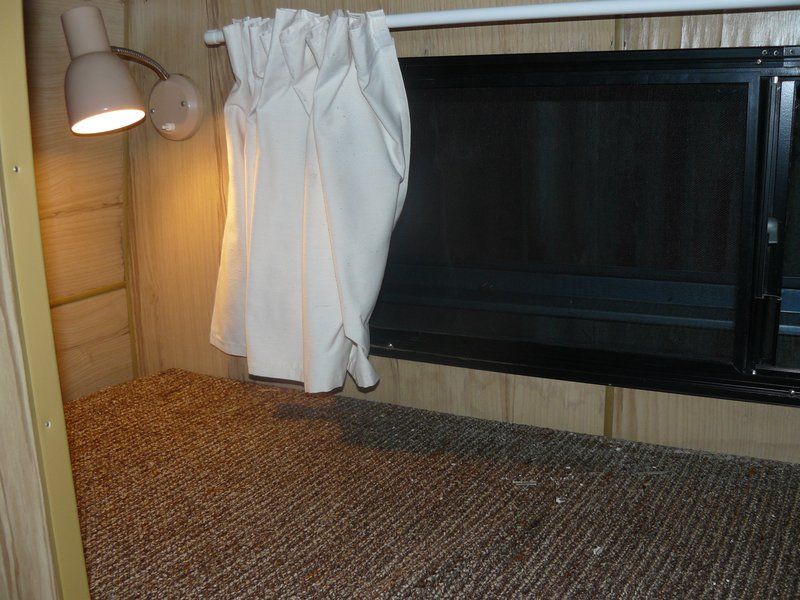 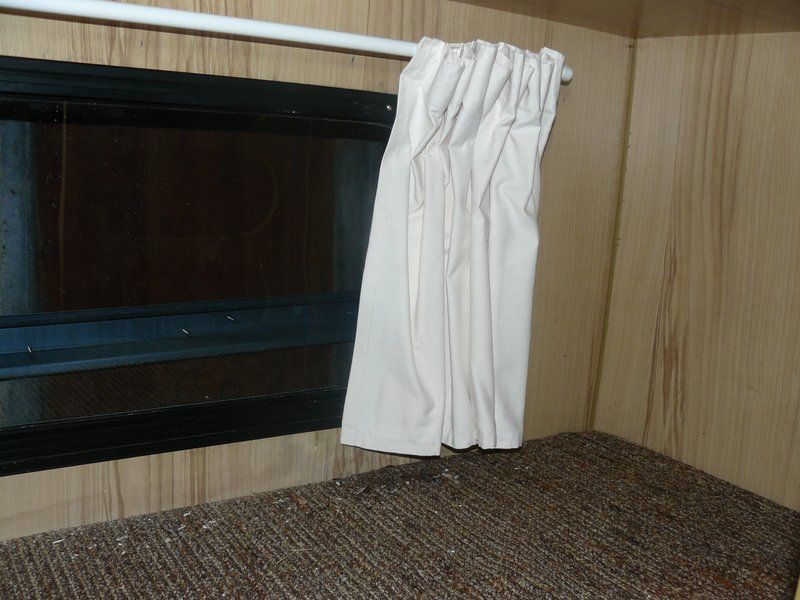 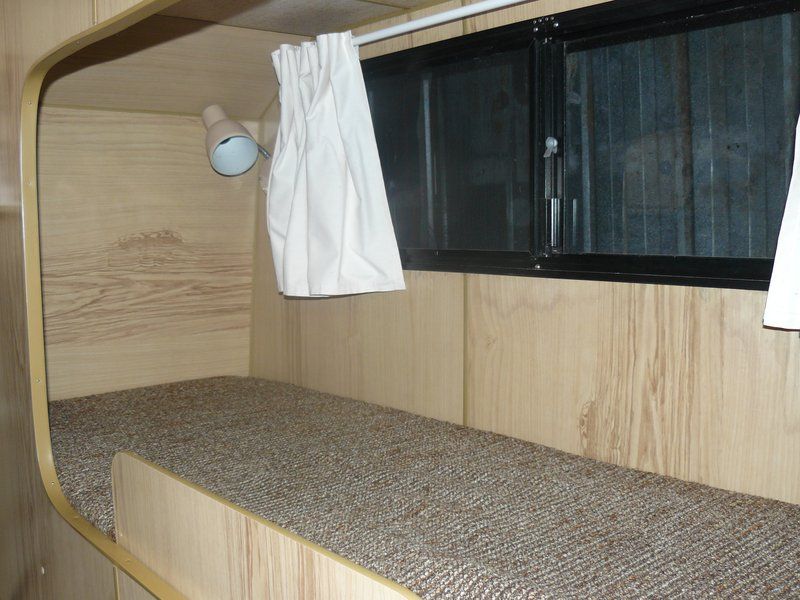 the main curtains and inner window trims refitted. This is the worse window for water staining and damage in the caravan. See what I mean by the window frame and curtains hiding 98% of it  seeya, Shane L. |
|
|
|
Post by doublechevron on Sept 4, 2015 22:53:09 GMT 10
The time I am spending on this forum is driving the missus mad. Apparently I'm not doing enough around the house. just spending all my time trawling through old posts. If I get sucked into another one..... You gotta train them from a young age..... i already had 1/2 a dozen, er, " garden sculptures" around the yard when I met my wife..... and was already spending far to much time on car forums  seeya, Shane L. |
|
|
|
Post by doublechevron on Sept 3, 2015 16:39:04 GMT 10
WOW hellava job Shane. Next time send a text to your mates "FREE DRINKS at Shanes on Sat arvo, starting at 1PM. I've still go the other tru-mold to go yet .... it hasn't even been removed  Yeah right ... imagine the mess you would be left with if a few mates turned up for a few beers while your working   |
|
|
|
Post by doublechevron on Sept 3, 2015 14:55:16 GMT 10
That back of the 101 is open isn't ?? Why don't you make up a frame for it that bolts down to one of the seat/tie down areas in the back of the 101  seeya Shane L. |
|
|
|
Post by doublechevron on Sept 3, 2015 14:32:33 GMT 10
While I do agree with all that Shane, my thoughts are that once I've sealed the windows in with sikaflex or similar PU product, should it leak again in say another 40 years, then maybe it's time for a new van...  I haven't done my windows yet, so not 100% sure which way I'll go yet, but I can get PU by the box full FOC, so that may sway my decision. It doesn't even need to be a fancy urethane adhesive like sikaflex. Given how stable the 30year old silicon on the roof of this caravan is, silicon would last the life of the caravan too. My issue is if you need to remove the window. One of the bunk windows in the windsor had a bulls eye in it. I must have had it in and out 1/2dozen times while I was cleaning and prepping it. You would bloody believe it. When I was doing the final fitting, I gently placed my palm on the glass to hold it in place while I screwed it down ..... You wouldn't bloody believe it ... the sucker cracked from the bulls eye out in 4 different directions .... sigh  ..... Oh well it could have been worse, the kids might have been playing in that bunk and got covered in glass  Bottom line is that entire window may need to come back out to go to a glaziers! if I'd used silicon or sikaflex I would literally destroy the wall of the van to get it out (not an exaggeration sadly). Once you glue a window in with a urethane... It's NEVER coming out again. This is incredibly frustrating trying to find time to work on the caravan. It would be nice to be able to use it this soon given spring is now here  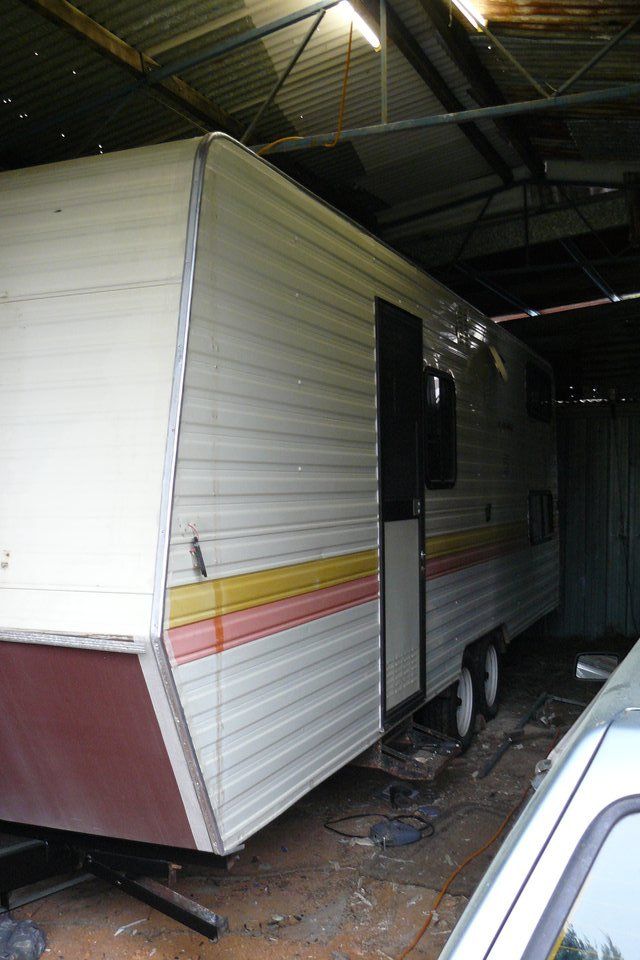 Many hours of cleaning tru-mold and they were ready to be refitted. So I screwed them on. 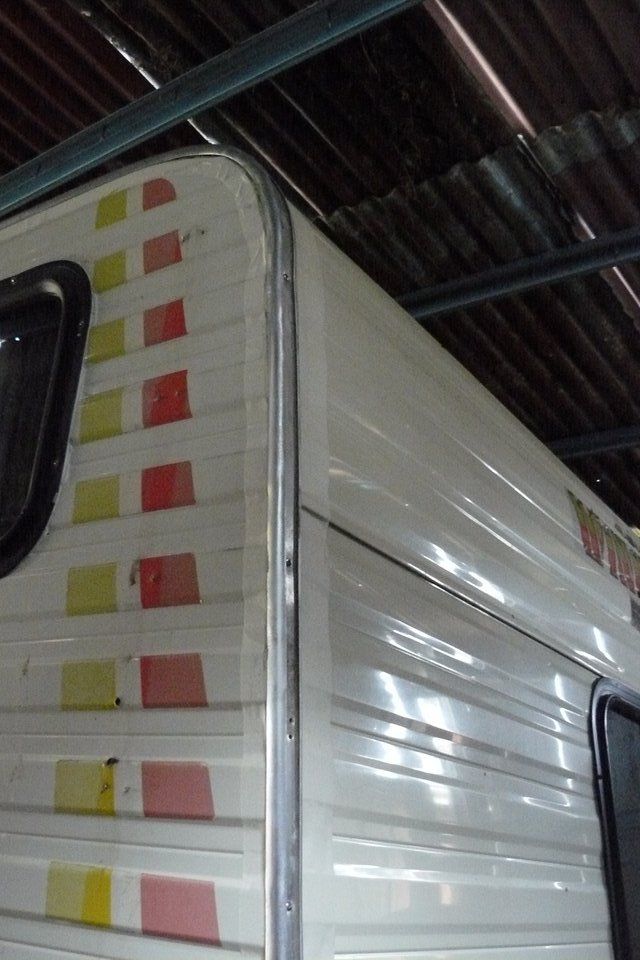 And taped them all up. 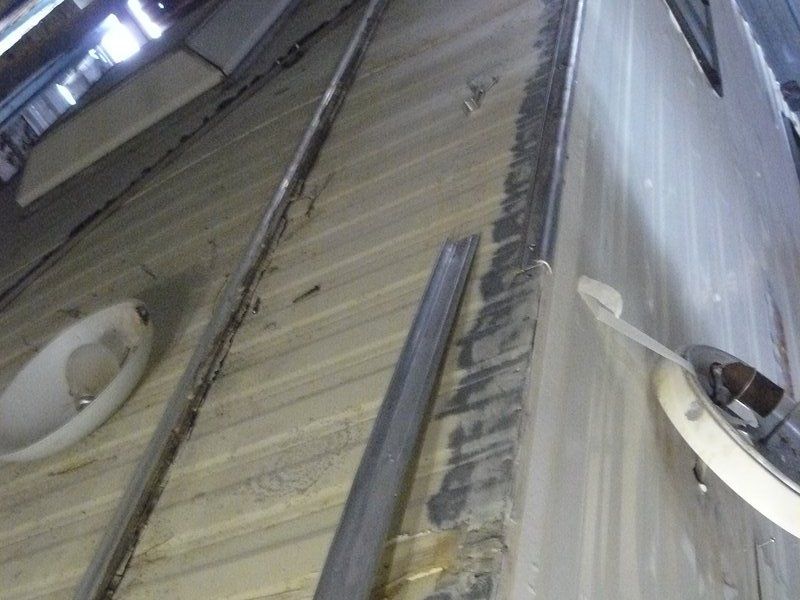 I started with the small center section of tru-mold as I wasn't sure how much sealer was required.... 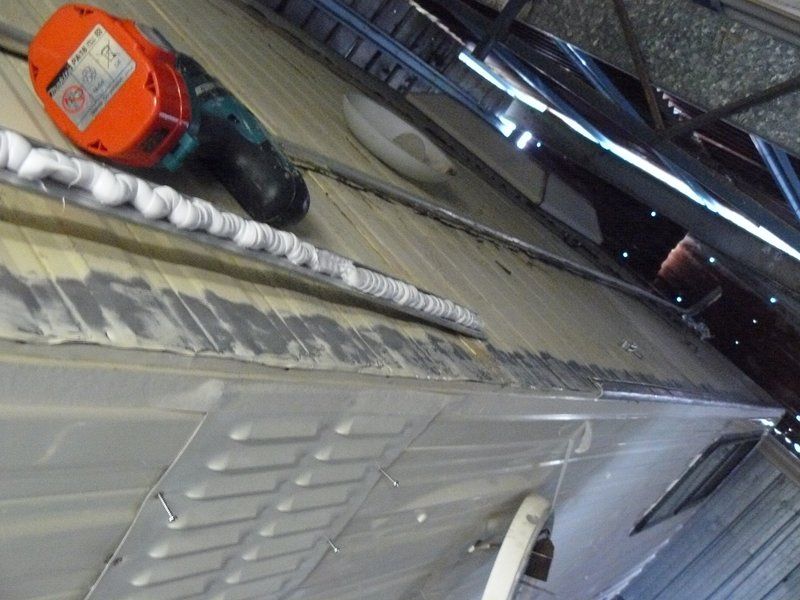 The technical term for the amount needed is "sHiTloads" ....  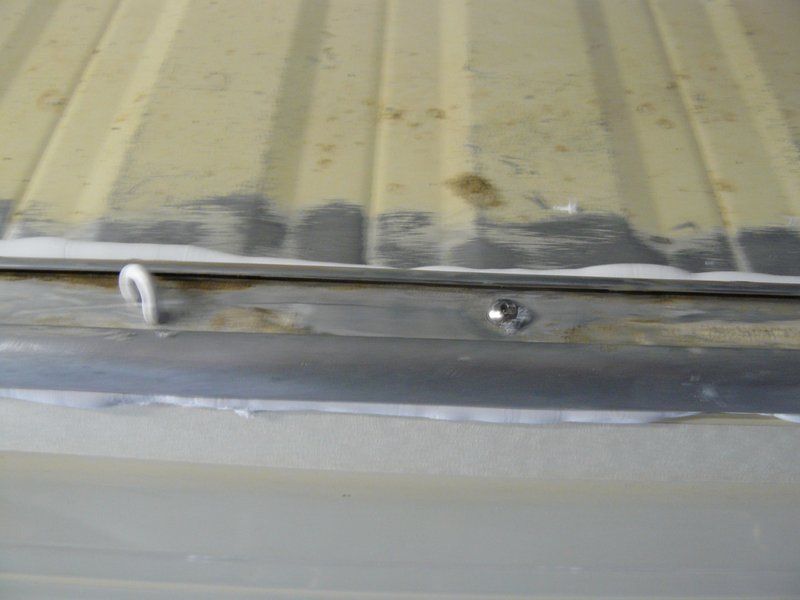 Plenty squeezed out. 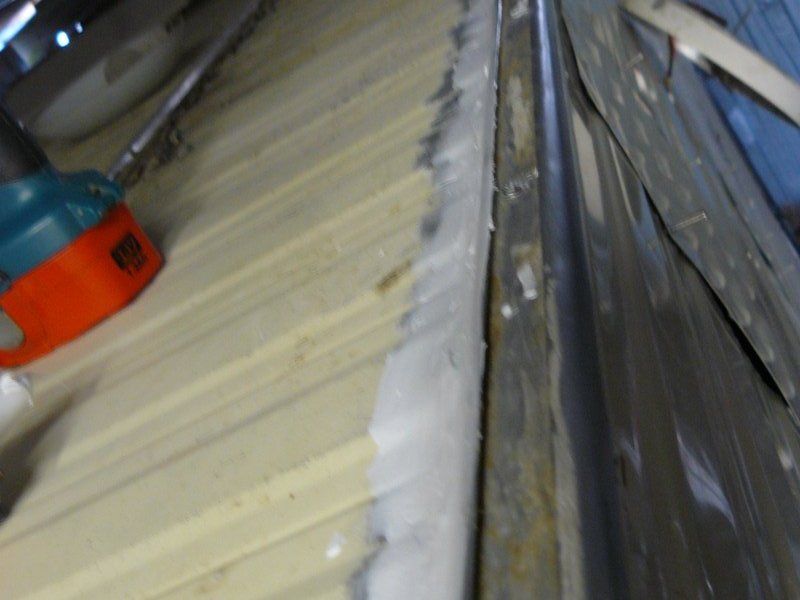 roof side I just troweled out with my finger .... You can't see it so finish isn't really relevant (unless your 10foot tall I guess). 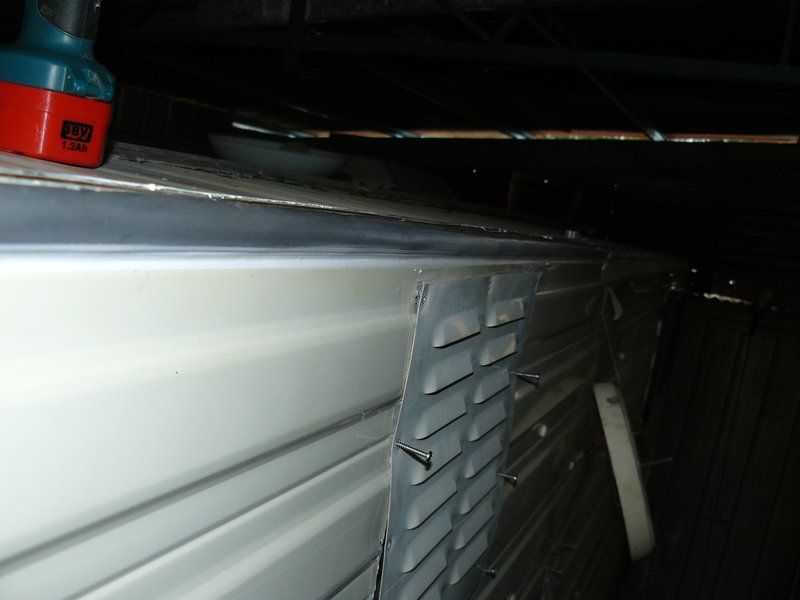 Lots of time cleaning off the silicon and trying to finish it. I had a few rolls of cheap paper towel there and just wiped the excess silicon off with my finger then wiped my finger with the paper towel .... throwing the paper towel on the ground under the ladder to be picked up after the silicon had set. 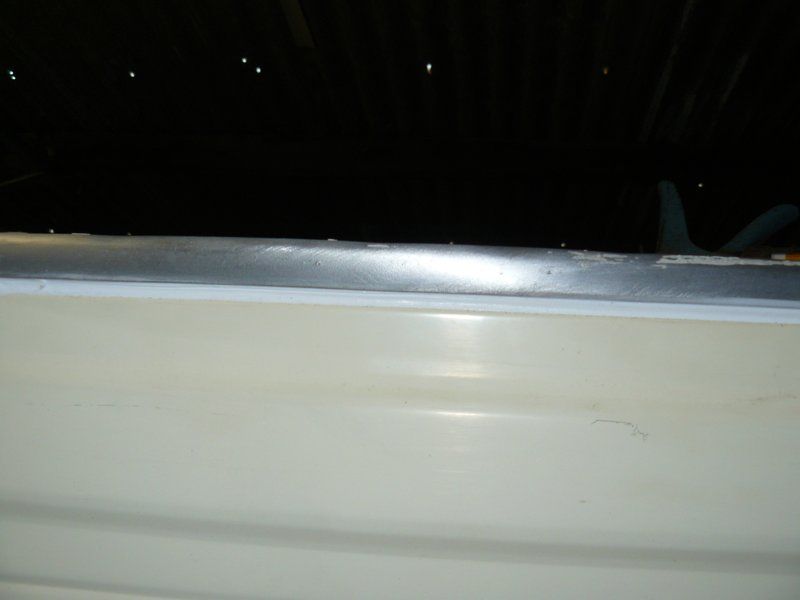 remove the masking tape right away before the silicon skins off. 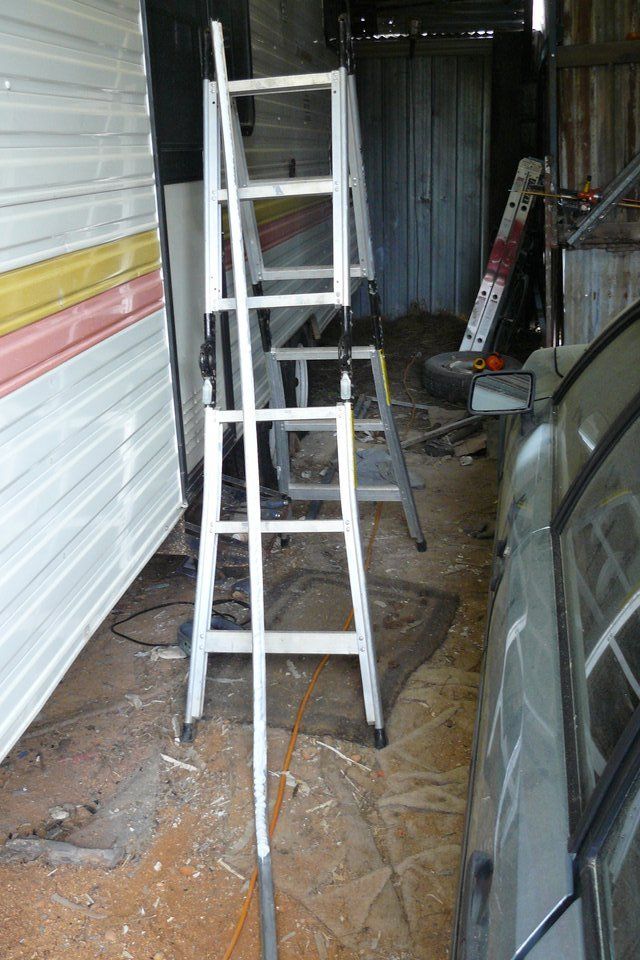 The two other sections of tru-mold are a lot longer. I pumped heaps of silicon into the roof section of tru-mold and front corner. 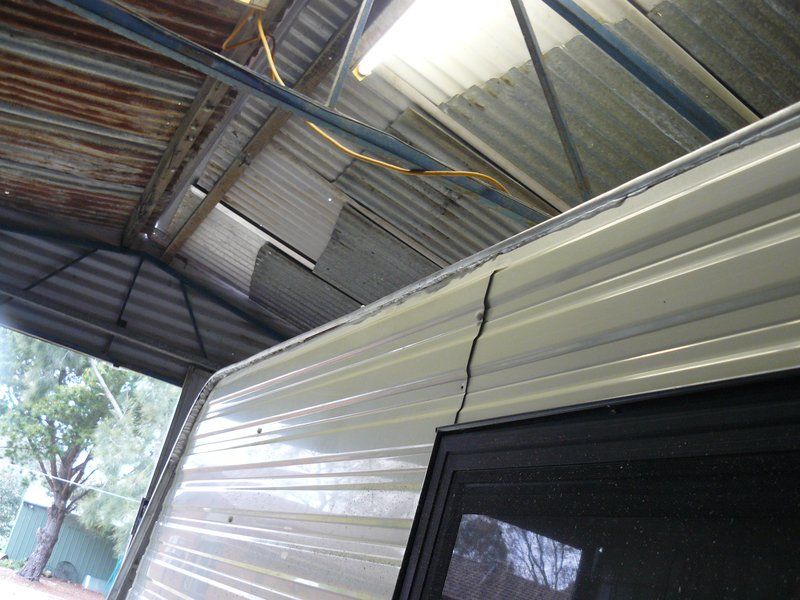 and screwed it down. 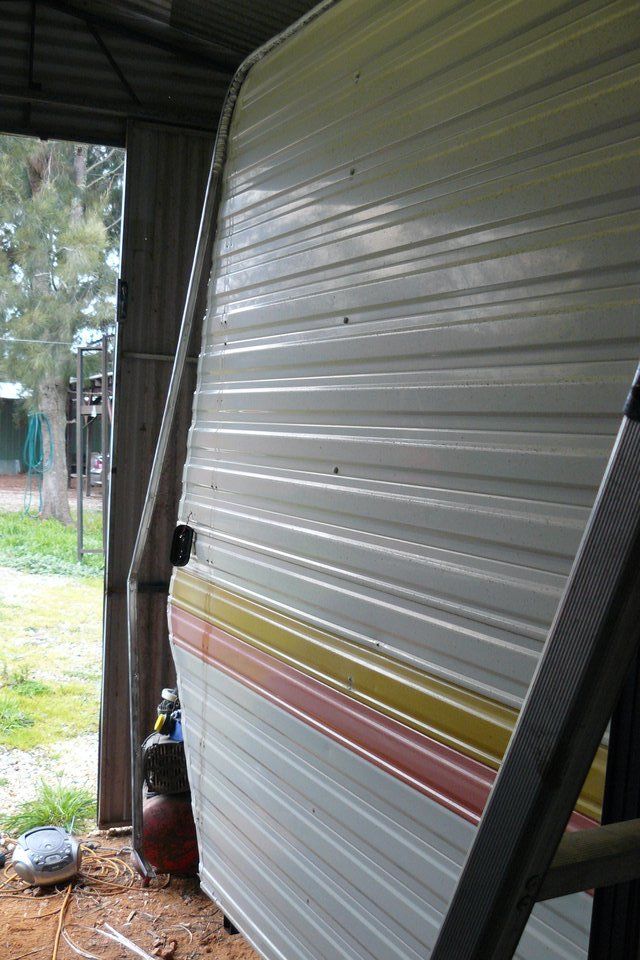 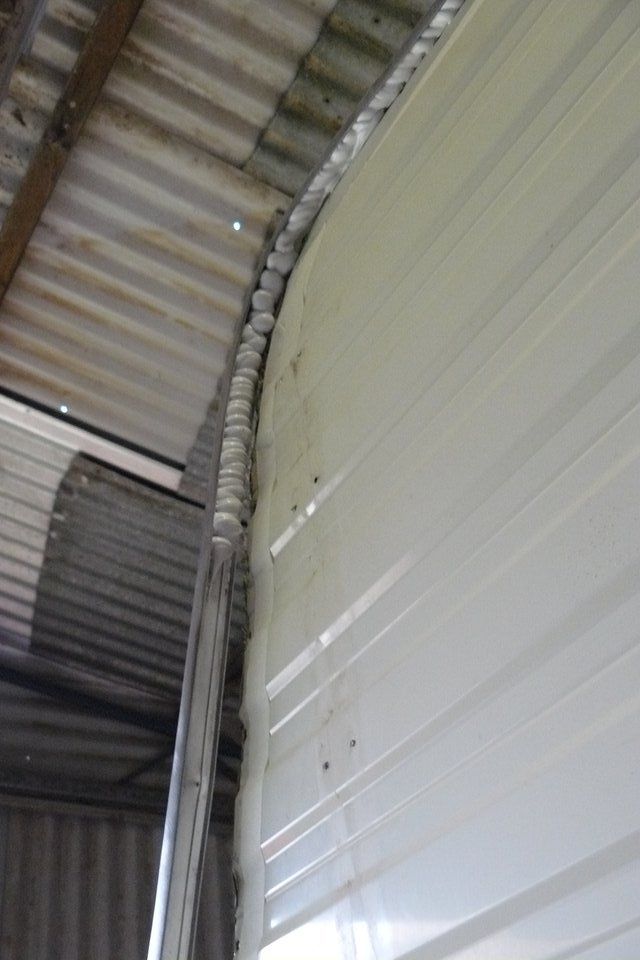 Now the tru-mold is secured I can fill the rest of the tru-mold with sealer. 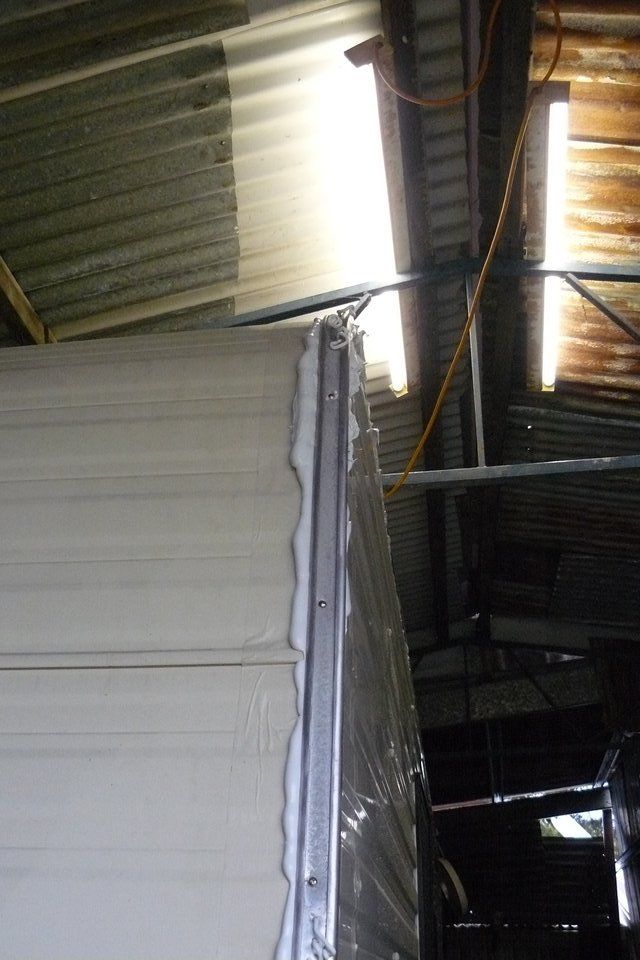 I doubled up on the sealer around the corners .... what a mess to clean up! 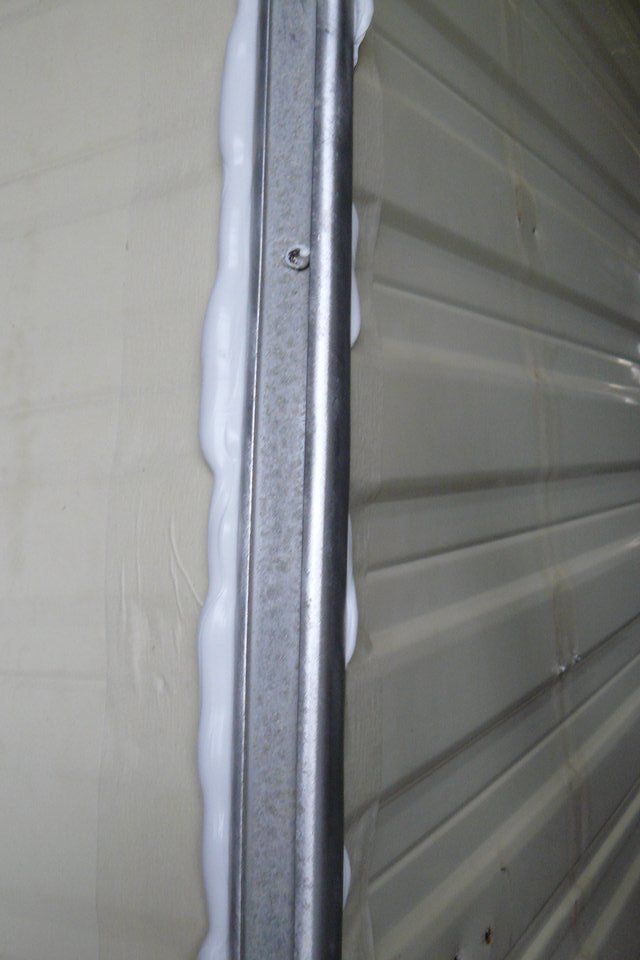 plenty of squeeze out. 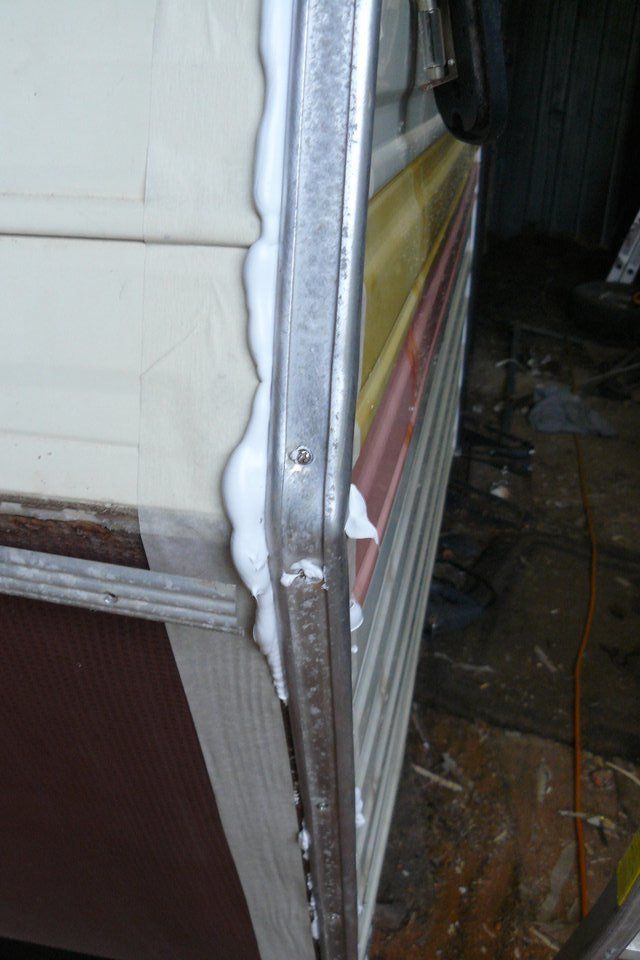 I started at the top and worked my way down the wall to screw it down. Otherwise the tru-mold corners won't fit properly. 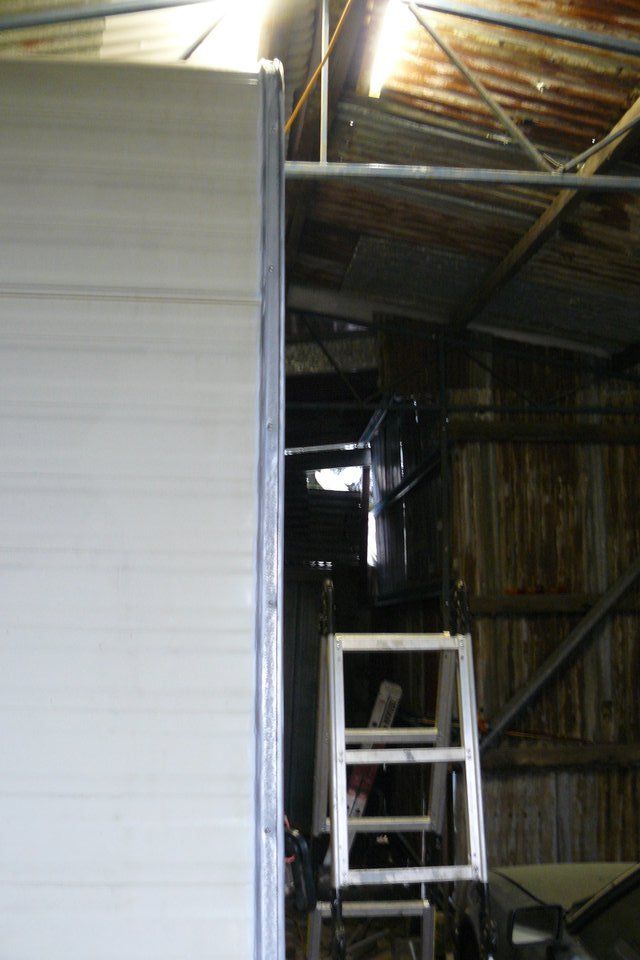 I ran into a problem cleaning and finishing the silicon. I simply couldn't work fast enough. 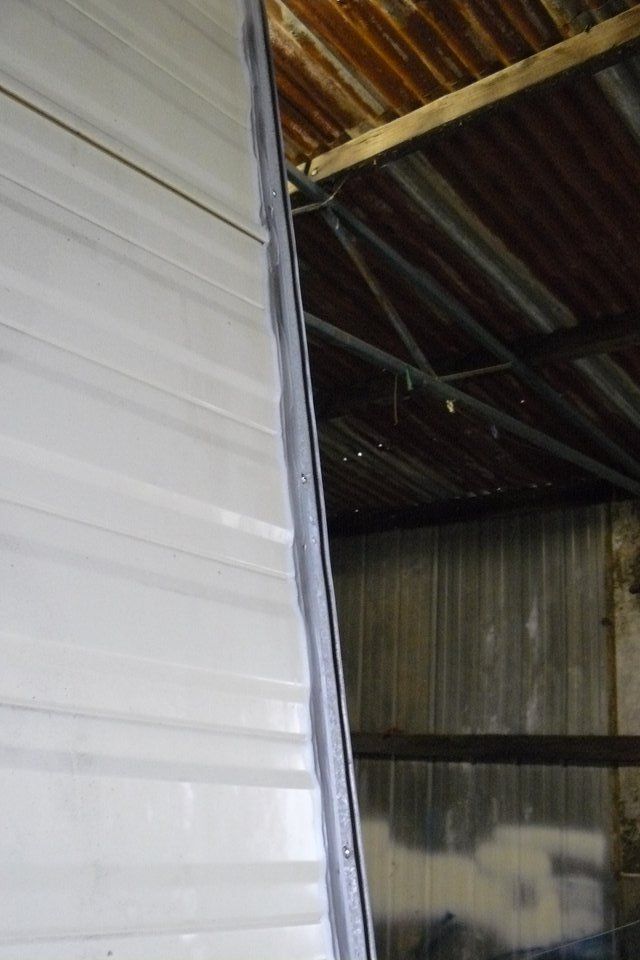 ![]() i1373.photobucket.com/albums/ag378/CitroenCollector/P1170820_zpsyr33spbx.jpeg]/img] i1373.photobucket.com/albums/ag378/CitroenCollector/P1170820_zpsyr33spbx.jpeg]/img]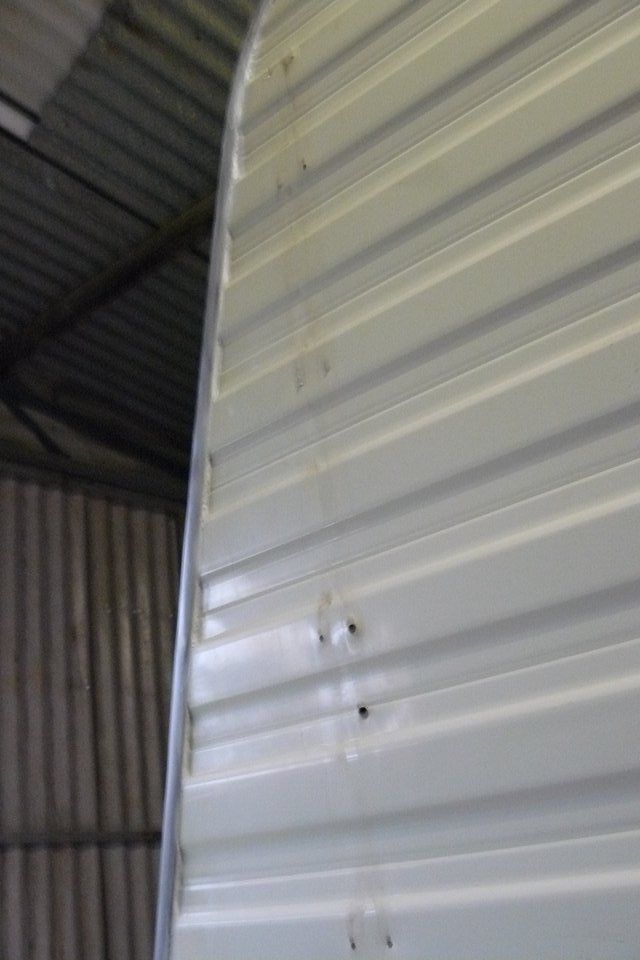 Though the finish looks quite good. 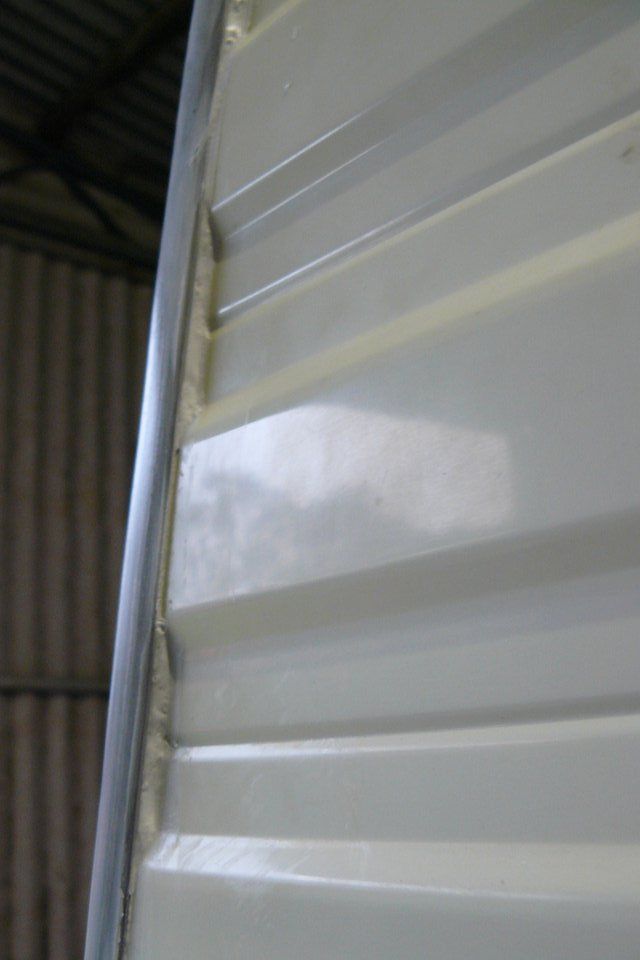 In places you can see it's not really nicely finished as it skinned off before I could get to it. You really need two people tooling it in order to finish it cleanly given how quickly it skins. 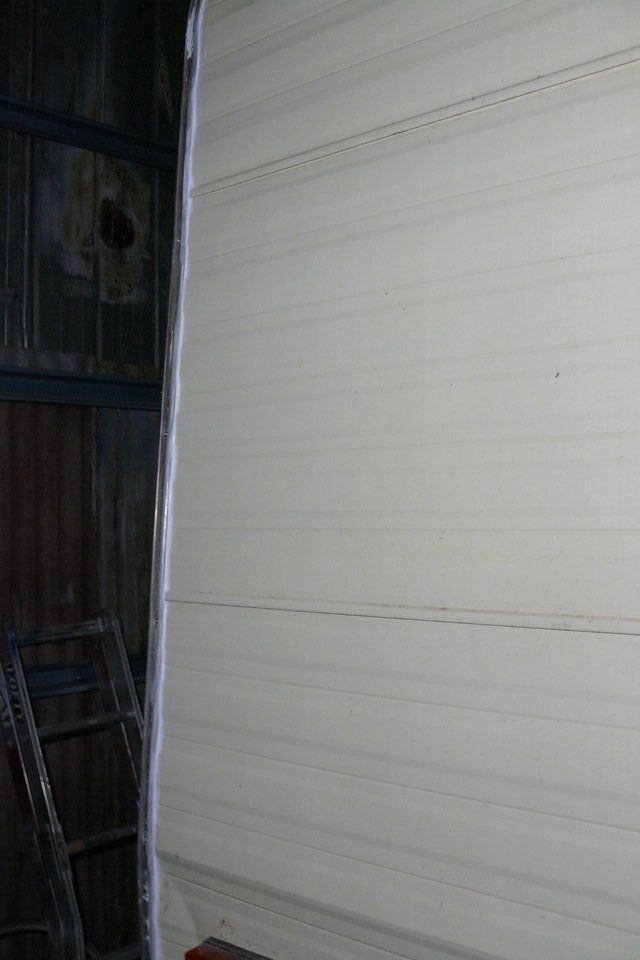 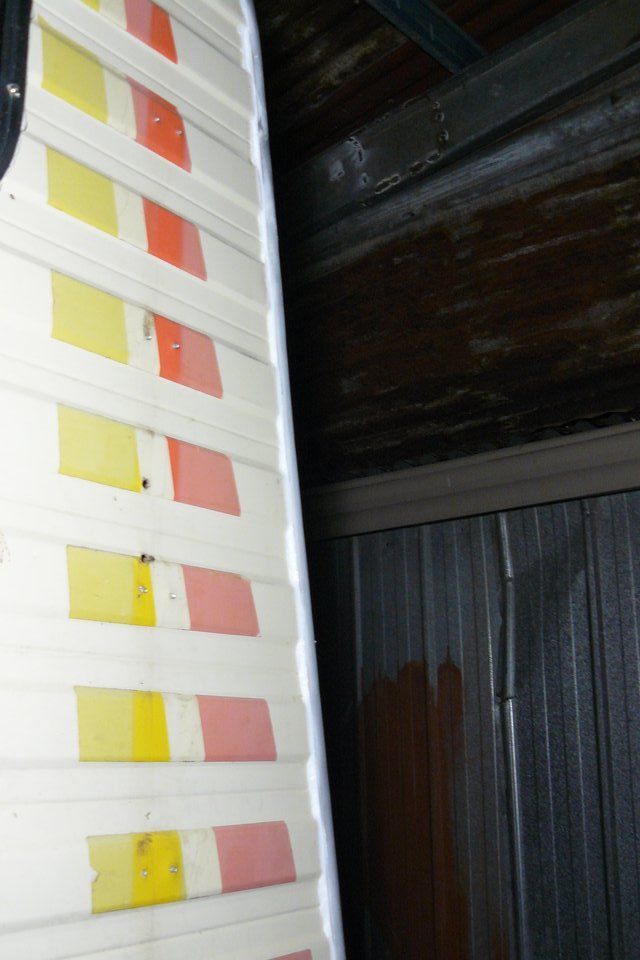 Back wall section of tru-mold was even longer .... I managed to get a reasonable finish, really you could use 3poeple working it to finish it cleanly before it skins. 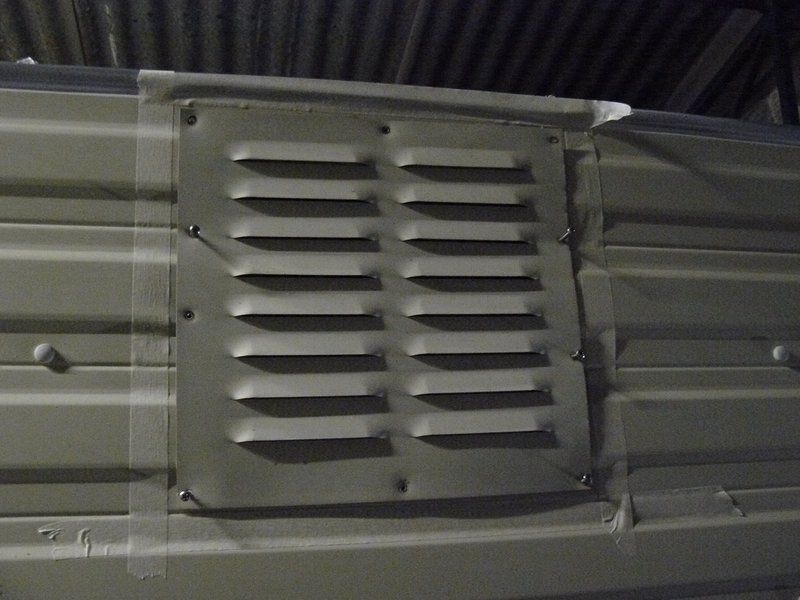 I refitted and taped up the microwave and stove vents. 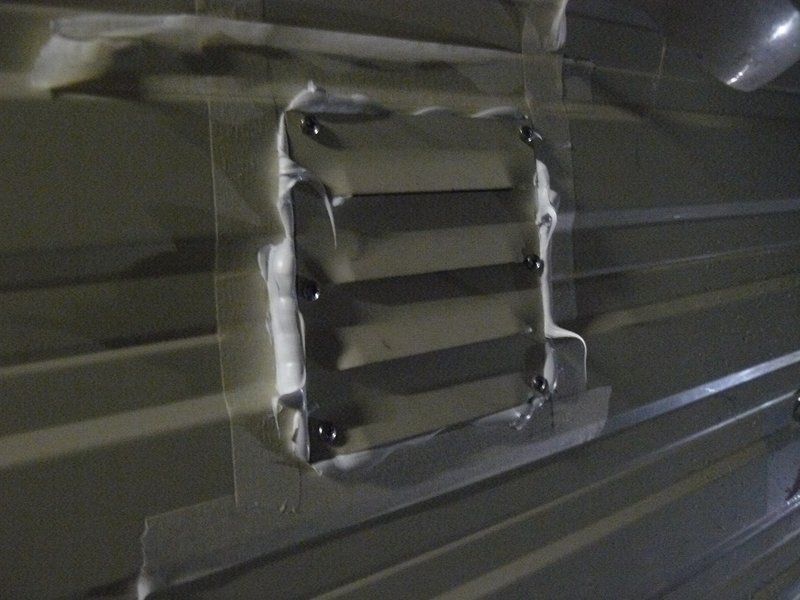 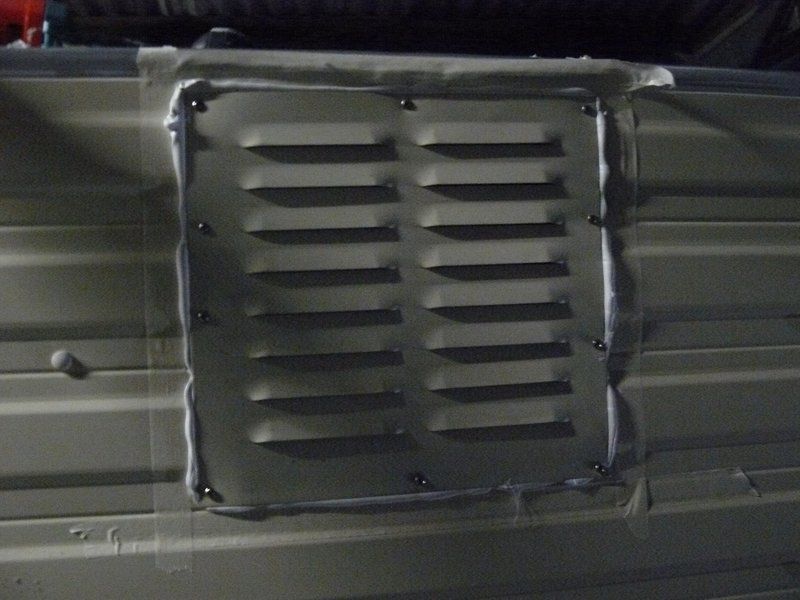 plenty of squeeze out again. 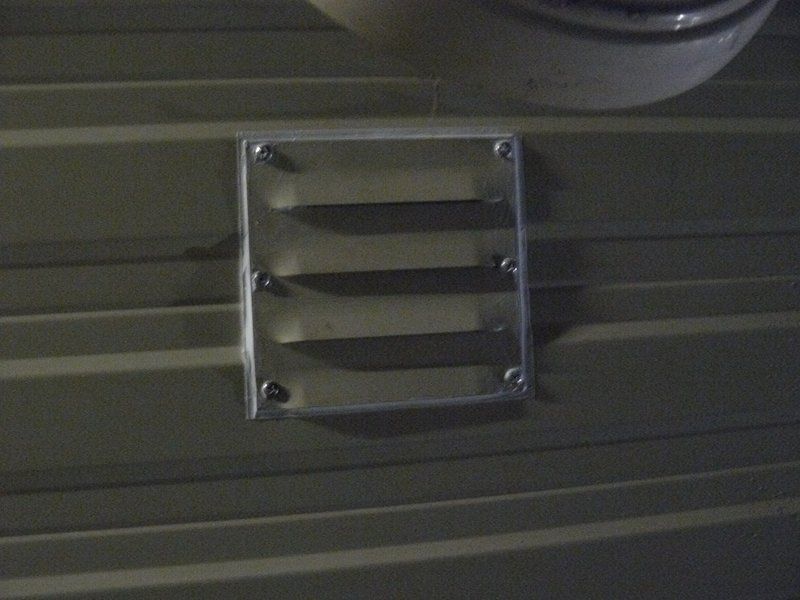 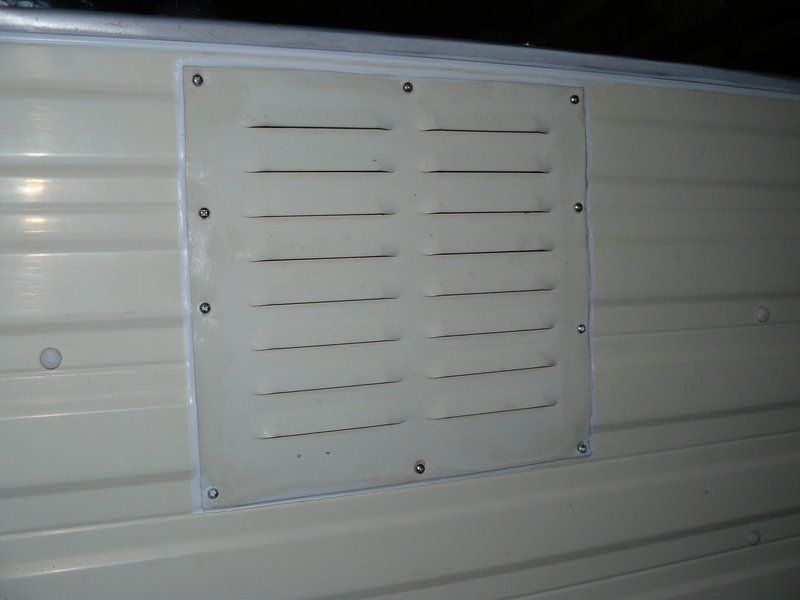 tooling it was almost simple after the rush to try and finish those long corner molds. 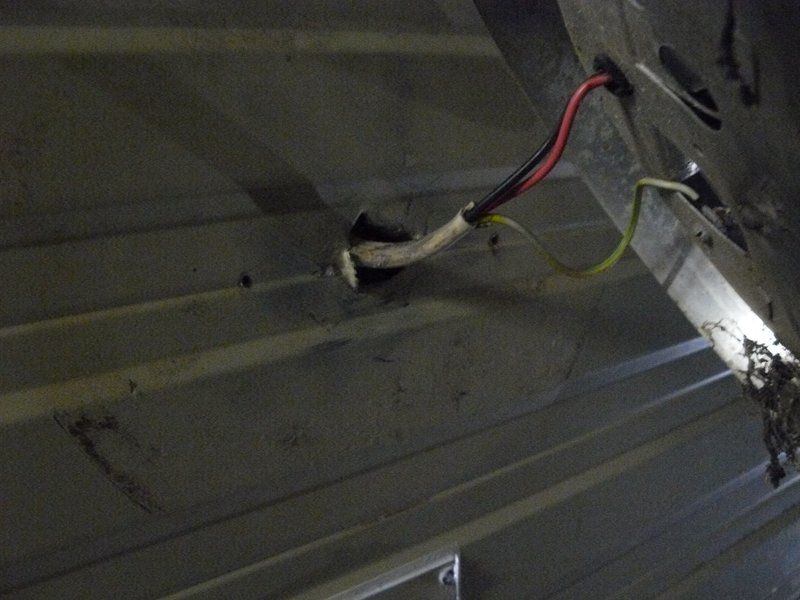 Do they just hammer a chisel through to make the holes for the wiring ? 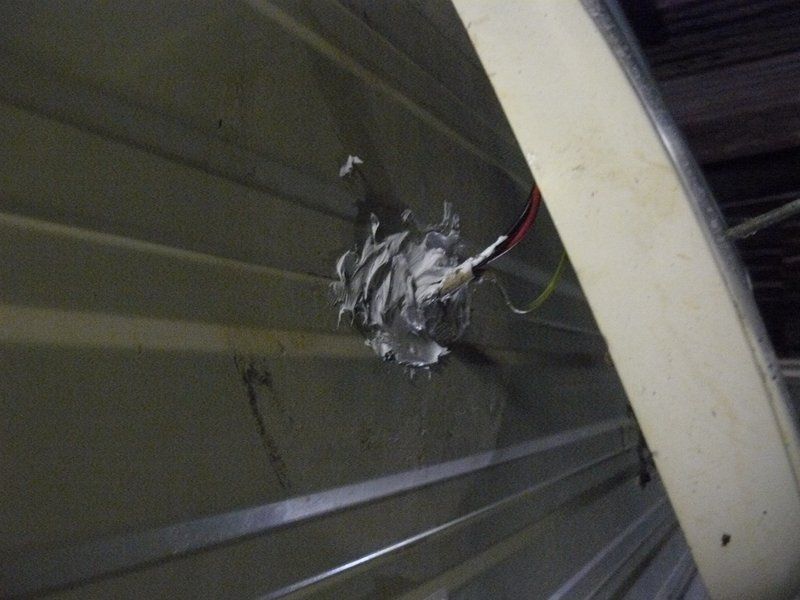 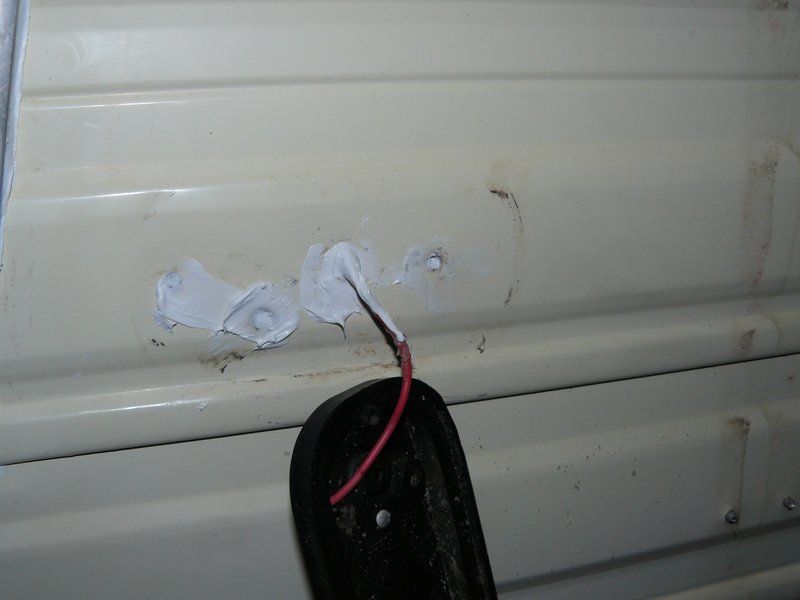 Fill all the wiring holes down the side of the 'van with silicon ... I want to let it set fully before re-assembly so I don't end up with the lights stuck down to the point where they would be destroyed if removal is attempted in the future. 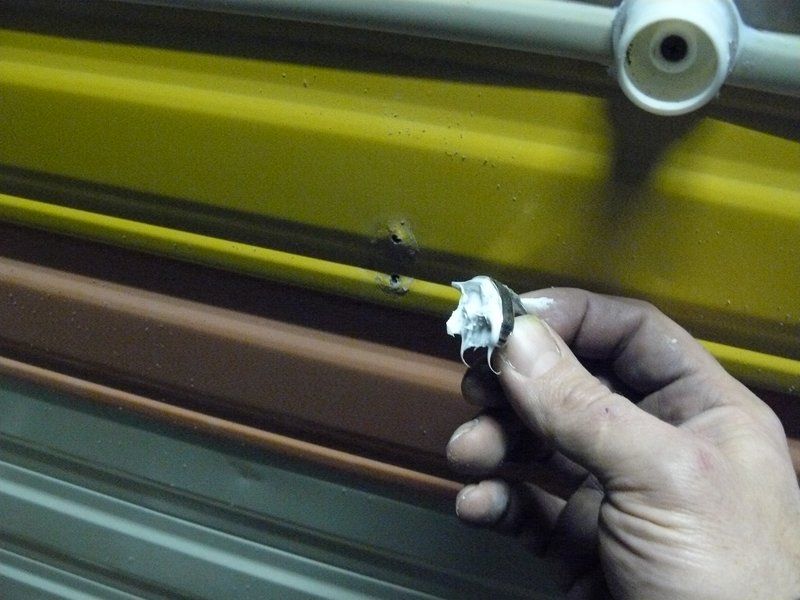 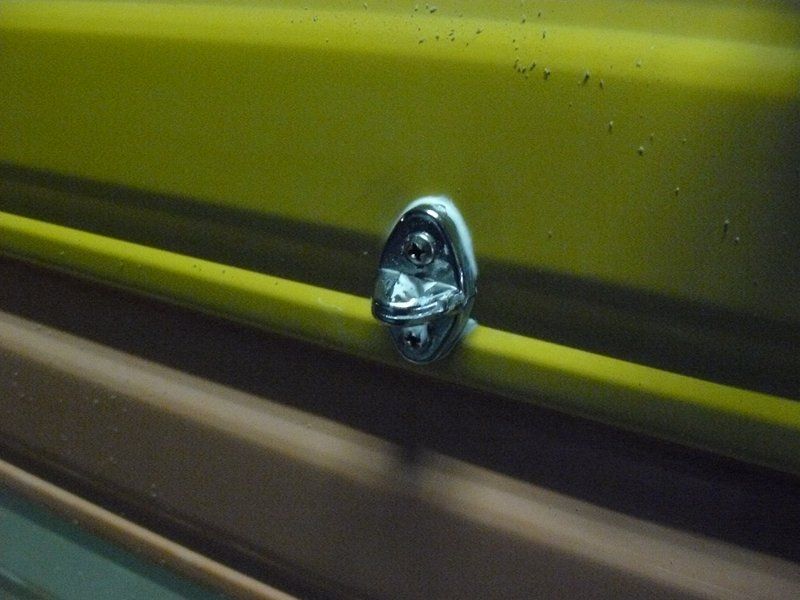 Looking down the side of the 'van. We also have two of these to remove, scrape the rock hard mastic from and refit. 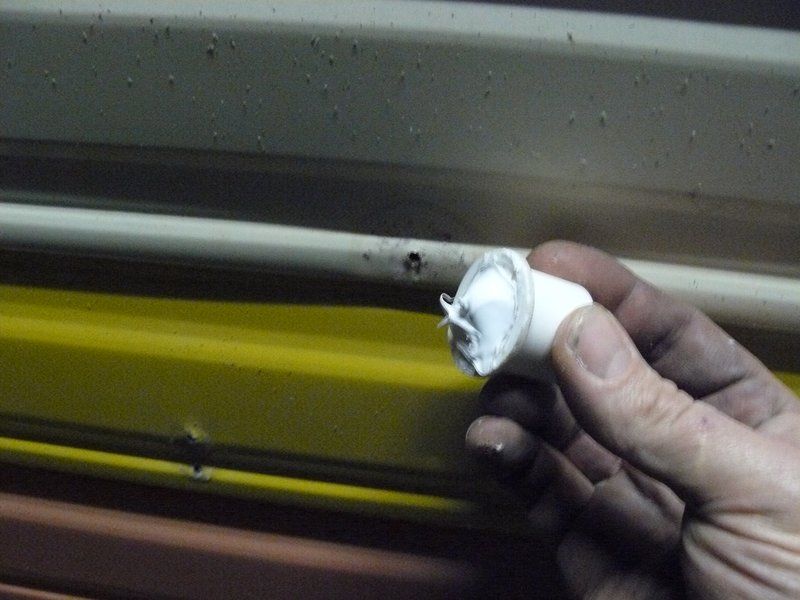 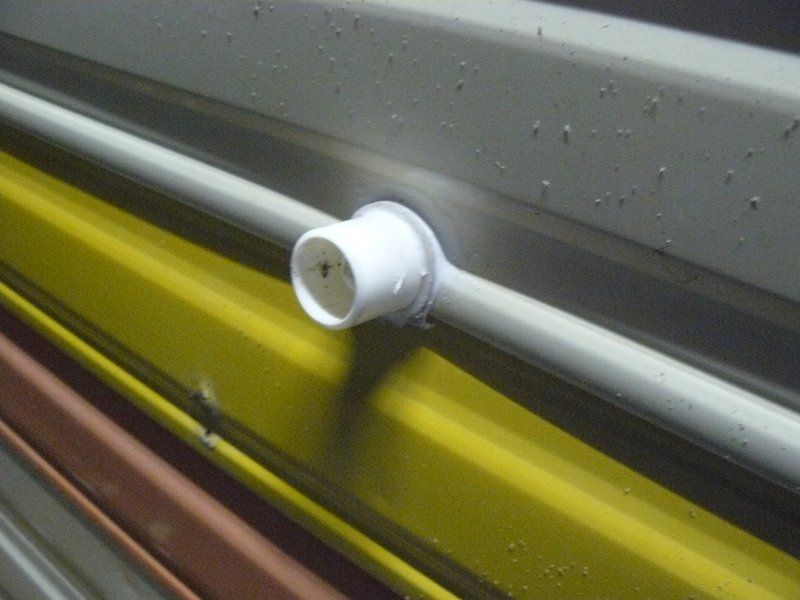 One of these. No wonder caravans leak from bloody EVERYWHERE. Everything I've removed from this was sealed 30years ago with mastic.... that would have turn to concrete 25years ago and leaked. 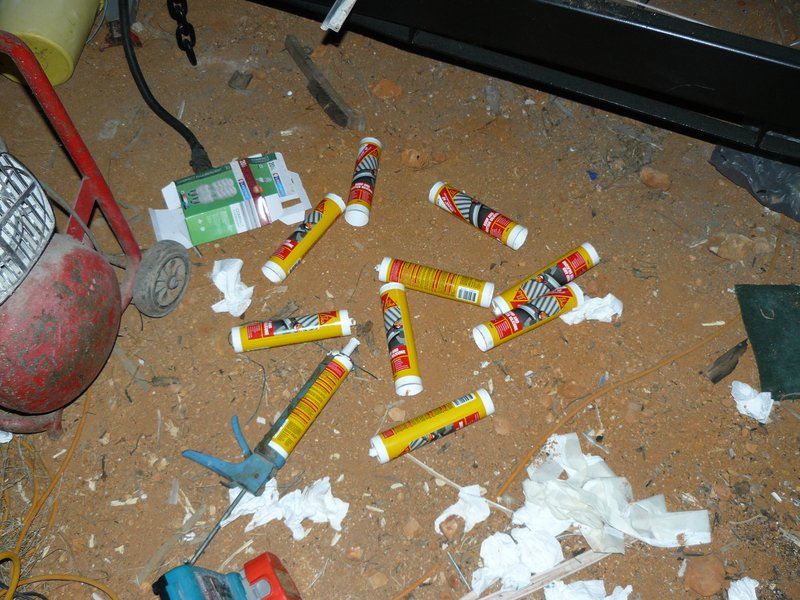 How much sealer to do this ....well for this 22foot caravan I used.... Is that 9.5 tubes of silicon for 1 tru mold, 2 tiny vents and a few light holes. I'd say 8.0 tubes minimum was the tru-mold. I thought that would be enough silicon for the entire caravan .... And I've used every tube I purchased on just one side of the 'van .... I'll have to find another $100 bucks to buy some more silicon. |
|
|
|
Post by doublechevron on Aug 28, 2015 9:41:01 GMT 10
If it's loose flakey paint, glass beads at a low pressure should get it off. It will also "texture" the alluminium too. The mastic will certainly be harder than the alluminium, so if you try to blast it off, you'll destroy the frame. I have built my own sandblaster unit .... You will use it LESS than you expected unless you have the time and money to do full restoration on cars/caravans. I posted some piccies of my setup over on the land rover forum. www.aulro.com/afvb/2247272-post12.htmlI wouldn't dream of going near windows with it .... countless hours of elbow grease is the only real answer. I worked out it was taking upto 5 hours per window to reseal on the caravan I'm doing. 20minutes to whip it out 1 hour to chisel the rock hard old mastic off 1 hour to carefully finish cleaning the mastic off with a small screwdriver and small stainless steel wire brush. 1/2 to tape of the window frame and wire brush it .... and BLOODY SILICON... if anyone has pumped that nuts all over the thing ... add HOURS for careful removal  1/2hour to re-install. seeya, Shane L. |
|
|
|
Post by doublechevron on Aug 20, 2015 10:10:30 GMT 10
Hi Guys, I just copied "Cabcars" instructions (the caravan repairer that was on the caravaners forum a few years back). If I ever want to figure what is the best way to do something, I go lookup his username on the caravaners forum. The amazing bit was everyone would then argue with him saying "no me using sikaflex/silicon/etc " is better. So he would forever again and again say "If you use silicon on a window ... or even worse sikaflex, as a repairer we will NEVER be able to get it out without destroying the wall of the caravan"..... He's the one that constantly stated in nearly every post "You MUST --squeeze out-- any sealer used. IT's the hydraulic pressure generated squeezing out the sealant that fills every void and hole with sealer. If your not wasting 1 in 3 tubes due to squeeze out... it'll likely leak and your not using enough sealant". Everything he states makes 100% sense to me, so i follow his instructions  If I pumped a lot of silicon around one of these windows and "squeezed it all out" fitting the window like I have with the mastic above .......... That window would be almost impossible to ever remove. It sure would never leak though  .... You just cross your fingers and hope like hell it never has to be removed. seeya, Shane L. |
|
|
|
Post by doublechevron on Aug 19, 2015 13:52:03 GMT 10
Well this stuff finally arrived .... $13.00 for 36meters and it's ideal. 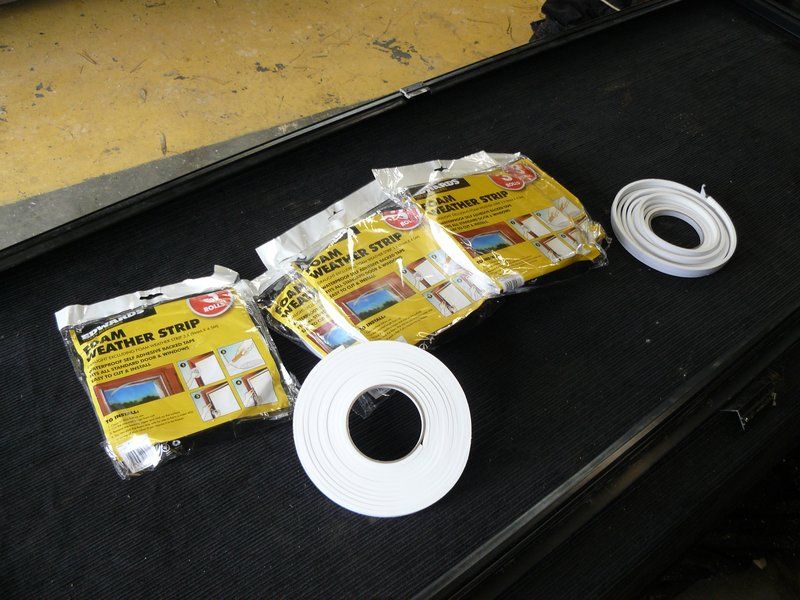 www.ebay.com.au/itm/191372685376?_trksid=p2057872.m2749.l2649&ssPageName=STRK%3AMEBIDX%3AIT www.ebay.com.au/itm/191372685376?_trksid=p2057872.m2749.l2649&ssPageName=STRK%3AMEBIDX%3AIT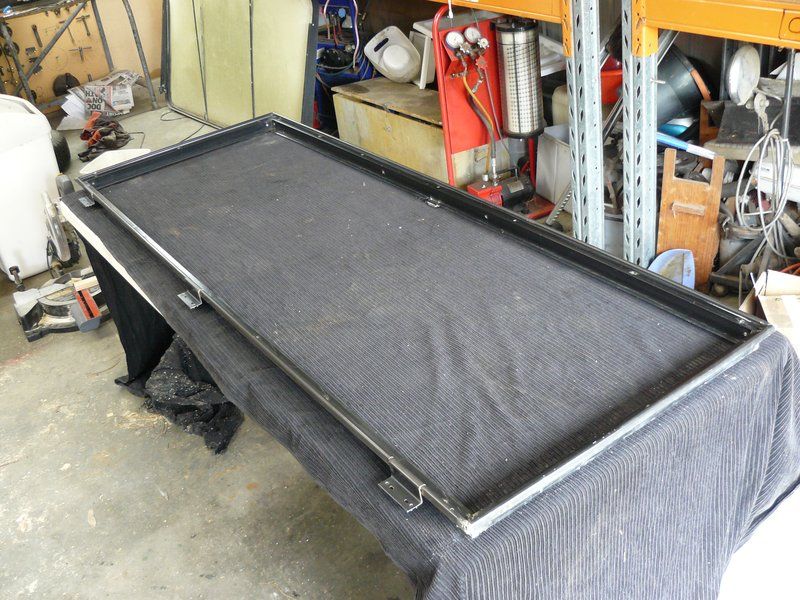 So I whipped the door frame back out and gave it a good clean. 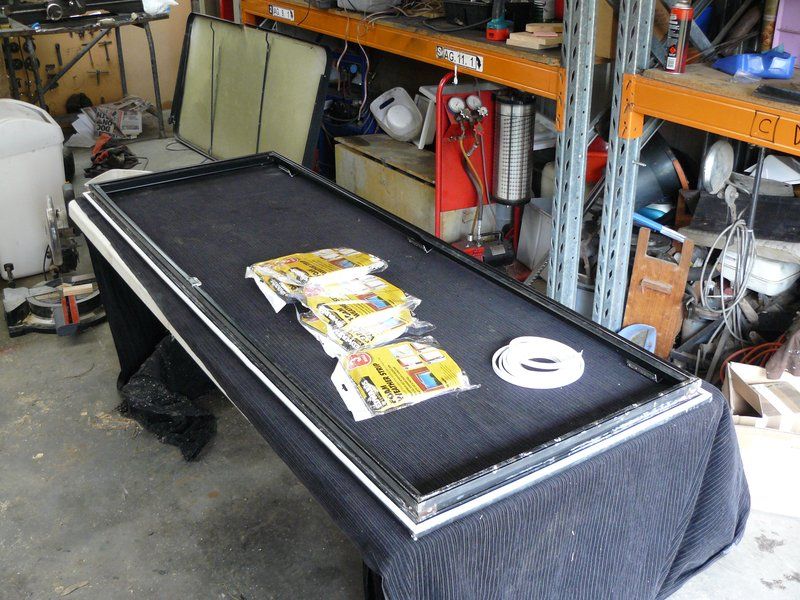 And run a length of the foam seal around the outer edge. It's ideal, not too thick, so leaves plenty of space for the mastic to be pumped on. 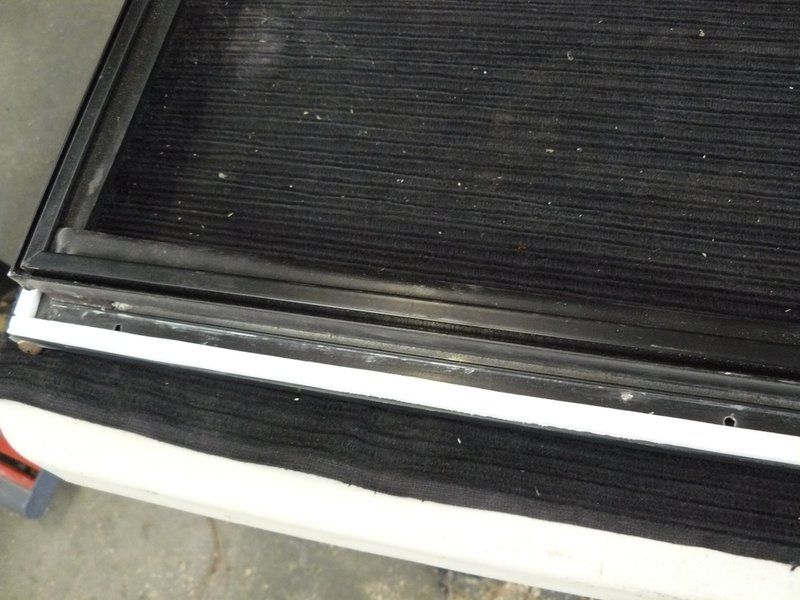 It's self adhesive on only one side .... So very easy to apply. 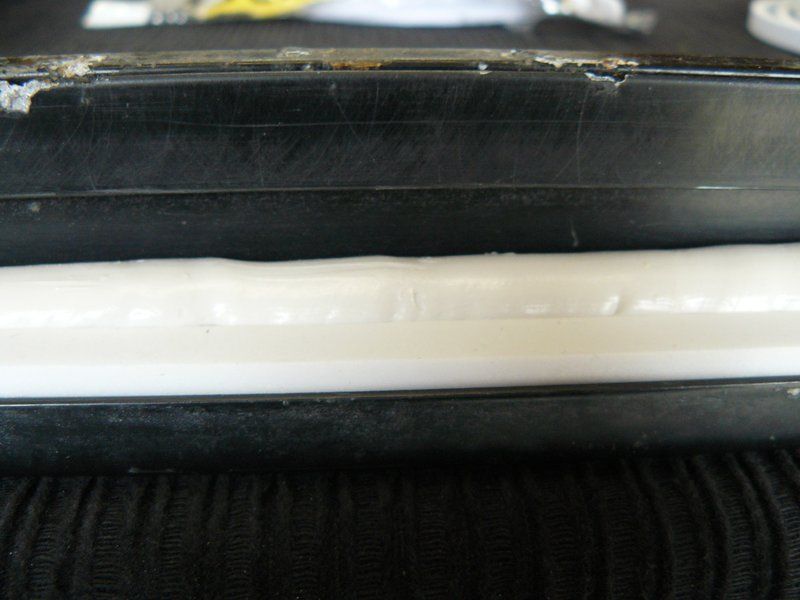 Pile on the mastic.... Don't be stingy  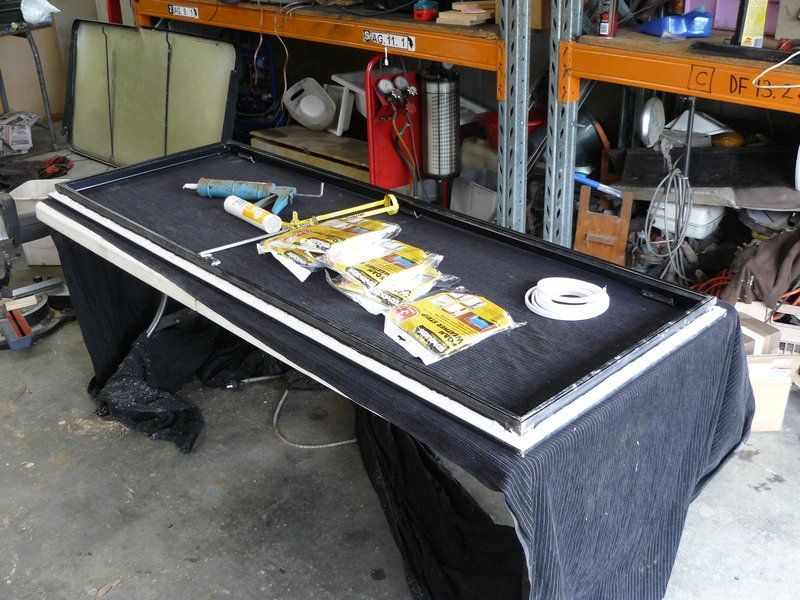 After all the efforts of getting this sucker out and cleaning it .... Finally read to just screw back in. 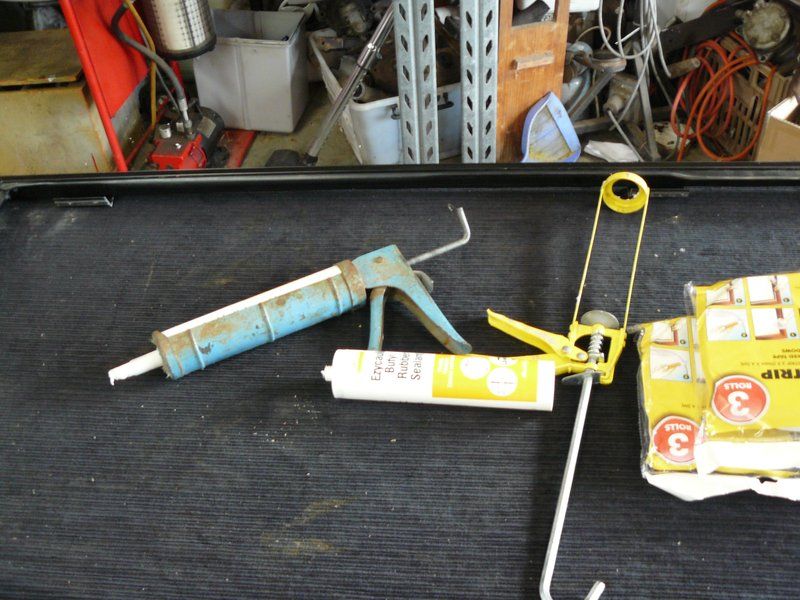 It was very bloody painful to pump that mastic out though. I've buckled both of these now.... Damn it was hard work and took forever. I think I'll try heating the mastic tubes next time to try and thin it out a little. 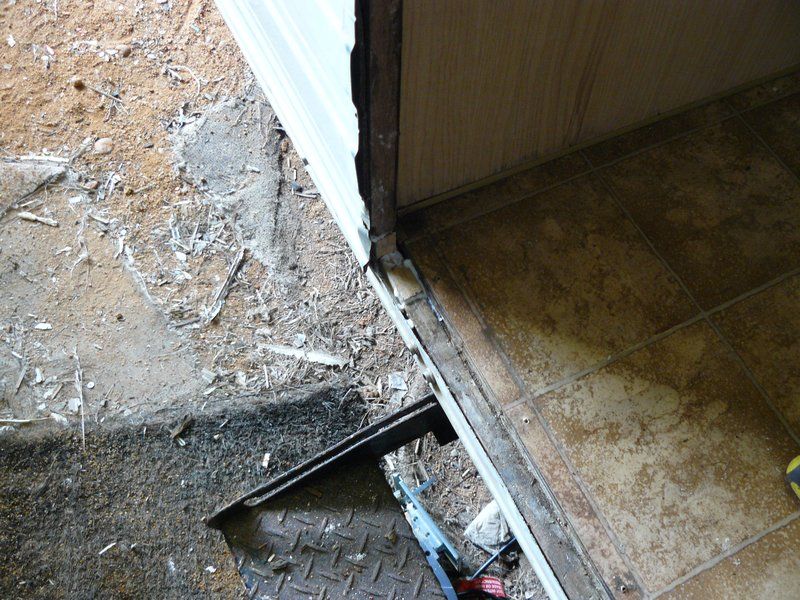 The wood was a little soft in this bottom corner, so I chiseled it out nice and deep, and glued some fresh stuff in. 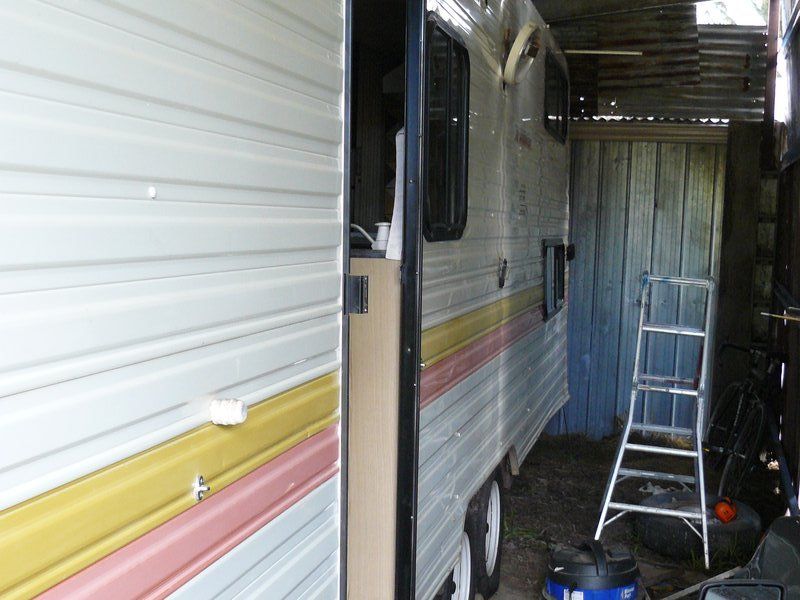 It screwed back in with no problems. I just used the slightly larger screws for the door. 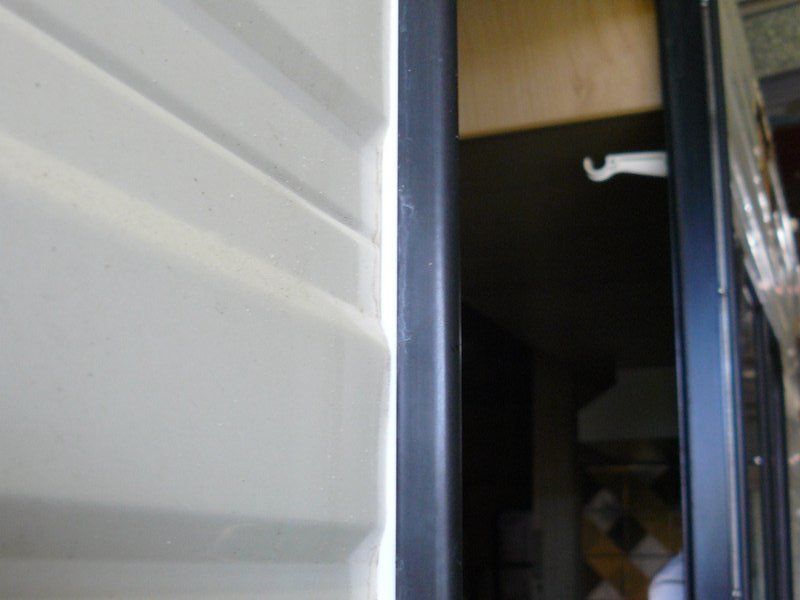 The foam seal isn't there to prevent leakage. It's just to protect the mastic from the weather so it doesn't dry out. 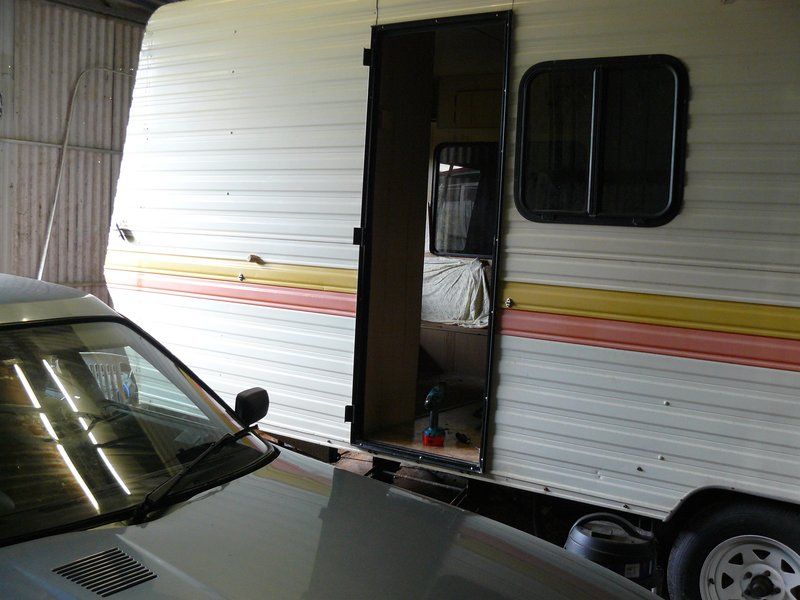 All done. 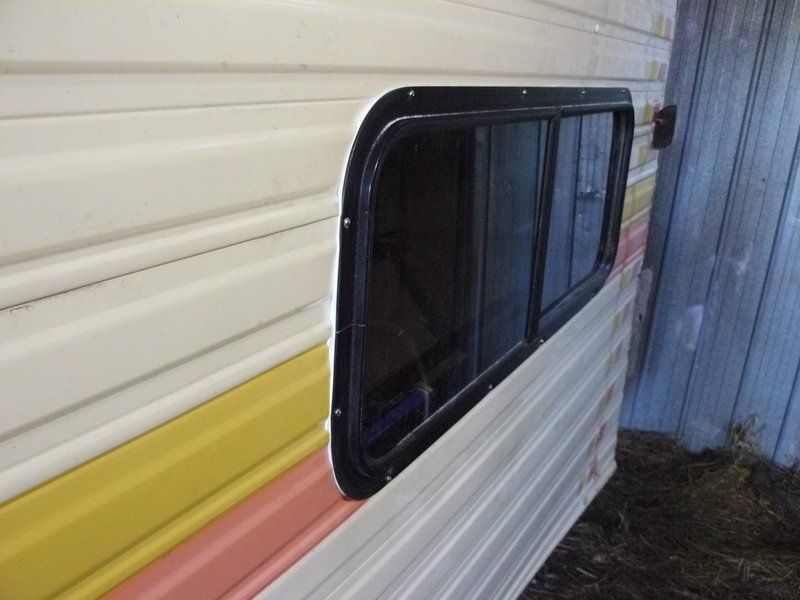 All the windows down this side of the 'van are done too.... 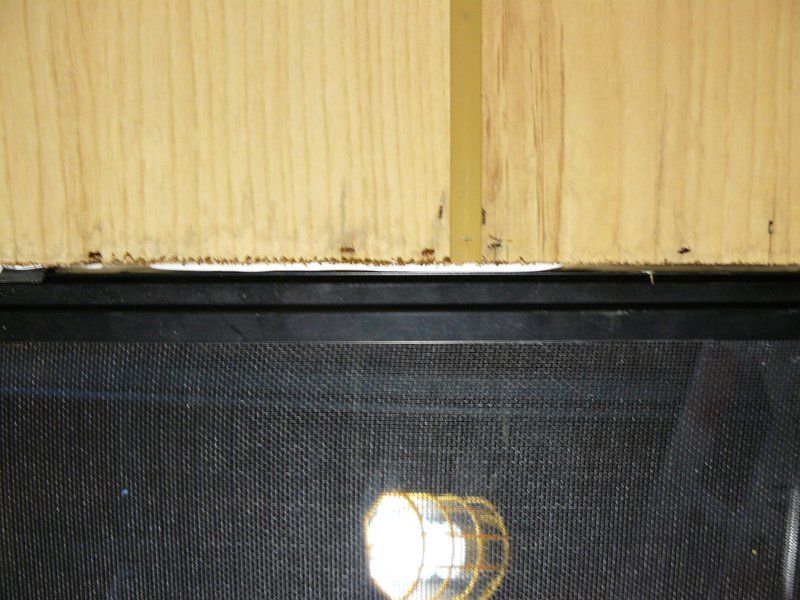 If I've used enough mastic you should see evidence that it's "squeezed through" into the inside of the 'van. 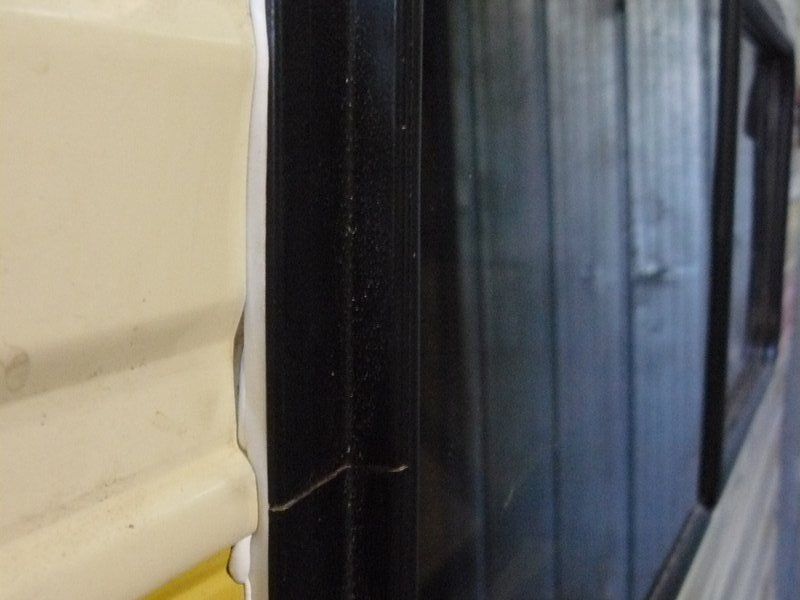 Interesting, look how deep the profile of the cladding is around the coloured portion. It won't leak, remember the foam is to just protect the mastic from the sun and drying out. 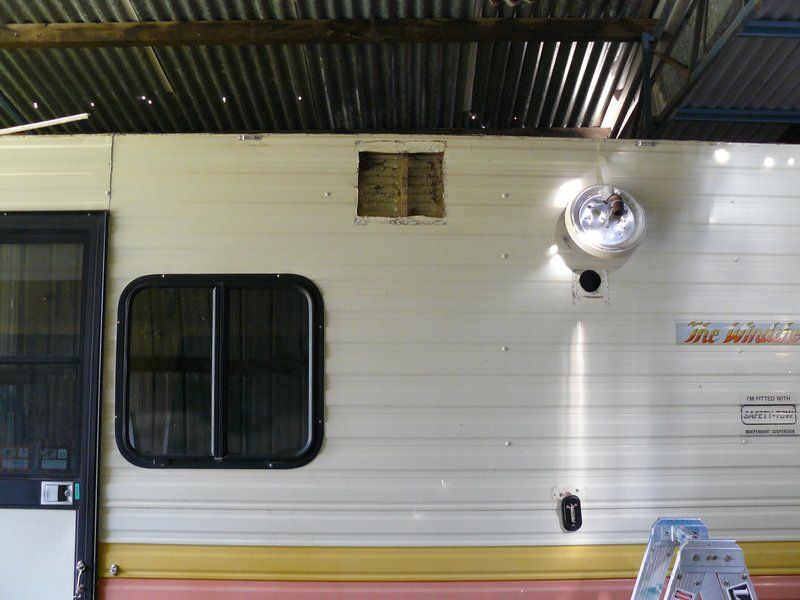 Look how huge that microwave vent is versus the tiny hole for the stove. 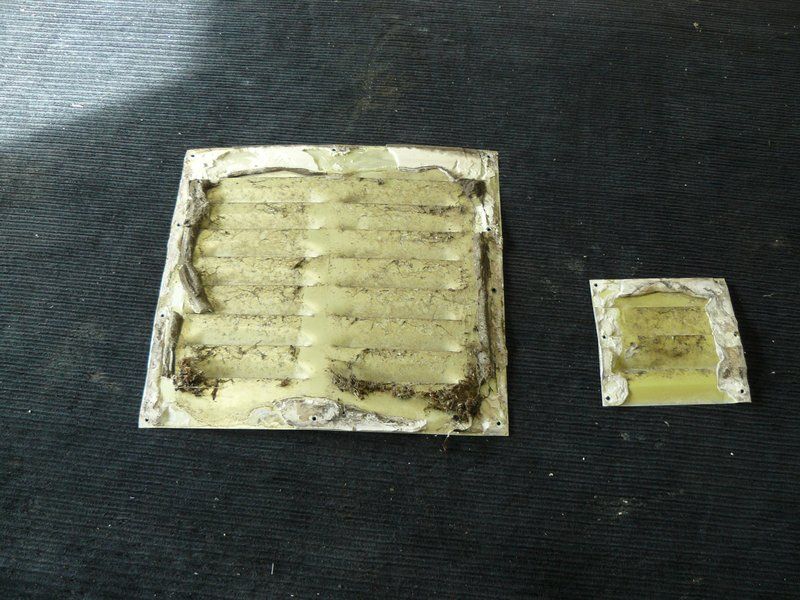 these have been cleaned and are ready to refit with roof and gutter silicon (not mastic, you'll be able to get a knife under them to cut the silicon away if they need to come back off. The silicon is vastly superior IMO as a sealant over mastic. I'm ever so slowly plodding away at this  .... another couple of months and I'll be done! seeya Shane L. |
|
|
|
Post by doublechevron on Aug 18, 2015 10:07:29 GMT 10
LED lights are good where they'll get wet ... as in theory they should be a sealed unit. The cheap ones everyone uses are crap IMO. If the sun is out you can't see them. You need to shop around and find the ones that can be seen in bright daylight (they are still cheap, but are the slimline ones that only a few $$$ more than the cheap boxy LED's that look like normal lights). LED's will also no work on a lot of modern cars. They mess up the blown globes sensors as they dont' draw enough load for the sensors to realise a trailer is connected, so will cause all sort of bizzare issues ( eg: all the lights strobing etc). I stick with proper old cars that can be readily repaired myself  seeya, Shane L. |
|
|
|
Post by doublechevron on Aug 17, 2015 16:33:42 GMT 10
Vicroads should be able to use the original information if you have the original numberplates still on it ! (unless of course it's so many years since it's been registered, it's not on there computers  ). seeya, Shane L. |
|
|
|
Post by doublechevron on Aug 10, 2015 15:45:06 GMT 10
buy on condition. If I was in the market for a 'van of that type and size, I'd already be looking at that one. The condition appears to be exceptional. You absolutely MUST look at them first though. Photos can hide all sort of damage. If that one really has no water damage it is truly a very unique survivor. If you buy a 'van of htis age. Plan on renewing EVERY bit of sealant on the 'van. Once done it'll give you many years of enjoyment. Take pictures of your resealing job so if you ever sell it you can prove it's been resealed properly. It will make it much easier to sell.
I'm working my way through resealing on old 'van at the moment. The reason it's never done right, is it's a HUGE job. It's not expensive, not difficult. Just massively time consuming. ( given the time involved it will costs more than the caravans value to get done professionally).
seeya
Shane L.
|
|
|
|
Post by doublechevron on Aug 7, 2015 23:41:29 GMT 10
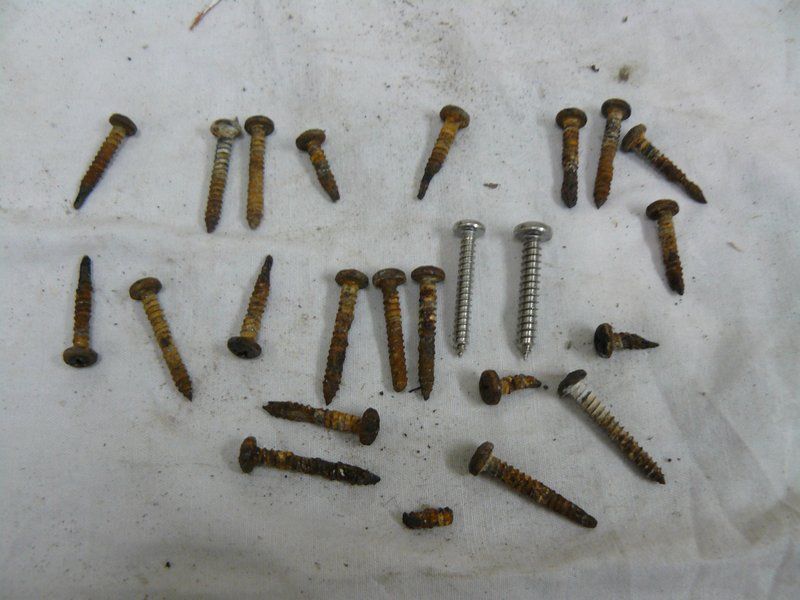 Well I got the last few screws out ..... What a bloody mess. The shiny ones are the stainless replacements. I got 500 of the same sized ones, if you look closely one of them is one size bigger ..... I figured I'd get 100 that are one size bigger just incase there is holes anywhere in the caravan the standard screws spin in..... I still couldnt' get the door frame out, it was wedged solidly into place  ...... It HAS to come out though, given the screws it's frame be rotten as buggery and I'll need to figure out how to replace it. 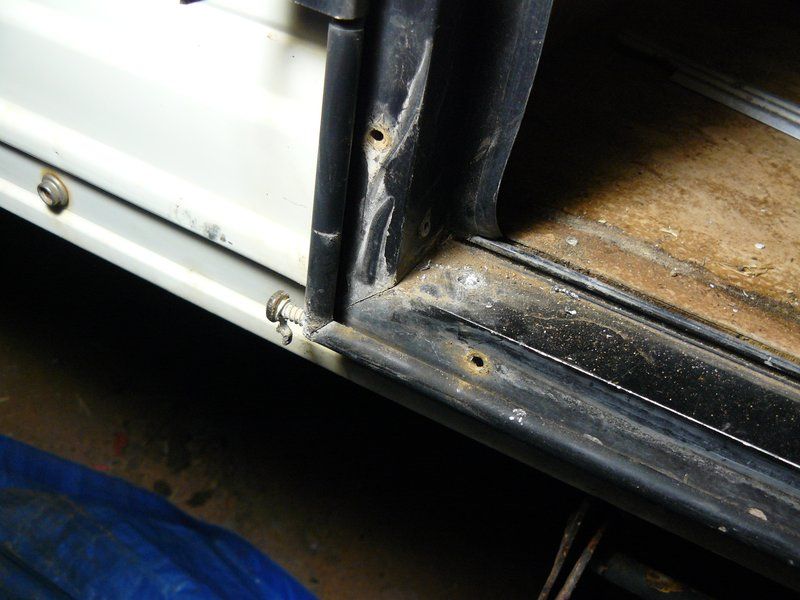 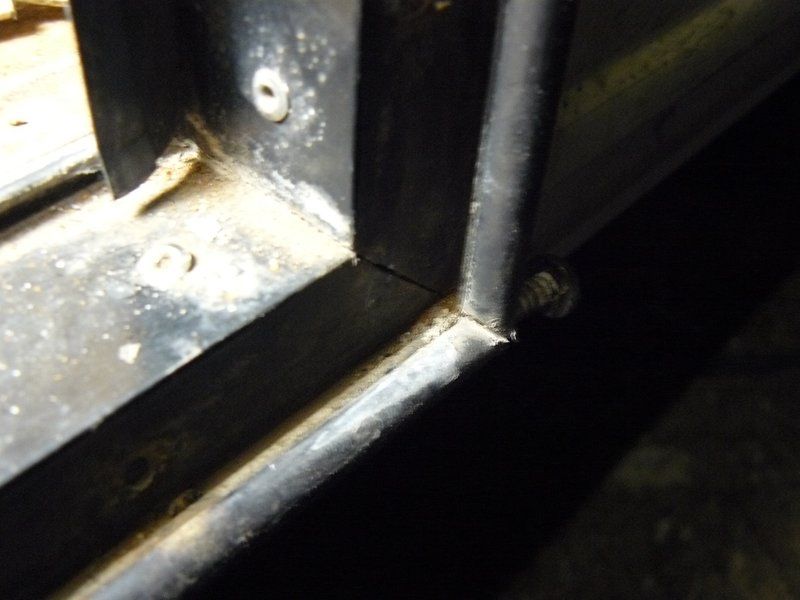 I figured they must fit the frame in there in pieces ... .so tried to unscrew and drill the rivets on the bottom frame piece ..... Yeah don't do that ... It doesn't came apart. 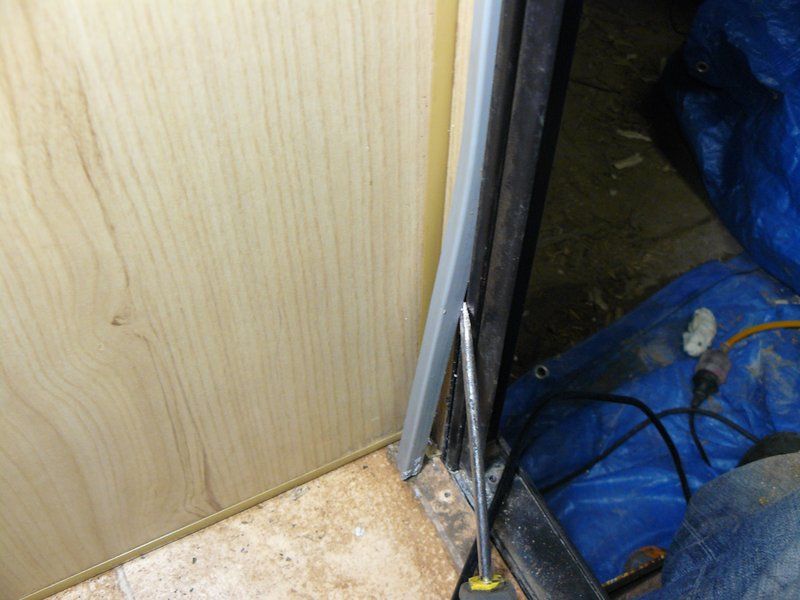 that inside trim is really effective at holding the frame in,. It just lifts out. 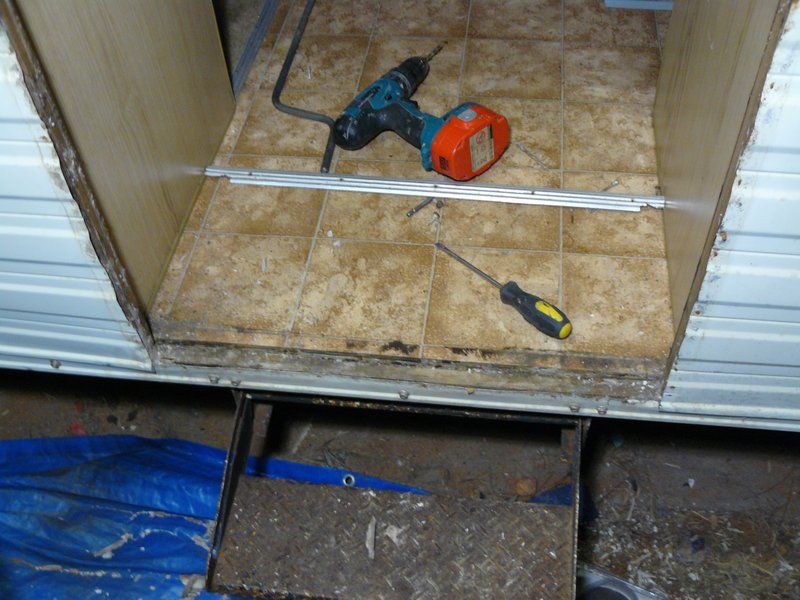 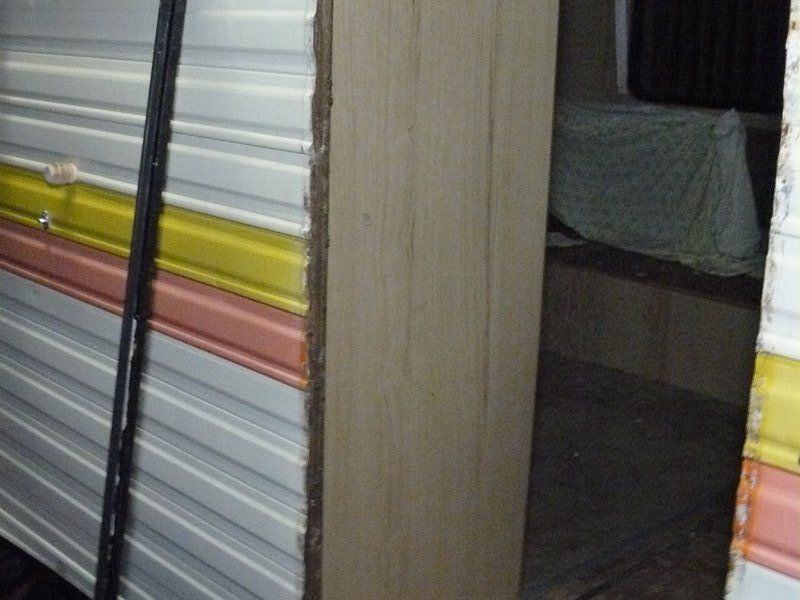 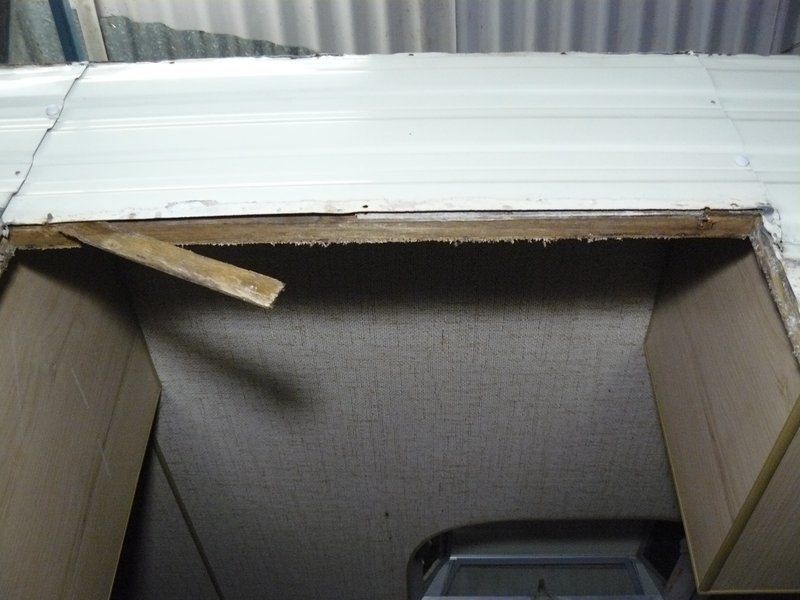 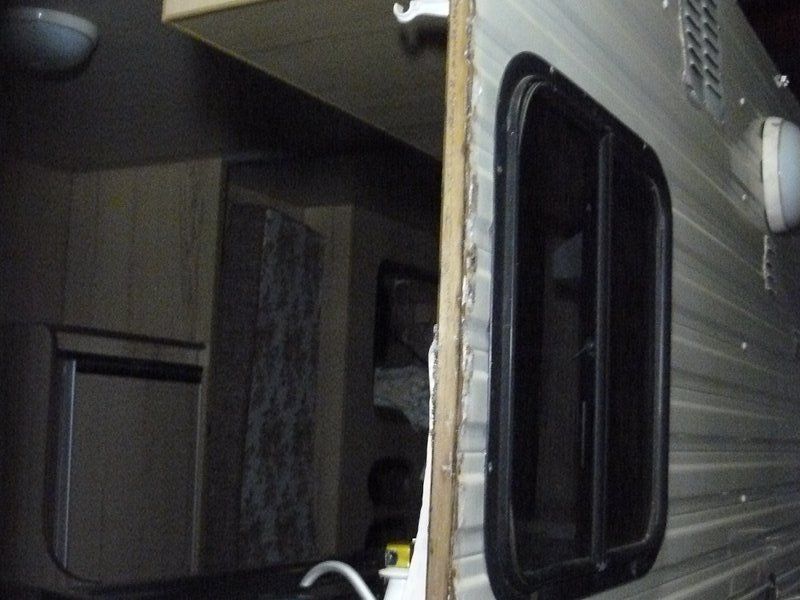 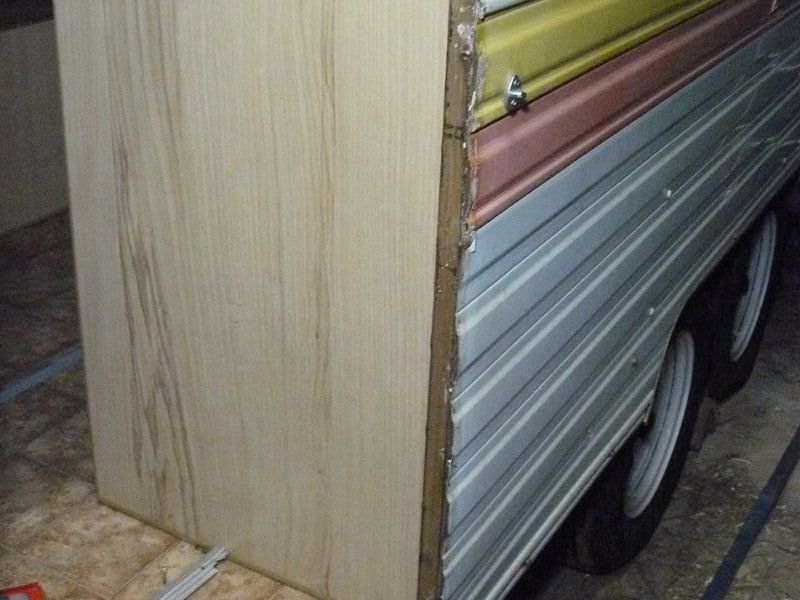 I don't know what to make of this .... The frame is like new. Maybe I might chisel out a small bit of wood in the bottom corner about the size of a matchbox, and glue a new section in .... Other than that, it's perfect .... But those screws ?? this makes no sense. 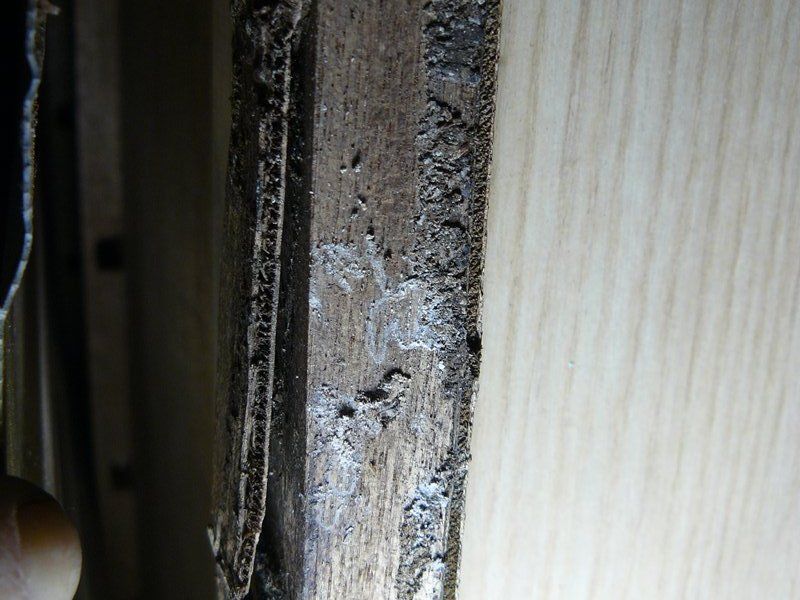 Like everywhere else I've looked behind the cladding its like new 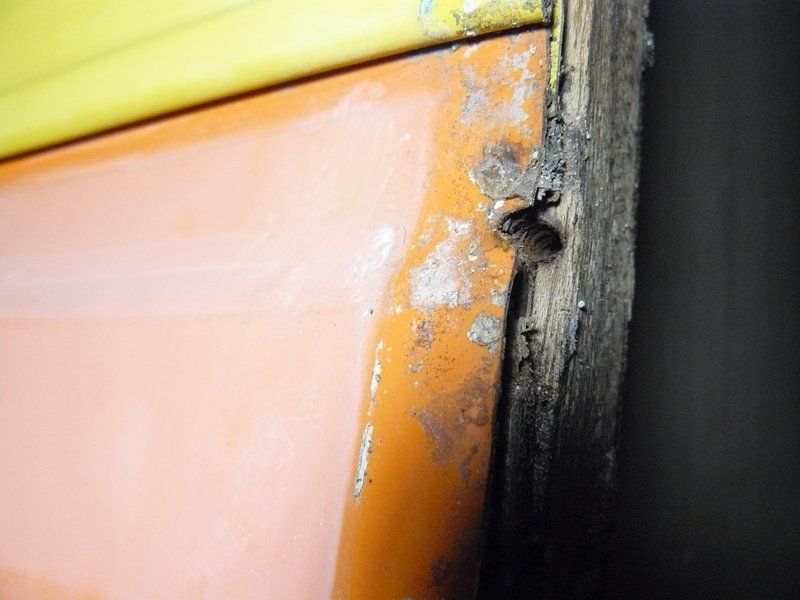 The screws have rusted away in the holes, but not damaged the wood. I don't understand how this is possible. 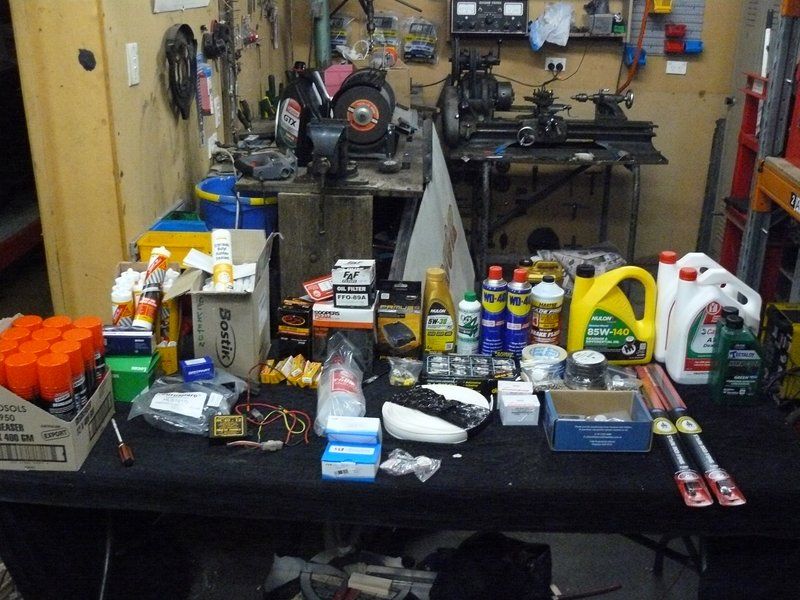 I've just refitted the frame for now. I'm still waiting on foam tape to turn up in the post (to protect the butyl mastic from drying out again when I refit the door and windows). Finally I'll be getting somewhere towards actually starting to re-assemble this thing rather than constantly just pull in further to pieces  we have the stainless screws, new tru mould decorative tape, 10 x roof and plumbers silicon, 15 x butyl mastic and temp gauge/service items, brake controller, battery isolators etcc for the tow barge. seeya, Shane L. |
|