|
|
Post by bobt on May 22, 2015 18:27:13 GMT 10
Nice little extension your doing there. Wish I had the space.
|
|
|
|
Post by Mustang on May 24, 2015 19:21:35 GMT 10
Our good friends came to visit, the lady at the machine sewed up all Vincents curtains (13 windows) in a few hours. Problem, Im a looonnng way from getting them hung  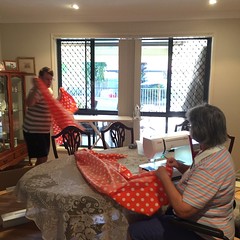 |
|
|
|
Post by Mustang on May 25, 2015 19:37:40 GMT 10
Had some great news today.Looked like I would be in surgery on Wed for a Hernia? At the 11th hour the surgeon decided I should have an ultrasound due to doubt. Appears I have the symptoms but not the problem, so light duties for a month then a review. So all systems "go" to get "Vincent" to the start line on June 20    Whacko the Chook.
|
|
|
|
Post by tasmillard on May 25, 2015 20:12:05 GMT 10
Hope you recover very quickly mate.
|
|
Deleted
Deleted Member
Posts: 0
|
Post by Deleted on May 25, 2015 20:26:17 GMT 10
Hey mustang
I can't remember.....or I don't want to remember but I've had 3 or 4 hernia ops, they are not fun.
Hope everything is ok
Cheers |
|
|
|
Post by Mustang on May 26, 2015 19:08:08 GMT 10
Got a bit done today, the hatches are finally in place , a bit heavy, & need a hand up, but working fine.  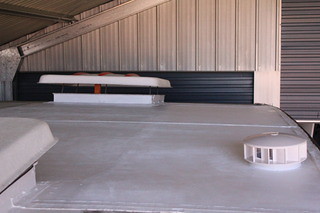 The front bunk re-assembly is going slow, but hung a panel near the door with the light switches, all working again, small lower panel to fit. 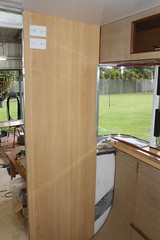 This is the front bunk, original, just thrown on the floor when we picked up the van. I just tidied it up, it was painted gold around the orange, covered in beer stickers, I restained the trims cedar to match the Viscount plastic trims. 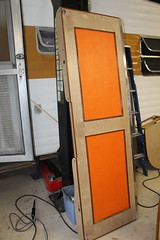 A friend stayed at the weekend , cleaned & sprayed the rims, added new tyres. 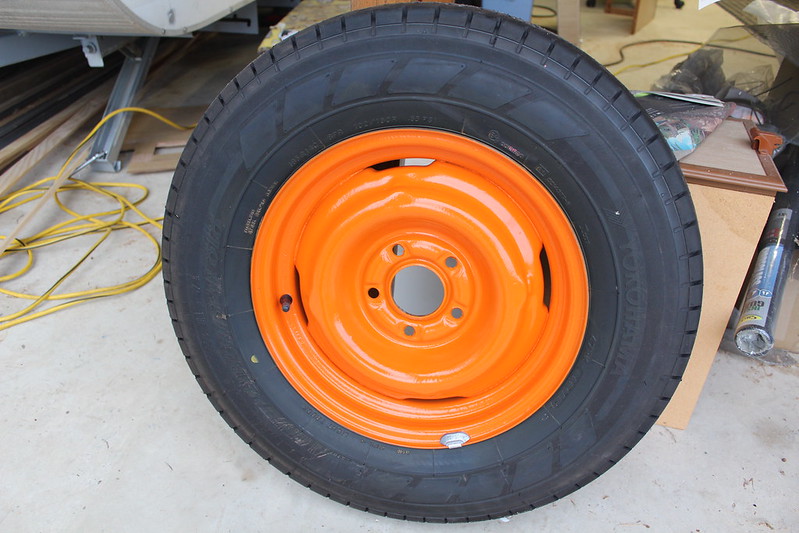 I had to remove some original tiles, so while I was dressed up in anti-asbestos gear, I tried the lino, OH Boy, is it stuck some. Flat shovel & heat gun, having little effect. I might try cutting it into smaller partitions. 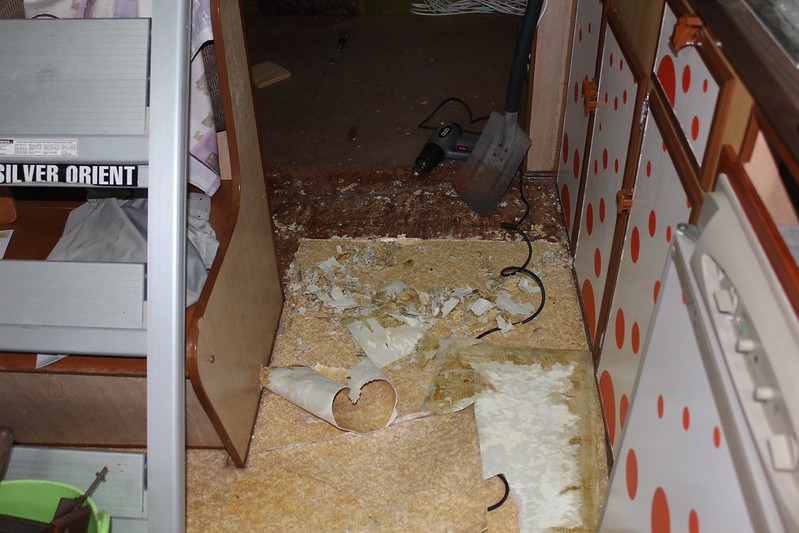 Our builder will be back tomorrow, so Vincent will be evicted from the comfy garage on the "Return of the Nautilus". 326 hours to date. |
|
Chihuahua vintage girl
Guest
|
Post by Chihuahua vintage girl on May 26, 2015 19:13:43 GMT 10
Our good friends came to visit, the lady at the machine sewed up all Vincents curtains (13 windows) in a few hours. Problem, Im a looonnng way from getting them hung   |
|
Chihuahua vintage girl
Guest
|
Post by Chihuahua vintage girl on May 26, 2015 19:14:49 GMT 10
Love those curtain colours
|
|
|
|
Post by Mustang on May 30, 2015 17:59:58 GMT 10
Today we celebratedTurned another milestone, the front is almost complete. Started work at 6am as the lino in the front had to come up before the bunk frames were fitted, kept going, kept going,kept going, with the heat gun. 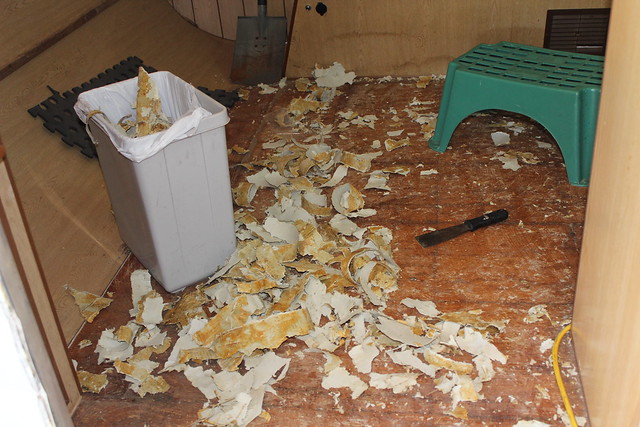 Back aching, suffering from man flu, Ohh I want this crap off the floor, then, after 3 hours, it was all gone!!!!!!!!YEAH 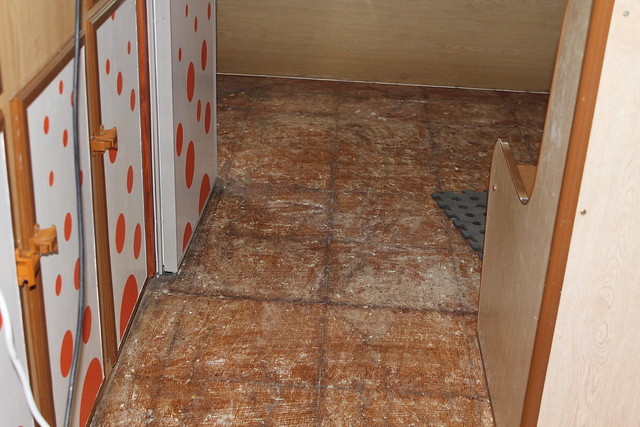 Most reno people throw these little cupboards out, but with a bit of effort: 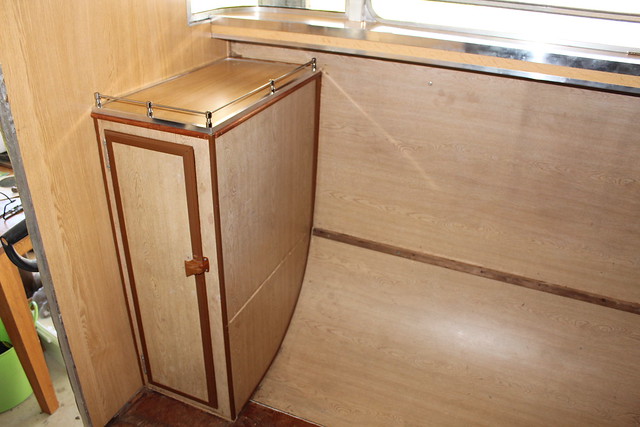 Its a Mini Hanging space  Next, only 11am we are on fire!!  Add some framework for the lower bunk, thats the original ply in the curved section, somewhat re-cycled, re-cut, re-glued. 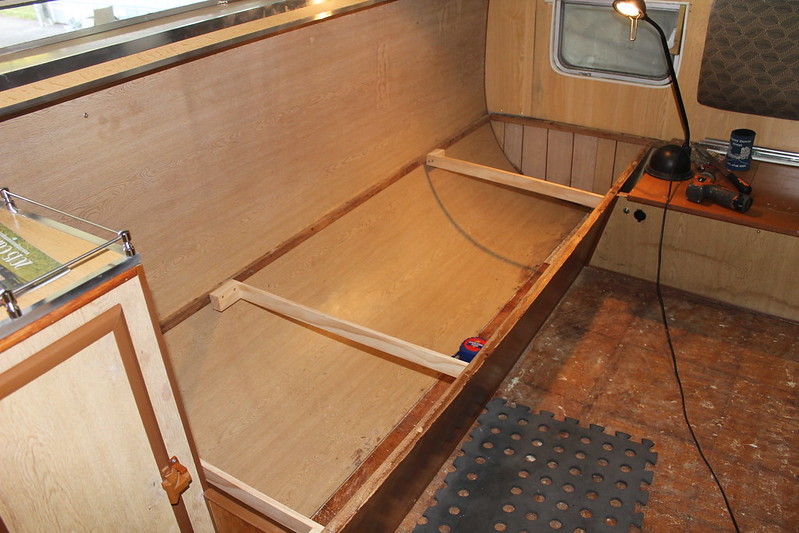 Now you see the bunk 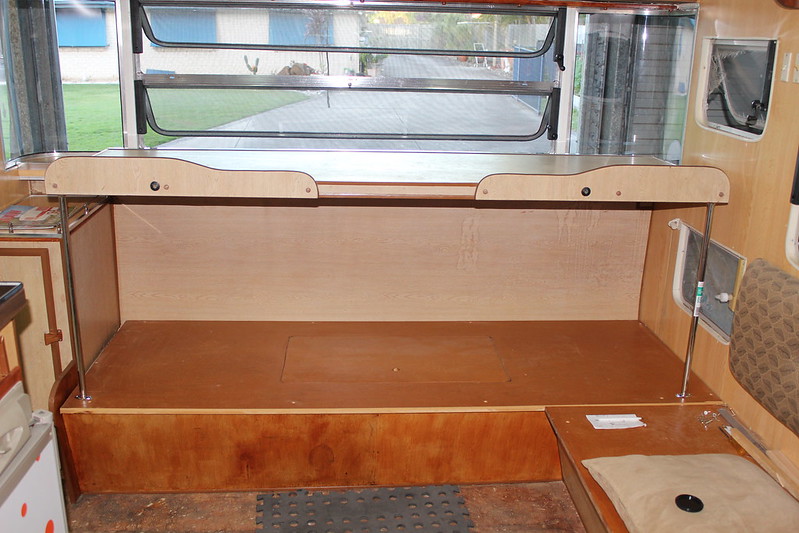 Now you don't... 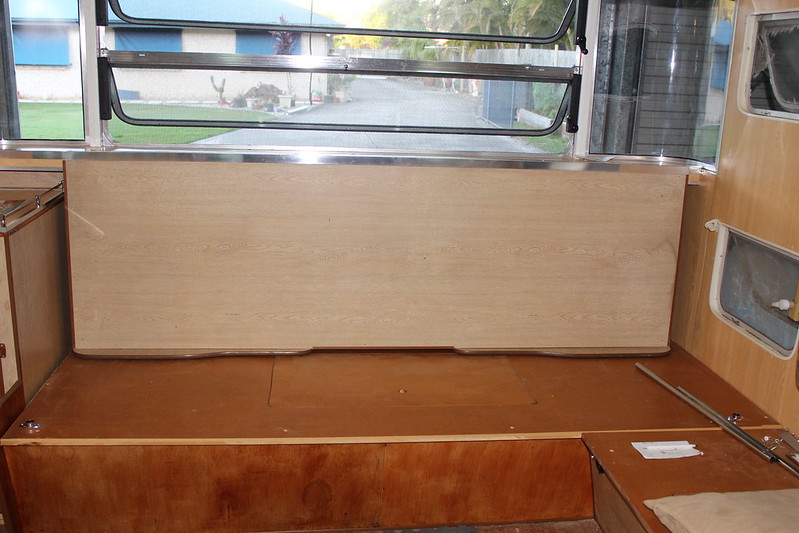 Can't imagine why they made these bunks fold "up" covering the front window & not "down". I re-cycled the original front beam & added extra timber supporting the windows, this was then tied to both sides of the van with brackets, the bunk is now swinging from this beam, on piano hinges. Aluminium angles help with strength. As the front frame had been stuffed up before I got it, there was a lot of working out for this result. With the lounge cushions in place the bunk will be almost hidden from view. Now where's that beer!!!!!!!!!!
|
|
|
|
Post by atefooterz on May 30, 2015 18:13:10 GMT 10
Wowza a very well earned beer by the looks of all that!!!  |
|
|
|
Post by Mustang on Jun 6, 2015 17:18:52 GMT 10
Well some more success today, Vincent will certainly now make it for the Inaugural Cotton Tree Bash. The new spats are very flimsy, so I made a marine ply backing, & trenched a groove for the spats to fit into. The stars are from an EK Holden 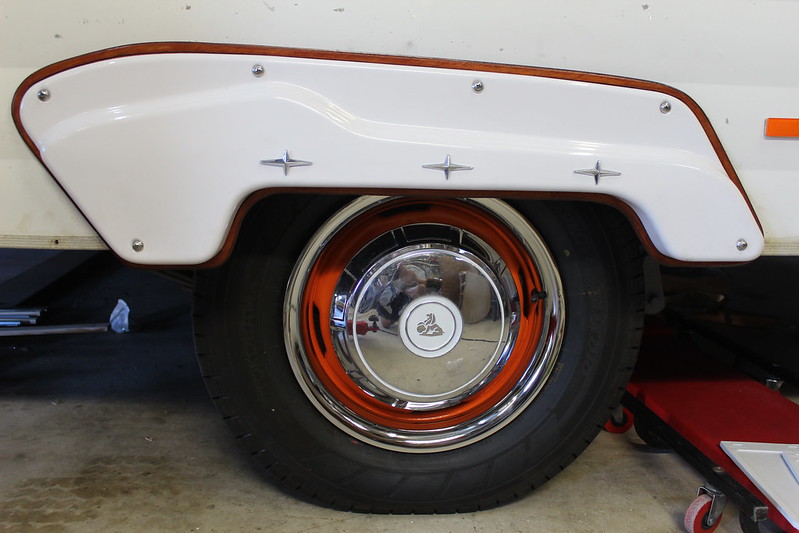 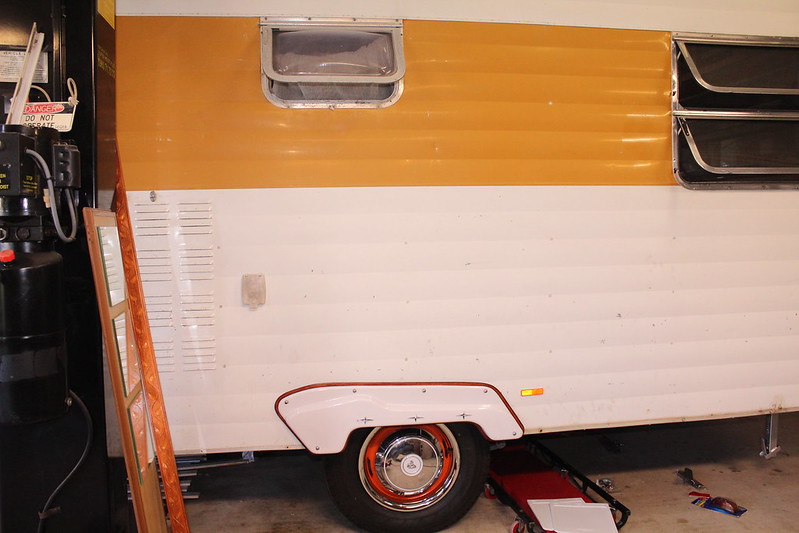 I think they are very stylish, but should I paint them Orange?  ? EDIT: They are now ORANGE!! The coloured section on the van will be the same as the wheel colour. |
|
|
|
Post by Mustang on Jun 6, 2015 18:05:59 GMT 10
Thanks for that Lockyer.
Advice needed:
Now that our lino is off, & before, I find our floor rolls in places when walked over.
All the rivets are tight but you can see the movement of the timber between the chassis members, as if its soft. The timber appears in good condition.
My thoughts are would a capping of 3mm ply take out most of this movement ? I would prefer not to lay wooden flooring as it needs 13 mm of clearance each side for movement.
The green shed has lino in strips which looks a cinch to lay on a good surface.
|
|
Deleted
Deleted Member
Posts: 0
|
Post by Deleted on Jun 6, 2015 18:14:42 GMT 10
We had a lot floor movement as well and it seemed worst after we removed the vinyl/lino stuff. I had a number of the rivets broken and a couple also seemed loose so I drilled them all out and replaced them with 1/4 counter sunk bolts with nyloc nuts. This fixed about 60% of the movement and after we reglued the new vinyl in/down that stopped the rest. I think the vinyl/lino gives the floor a lot more support then we think.
|
|
|
|
Post by atefooterz on Jun 7, 2015 1:37:32 GMT 10
I think the vinyl/lino gives the floor a lot more support then we think. Ahh the beauty of composites!  |
|
|
|
Post by Mustang on Jun 7, 2015 18:08:31 GMT 10
Had a break from scrubbing & actually produced some woodwork. Pinrail shelves: 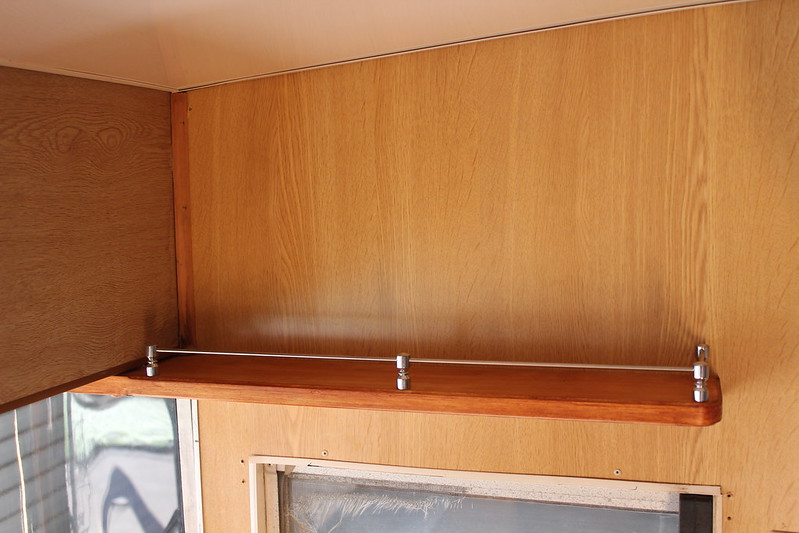 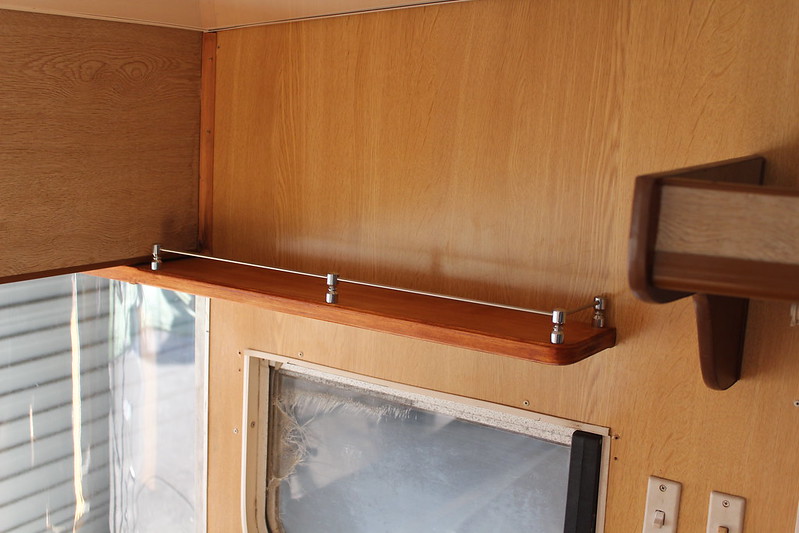 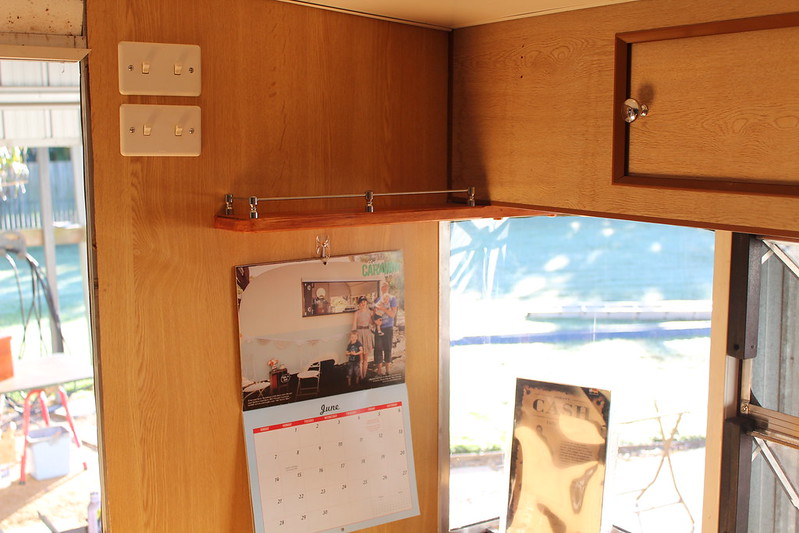 The old table: Images to followThe original frame with a new top:  My bespoke toolbox ; Images to follow |
|
|
|
Post by atefooterz on Jun 7, 2015 19:16:33 GMT 10
Top shelf results Mustang, looking very glam.  |
|
|
|
Post by awbeattie381 on Jun 9, 2015 22:37:24 GMT 10
Making quick work of the van at the moment! What have you done with the rest of the windows? Will you be restoring those also or just the front? We are in the process of tackling one window at a time...and we are only on our first (broken glass made us chose it). Its a bloody time consuming job, and because the wife wants to replace all the window sills/surrounds, we will be doing all of them  | We also have the added issue of stripping the paint (previous owner thought it would be a good idea to paint every exposed bare aluminium surface...) What was the method for reinstalling your front window? Couldnt find in your thread where you mentioned what products you used to reseal. The window is such a loose fit without all that gunk/putty stuff... Loving the wheels/hubcaps/spats etc! |
|
|
|
Post by Mustang on Jun 10, 2015 18:32:03 GMT 10
Hi Andrew, Page 3 & top of Page 5 have some images. With the centre double frames front & back I had to completely remake the wooden frames. I used the original uprights, which separate the corner bays from the centre flats. For sealing I used the original mastic style tape (caravans plus) this is like a putty on a roll, if you ever have to take the frame out again, no problem. For the inside of the bays I used a double sided sealing tape, see p3, 1/4, way down. With the mastic tape you can cut off the excess with a halved plastic ruler, (or wife's credit card) then roll the excess into little sausages & push them into the hollows, all cleans up with slightly soaked turps rag. link This method can't be rushed, but you end up with an original finish. Some say what the hell I just use silicone, well I won't use it on windows & havn't used it at all on our van. I have two doubles & 3x singles to renovate, I think its the best way to go, singularly , I couldn't have faced 13 frames at once on the bench  For glazing I use plastic now, after the weight of the first double with glass, I was astounded how much lighter the plastic are. A local glazier supplied the outside sealing wedge. Then you have the insect screen to replace, we used 3mm core, with the fly screen on a roll, like you would on a house insect screen door, (DO NOT pull too tight) then the outside weather strip needs replacing, this is 4mm also from Caravans Plus. It all sounds a bit daunting, but when you get over your first its not so bad. If you get hung up shoot me an email, & I can talk you through it. Cheers Brent |
|
|
|
Post by Mustang on Jun 13, 2015 20:17:32 GMT 10
Thanks for that Lockyer. Advice needed: Now that our lino is off, & before, I find our floor rolls in places when walked over. All the rivets are tight but you can see the movement of the timber between the chassis members, as if its soft. The timber appears in good condition. My thoughts are would a capping of 3mm ply take out most of this movement ? I would prefer not to lay wooden flooring as it needs 13 mm of clearance each side for movement. The green shed has lino in strips which looks a cinch to lay on a good surface. A builder friend called today. I asked him about our floor issue. He sugested we use a timber floating floor rather than covering the original in ply, & then vinyl. The stiffness of the floor tile should take out the softness of the floor. Usually in a house you have to leave 13mm each side for expansion/contraction, but as the area is so small a 6mm gap would possibly do. Hmm sounds Ok? Has any one used this method? |
|
|
|
Post by atefooterz on Jun 13, 2015 20:54:56 GMT 10
The real issue is how stable is the timber product being used? The ply floor if 1/2" and above thickness will not shrink/grow ore than 1mm Many floating floors are also a ply so quite stable. Will you glue the floating floor to the existing boards, to stop flex and movement? A mates kitchen was *done like this, old moving timber place with semi rotted floor boards. After 6 years it is still tight to walk on and no expansion/ contraction issues to date. 3mm each side should be a good saftey margin.
*using the basic cheapest of liquid nails glue.
|
|
|
|
Post by Mustang on Jun 14, 2015 6:14:45 GMT 10
The real issue is how stable is the timber product being used? The ply floor if 1/2" and above thickness will not shrink/grow ore than 1mm Many floating floors are also a ply so quite stable. Will you glue the floating floor to the existing boards, to stop flex and movement? A mates kitchen was *done like this, old moving timber place with semi rotted floor boards. After 6 years it is still tight to walk on and no expansion/ contraction issues to date. 3mm each side should be a good saftey margin. *using the basic cheapest of liquid nails glue. I was avoiding glueing, but as you suggest from your experience, the base needs to be anchored to something to stop the movement. This is the method I will now persue. |
|
|
|
Post by Mustang on Jun 28, 2015 18:09:50 GMT 10
Thought I better post something, before I end up on page 2  This image is a mock-up before painting. 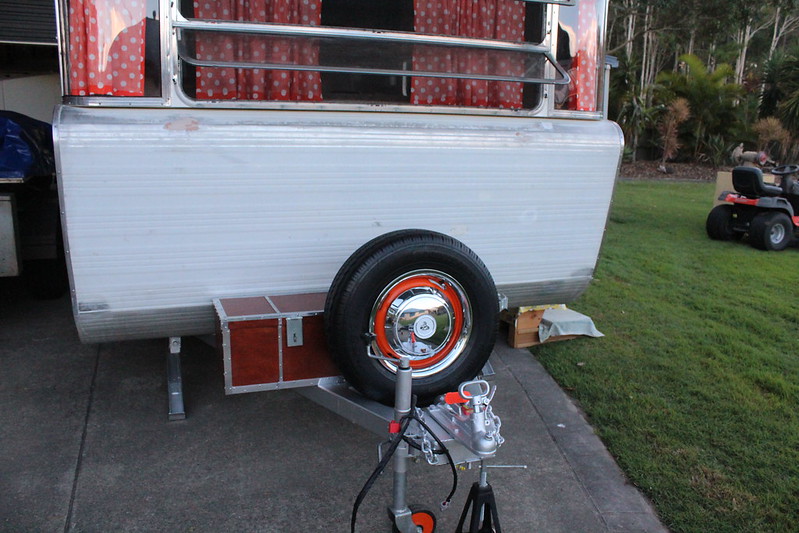 To show I intended to get to Meet & Greet: Curtains Temporarily Hung  Vincent has been evicted from Cozy Hollow, Nautlius is back in the shed. |
|
|
|
Post by awbeattie381 on Jun 29, 2015 14:06:32 GMT 10
Hi Andrew, Page 3 & top of Page 5 have some images. With the centre double frames front & back I had to completely remake the wooden frames. I used the original uprights, which separate the corner bays from the centre flats. For sealing I used the original mastic style tape (caravans plus) this is like a putty on a roll, if you ever have to take the frame out again, no problem. For the inside of the bays I used a double sided sealing tape, see p3, 1/4, way down. With the mastic tape you can cut off the excess with a halved plastic ruler, (or wife's credit card) then roll the excess into little sausages & push them into the hollows, all cleans up with slightly soaked turps rag. link This method can't be rushed, but you end up with an original finish. Some say what the hell I just use silicone, well I won't use it on windows & havn't used it at all on our van. I have two doubles & 3x singles to renovate, I think its the best way to go, singularly , I couldn't have faced 13 frames at once on the bench  For glazing I use plastic now, after the weight of the first double with glass, I was astounded how much lighter the plastic are. A local glazier supplied the outside sealing wedge. Then you have the insect screen to replace, we used 3mm core, with the fly screen on a roll, like you would on a house insect screen door, (DO NOT pull too tight) then the outside weather strip needs replacing, this is 4mm also from Caravans Plus. It all sounds a bit daunting, but when you get over your first its not so bad. If you get hung up shoot me an email, & I can talk you through it. Cheers Brent Champion. I think I follow. I know that tape you are referring to as I remember seeing it on caravans plus - and it sounds like what I have been scraping off the window frame since i removed it. Its still a bit soft/tacky. Like you I dont like the idea of silicon, and prefer to know that if I never need to remove a window it will be as simple as it was the first time. I have already bought replacement flyscreen and looks to be an exact match of the factory version. Has the same 'melted' in rubber/plastic surround that hooks over the frame of the window. Wedge and seal also purchased so now just awaiting some perspex. Havent decided where to go yet, but know bunnings would be an expensive way to go! Thanks a lot for this info. I will go back over your thread. Its already helped me to no end! |
|
|
|
Post by Mustang on Jul 1, 2015 17:30:14 GMT 10
I'm in silicone valley again for the next couple of weeks, removing windows, removing silicone, & other gunk. Life must get easier after this, look at this sucker 1500 x 740mm. (2 hours to remove)  Finished: 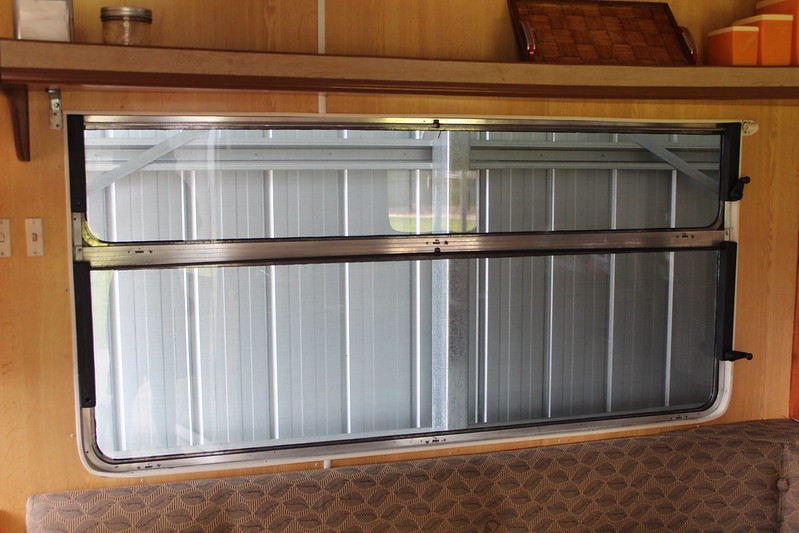 10 Down, three to go  |
|
|
|
Post by Mustang on Jul 8, 2015 16:31:50 GMT 10
Some home made type of vent??? Not sure how it would work as it was screwed hard down on the fitting. 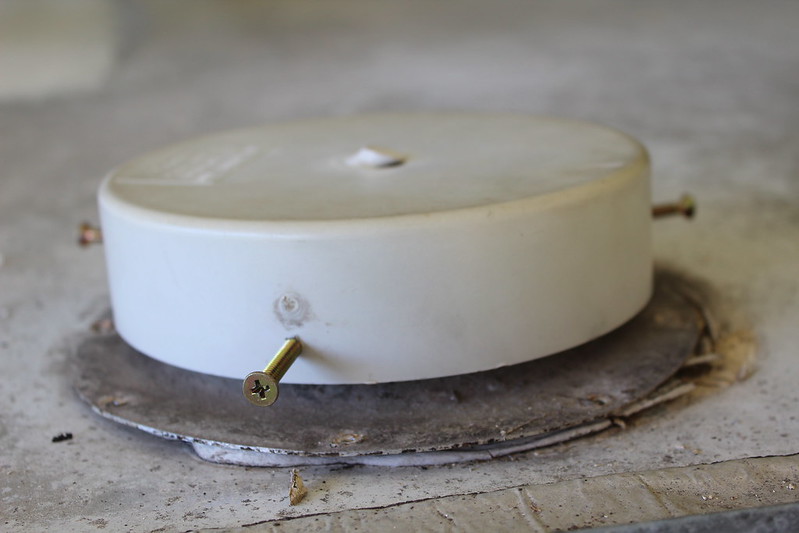 New 12 blade spinner: 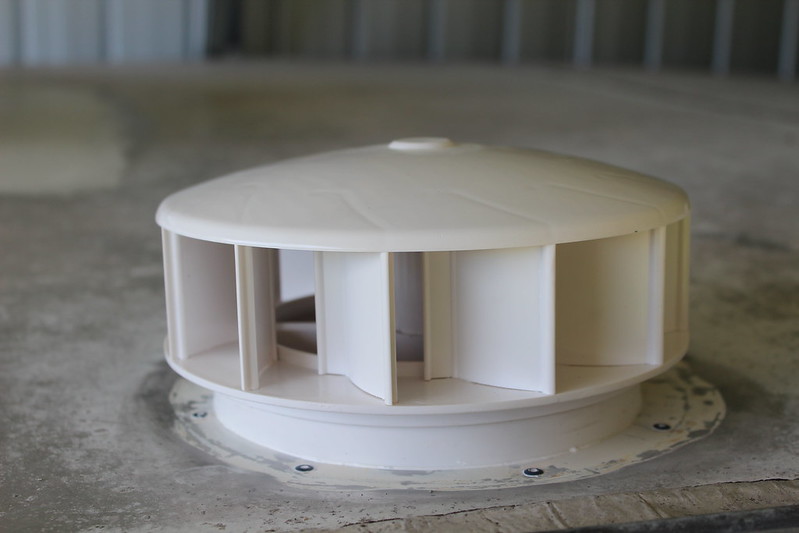 |
|