Deleted
Deleted Member
Posts: 0
|
Post by Deleted on Jan 17, 2010 22:46:09 GMT 10
Could you give me a closer look at this area,for it looks as though area A slides back as far as B,in turns lowers the legs down to the level of the seat. Is there a spring loaded nut behind letter A ? Or is there a nut behind letter B ? to release that arm (B) 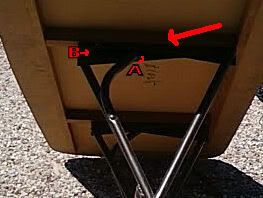 After looking a little closer I now beleave you should play around with the middle bar where the red arrow is,that should release the legs like an ironing table and fold down. 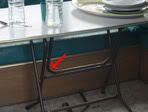 Peter |
|
|
|
Post by kylarama on Jan 18, 2010 21:14:58 GMT 10
Thanks Peter,
From memory leg frame 'A' in your pic moves to the right of the pic. There are no nuts or springs like that, although I may double check that.
The middle bar hits side on with the cross bar. This is what holds the table in the upright position.
When I'm up at the inlaws later in the week I'll pull the table out and have a proper look at it.
|
|
|
|
Post by mike on Jan 19, 2010 19:40:31 GMT 10
kylarama, ;D I went to the dark recesses of my carport and found this table which is now permanently set up for home brewing beer. Not currently in use so there are a few cobwebs...    This mechanism appears to be like yours.  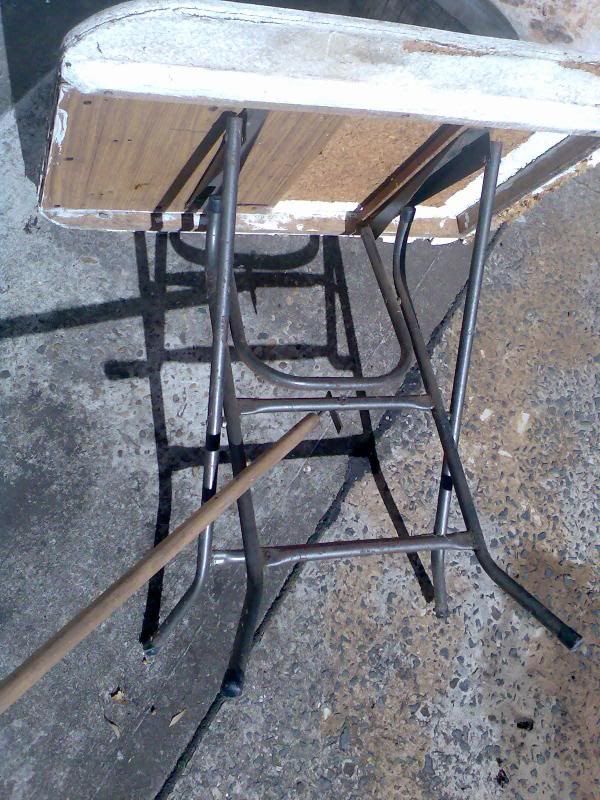 You can see my pointer pointing to a turn handle..  Here is that turn handle from the other side.. 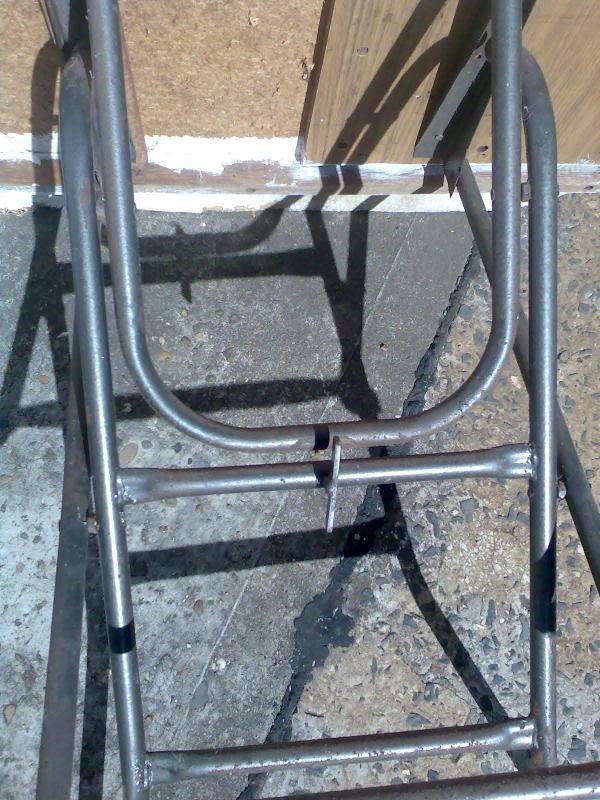 Here is the turn handle ... turned... 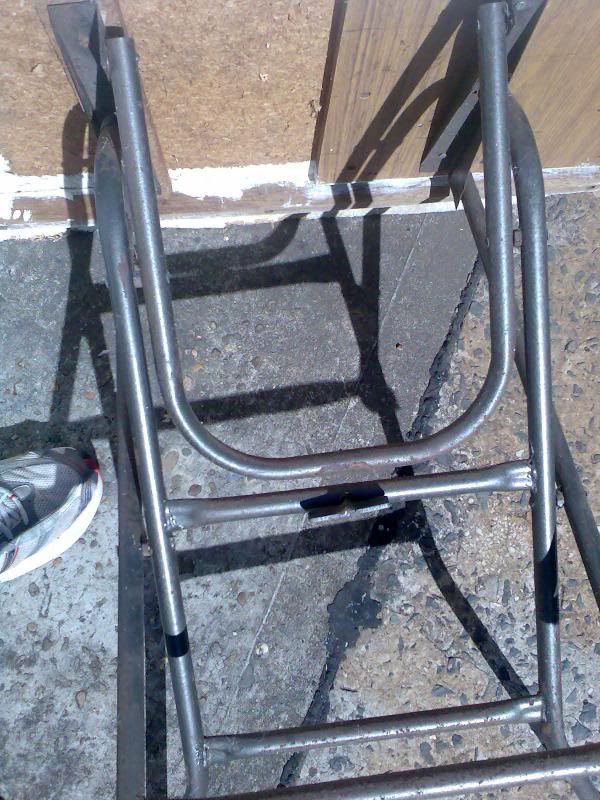 Now pull that bar through the barrier that the turn handle barred.. 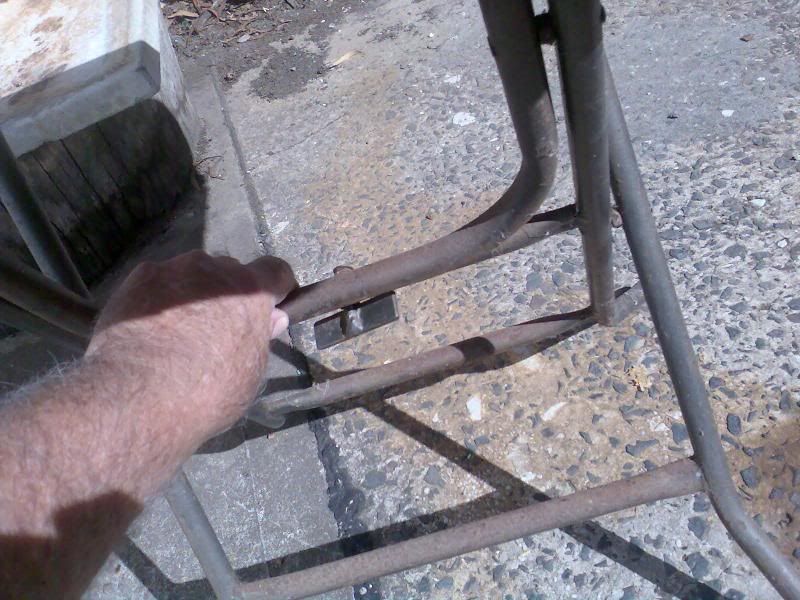 Here I have pulled the bar towards me, and the table has been lowered.. 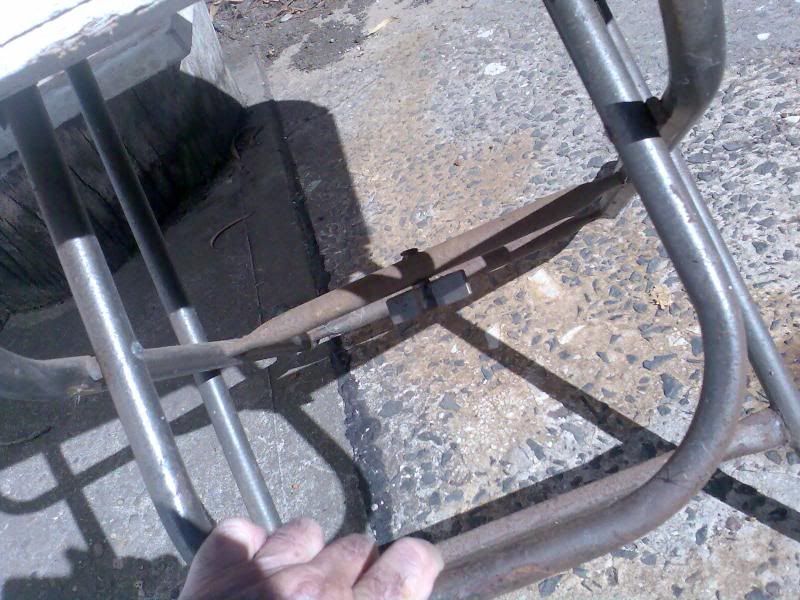 Here is a full pic of the table in the lowered position 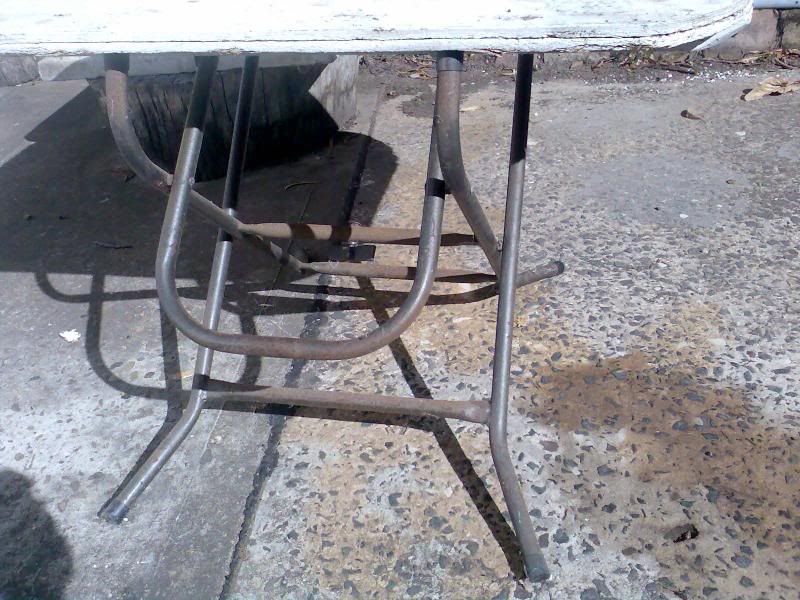 Note the position of the end of 'the top of' one of the two legs that has been moved by the moving of the bar, so that it rests under, and now supports the table top.. 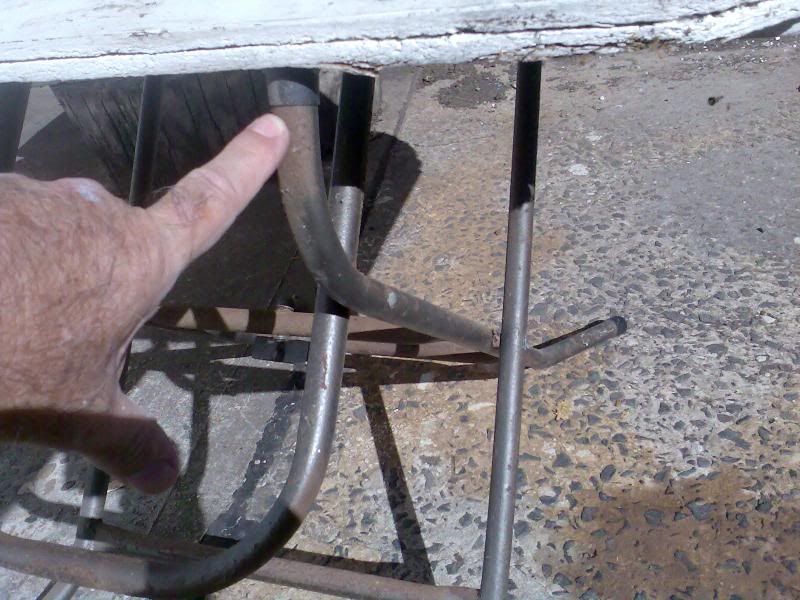 Those TOP of the legs were in this position before collapsing the table (see what the pointer is pointing to).. 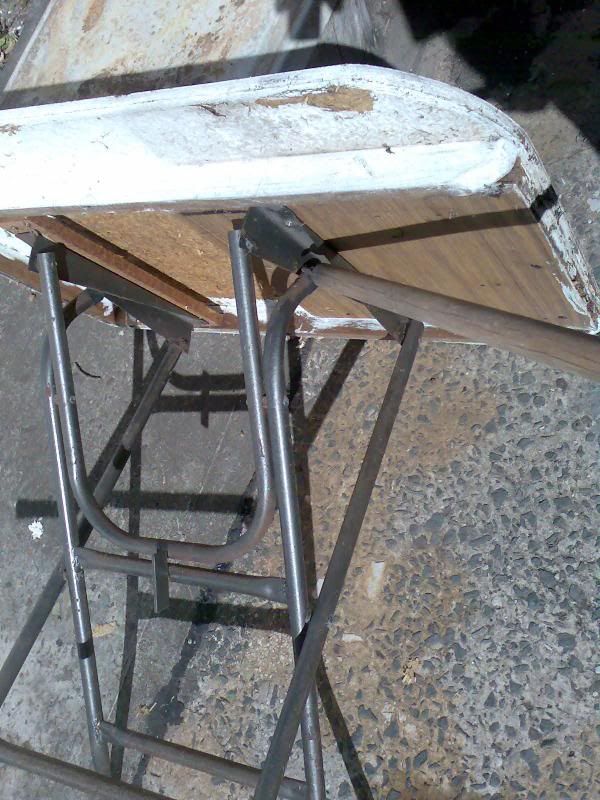 I hope these pics show how I did it and are not too confusing. Cheers mike ;D ;D ;D |
|
|
|
Post by kylarama on Jan 19, 2010 20:34:57 GMT 10
Thanks Mike.
The mechanism looks the same. Unfortunately mine doesn't have a turn handle. Those two bars on mine hit side on with each other. So there must be a way for the section to lift up over the cross bar. I'm going up to play with the van tomorrow night so I'll have a look at the table.
If I can't get it to work I might just cut off that mid bar and re weld down an inch and fit a turn handle like yours ;D
|
|
Deleted
Deleted Member
Posts: 0
|
Post by Deleted on Jan 19, 2010 23:17:39 GMT 10
Hi kylarama,
My original table had its set-up similar to that shown by Mike and it worked as Mike has so clearly shown. The table has 3 positions.
The first is full height as shown in Mike's first picture with the top D handle blocked by the turn handle.
The second is the bed base height as shown in Mike's 5th picture wirh the top D handle passing through the turn handle location.
The third position is with the top D handle pulled back past the turn handle to lie against the underside of the table top. When this happens the table top turns vertically and allows the whole unit to stand on its legs and flat against a wall. This is the position of the legs shown in post #72 by kiwicarl.
Cheers, techron
|
|
|
|
Post by kylarama on Jan 20, 2010 20:55:49 GMT 10
Thanks heaps everyone for your help with the table, especially Mike for such a detailed and photographic response. After messing around with the table this arvo and looking for latches, wingnuts, ect. It seems that the pic Kiwicarl posted (see below) is how my table converts to a bed. Three sides of the table top just sits on the edge of the seats with the legs just hanging out the side.  Carl As I said earlier, I see no reason why I can't cut and reweld the crossbar lower and fit a turn handle like mike's. It shouldn't matter to much anyway. It would be an extremely rare occasion for it to be used as a bed. |
|
Deleted
Deleted Member
Posts: 0
|
Post by Deleted on Jan 20, 2010 21:32:41 GMT 10
I never did work that one out ... but then there wasn't helpful forums! Anyway, you never know when you may need it, so always keep it as an option. One very wet and stormy night my 18' York slept 13 ... with 6 in the van and 7 kids in the annexe (floating a little) on airbeds.  We all slept well. |
|
|
|
Post by kylarama on Jan 25, 2010 0:36:03 GMT 10
We set the annex up for the first time today. We had never checked the annex since we've had the van, so it was a relief to find it in one piece. 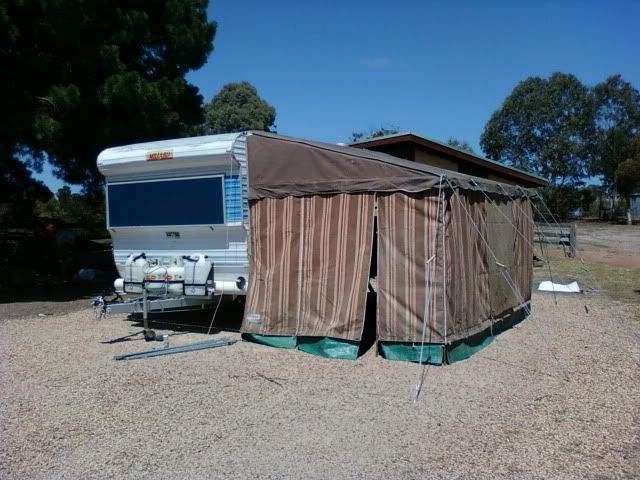 The van wheels are sitting up on a few blocks of timber, hence why the annex looks short. 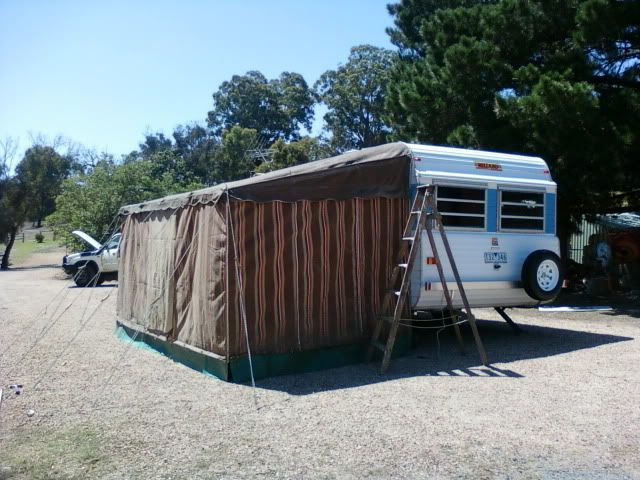 According to a label. The annex was made in 1991 in Geelong using 'Bradmill' canvas. There is no mold, but it is absolutely putrid. I did a section of the roof with a high pressure cleaner and a scrubbing brush, look at the difference. 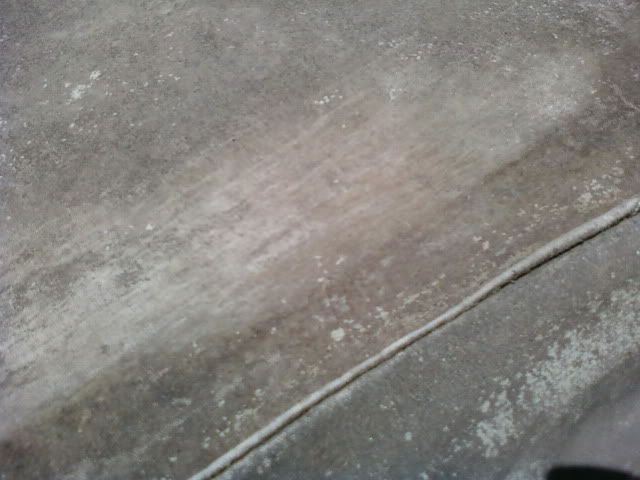 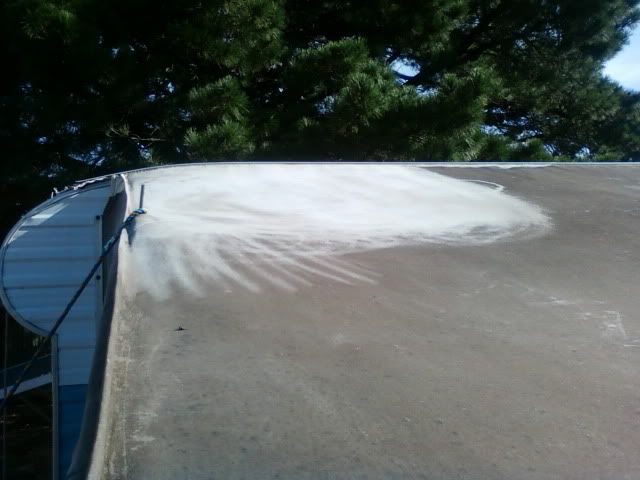 The only problem with it is the edges of the roof have worn quite badly. There are no holes and it hasn't torn but the canvas is very transparent, might be due to water pooling there. The previous owner had fixed it by covering it with fabric tape, but this had broken down and peeled off. 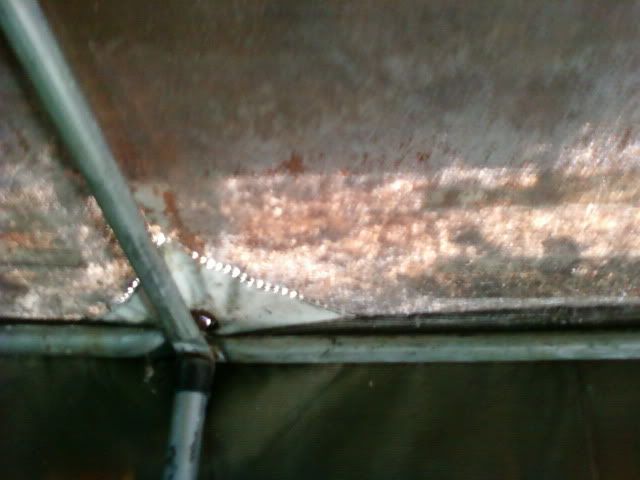 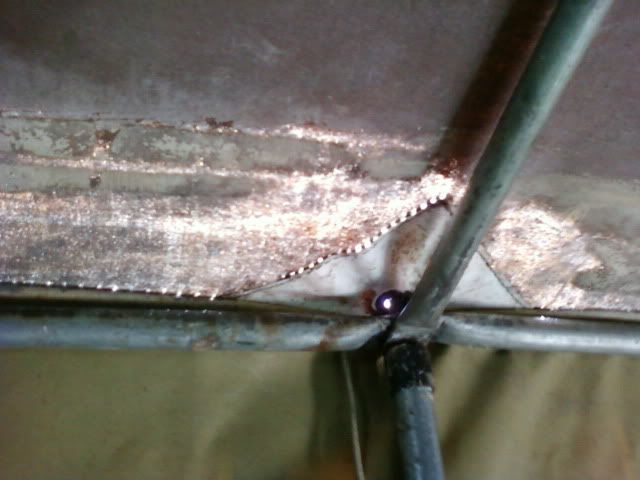 The solution is to have a new roof sewn on, but time and money won't allow this. Does anyone have a quick fix? Someone mentioned to me tonight to use diluted 'Bondcrete', which would be great as I have tons of this at home. What about epoxy, or will a normal canvas water proofing agent do? |
|
Deleted
Deleted Member
Posts: 0
|
Post by Deleted on Jan 25, 2010 6:15:35 GMT 10
Perhaps rather than heavy scrubbing, a mild bleach solution kept damp for a time to work it's wonder, may do better cleaning job?
Then a good dose of canvas water proofing.
|
|
|
|
Post by kylarama on Jan 26, 2010 21:04:45 GMT 10
Got the annex all cleaned up. Thanks for the idea Wahroonga, but I didn't see your post until I had finished. Wasn't to bad to get off. Wet it down, gave it a light scrub (all the muck turned to mud) then hosed off with the pressure cleaner. When we set it up at the beach I'll treat the roof with some canvas sealer. For the areas were the canvas has thinned out, if it leaks I'll stick some sail repair tape on. This stuff stick to anything. www.whitworths.com.au/main_itemdetail.asp?cat=152&item=85538&intAbsolutePage=1Spent yesterday and today doing a job that I've been putting off since I started the van. Painting the chassis! I hate painting at the best of times, but when it involves enamel paint, lying on my back on the dirt with 400mm of clearance, a small brush and rusty metal. It makes my head hurt just thinking about it. scraped off all the loose stuff with a wire brush and a scraper, the worst areas and around the new drawbar and spring mounts had already been done last year with a wire brush on a 4inch grinder. Brushed on some rust converter yesterday to the entire chassis then finished it off with some black killrust today. Done with a brush too but also had a rattle can for the hard to get to spots. It's a bit rough and I may have missed a few small spots, but I don't care! It's done! 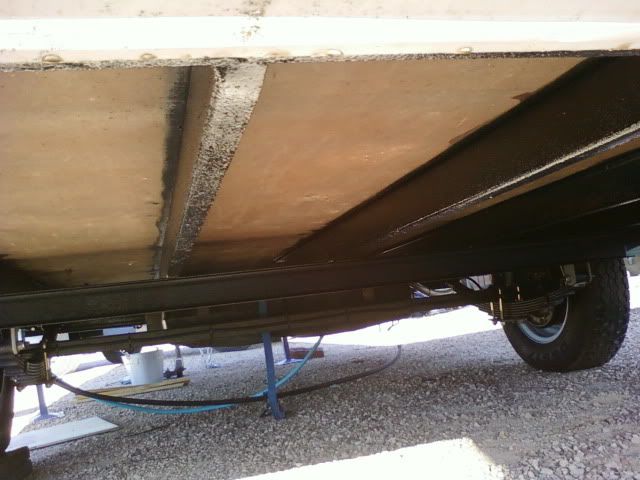 After reading millard1399's 'How To Rebuild A Millard Louvre Window'. I thought 'that's way to hard'. So I just scrubbed them and fitted new fly wire. 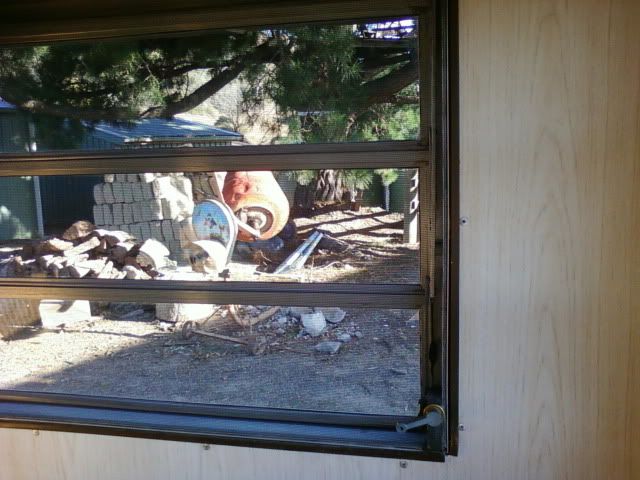 Punching the new eyelets on proved a pain. It's a lot easier punching eyelets onto a tarp than thin fibreglass flywire. One hit to hard and it punches the whole eyelet through the wire. 1 down 9 to go! Have to hurry now, van heads down to Rosebud this Sunday. |
|
|
|
Post by kylarama on Jan 31, 2010 19:52:05 GMT 10
Well we finally made it! Hitched up the van at midday and headed off to Rosebud. Spent an hour or so setting up and headed back home. Unfortunately I don't get to enjoy the fruits of my labour as I have to work, so the girlie and the kids are testing it out tonight. The setup was a bit rushed, but the brother inlaw is heading back down (he came with us today) next weekend to give it a tweak. 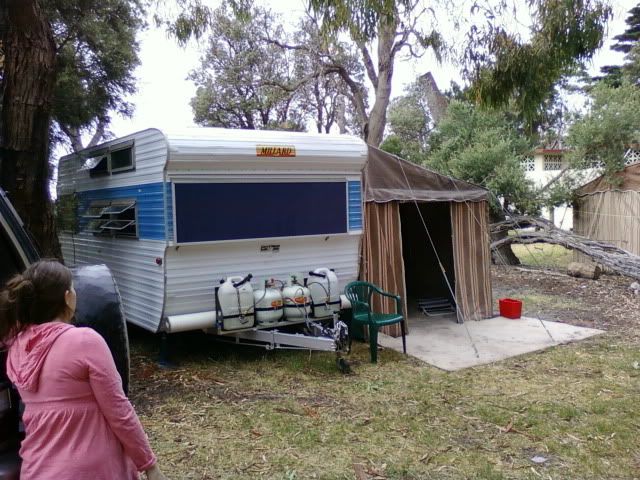 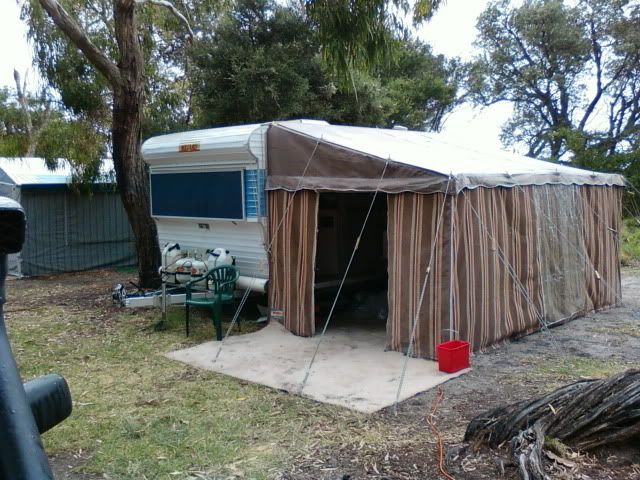 A nice short walk to the beach! 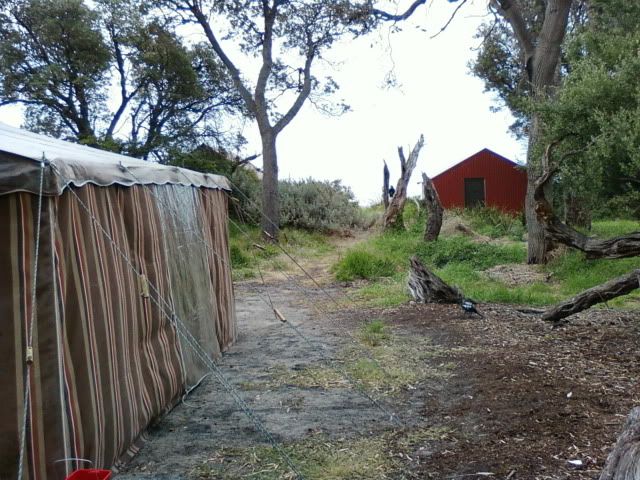 Even with the van all loaded up and full water tank and jerry cans it's very easy to tow. Although at 100kph the aerodynamics (or lack of) of these old Millard's makes it a bit tougher, so 90 odd kph seems to be the sweet spot. Having said that we did have 50kph winds in Vic today, even so the van didn't really move around when we hit strong cross winds which surprised me. The electric brakes along with the Tekonsha proportional controller make pulling up a dream. Spent the first 10 minutes of the trip adjusting the controller then just left it, you wouldn't even know the van was there when braking reasonably hard. It's a classic caravan spotters paradise down at Rosebud, plenty of 70's vans around. Setup directly across from us was a mid 70's mint condition 18 or 20ft Millard. The bloke has owned it from new and still polishes her every year, still has all four original hubcaps that look straight off the production line. |
|
Deleted
Deleted Member
Posts: 0
|
Post by Deleted on Jan 31, 2010 20:02:59 GMT 10
Perfect.  |
|
Deleted
Deleted Member
Posts: 0
|
Post by Deleted on Jan 31, 2010 21:56:06 GMT 10
Gidday Kylarama, Spot on mate great to see someone getting some quality time out of their hard slog even if you dont get to share it with the missus and kids yet. Good to hear also that the brakes work a treat makes for a lot of worry free towing in the future mate. Well done and a credit to you. Keep those piccies coming. Carl  |
|
|
|
Post by atouchofglass on Feb 1, 2010 7:15:05 GMT 10
Looks like a top spot and perfect to have a shake down test of the van
Cheers
Atog
|
|
|
|
Post by millard1399 on Feb 1, 2010 7:32:52 GMT 10
G'day kylarama, the van and annexe look magnificent! ;D ;D "Good on you" for the job you've done. I'm disappointed you didn't take on the "Millard Window Challenge". It's pretty lonely being the only idiot on this forum who got involved in that nightmare!    But, I'll let you in on a secret about your future...one day...one day...heh heh heh... you'll join me.   I also had the same problem with the eyelets as you did. My eyelets were the cheap brass-plated ones from a Discount store. Probably won't last a year before they rust. The outer edges were like razor blades and shredded the flymesh on the first attempt at punching the eyelet. So I reversed the female washer around so that both washers fitted snug together rather than opposing each other. Problem solved for me, and all the screens were then done that way. Nice job on the chassis. Yep, another job that's the "pits". Hope you enjoy the fruits of your labour! ;D ;D cheers, Al. |
|
|
|
Post by kylarama on Feb 1, 2010 21:29:48 GMT 10
Thanks everyone.
Hey Al,
I'm not scared of the "Millard Window Challenge". I'm a chippie by trade with a background in office fitout/shopfitting, so aluminum extrusions and glassframes are an everyday thing for me.
What does scare me is the 29 TUBES OF SIKAFLEX!!! you used.
|
|
|
|
Post by kylarama on Apr 14, 2010 22:36:51 GMT 10
Well, the van has been sitting down at Rosebud for 2 1/2 months now. Everything had been going great, the annex only has a minor leak even in the most torrential rain. Only problem was the fridge didn't work to well, but a 240v bar fridge in the annex got us through. The brother inlaw will use the van for the last time this weekend and will pack it up ready for me to pick up next week. We won't be using it again until Xmas because.......... Welcome to the world... DAISY!  born 9:45am today weighing 3.25kg (7 pounds 2 ounces in the old money) Both mum and bubs doing great and one very chuffed dad. |
|
|
|
Post by atouchofglass on Apr 15, 2010 5:14:34 GMT 10
Congrats Dad ;D ;D ;D ;D Glad to hear both Mum and Bub are well You will have your hands full for many a year now ;D ;D ;D ;D Kiss goodbye your old sleep pattern... it's all changed now     Cheers Atog |
|
|
|
Post by millard1399 on Apr 15, 2010 8:43:22 GMT 10
Way to go, kylarama!! Welcome little Daisy! ;D ;D Somebody to pass your van onto in another twenty years!    Congratulations to you all. ;D ;D ;D ;D ;D cheers, Al. |
|
Deleted
Deleted Member
Posts: 0
|
Post by Deleted on Apr 15, 2010 8:54:36 GMT 10
Another little new Australian.  Congratulations all 'round |
|
|
|
Post by bobt on Apr 17, 2010 20:32:05 GMT 10
Congratulations kylarama
Pleased to see. Hope it all went well.
Now the real fun begins..
bobt
|
|
|
|
Post by kylarama on Apr 17, 2010 21:15:25 GMT 10
Thanks guys,
Just when I thought nappies were a thing of the past, it all starts again!
Biggest test will be for my 3 year old daughter who is about to find out she no longer has mums full attention.
Mum and bubs are out of hospital tomorrow!
Wish me luck!
|
|
|
|
Post by millard1399 on Apr 17, 2010 21:21:33 GMT 10
Three females against one male??? Mate...you don't need luck...you need a SHED!!     And one that's a bloody long way away from the house, too!!! ;D ;D cheers, Al. |
|
|
|
Post by kylarama on Apr 17, 2010 21:54:40 GMT 10
Three females against one male??? Mate...you don't need luck...you need a SHED!!     And one that's a bloody long way away from the house, too!!! ;D ;D cheers, Al. Make that four! Also have a 13 year old stepdaughter. I'll be fine, I grew up with 2 sisters and no brothers. I know how to fight  My two dogs are males (whippets). Although I see those two in the kennel together and I wonder! I have a great shed, all decked out will all manor of tools, complete with fridge, TV and heater. Problem is it's attached to the house and with the roller door up I'm in full view from the house. It's very hard trying to drink beer, watch the footy and pretend to build a spice rack while the girlie watches. |
|
Deleted
Deleted Member
Posts: 0
|
Post by Deleted on Apr 17, 2010 23:40:34 GMT 10
My Congratulations also,Great to hear both Mum,and baby are doing well
Cant ask for much more than that
All the very best to the Family.
John
|
|