|
|
Post by jr on Jul 24, 2015 20:40:17 GMT 10
My name is John and my partners name is Seonad. We recently bought a 1975 Franklin Regent 12Ft. The outside was in fairly good nick, but the inside needs to be rebuilt and resealed. All the furniture had been taken out and the back window had fallen in. 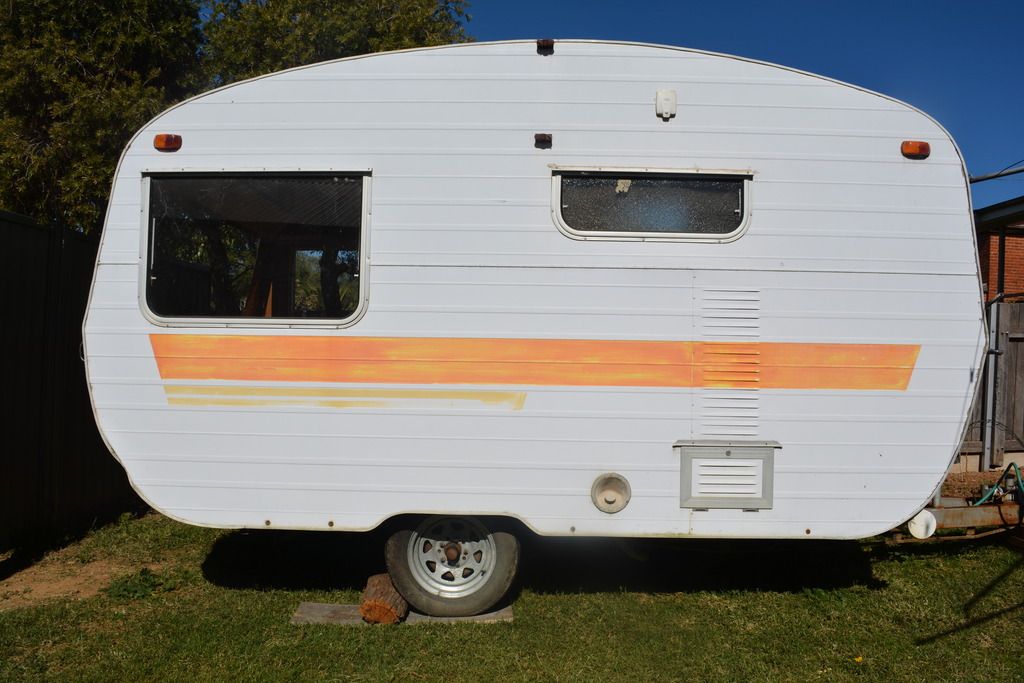 Our first mission was to get it home from Coff’s Harbour to where we live in Tamworth. It was a fairly long day but we got it home. Lots of windy roads. We started with a good clean out. Ripped out the floor and started by cleaning the chassis. We used an electric wire brush and a rust remover. 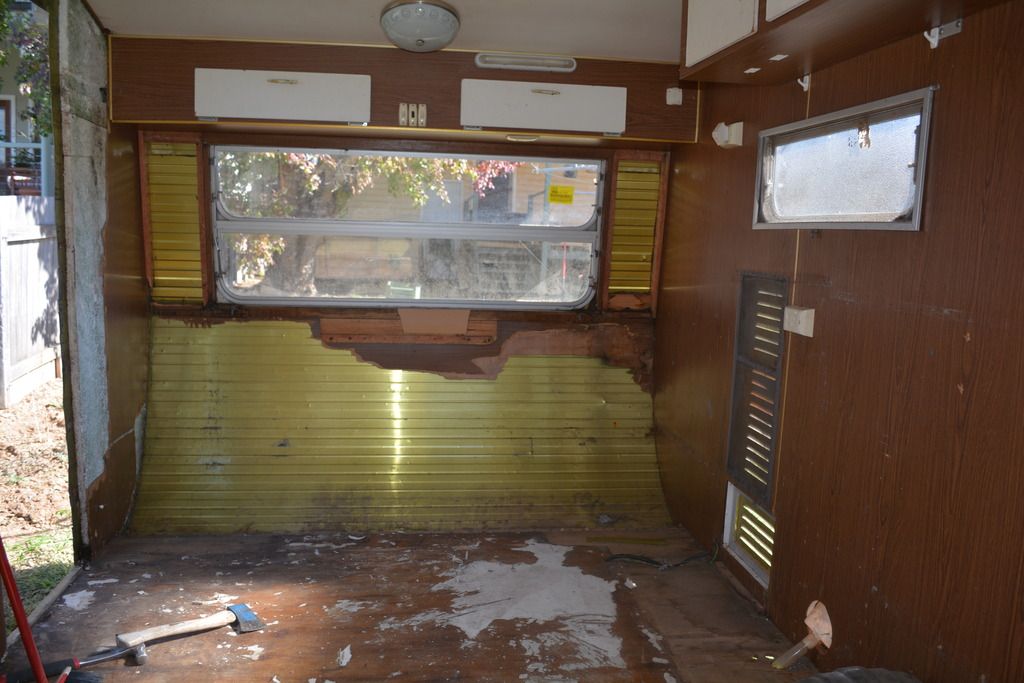 More recent pictures to follow soon as we have been working on it. |
|
|
|
Post by atefooterz on Jul 25, 2015 0:46:00 GMT 10
Welcome John and Seonad, great looking Franklin there, can you please tell us the chassis number, located on the A frame towards the tow coupling so we can get an idea of year build?
|
|
|
|
Post by Mustang on Jul 25, 2015 9:28:43 GMT 10
Welcome JR, you have got yourself a cutie there, what colour are you considering? Have a good read through the Hall of Fame before you change too much, I started going down the renew everything path... now I,m changed to the original as possible idea. TIP: I would remove that hatchet, it may be too handy there on the floor?   Cheers & Congrats on a good buy. Brent |
|
|
|
Post by jr on Jul 25, 2015 10:26:36 GMT 10
Hi Guys,
I cannot locate the chassis number, the VIN is TR41793010 and that was first registered in 1975. The hatchet got a bit of use. Very useful when ripping out the floor. The floor was very rotten. So far we have cleaned down the chassis and painted it with cream rust proof primer.
Next I started with the electric brake conversion. It had old mechanical brakes which we wanted to get rid of. I bought the conversion kit on ebay from Huntsman Products. Changing the brakes is a big undertaking and took me a few weekends. We have now started rebuilding the frame and cut curved supports last week. Going to start installing them today.
This site has been a great help!
|
|
|
|
Post by atefooterz on Jul 25, 2015 19:41:25 GMT 10
Hi Guys, I cannot locate the chassis number, the VIN is TR41793010 and that was first registered in 1975. The hatchet got a bit of use. Very useful when ripping out the floor. The floor was very rotten. So far we have cleaned down the chassis and painted it with cream rust proof primer. Next I started with the electric brake conversion. It had old mechanical brakes which we wanted to get rid of. I bought the conversion kit on ebay from Huntsman Products. Changing the brakes is a big undertaking and took me a few weekends. We have now started rebuilding the frame and cut curved supports last week. Going to start installing them today. This site has been a great help! Your drawbar looks original so on the passenger side look for large raised letter & numbers welded lumpy style onto the a frame side bar ( opposite the blank bar shown in your pic.) See other hall of fame posts as many show what you are looking for. |
|
|
|
Post by jr on Jul 26, 2015 8:07:13 GMT 10
Hi, I had another good look at the Franklin A frame and no chassis number. If I find one I will post it.
|
|
|
|
Post by Mustang on Jul 26, 2015 8:58:30 GMT 10
Photos please, we want to see all your agony  |
|
|
|
Post by jr on Jul 26, 2015 21:59:21 GMT 10
A productive weekend was had. A bit exhausted now. We started off by finishing the installation of the handbrake and new electric brakes. 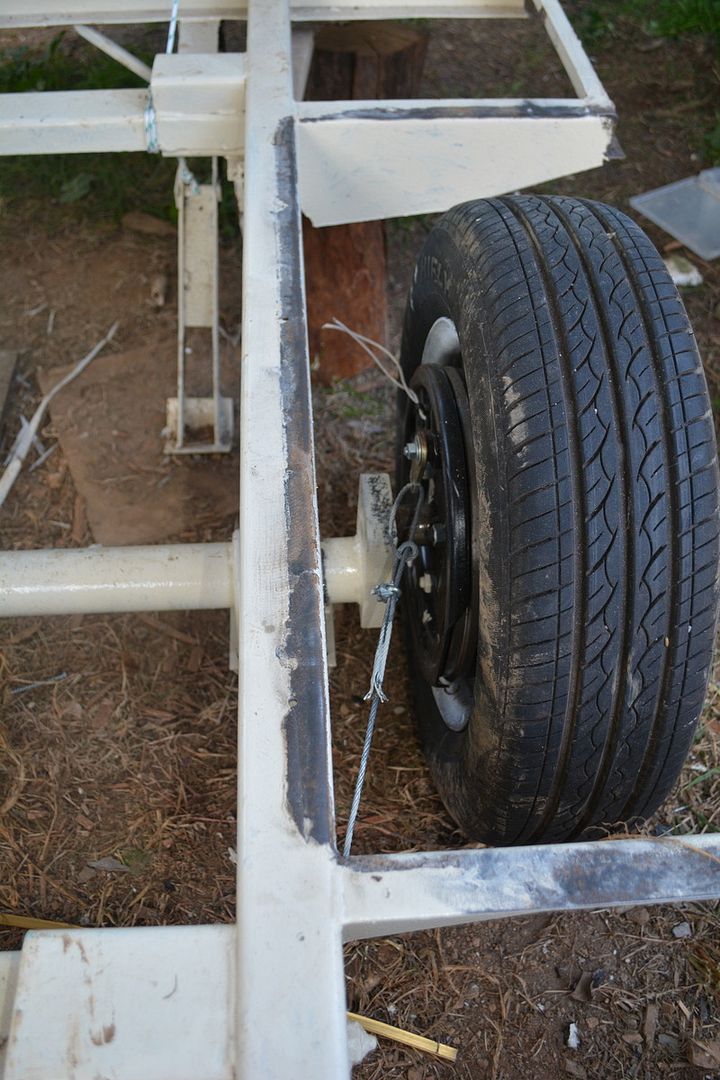 We followed the advice of Tedalley and built curved struts to support the back and front and attached them to the chassis. Getting timber wide enough to cut the curved struts out from was difficult enough. We sourced some 240X42mm timber from burnings and that was wide enough for us to cut from. I made a template of the original curves and drew the template on the timber boards. Seonad cut them out with a small Robin Jig Saw, slow tedious work, but they do the job. Started attaching them on Saturday and building some support studding at the front and back.  On Sunday we decided to take it easy and just take the left hand side off the caravan! Again this forum has been great. We knew what we had to do and started with the screws outside all around. The rotten ply and insulation was stronger than I thought. It supported me lying on the roof... The side had two loops of steel corner frame and the roof sheet of cladding was tacked to the sides. All has to be taken off in order.  If someone else is doing this, I would advise the to brace the roof in a few spots on the inside before dropping off the side. The side is a sandwich of cladding, insulation and tin ply and in our case lots of ants. A garden spade is great for getting the insulation off the cladding. Our dog Indi offered lots of encouragement.  |
|
|
|
Post by Mustang on Jul 28, 2015 18:49:35 GMT 10
"On Sunday we decided to take it easy" my goodness, keep us posted when you get into top gear!!!!!! Love your Collie. Our Collie Biskit, in a rare moment of sleep:  |
|
|
|
Post by jr on Aug 23, 2015 20:18:39 GMT 10
Hi Guys, Just checking in. We have made some progress. The rebuild is slow and sometimes difficult. The weekends seem to fly. After stripping off the right hand side of the caravan, we cleaned it well. I built up a support frame out of structural treated pine 70X35mm. I fixed the pine to the steel chassis by cutting L-shapes (I will take a pic and post it) in the support struts. I then drilled the chassis and bolted the struts in place. The most difficult thing so far has been getting the measurements right to keep the shape. Studding out a curved caravan is difficult. I used the LHS as a template when cutting my struts but I still needed to adjust thing when the cladding went back up. We decided that the roof was in ok condition after closer examination and there was enough work without going looking for it. I got great advice from a retired caravan builder working in Bunnings prior to resealing. He put me straight with regard to fixing the cladding with the right materials. I attached the cladding with a mixture of screws and large headed nails. I kept all screws and nails as close to the edge of the cladding as possible so as to hopefully hide them with the flash of steel that overlaps the roof and the side. After doing a bit of research on this site we went with Sikaflex 221 as our sealant. So this weekend was spent covered in Sikaflex. It is good stuff but difficult to work with. After learning from our experience on the RHS of the LHS came off much easier. I had everything propped up as much as possible so as the support the roof when we dropped the side off. What have I learned so far? Take things slow. Do one side at a time and build as much of the structure with studding at each stage (it helps keeping the shape). When the cladding is clean, temporary attach it back up so as to have a guide for the stud walls (I didn’t do this). Does anyone know where to get vintage hubcaps? Hope everyone is well and I will upload pics during the week. Seonad adds: Biskit is very cute  |
|
|
|
Post by Mustang on Aug 24, 2015 7:11:40 GMT 10
Dont those weekends just fly by! but take a look at what you have done & pat yourself on the back/s. This is not a job for the feint hearted & you have been most though, imagine a prospective buyer looking at those images, one would have to buy with confidence. WELL DONE. Vintage hub caps are available from a speed shop here in Aus, I'll see if I can find it again & post the link. (not cheap, but they look great) Cheers Aussie hub capsVintage hubcap shop US? |
|
|
|
Post by jr on Aug 24, 2015 22:08:06 GMT 10
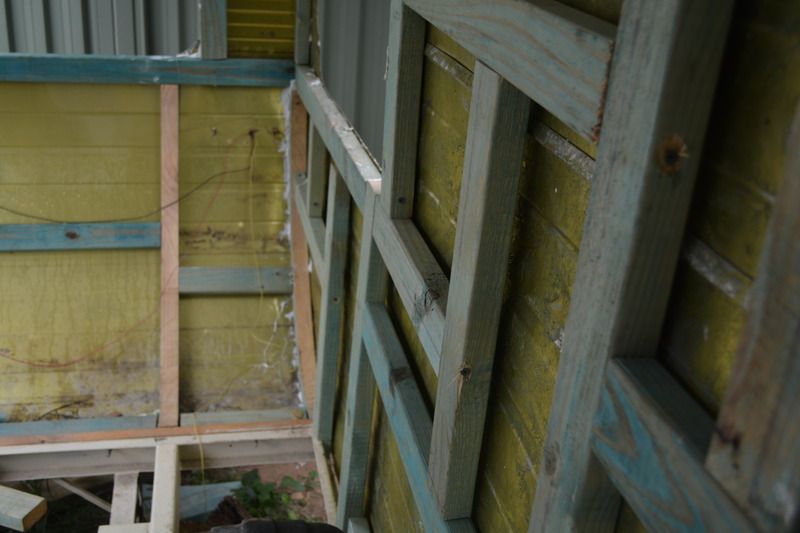
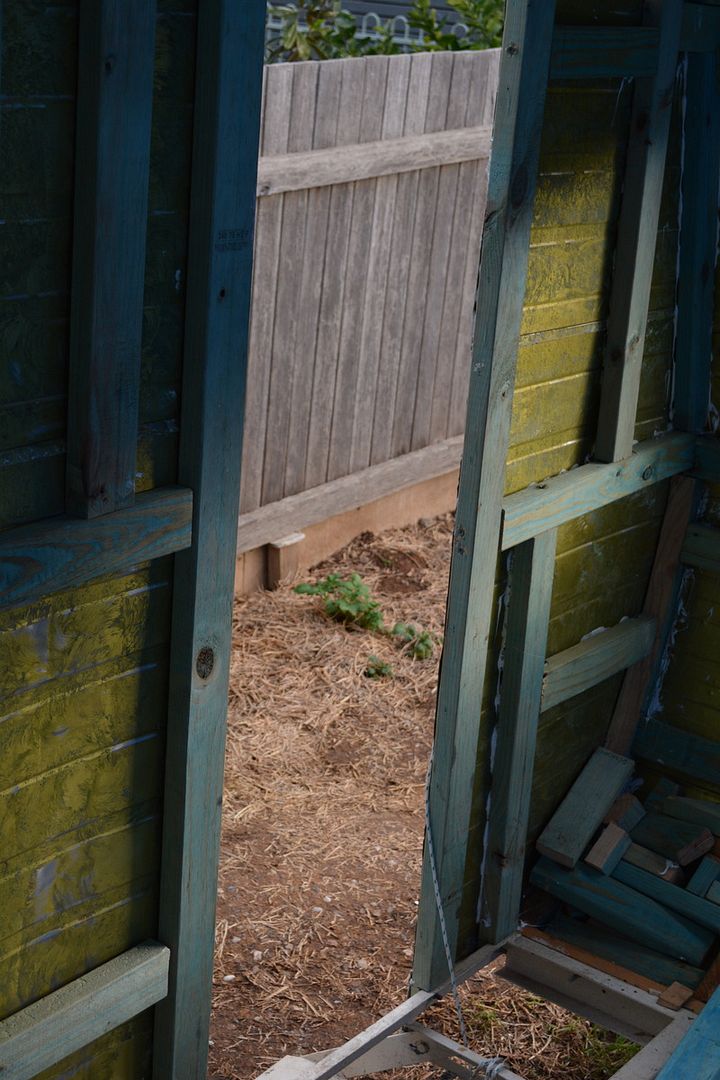
Thanks Mustang for those helpful links. Just what I was looking for. Here are a few photos of the work so far. The stud wall fixed to the frame 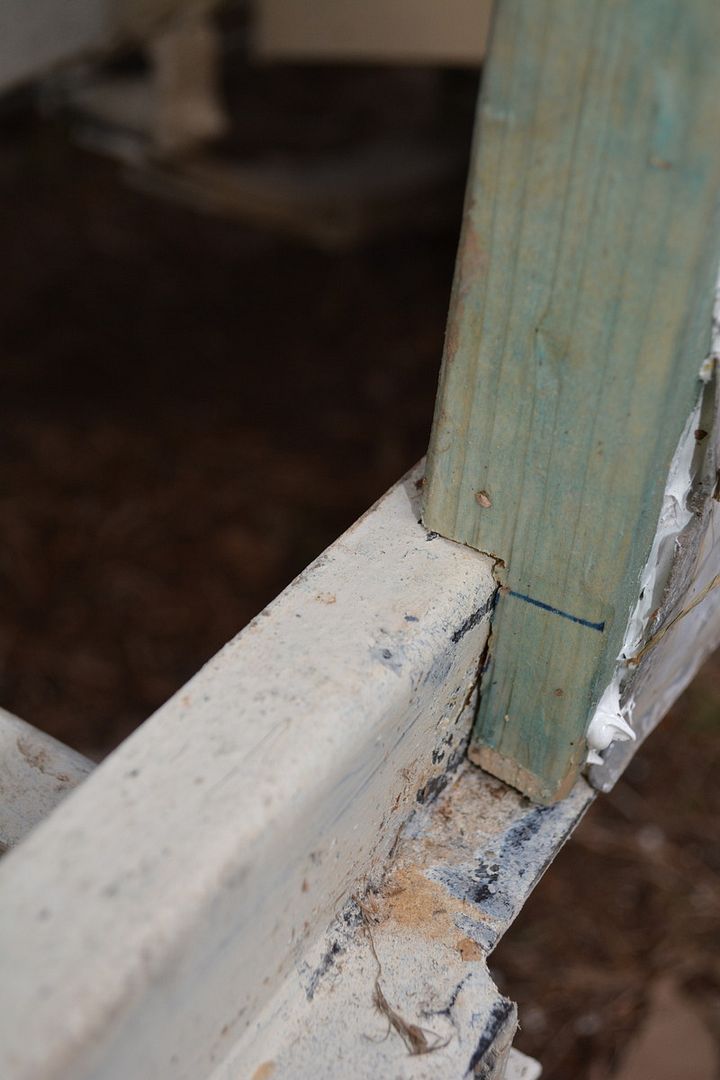
The LHS stud wall
Some rust damage to the chassis frame we (Indi) found when we took off the RHS

|
|
Deleted
Deleted Member
Posts: 0
|
Post by Deleted on Aug 25, 2015 22:14:07 GMT 10
Hi JR,
Doing some great work there. I have been checking out the forum in the last 12 months and finally decided to have a go at reworking our old Franklin. I am thinking our chassis needs a bit of work, including a new draw bar. The idea I had was to possibly look at jigging something up to actually lift the van walls off the chassis without pulling the whole thing apart. Judging from your work, and what you have seen of the construction and the attaching of the walls to the chassis, do you think it is possible to do what I am thinking about?
I will shortly post photos of the work I have started.
Cheers
AC
|
|
|
|
Post by jr on Aug 26, 2015 9:44:30 GMT 10
Hi AC,
I think it's a good idea and I think it would be possible. You would have to take up the floor and brace the walls. Probably take out the windows to brace the walls on each side. On my Franklin the frame was all bolted to the chassis. You would have to remove them bolts first prior attempting to lift it. Have you a front loader or good support straps that you can make a wench out of? I would think that if the chassis was rotton, the walls would be damaged as well. Hope this helps
John
|
|
Deleted
Deleted Member
Posts: 0
|
Post by Deleted on Aug 26, 2015 20:14:26 GMT 10
Thanks John. I think I might give it a go as I don't want to remove exterior or interior panels as they both seem to be unavailable as replacement items. I haven't seen any franklin with the same interior colours, being light coloured. Bench tops, floor vinyl and walls are all original in shades and patterns of white. Van is currently in my parents shed, as mine isn't big enough. Hope to get there tomorrow after work to make some further investigations into doing this. Cheers Trav |
|
|
|
Post by jr on Sept 13, 2015 21:47:29 GMT 10
Hi all, It has been a busy few weekends. We have both side sides back up and sealed. Lots of tedious work but happy with the results. Putting back up the LHS was much quicker once we had a plan of attack from our experience with the RHS, One thing to note is that getting the cladding sheets to fit together nicely is difficult once you take them apart. Advice would be to keep the side sheets of cladding together when taking them off. Our plan has been to make timber frame windows for the caravan. It is a big undertaking but we feel that the end result will be worth it. I will put up the old aluminium window frames for sale at some stage. So I set up a router and table and got to work making window jams. I watched a lot of youtube videos prior starting. I made the jams out of 30X42mm plained pine. I cut a 10X15mm grove for the window frame to abut against. I then made the windows out of 30x19mm plained pine. I cut a 5mm grove in the centre for the 4.5mm cast perspex to sit in. There is lots playing about with getting the joints to look good. We are still at the window fitting stage. We also installed our bench top. Pics will follow soon. The Front Window Jams Freshly Varnished |
|
|
|
Post by jr on Sept 13, 2015 22:11:40 GMT 10
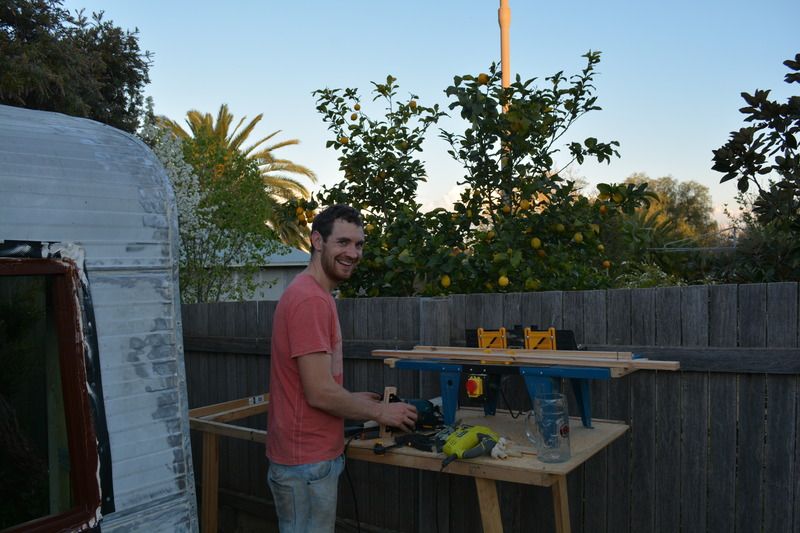
Aldi Finest Router and table
Our Bench/Table
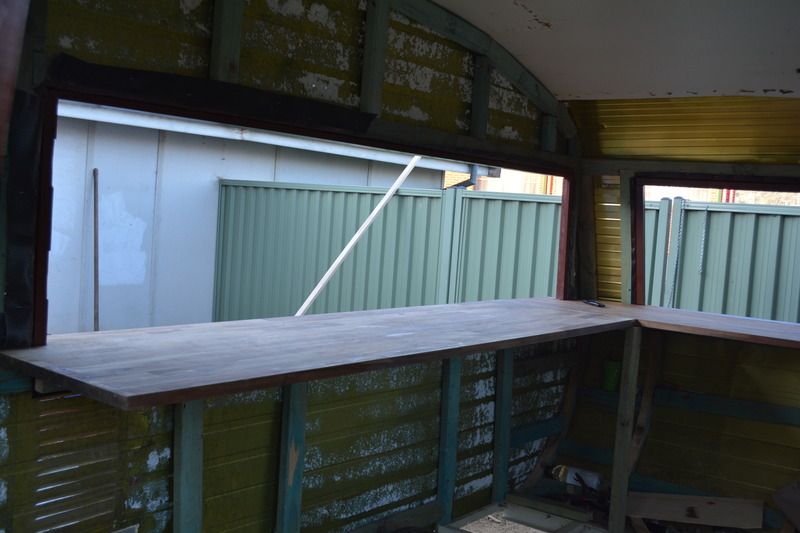 |
|
|
|
Post by Mustang on Sept 14, 2015 7:06:33 GMT 10
Considering you are working in the open, the reno is progressing at a pace. I left it too long to buy a router. Very practical to make your own windows.
Keep the images coming.
|
|
|
|
Post by tedalley on Sept 17, 2015 17:28:43 GMT 10
Jr hi.
You have done a great job but I'm a little concerned about the timber frame you are using in the walls.
Have you used timber frame instead of the polystyrene? If so have you considered the extra weight of a pine frame against polystyrene.
Also the walls are 30mm thick and the timber looks like its 50mm thick.
Ted
|
|
|
|
Post by jr on Sept 27, 2015 22:15:24 GMT 10
Hi Ted,
I found your posts really useful. I have considered the weight. I really want to keep it down. I hope I will succeed. I have some hope in that it is a small caravan. The walls are 30 mm thick. The walls when finished will be the aluminium cladding, structural pine frame & earth wool and then 3 mm ply finish.
I will post pictures soon. Windows are nearly installed. It has been a long weekend.
Cheers,
John
|
|
|
|
Post by jr on Jan 6, 2016 16:54:00 GMT 10
|
|
|
|
Post by tasmillard on Jan 6, 2016 18:36:10 GMT 10
Fantastic progress JR, great to see it near completion. I am right with you on the caravan resto projects, I had a ball with mine also and now that we have used it twice since rego, we enjoy it even moreso. Look forward to more progress pic.
|
|
|
|
Post by snoops on Jan 6, 2016 19:53:26 GMT 10
Nice work.  Was hoping you'd be back with an update, it's a cute little van.  |
|
Deleted
Deleted Member
Posts: 0
|
Post by Deleted on Jan 8, 2016 13:26:04 GMT 10
Great work JR I love that model, would be nice if it was built using aluminium frames.
|
|
|
|
Post by jr on Dec 4, 2016 10:32:19 GMT 10
Hi Gitano, Sorry about the late reply. Been busy studying. Aluminium frames would have made life alot easier.
|
|