|
|
Post by planner on Jun 19, 2012 10:44:04 GMT 10
Recently we (myself, wife and 2 kids) have purchased a 15ft franklin arrow as a first caravan. We have been using an old suncamper lift-up camper until now, year unknown. Photos from gumtree seller, note the high level of presentation. Outside 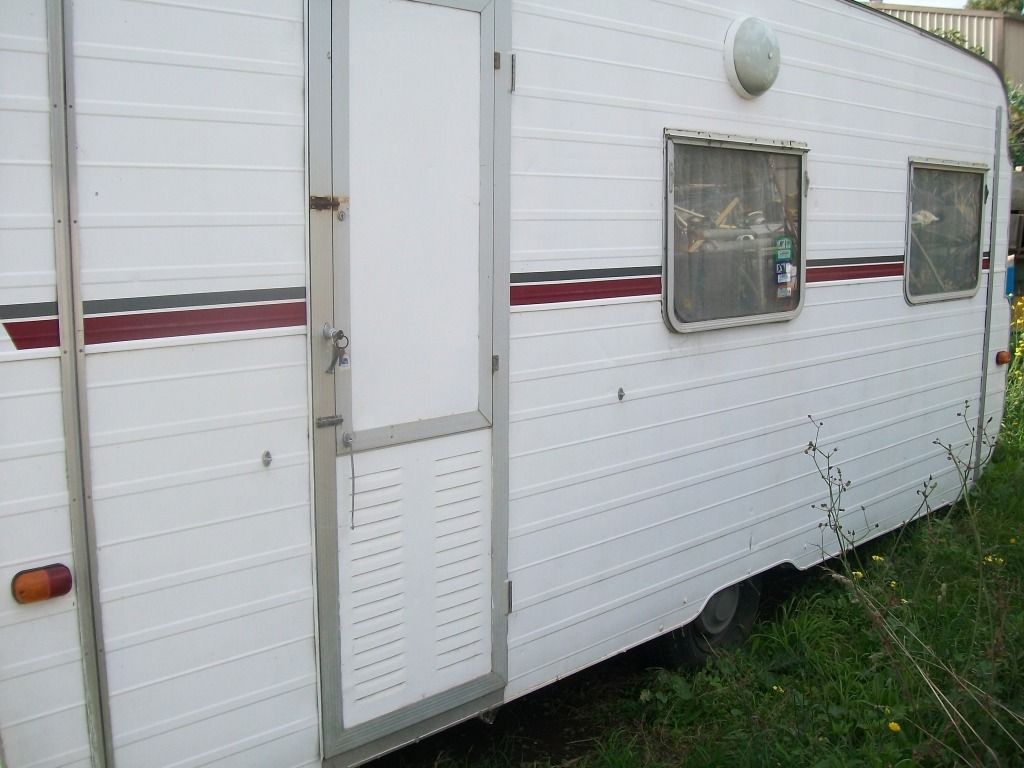 Master Bedroom 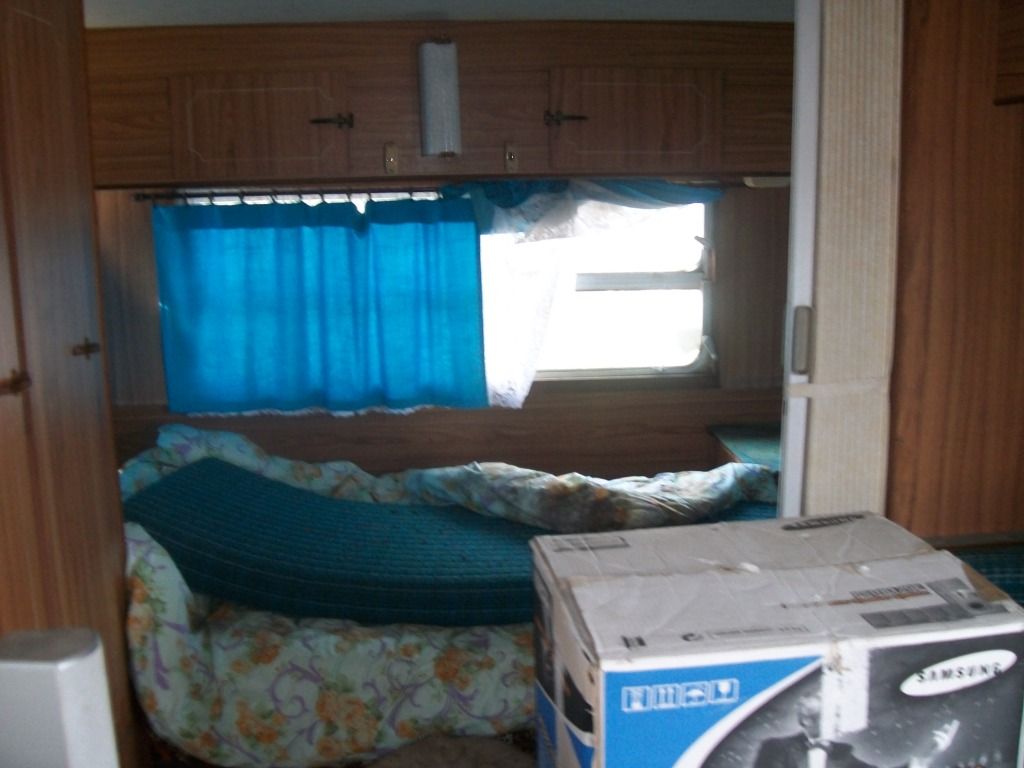 Guest Accommodation 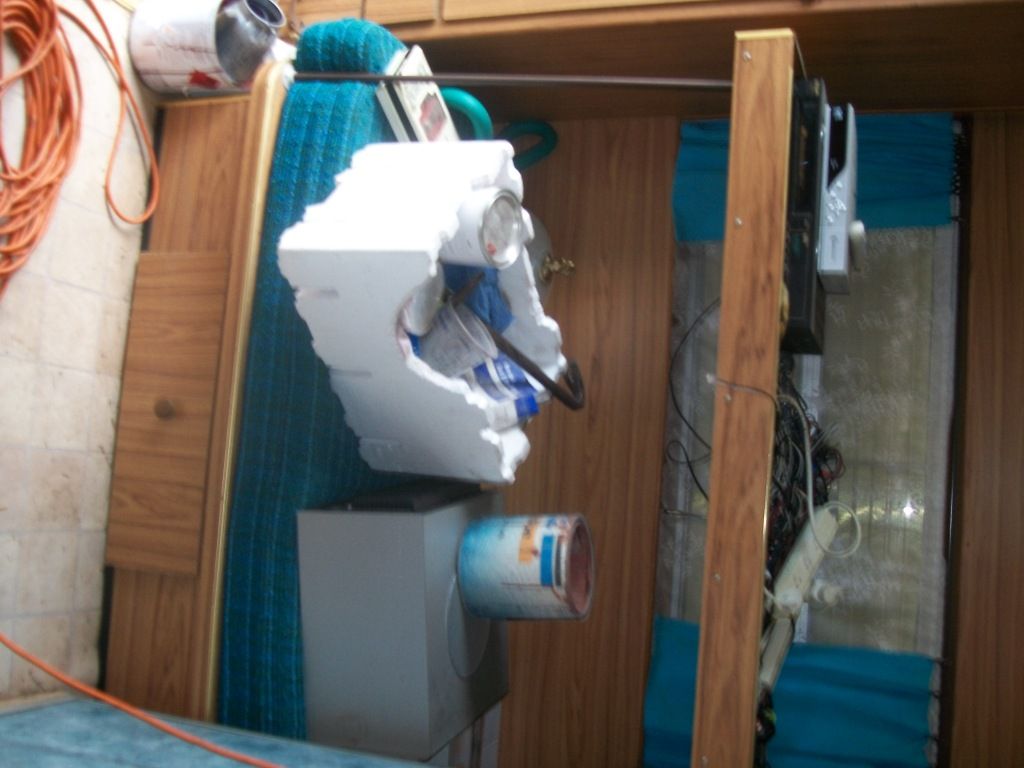 Kitchen 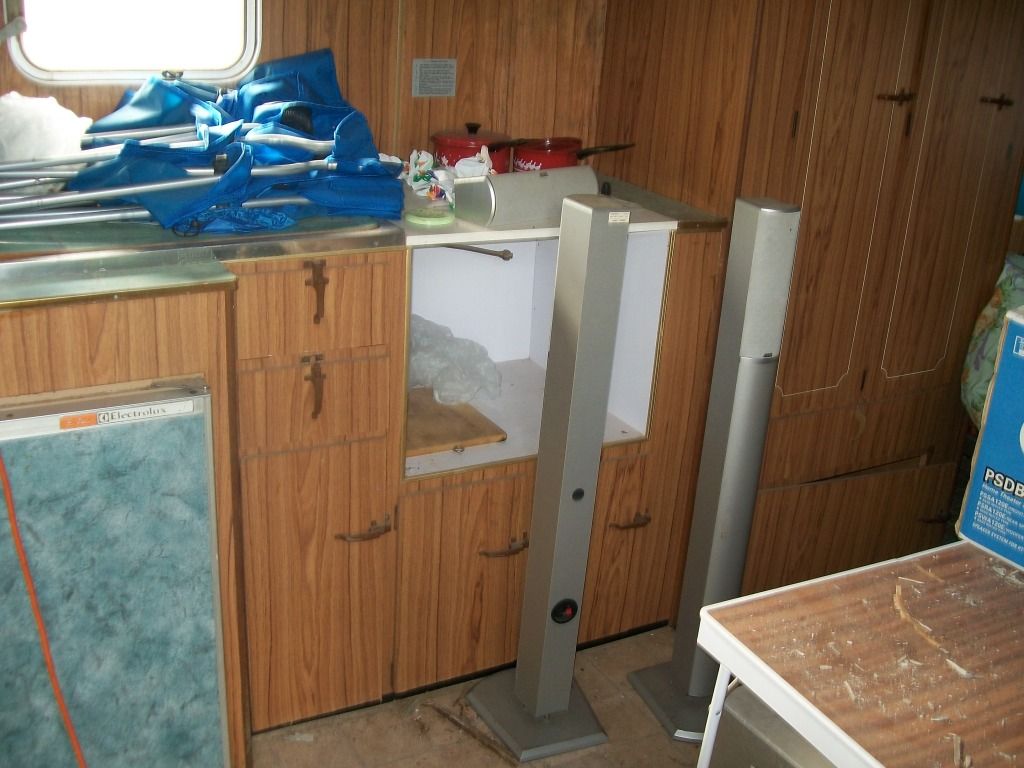 We plan on not doing a full resto, but getting it back to a usable condition, then deciding on the next move (keep or upgrade to bigger). Planned works: Seal all windows, and any other leaks Repair water damage in rear Increase ground clearance Install stove Awning or annexe (argument still ongoing) This should keep me off the streets for a while, will keep updating photos as I progress. Planner |
|
|
|
Post by planner on Jun 19, 2012 10:53:12 GMT 10
At home in my shed, turns out that a 15 footer is the maximum length that I can put in the shed. The sliding shed door closes with about 10mm to spare. 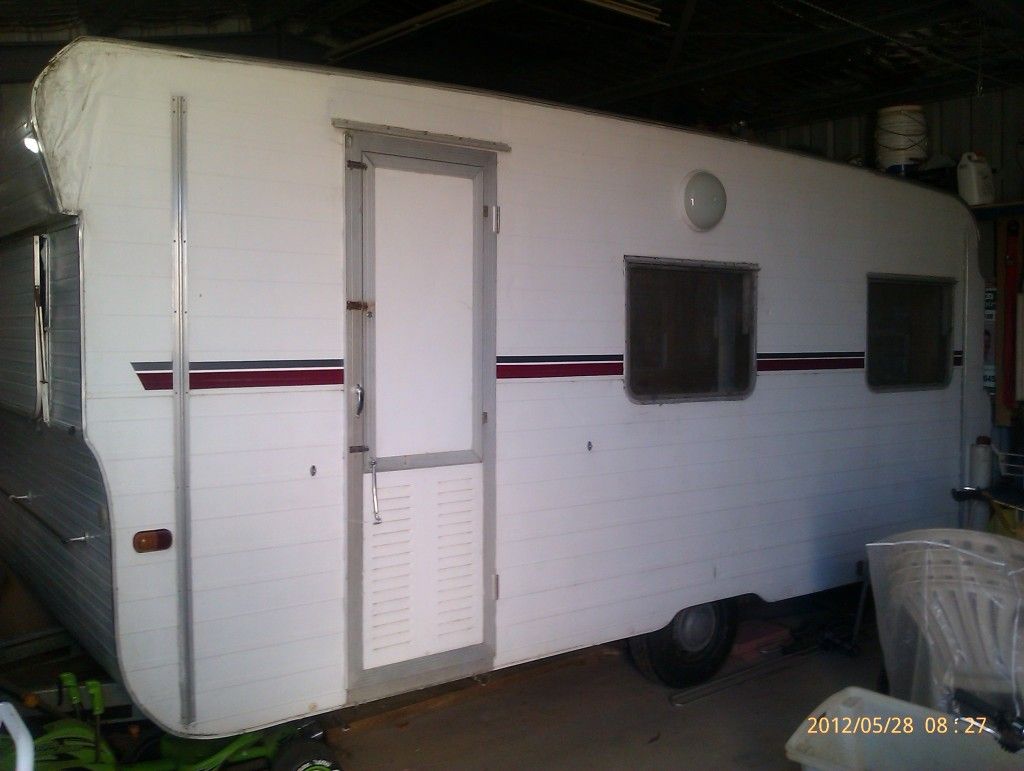 Franklin chassis number 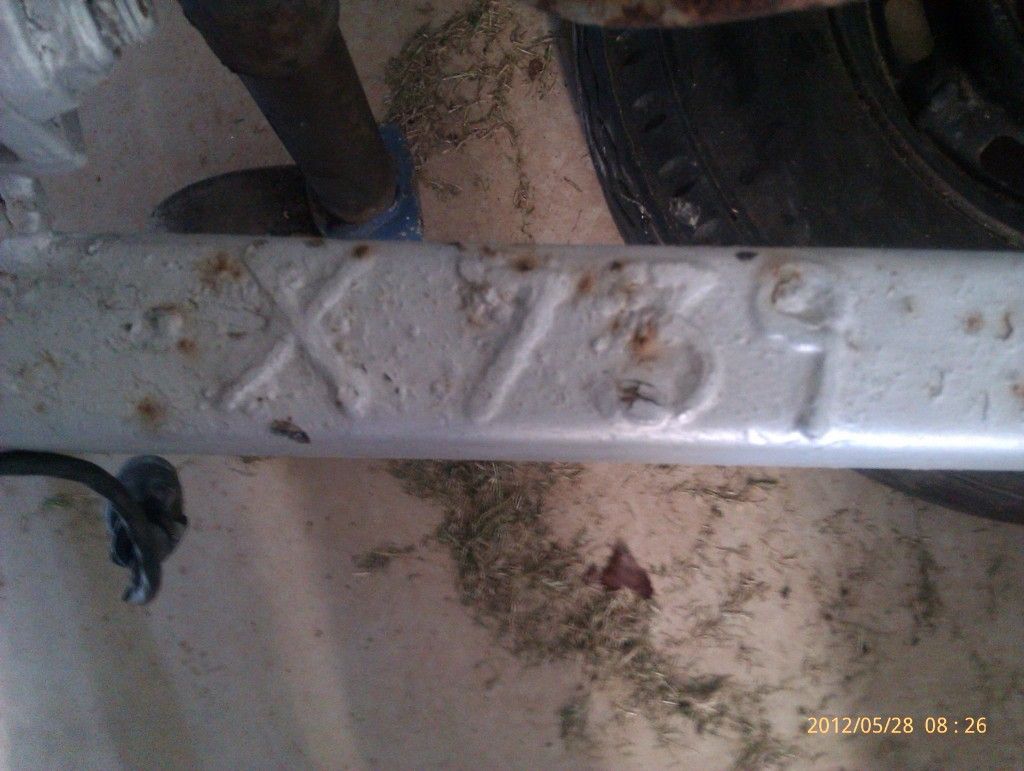 These photos have been posted in another thread, but I can see that I will have other pics coming, so I may as well round them up and put them all in one thread. |
|
|
|
Post by millard1399 on Jun 19, 2012 20:39:10 GMT 10
G'day planner, Did you score all those extra bits of stuff in the purchase as well? Looks like you'll have a bit of fun doing a cleanout.   What happened to the cladding on the side at the top above the front window? A low flying tree??  Looks like the van is basically in pretty good shape. Hopefully there won't be too many surprises when you tackle the bit of woodrot at the back. cheers, Al. |
|
|
|
Post by planner on Jun 20, 2012 9:19:33 GMT 10
G'day planner, Did you score all those extra bits of stuff in the purchase as well? Looks like you'll have a bit of fun doing a cleanout.   What happened to the cladding on the side at the top above the front window? A low flying tree??  Looks like the van is basically in pretty good shape. Hopefully there won't be too many surprises when you tackle the bit of woodrot at the back. cheers, Al. Al I was reasonably lucky that the seller removed most of the cr*p before we arrived (or at least before we towed it away). He did leave behind a spirit level in one of the cupboards ;D. My guess is the damage was done by a low flying tree or carport, previous owner was blaming the owner prior. The van is in reasonable shape internally, all windows have been removed and only the right rear showed any rot. The rear wall which concerned me the most was almost rot free. A bit of filler and a coat of paint and I should be able to reline. Outside the condition is "average", paint has been applied with a brush and dodgey purple stripe added. Chassis and running gear are all O.K. New tyres and bearings just before we bought it. I checked the bearings repeatedly on the 3hr trip home with not a hint of heat. Photos to come in the next day or so with the rear room gutted. Planner |
|
|
|
Post by planner on Jun 26, 2012 15:46:42 GMT 10
Spent the last weekend stripping and cleaning up the "back room". I was pleasantly surprised at the level of damage that I found. Ply stripped from right wall. 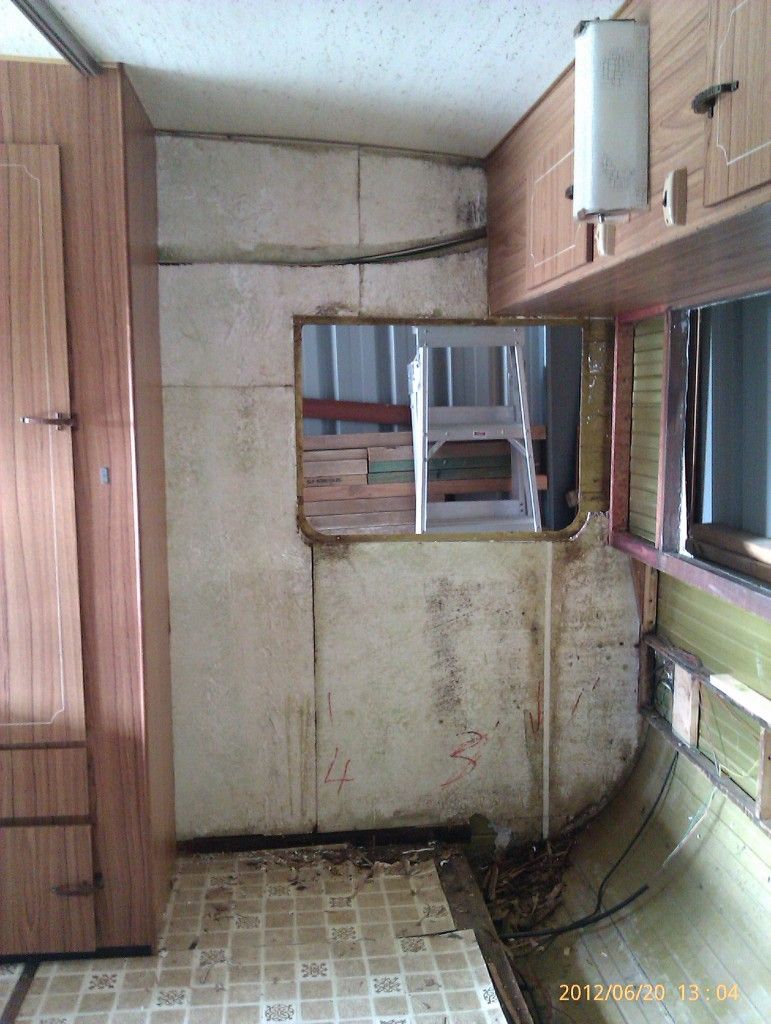 Ply stripped from rear wall. 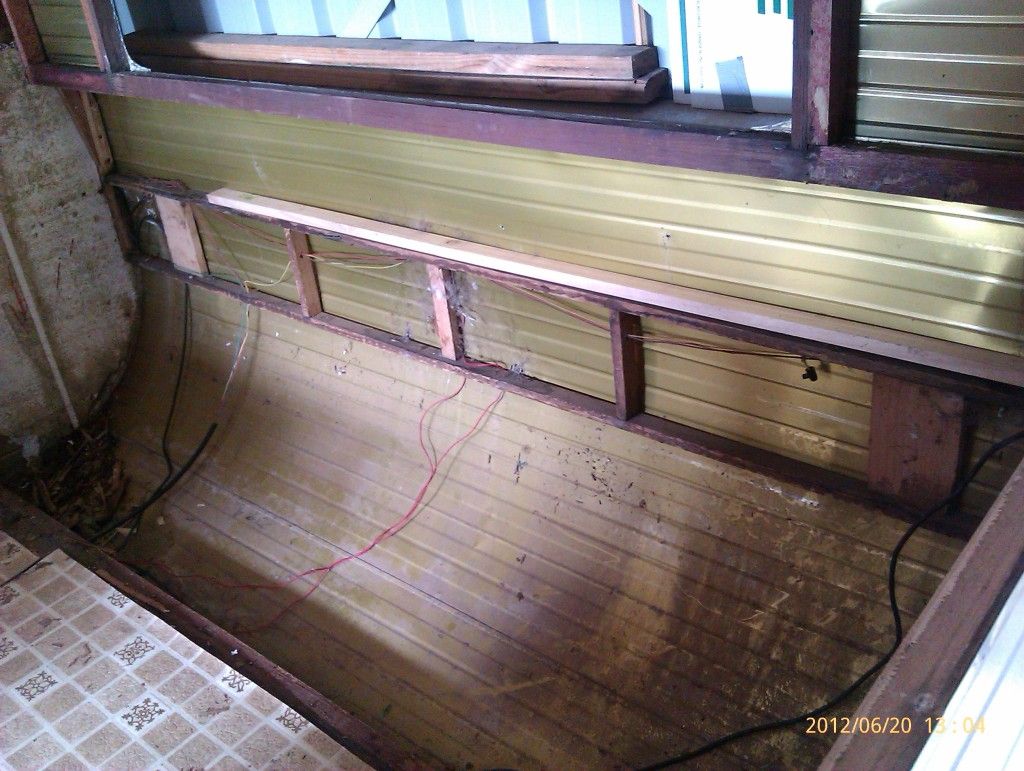 Damage around rear window, should be able to fill, paint and keep. 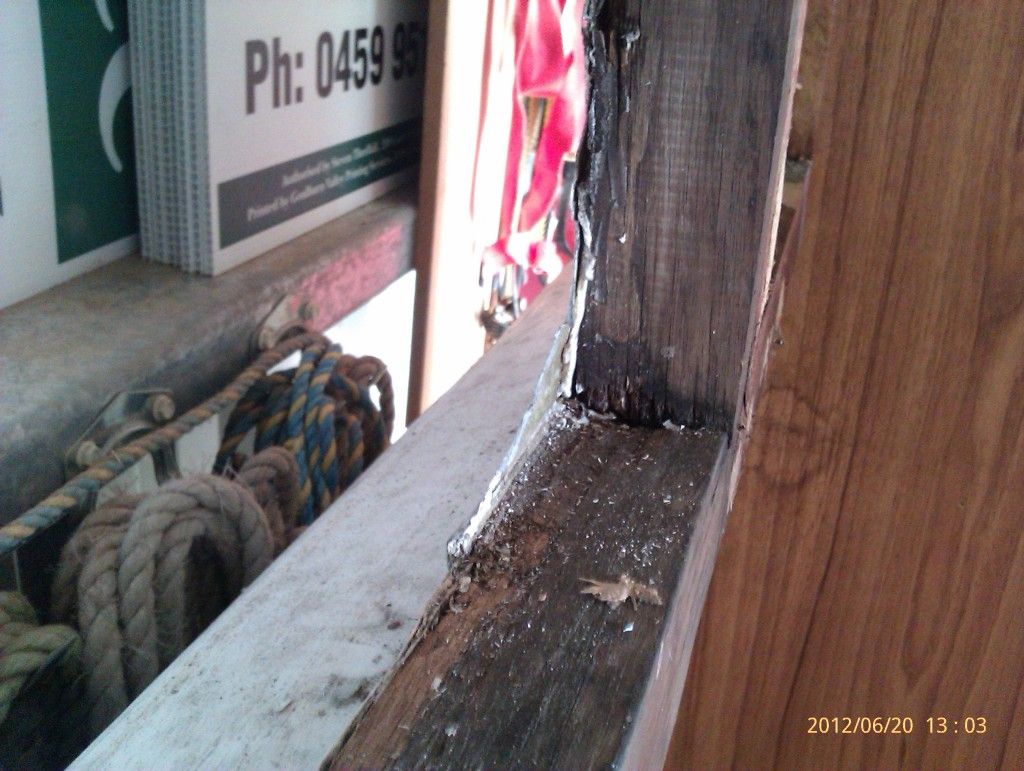 Damaged floor. 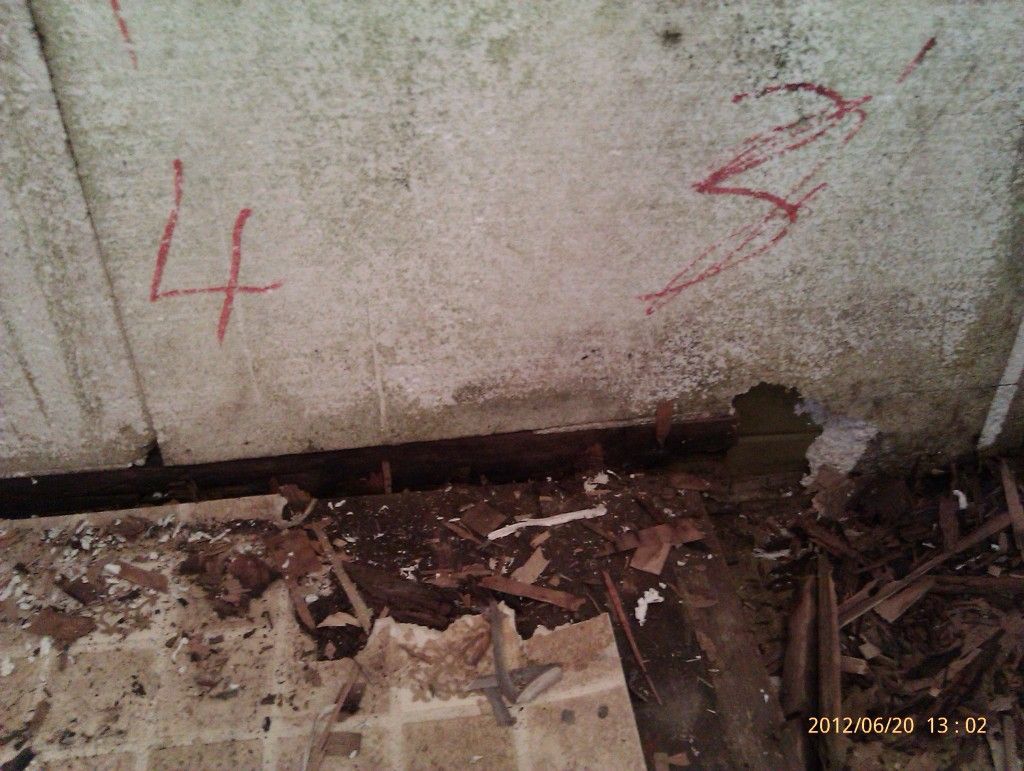 Left wall. No damage around window, so I will leave ply in place and cover with a new sheet (wall will be 3mm thicker than before). 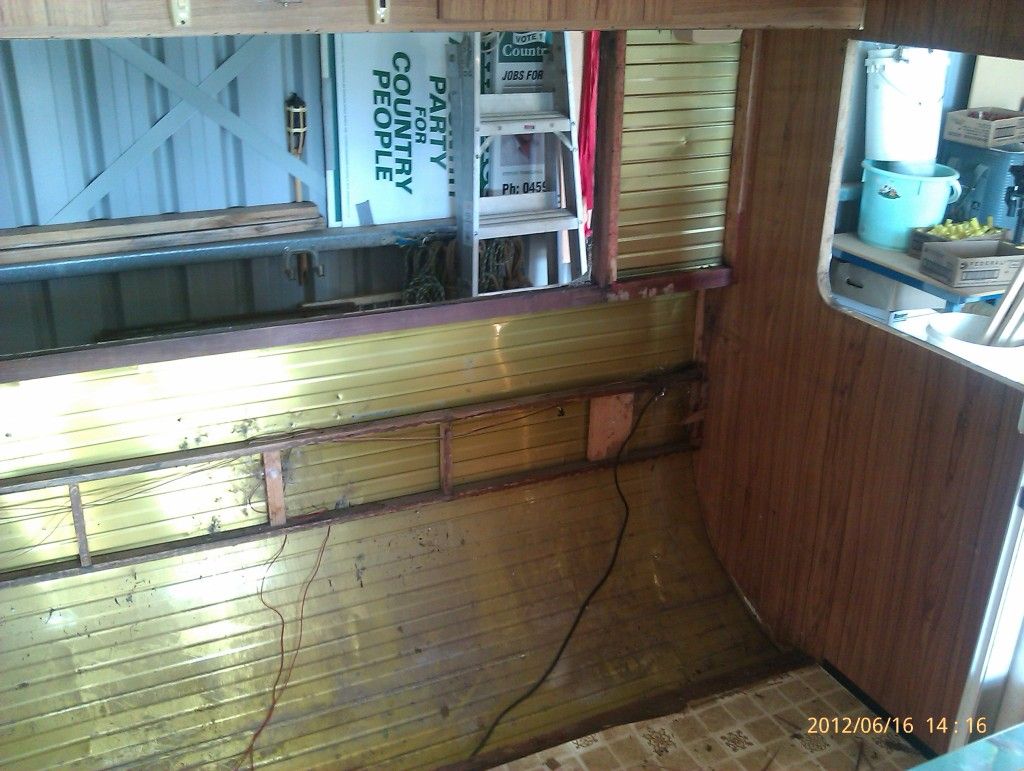 |
|
|
|
Post by millard1399 on Jun 26, 2012 20:16:46 GMT 10
Ahhh, nothing like being able to look at the inner structure, and finding things aren't quite as bad as you might have expected.   That will certainly bolster the confidence for a much quicker restoration! ;D With regards to the additional wall panel on the "good side", keep in mind the plastic moulding cover that goes around the window opening. With a double layer of wall ply, check that the moulding looks ok in position with two thicknesses, compared with the other side wall that will have only one layer thickness. The other thing I encourage restorers to keep in mind is the tail lights/clearance lights wiring if you've stripped the inside/outside and the wiring is exposed. I always think it's worthwhile to run a dedicated earth lead to each individual light if that hasn't been done already. Too often, manufacturers rely on the ali cladding to provide the earth return back to the coupling, and it's not always the most effective way. cheers, Al. |
|
Deleted
Deleted Member
Posts: 0
|
Post by Deleted on Jun 26, 2012 22:04:26 GMT 10
great looking van planner. Look forward to seeing lots of photos of your reno.
regards
Jean
|
|
Deleted
Deleted Member
Posts: 0
|
Post by Deleted on Jun 27, 2012 8:26:54 GMT 10
Gee that looks familiar! It looks like you’re a few steps ahead of me. I’ll be watching what you do with interest! I like your plan to put ply over the existing ply. Let me know how that works for you :-)
Just quickly was your back will insulated at all?
|
|
|
|
Post by planner on Jun 27, 2012 9:27:06 GMT 10
With regards to the additional wall panel on the "good side", keep in mind the plastic moulding cover that goes around the window opening. With a double layer of wall ply, check that the moulding looks ok in position with two thicknesses, compared with the other side wall that will have only one layer thickness. The other thing I encourage restorers to keep in mind is the tail lights/clearance lights wiring if you've stripped the inside/outside and the wiring is exposed. I always think it's worthwhile to run a dedicated earth lead to each individual light if that hasn't been done already. Too often, manufacturers rely on the ali cladding to provide the earth return back to the coupling, and it's not always the most effective way. Al The plastic moulding around the windows is aluminium and should be "deep" enough to cover the additional 3mm of ply, if not I'll remove the ply from the good wall. It wasn't really that difficult, a 4in paint scraper did the trick (the rotton wall did give me a hole to start from). Will definately be running a dedicated earth wire back to the plug, I've had hassles before relying on lights earthing through the towball. Arrow The back wall wasn't insulated at all, what you see in the pics was as constructed. I will be insulating with polystyrene sheets before reinstatement of lining. One point to check on your van is the connection of rear wall aluminium to floor. The piece of timber in ours was completely rotten, too far gone to confirm what timber it was (possibly pine from the crumbs that were left). Left a 8ft wide x 3in deep inverted "bonnet scoop" to suck up road grime and moisture into the back wall. The lack of any significant damage leads me to believe it had failed recently and not done too many miles in that condition. Damage at the bottom of the right wall was not all moisture damage, possibly an earlier tennant (moisture generally doesn't attack polystyrene :  . No work this weekend, going away for a looong weekend camping (swag, not c'van). Planner |
|
|
|
Post by planner on Jul 11, 2012 12:07:32 GMT 10
Progress so far. All windows out and old sealer removed. Some windows back in and resealed. New latches, insect screens and other bits and pieces ordered from carvansplus to be installed shortly. Spent last weekend rebuilding the rear wall and re-attaching to floor. Bad quality pics from phone camera. 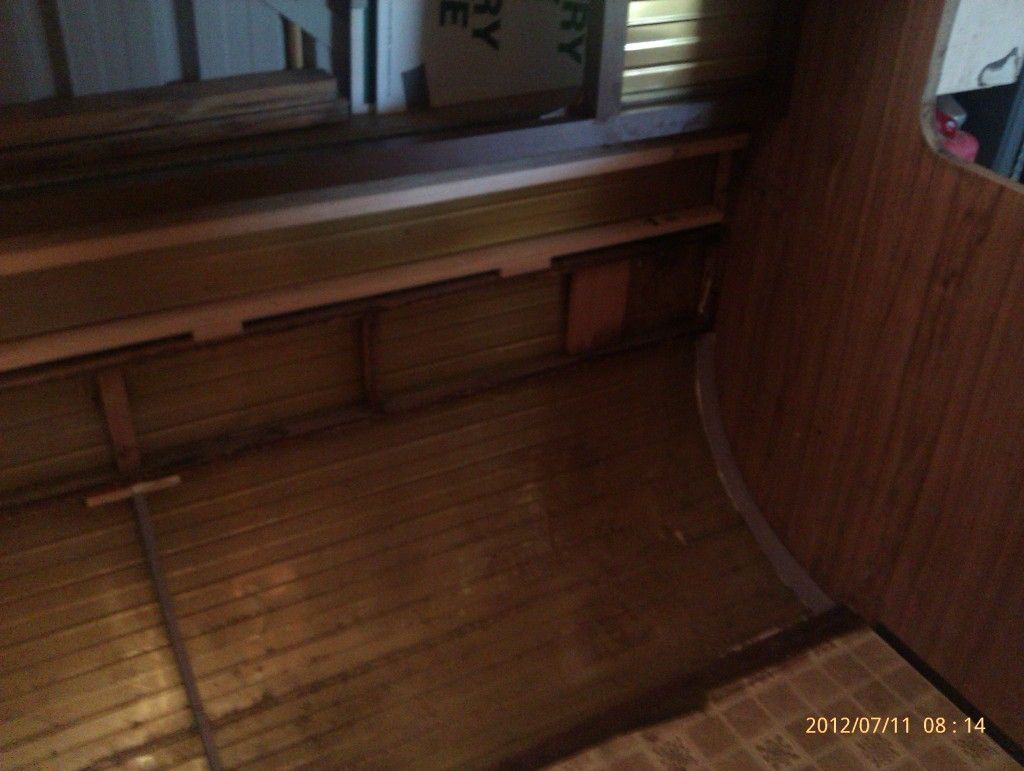 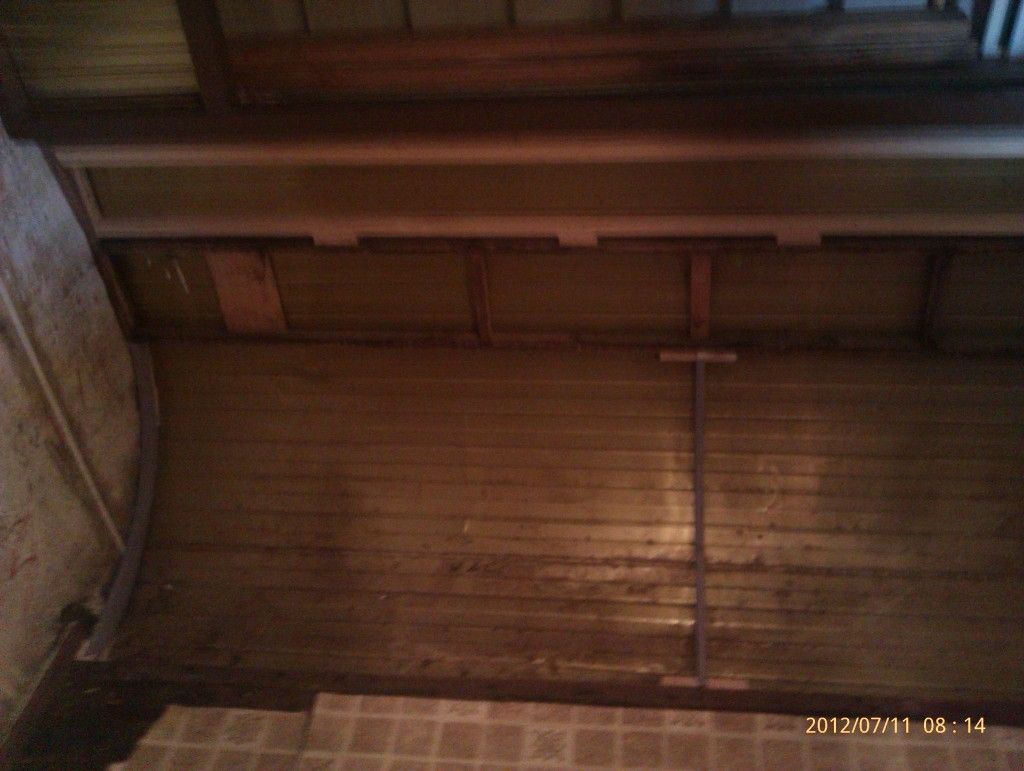 Cut 3 ribs from a sheet of 12mm ply that was lying in the shed, painted a lurvly lilac color to waterproof them (hopefully they never see any moisture) 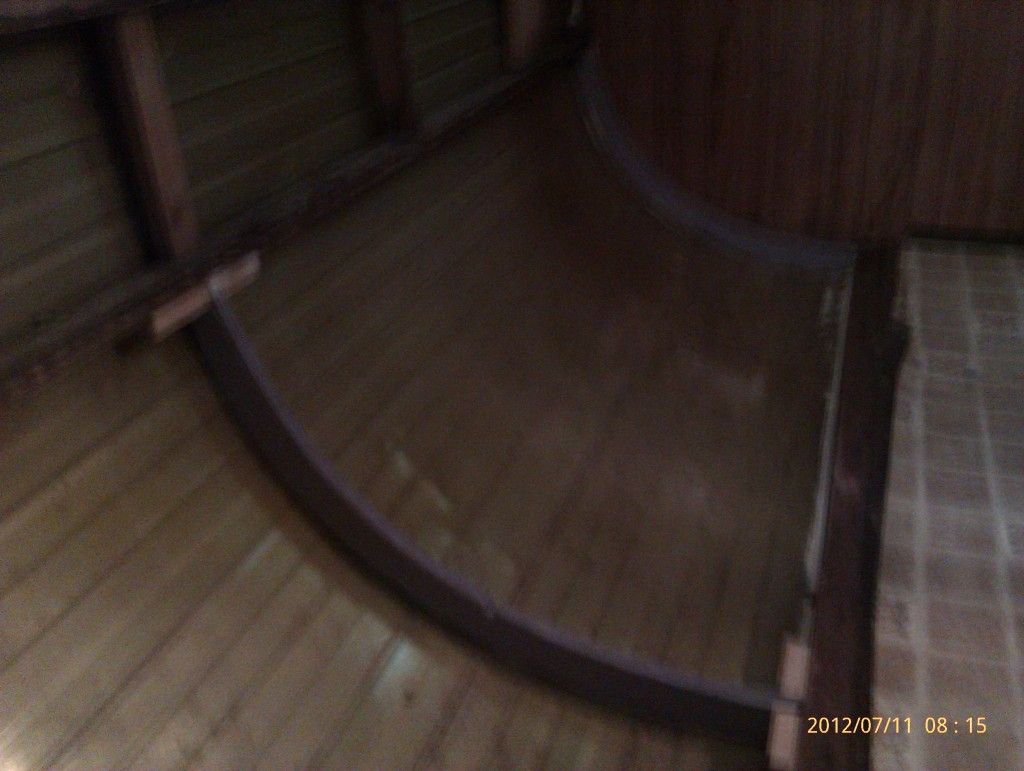 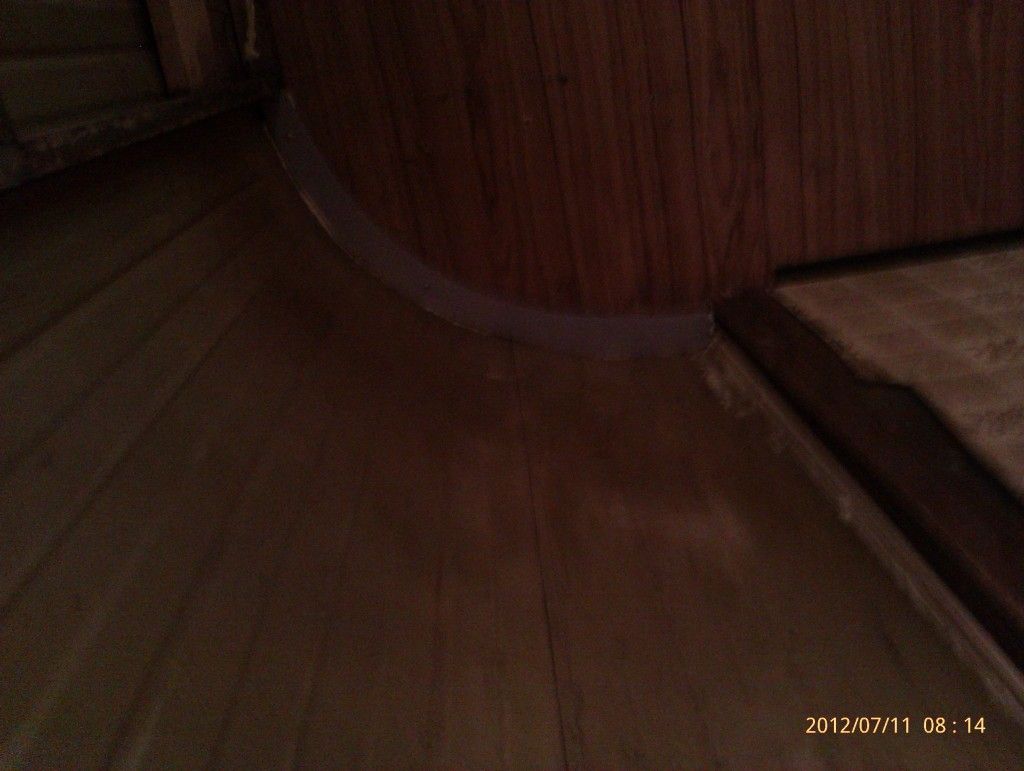 New LED taillights purchased and will be wired prior to reskinning of rear wall, might even replace the clearance lights (rear two anyway) with LED versions. More to follow Planner |
|
|
|
Post by Caprinut on Jul 11, 2012 17:47:19 GMT 10
Planner, I fixed all my internal walls by glueing a new sheet of veneer ply over the old stained ply which gave me a lovely new look to old interior.. But I removed all the outer alu skin and worked backwards to most people, cos the van was in a carport protected from rain. To mask the join between ply and cupboards and overhead lockers I used the plastic edge trims you can purchase at some Bunnings and they matched my veneer colour (tasmanian oak). Using the trim which slides over a 3mm ply thickness meant that all butt joints looked neat and any splintering when cutting ply is masked.These plastic trims come in dark brown light brown white so are also used to mask edge of wall to ceiling etc. Really helps to give a professional look to any added repairs which normally looks like patch ons. Windows can be dealt with by buying the right angle plastic trim that van manufacturers use which come inlong strips and curve neatly to follow the curve of the window. Thisis pushed in from the inside before the window is fitted after the ply is fitted and held in place by a few staples. It has a lip which overlaps the ply and masks the cut edge and means that any thickness can be added without being noticeable once the window goes in. I hope this explanation is helpfull.  |
|
|
|
Post by planner on Jul 12, 2012 8:59:20 GMT 10
Planner, I fixed all my internal walls by glueing a new sheet of veneer ply over the old stained ply which gave me a lovely new look to old interior.. But I removed all the outer alu skin and worked backwards to most people, cos the van was in a carport protected from rain. To mask the join between ply and cupboards and overhead lockers I used the plastic edge trims you can purchase at some Bunnings and they matched my veneer colour (tasmanian oak). Using the trim which slides over a 3mm ply thickness meant that all butt joints looked neat and any splintering when cutting ply is masked.These plastic trims come in dark brown light brown white so are also used to mask edge of wall to ceiling etc. Really helps to give a professional look to any added repairs which normally looks like patch ons. Windows can be dealt with by buying the right angle plastic trim that van manufacturers use which come inlong strips and curve neatly to follow the curve of the window. Thisis pushed in from the inside before the window is fitted after the ply is fitted and held in place by a few staples. It has a lip which overlaps the ply and masks the cut edge and means that any thickness can be added without being noticeable once the window goes in. I hope this explanation is helpfull. Thanks Caprinut This confirms what I intended to do will work, although I'll be working from the inside. Our sheets of ply will be 90deg to yours, so the joiner will stand vertical. Now we just need to agree on colour. Planner |
|
|
|
Post by planner on Jul 25, 2012 9:33:32 GMT 10
Next update. Last Sunday was spent rewiring taillights and installing new LED’s to rear of the van. The existing clearance lights were still O.K. (once reconnected and cleaned) so they were retained. The existing wiring was a mess so I stripped it from front to back and replaced, pics to come next time the van is out of the shed. Last night I installed the insulation for the rear wall in readiness for relining. Used a product called “Foilboard” cheap, light, waterproof and easy to use. 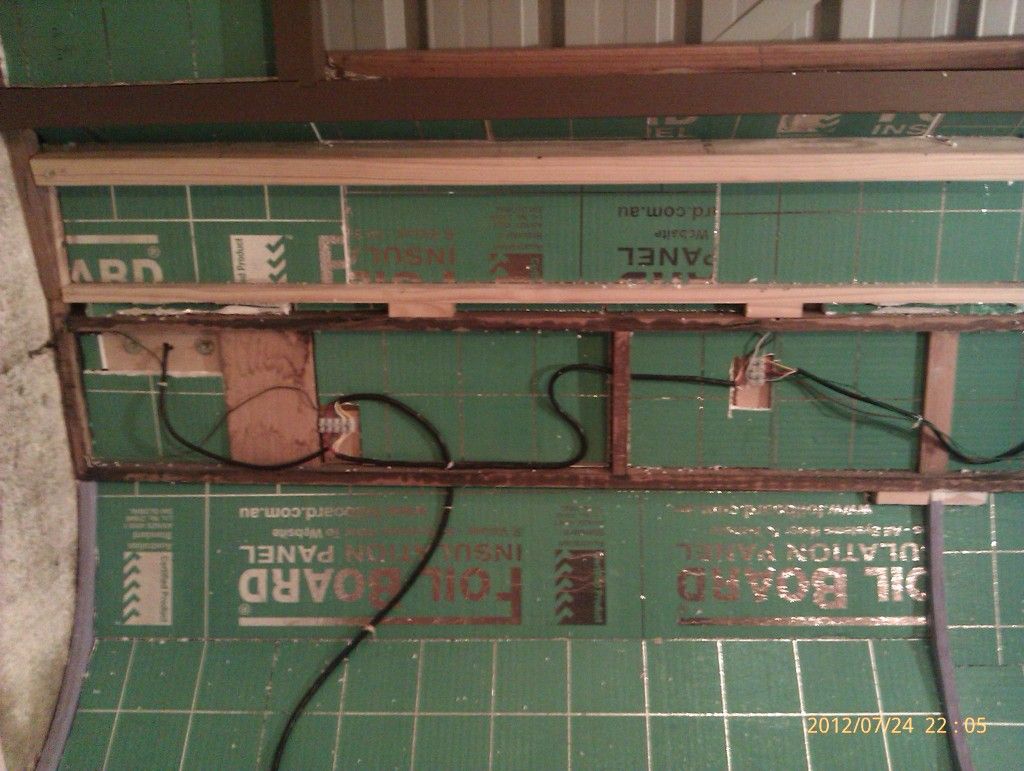 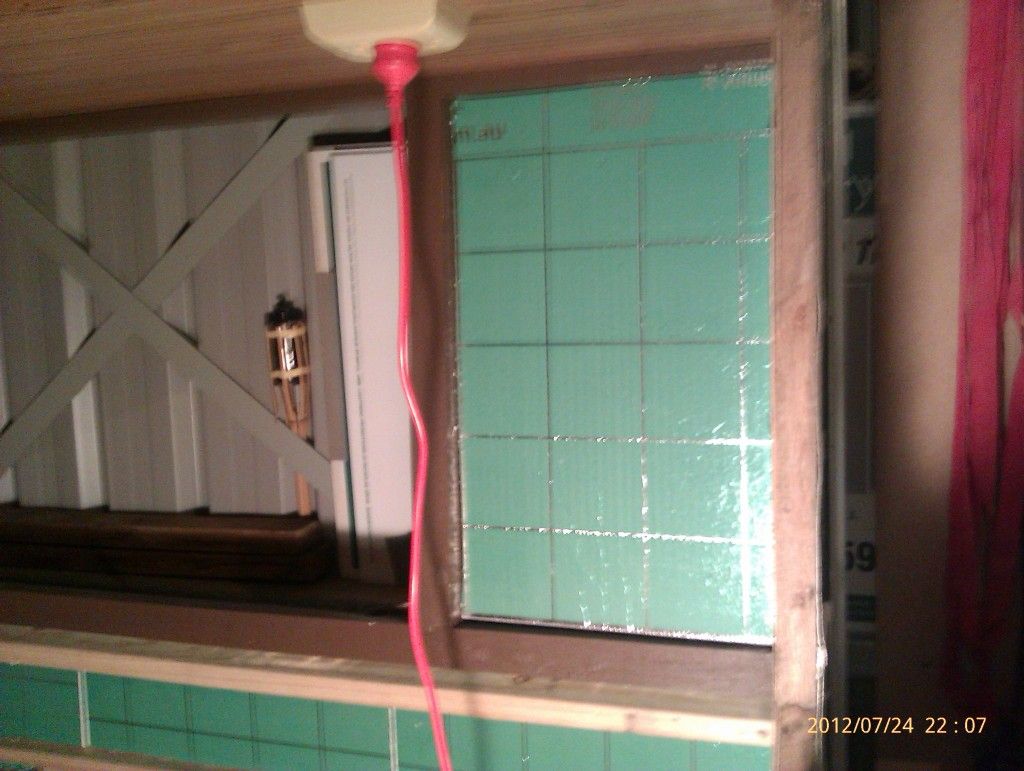 Next job, settle on colour for internals and reline bedroom, then construct new bed (thanks for the design Camich). Planner |
|
|
|
Post by planner on Oct 3, 2012 15:28:18 GMT 10
Been a busy couple of months, so another update is long overdue. Since the last post I have recovered the floor using vinyl “boards” and finished lining the bedroom replacing the water damaged ply. 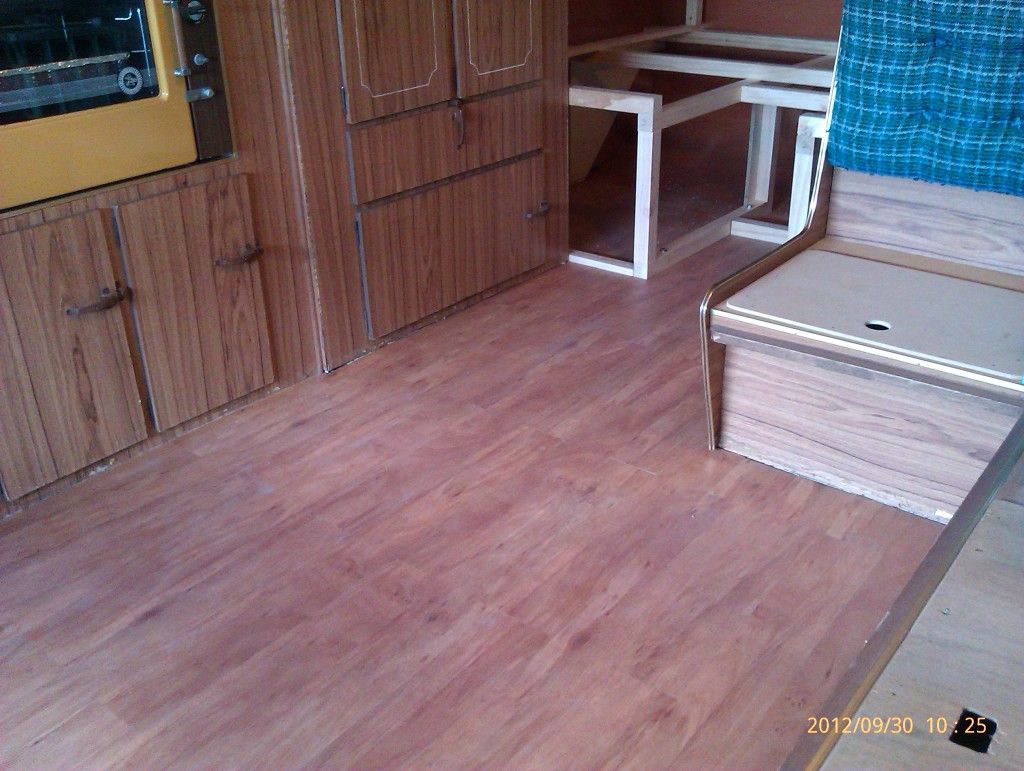 A new fridge and a new (new to us, anyway) stove have been installed. The fridge is running, and keeping beer very cold, but the stove is yet to be connected. 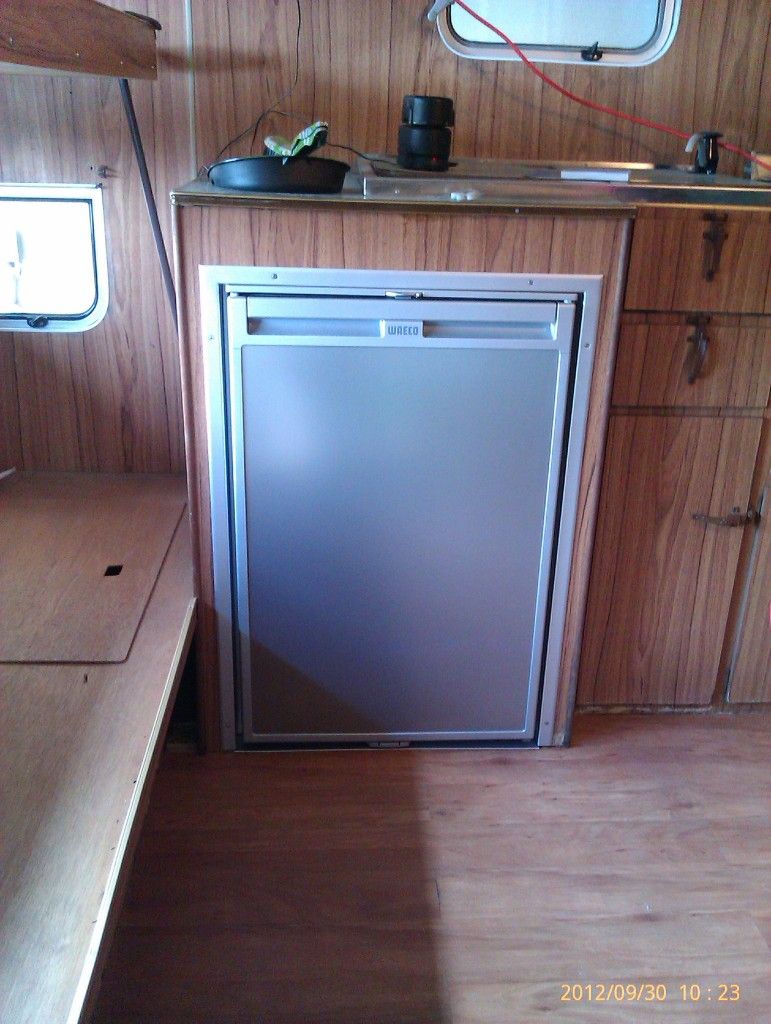 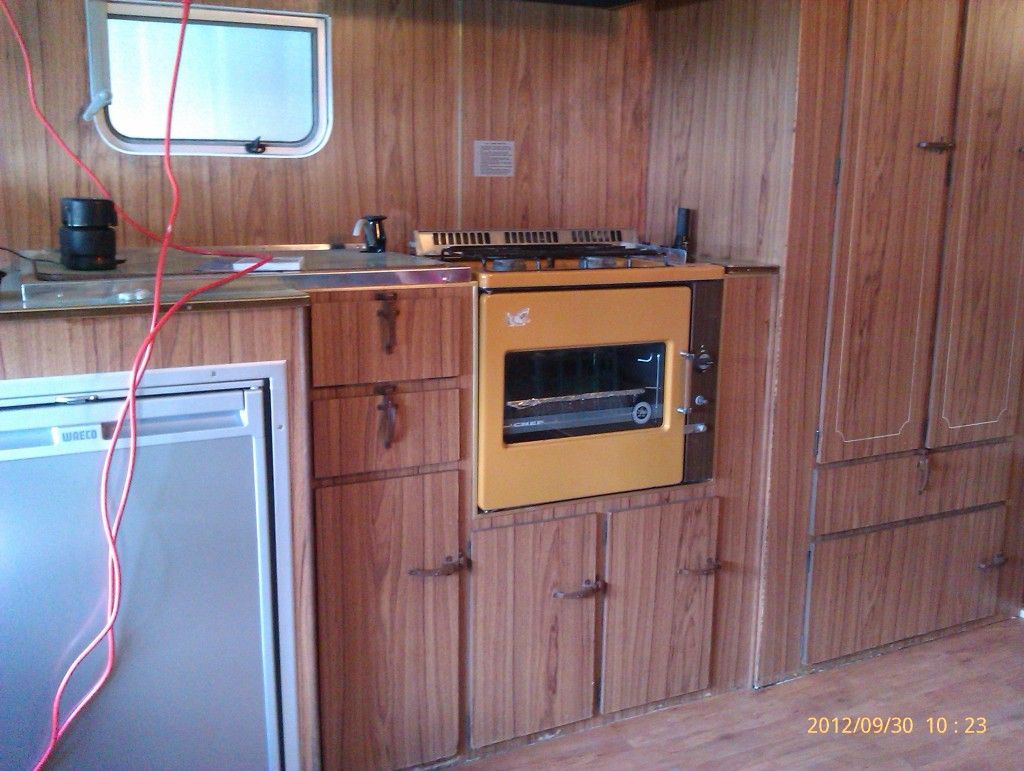 I have constructed a new bed, complete with hinged frame and storage for porta-potti . 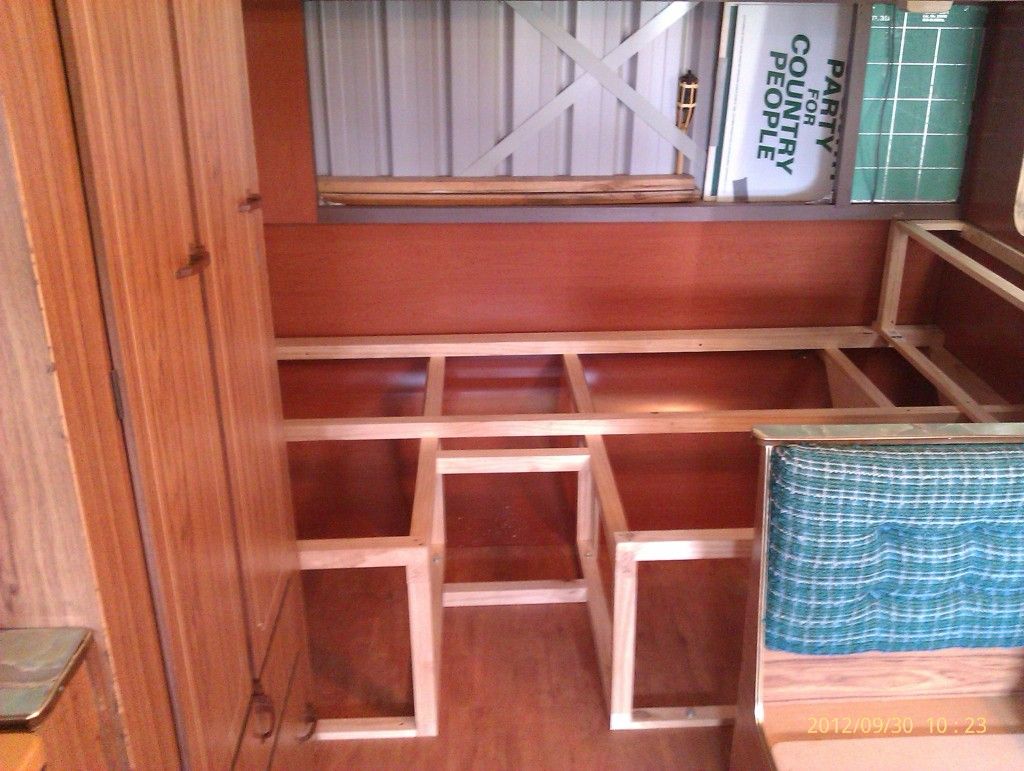 Bed frame was recycled from original, lengthened and wire springs replaced with slats. Only 4’ wide, but that’s all that would fit without removing cupboards. 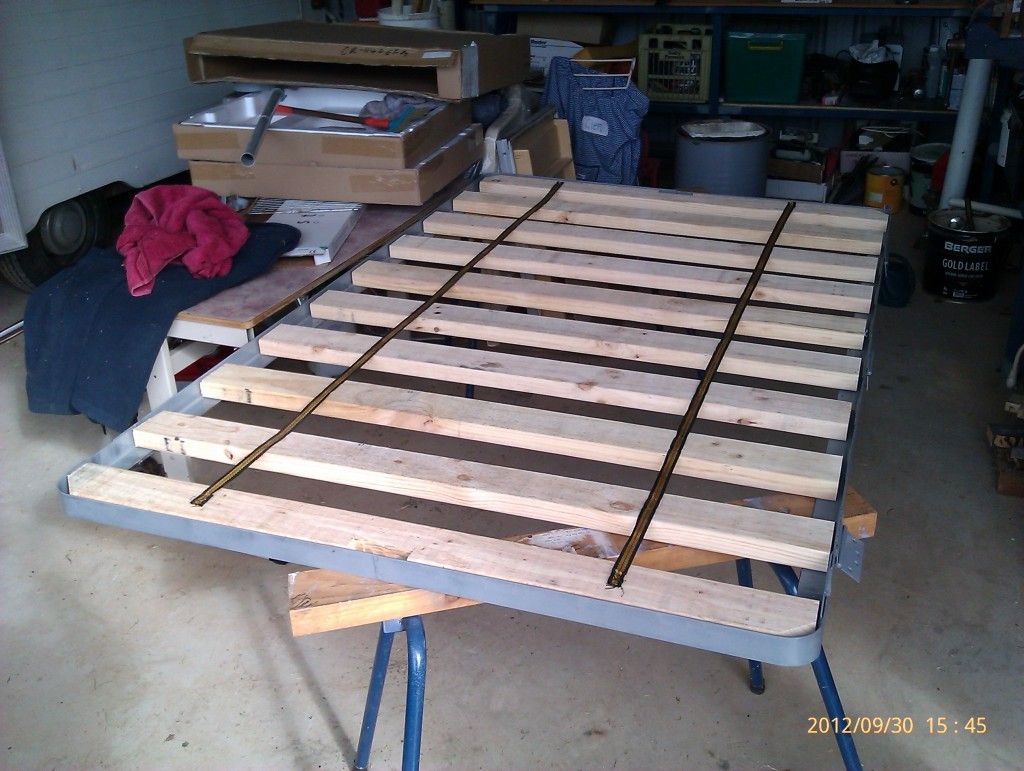 Bedhead will provide storage for 120w solar panels that arrived this week. 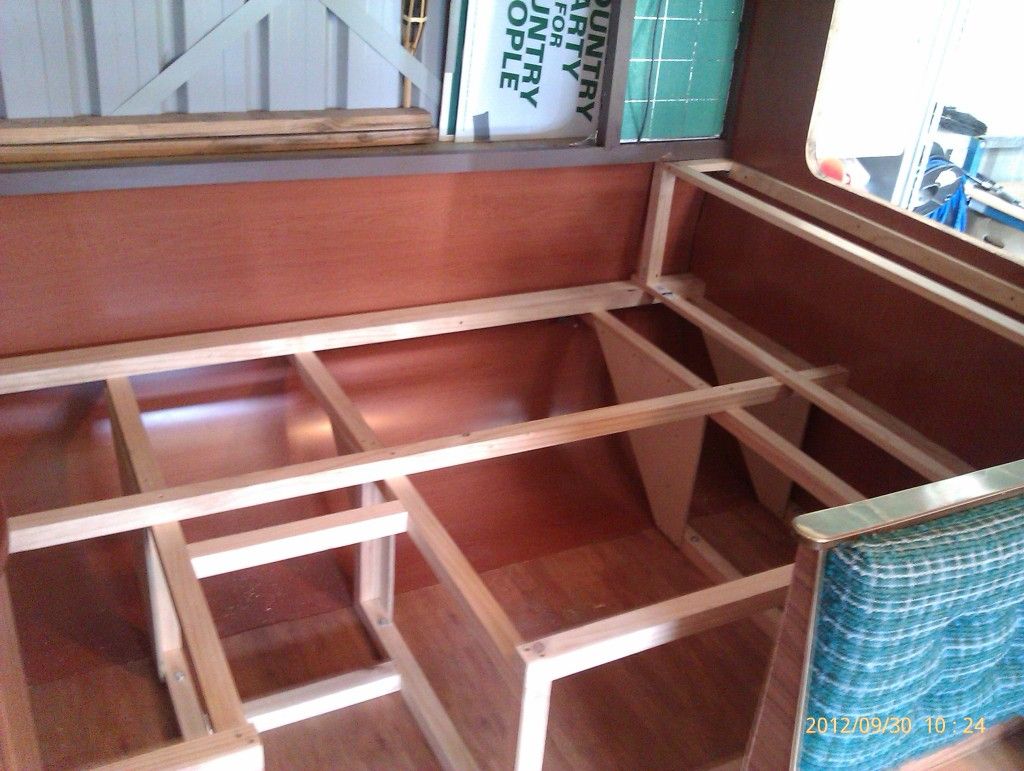 Next tasks, complete ply on bed, install battery, make curtains (not by me), install LED internal lights and place trim around floor (underway). Then the inside is usable, if not yet complete. Planned maiden voyage is Swan Hill for extended Melbourne cup weekend. Planner |
|
|
|
Post by millard1399 on Oct 3, 2012 16:19:16 GMT 10
Wow!...be- yoo-tiful job!!   I think you've done exceedingly well. ;D How is the foilboard fixed into position at the bottom rear where the cladding is curved? Obviously the foilboard itself doesn't bend, so do you just put dollops of adhesive there, or something like that, to hold it in position?  cheers, Al. |
|
|
|
Post by planner on Oct 3, 2012 17:14:57 GMT 10
Wow!...be- yoo-tiful job!!   I think you've done exceedingly well. ;D How is the foilboard fixed into position at the bottom rear where the cladding is curved? Obviously the foilboard itself doesn't bend, so do you just put dollops of adhesive there, or something like that, to hold it in position?  cheers, Al. Thanks Al The foilboard was cut into strips about 250mm wide and glued to the aluminium cladding using "Liquid Nails - Fast Grab" which is water based so it can be used on polystyrene. It was also used to fix the new wall ply. The downside to gluing to the cladding means the airspace is not in its optimum position for insulation, but I figure it's still got to perform better than no insulation. Planner |
|
Deleted
Deleted Member
Posts: 0
|
Post by Deleted on Oct 31, 2012 9:34:55 GMT 10
Planner you have done a fantastic job! The new floor is a ripper, as is your work on the bed-frame... I think I'm getting an attack of the green-eyed monster!
I hope your first trip away goes well!
|
|
|
|
Post by planner on Nov 7, 2012 14:59:15 GMT 10
I hope your first trip away goes well! All loaded up and heading of on maiden voyage (for this family anyway). 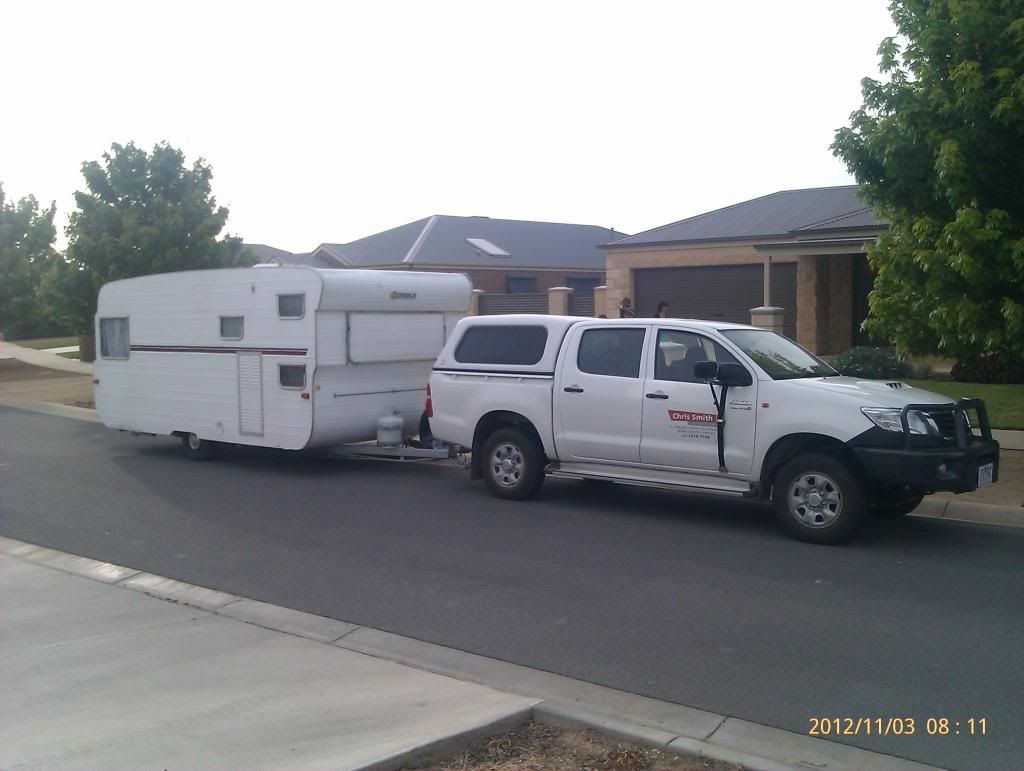 Went to Swan Hill for a test drive. Had a very relaxing weekend and even attracted a few visitors to look at the reno. Spoke to a bloke who bought a new arrow in 1977 and sold it only 6 months ago. Stored in a shed for its entire life, he reckons it was still in near new condition (his kids wouldn't speak to him for weeks, they reckon he'd sold a family member.) I will upload a few of the pics of the caravan onsite later (they're on wifes phone). Also need to take a few finished pics (If I am finished)  of the inside and upload. Planner |
|
|
|
Post by planner on May 7, 2015 13:24:16 GMT 10
Well its been a couple of years since the last post, so here's the next installment. A few minor changes and additions in the last 2 years (done between plenty of holidays). I've lifted the ride height by turning over the drop axel. I've added a couple of USB outlets for charging of phones, ipads, cameras etc. 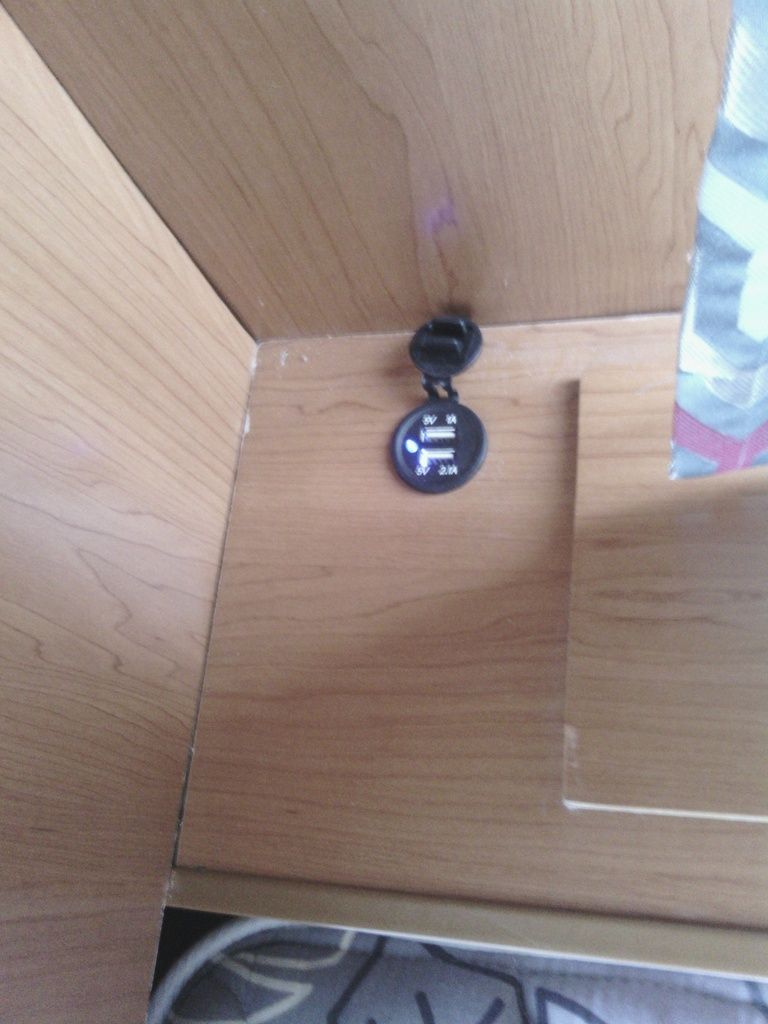 I've installed a volt meter to keep track of battery status (many of the trips have been camping). 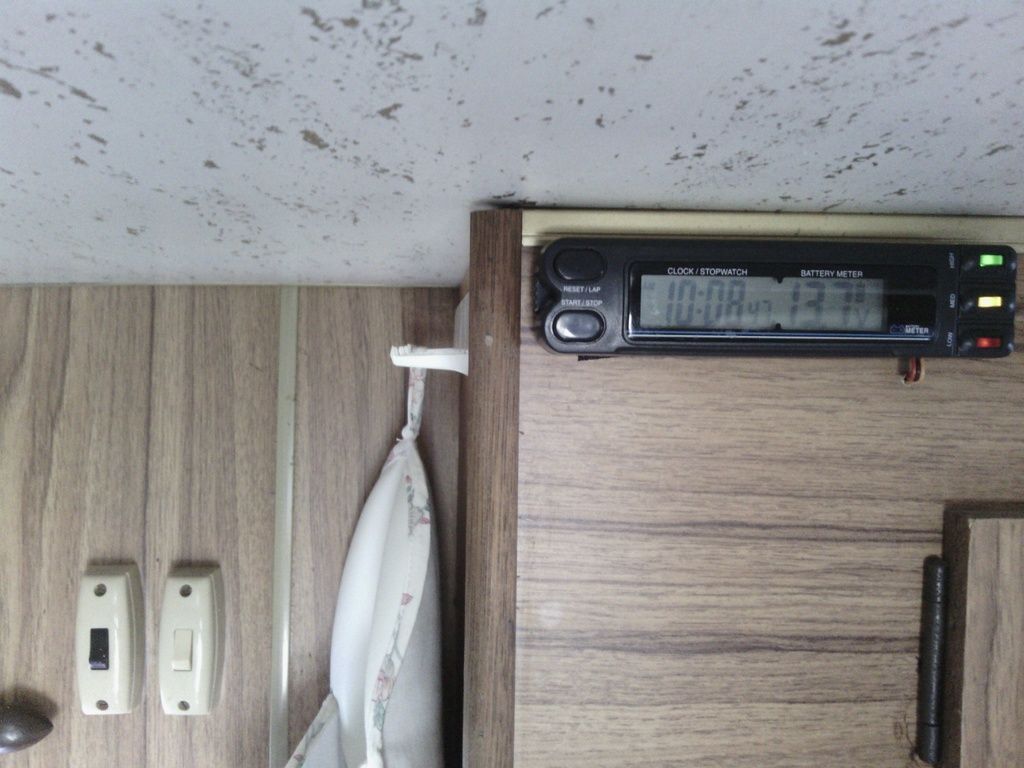 The foam mattress that we bought was no longer comfortable, so we recently purchased a new innerspring, made to fit around the cupboard, only $225 delivered. 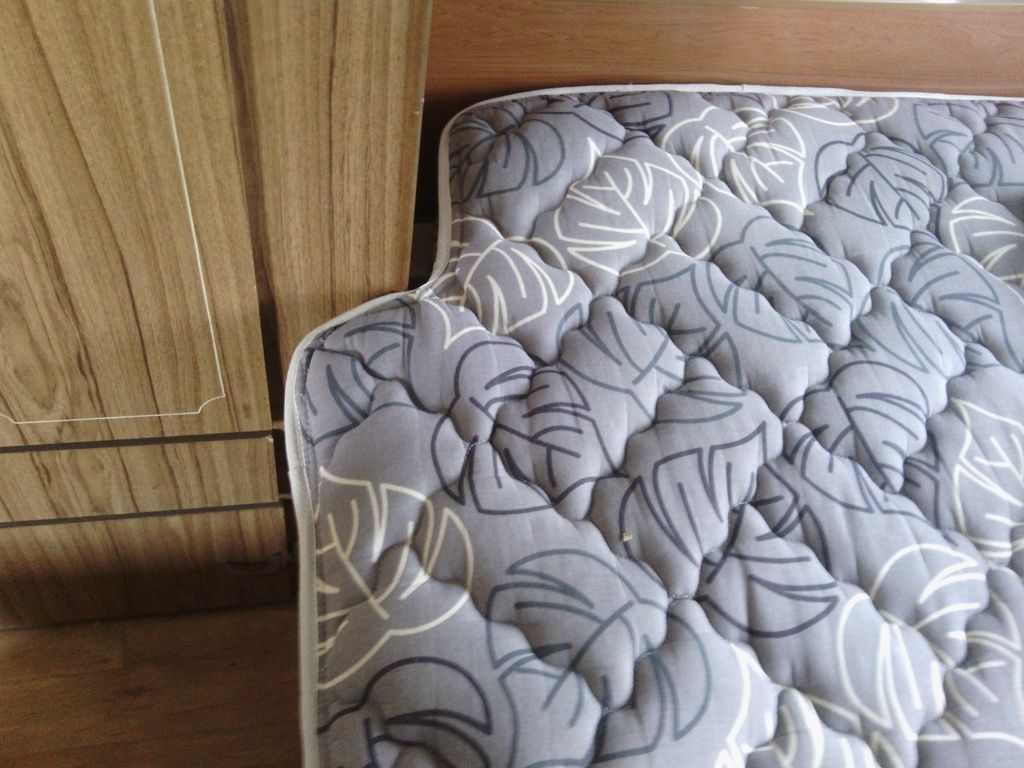 |
|
|
|
Post by Mustang on May 7, 2015 17:22:42 GMT 10
Boy it was low , I can see why you lifited it. Very neat resto.
|
|
|
|
Post by snoops on May 7, 2015 19:00:21 GMT 10
Wow, your van is almost identical to mine - but a foot or so longer I think..  - mines shown here My 75 FranklinMine is a year older, but the interior, front bunks (now gone in mine), stove and the bed with the mattress cutout is all identical. I did the mattress myself though with a stanly knife and angle grinder....  I lifted my van by replacing the drop axle with a new straight version and used larger tyres. Keep up the good work. |
|
|
|
Post by planner on May 8, 2015 10:07:38 GMT 10
After hundreds of hours and thousands of dollars We now have a van that we can confidently and comfortably use. We have just returned from Alice Springs, Ayers Rock and Kings Canyon. 3 weeks, 6,500km and no problems. Pimba overnight stop at the roadhouse. Gold coin donation and pay showers. (Note the new ride height). 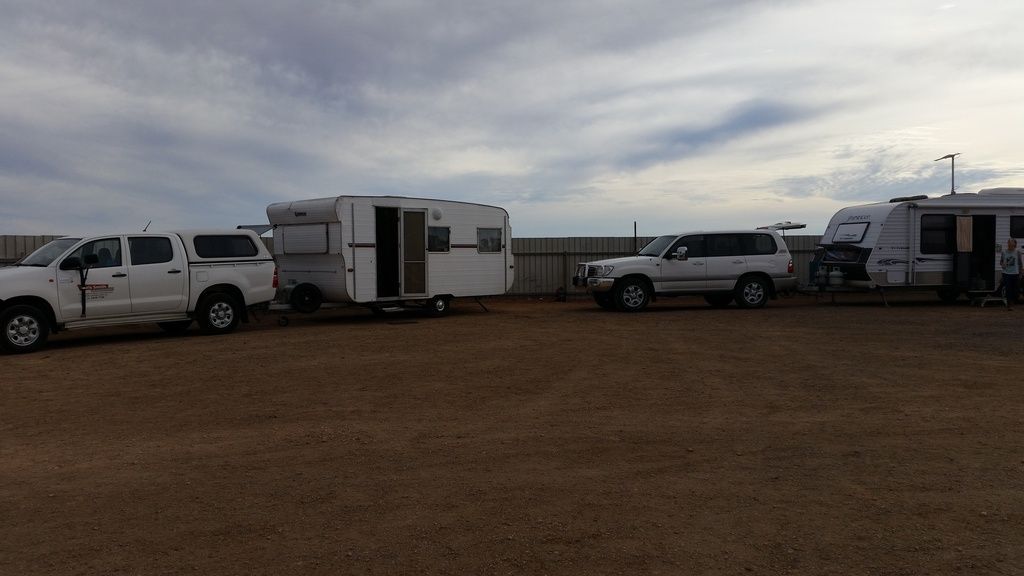 Coober Pedy on the gravel. No water to sites and pay showers. 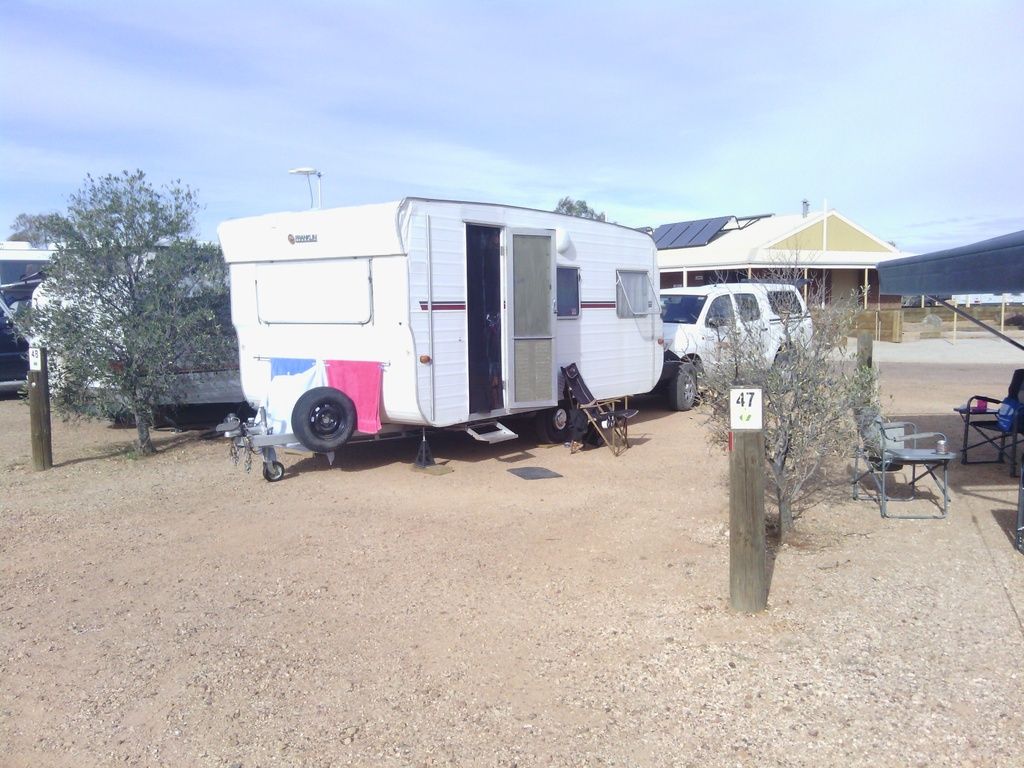 Relaxing in Alice Springs. 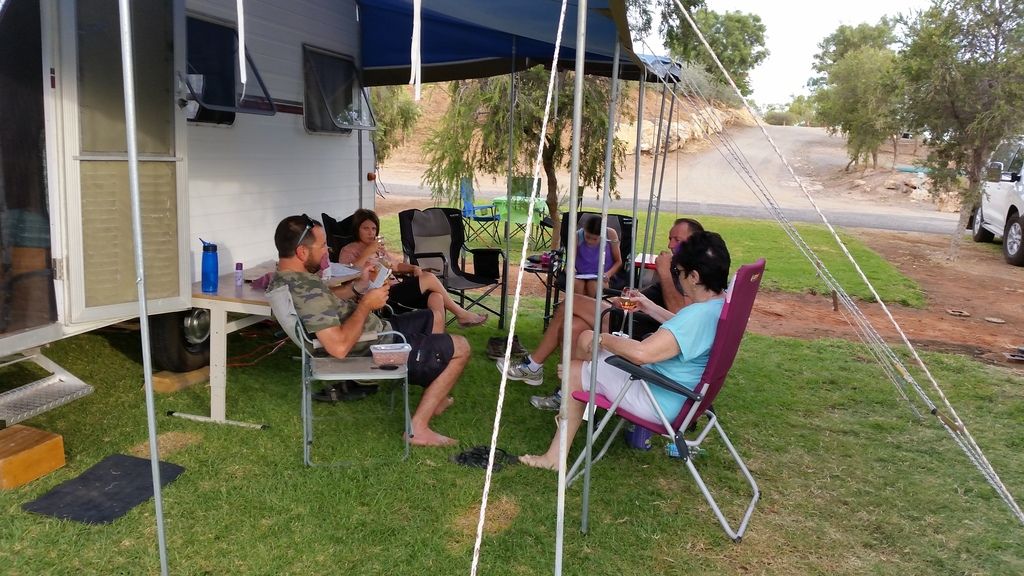 Setup at Ayers Rock Camping Ground. 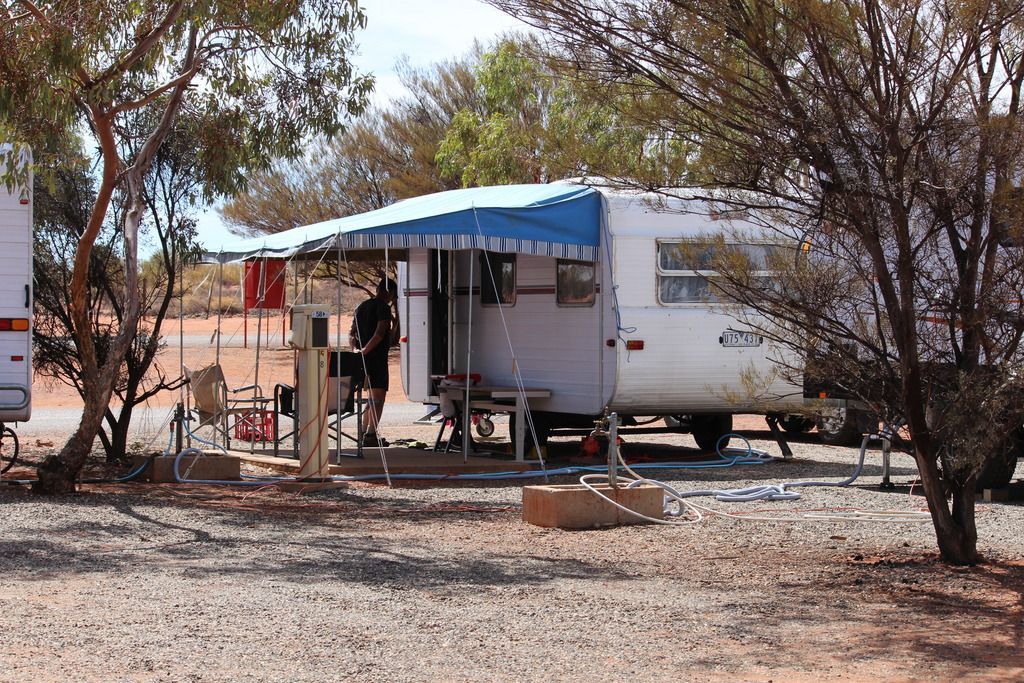 Stopped on the road for a photo. 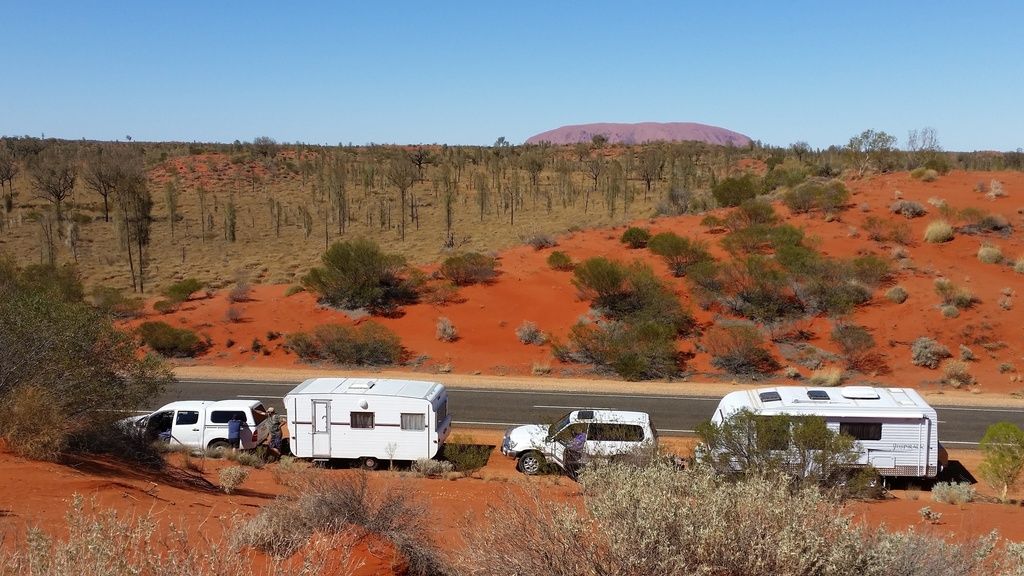 |
|
|
|
Post by planner on May 8, 2015 10:34:15 GMT 10
Boy it was low , I can see why you lifited it. Very neat resto. Mustang At the original height it dragged its rear-end on driveways, speedhumps and even some intersections. It was nearly unusable, especially when we do a fair amount of camping. I turned over the original drop axel and gained about 150mm. Nows it's a reasonable step into and out, but overall worthwhile. Behind the hilux it sits level and tows perfectly. Planner |
|
|
|
Post by planner on May 8, 2015 10:50:07 GMT 10
Wow, your van is almost identical to mine - but a foot or so longer I think..  - mines shown here My 75 FranklinMine is a year older, but the interior, front bunks (now gone in mine), stove and the bed with the mattress cutout is all identical. I did the mattress myself though with a stanly knife and angle grinder....  I lifted my van by replacing the drop axle with a new straight version and used larger tyres. Keep up the good work. Snoops I've only just returned to the forum and am still reading through the story of your van. Very impressed with the work that you/your mate did with drawbar. I was lucky ours had a little surface rust that cleaned off revealing no nasty surprises. I would have liked to extend the length a little to gain some additional storage (hoses, boards etc), but then it would no longer fit in my shed, the door closes with about 10mm to spare. I've kept the original wheels (13" HT, I believe) and shod them with light truck tyres. Not too much more work planned, well maybe some small jobs. Now it's time to get it out of the shed and on the road to rack up some km's (what it was originally built for, not to sit in a park as an onsite van or workers accommodation as far too many classic vans do). Planner |
|
|
|
Post by snoops on May 8, 2015 20:16:38 GMT 10
I hear ya! I've done nearly 4,000 KM with mine now and it has done it easily. Still got a long way to go with mine, but it's usable. Interior is only about 20% finished and I still have to reseal all the windows and J moulds then a coat of paint. Mechanically and electrically I'm pretty much sorted, so we can throw some clothes in it on a Friday night and bugger off at a moments notice.  |
|