Deleted
Deleted Member
Posts: 0
|
Post by Deleted on Jun 11, 2012 19:38:07 GMT 10
Thanks Kylarama,
I might get the van weighed anyway so I know in my own mind what the Tare is. Yes the 7 leaf springs and axle should be 1450 to 1500kg so If they dont need anything official that will be the ATM then
Cheers
cameron
|
|
|
|
Post by Jade on Jun 21, 2012 13:22:39 GMT 10
This is amazing!
We have recently bought the same caravan. It is in better condition than yours was, but there are still things we would like to do to it, nonetheless, and your posts will really help us!
We do not have any experience of doing anything like this. Are you a professional? I just don't want to look at things you're doing, and believe we can do them too - if you actually have some sort of professional training..!
Can't wait to see more photos.
|
|
Deleted
Deleted Member
Posts: 0
|
Post by Deleted on Jun 23, 2012 19:11:16 GMT 10
Hi Jade
Ha, No No, Im not a professional, just a bit of a handyman. I have restored a few cars and other bits n peaces, just picked up some skills over the years from mates etc.
Really in terms of the van Im really just making it up as I go. I always take my time in dismantling.
Having a go at the interior at the moment , so will post some more pics soon
Cheers Cam
|
|
Deleted
Deleted Member
Posts: 0
|
Post by Deleted on Jun 24, 2012 20:47:55 GMT 10
So I have roughed in all the wiring , 12v for the lights, and 240v for powerpoints, Brother in law is an electrician so he will fit off the powerpoints and switchboard. Also ran in speaker wires and aerial coax. To stop any wear or potential rub through of the cable and potential livening of the aluminium frame, all cables both 12v and 240v were siliconed in place expecially where they go through the aluminium frame. I also braced the frame in places using some square aluminium plate I had, just riveted through at the corners to reduce any movement of the frame 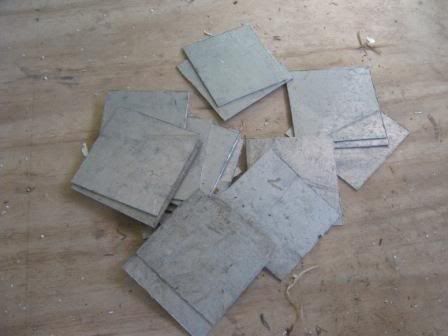 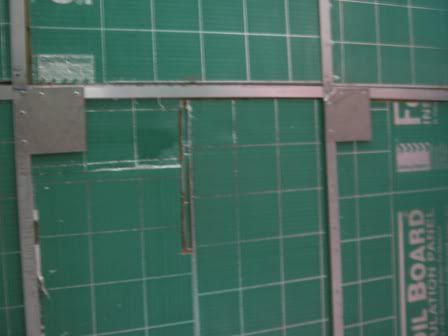 Also wired all the external trailer lights, LEDs all round and up to the current Vicroads standard, extra side lights, and clearance lights front and rear. Bought all the Lights of Ebay nice and cheap So once everything was in the walls its time to fit out Again, scoured through EBAy and got all the ply nice and cheap from a place in Brunswick. All the ply I need including the veneerered ply plus a number of sheets extra really cheap. All brand new. 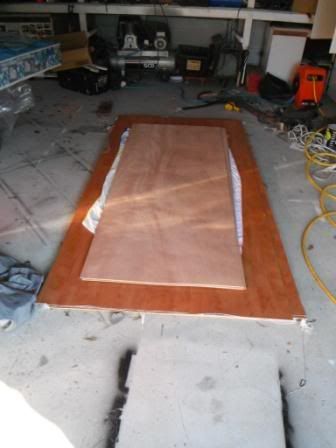 I’m so glad I kept the old original wall ply, absolutely invaluable as a template for the roof curve, windows and rear As I previously mentioned I used the 4inch grinder with a thin metal cutting blade to cut the ply – No splintering at all, just need a steady hand and you get perfect straight cuts. I seriously dont know how you cut full length sheets using a Stanley knife when you need to do several passes of the blade, just would take forever. Screwed and glued the sheets to the frame It looks nice and neat, The walls will be painted and all the furniture made with the veneer Roof 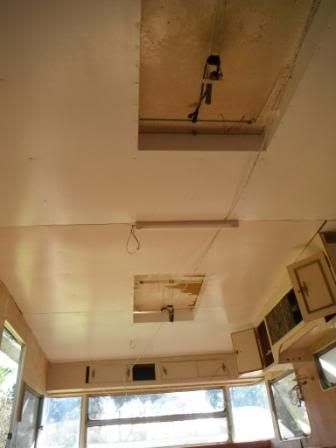  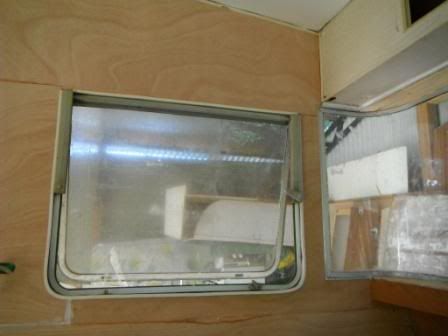  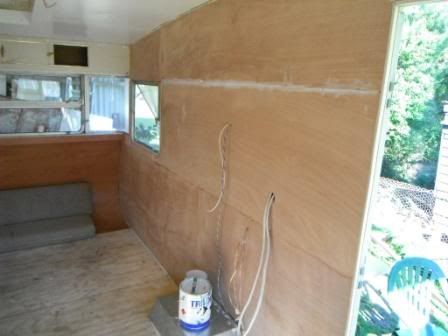 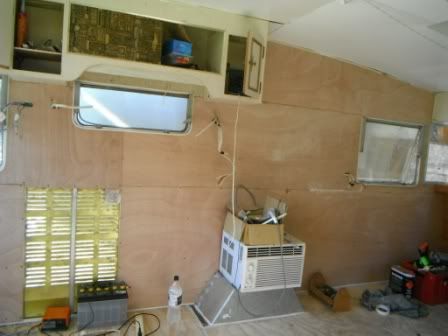 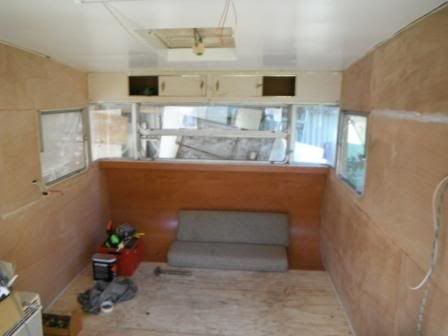  |
|
|
|
Post by millard1399 on Jun 24, 2012 22:09:47 GMT 10
Wow, that's one heck of a job!   Amazing what a difference it's made. And good on you for thinking how to reinforce framework, and for making sure the electrical side of things is top quality. Top stuff!! ;D ;D cheers, Al. |
|
|
|
Post by olfarts on Jun 25, 2012 1:45:37 GMT 10
Theres just nothing like the look or the smell of freshly used wood.
Fantastic job.
Dave
|
|
Deleted
Deleted Member
Posts: 0
|
Post by Deleted on Jun 26, 2012 22:16:09 GMT 10
have you got your outside lights fitted yet? Would love to see a photo of them. Was it worth going on ebay and can you recommend the seller you used?
Interior looks great, must be giving you a great sense of achievement.
Jean
|
|
Deleted
Deleted Member
Posts: 0
|
Post by Deleted on Jun 27, 2012 20:32:54 GMT 10
Hi Jean, Yes all the exterior lights are wired and working, Taillights and Amber / Red clearance lights were from stores.ebay.com.au/BRIGHT-LIGHT-AUTO-PARTSNumber plate light myworld.ebay.com.au/trailertruckpartsvictoria/White and Red clearance Lights from stores.ebay.com.au/XXL-TechnologyPlenty on ebay to choose from, but you can pay too much if you're not careful ! , gotta be carefiul with the added postage too I bought the clearance lights in a pack of 10, as I had to fix up my box trailer also I bidded on all of these items to get the cheapest value I will put some pics up for these on the weekend Interior is coming along, made the bed, kitchen and side cupboard Regards Cameron |
|
|
|
Post by millard1399 on Jun 27, 2012 23:44:47 GMT 10
Hi Jean, A couple of years ago I bought a couple of brand new standard "retro" clearance lights that are used on these vans. A leading brand (starts with 'N' - five letters   ). Cost per light was $12.95 Chucked 'em in the shed for use as spares on the Millard. Then with the recent non-Classic purchase, I hauled them out of the shed to replace a couple of rusty ones. Well, they are the most flimsy of light fittings I've come across. Really thin copper tabs for the festoon globe terminals. The terminals twist too easily and the globe falls out. All in all, not a very robust light fitting at all. Not being happy with the retro quality, I searched around ebay, and came across these LED clearance lights that have a white base (also can choose a chrome base)... 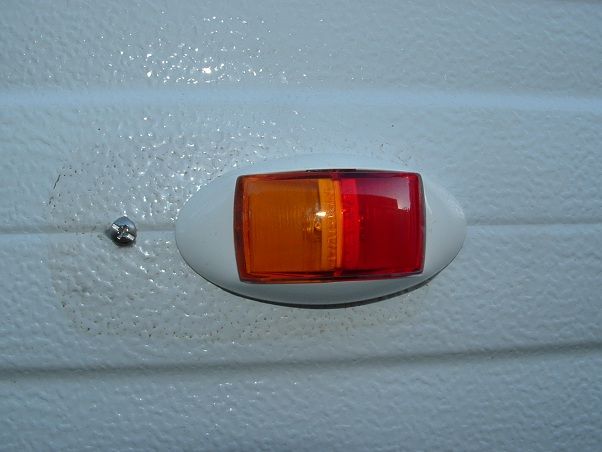 Same brand as the retro ones. Cost per light is $13.20 (about 25c more than retro) plus $9 postage. Four of them cost $62 all up posted, versus $52 that four retro ones would cost in the shop. The white base looks good on the white cladding. I got mine from this guy on ebay. cheers, Al. |
|
Deleted
Deleted Member
Posts: 0
|
Post by Deleted on Jul 1, 2012 18:05:11 GMT 10
All the lights and indicators fitted to VicRoads standards As mentioned I used LEDs, Front Clearance Lights  Rear Clearance Lights 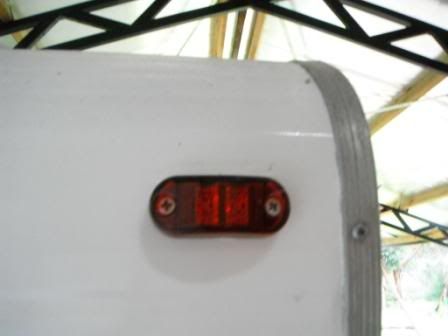 TailLights – These have reflectors buit in also 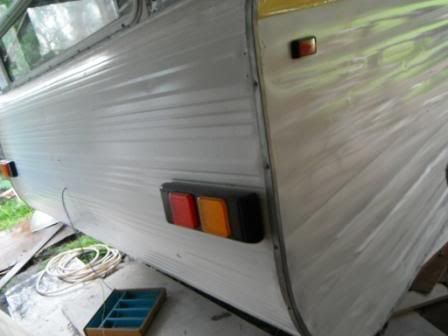 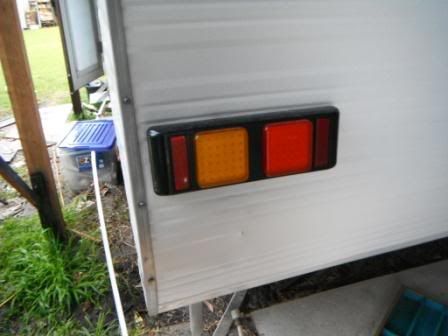 I put three side clearance Lights, 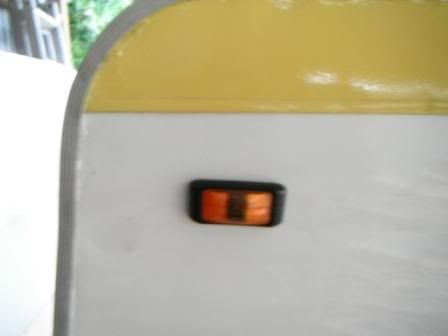 The van looks great when they are all on. Just need to put reflectors on now, White front and Yellow Side, and a couple more Red at the rear |
|
Deleted
Deleted Member
Posts: 0
|
Post by Deleted on Jul 1, 2012 18:06:32 GMT 10
Been busy, Started on the furniture. I never really gave it much thought before I started the van some months ago, but the built in furniture really is intergral to the overall strength of the van. This became even more apparent when I started the fit out and realized that the Right hand wall had bowed out a bit. I pulled this back nice and straight with the tall cupboard and kitchen, tech screwed through the timber to the aluminium wall frame in as many places as possible. Idealy you would scew (or staple) from the outside in as well but this requires the cladding off so not an option, anyway the result is a nice strong side wall So structurally its nice and strong, I painted all the walls and roof first, sealed the ply twice, then some good undercoat and a couple of coats of High Gloss off white. I sanded between every coat so the end result is a super smooth high gloss finish. We worked out a basic layout which is • bed at the rear which lifts up with under bed storage • Kitchen on the Right Hand side • A tall cubboard on the Right hand side whith some hanging space in the top section and sliding draws on the bottom half • TV Cabinet on the LHS with some overhead cupboards, again full height to support the wall • Front U shape lounge and a table So out with Triton workbench. - Biscuit joints and screws Kitchen area first.  Caravans gotta have a bed, so this one got a queen size which lifts up with underbed storage.Again bought the mattress of ebay ($70) which is basically brand new from a nice elderly couple who were upgrading theirs. Bed end, with storage underneath for dirty washing or whatever 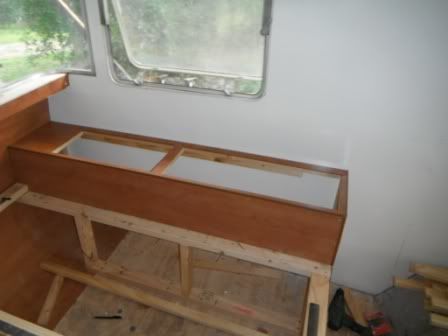   Underbead storage, with front access door also for the toilet  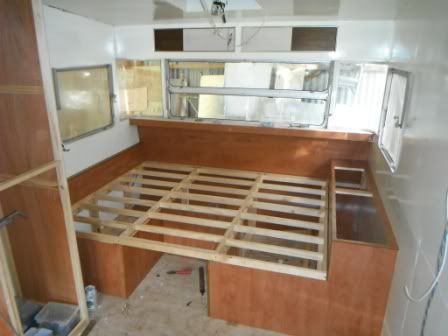 Finished bed  |
|
Deleted
Deleted Member
Posts: 0
|
Post by Deleted on Jul 1, 2012 19:23:25 GMT 10
Nice. That's (marine)ply used in the furniture construction? It's a great colour, did you stain it?
|
|
Deleted
Deleted Member
Posts: 0
|
Post by Deleted on Jul 1, 2012 19:30:18 GMT 10
No not marine ply, 4mm ply colour is "Cherry" High Gloss veneer
|
|
Deleted
Deleted Member
Posts: 0
|
Post by Deleted on Jul 1, 2012 19:54:54 GMT 10
Nice.
|
|
|
|
Post by millard1399 on Jul 1, 2012 20:27:27 GMT 10
G'day camich, Now that DOES look nice!   Can you tell me what type of white paint you used on the walls? Enamel? Water based? Whatever it was, you've sure got a nice glossy surface from it! I think it was a smart move to anchor the fixtures and fittings from the inside. I had the same issue with the Millard, even though I had the cladding off the van. Figured if I ever wanted to take any of the furniture pieces back out of the van, I certainly didn't want to be in a position where I had to take the cladding back off to get to the anchor screws. That cherry colour sure has a classy look about it. ;D ;D cheers, Al. |
|
Deleted
Deleted Member
Posts: 0
|
Post by Deleted on Jul 2, 2012 18:40:55 GMT 10
Camich, it looks fantastic, what a great job you've done.
You have made us think twice about putting the bed across the van too, we did think about it but weren't sure about access for making it etc., but it does make a huge difference space wise. Will have to have another look at it I think, especially after seeing how good it looks in yours.
Looking forward to the next instalment.
Jean
|
|
Deleted
Deleted Member
Posts: 0
|
Post by Deleted on Jul 2, 2012 20:09:50 GMT 10
Thanks Jean
I think access to the bed would be better length ways but it really eats into the floor space way too much for us and leaves aisle either side that we considered not very usefull.
The down side is that someone sleeps up against the wall,
Cam
|
|
Deleted
Deleted Member
Posts: 0
|
Post by Deleted on Jul 10, 2012 20:49:40 GMT 10
I Filled in the gap between the bed and the tall cupboard with some small draws, basically as some bed side tables Gotta be able to watch the cricket and footy when we go away so need space for a TV Got a 32inch flat-screen going in on the LHS so time to make the cabinet. Overhead cupboards with some storage on the bottom. The TV will bolt off some 12mm Ply which is tech screwed to the wall, the TV will mount on a swivel arm so we can view from either the lounge or tucked up in bed The cables hanging out are (LHS) 240v , and centre is 12v power and speaker wires for sound surround – two speakers in the front over head cupboards and also subwoofer for under the front lounge. 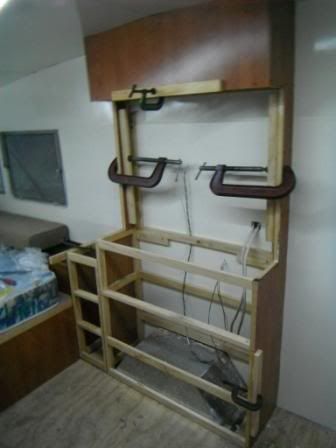 Next front lounge The front of the van overhangs the chassis so for about 400mm there is no base support – right where everyone sits. and being 2.2m wide you could easily have 4 adults sitting across the front. I used 12mm ply which anchors back to a frame to carry the weight The added bonus of the ply is that it will actually brace the front van overhang too I tech screwed into the aluminium frame   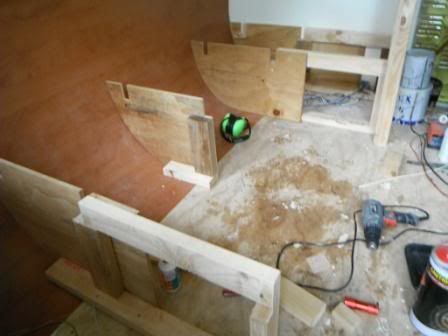 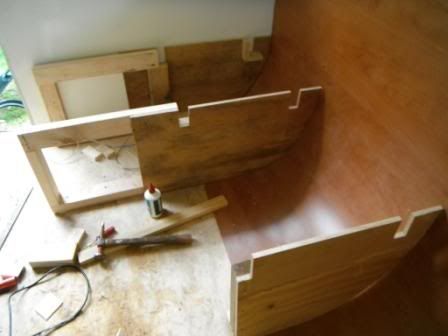 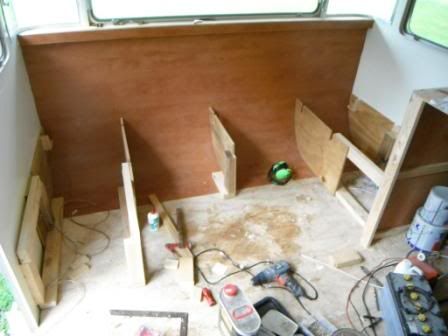 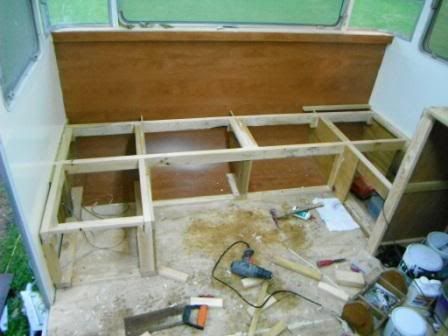 Needs trimming now |
|
|
|
Post by millard1399 on Jul 11, 2012 9:53:24 GMT 10
G'day camich, I reckon you'd get a whole footy team in there, and it would STILL take the weight!    Ain't no way the front of your van is ever gonna collapse!   cheers, Al. |
|
Deleted
Deleted Member
Posts: 0
|
Post by Deleted on Jul 11, 2012 18:15:28 GMT 10
Cam, I may have missed it but what did you use to seal the underside of your floor.
|
|
Deleted
Deleted Member
Posts: 0
|
Post by Deleted on Jul 11, 2012 20:13:28 GMT 10
mm ha ha, maybe a tad over engineered Al
|
|
Deleted
Deleted Member
Posts: 0
|
Post by Deleted on Jul 11, 2012 20:18:49 GMT 10
Bricktop, I just used grey fencing stain / paint I had in the shed
Considering the original had nothing on it, I figured if its good enough to protect a fence that is totally exposed to the elements, it would be fine for the underside of the floor that's really only going to get wet when actually travelling in the wet. I painted each sheet before I layed it to get all the edges
Regards Cameron
|
|
Deleted
Deleted Member
Posts: 0
|
Post by Deleted on Aug 5, 2012 17:02:18 GMT 10
I can see the light now, nearly there The interior furniture is now just about finished. Plenty of storage, but spacious as well. Probably just use a fold up table as its not always needed. Doors are double skinned, I routed a 6mm groove in the pine and the mitre cut the corners, glued and biscuit jointed together Front lounge 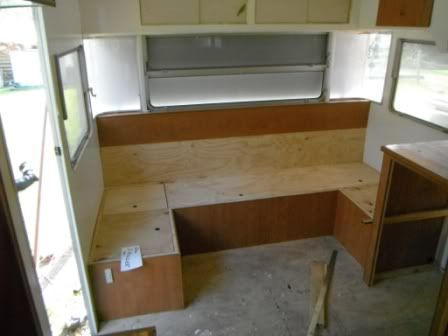 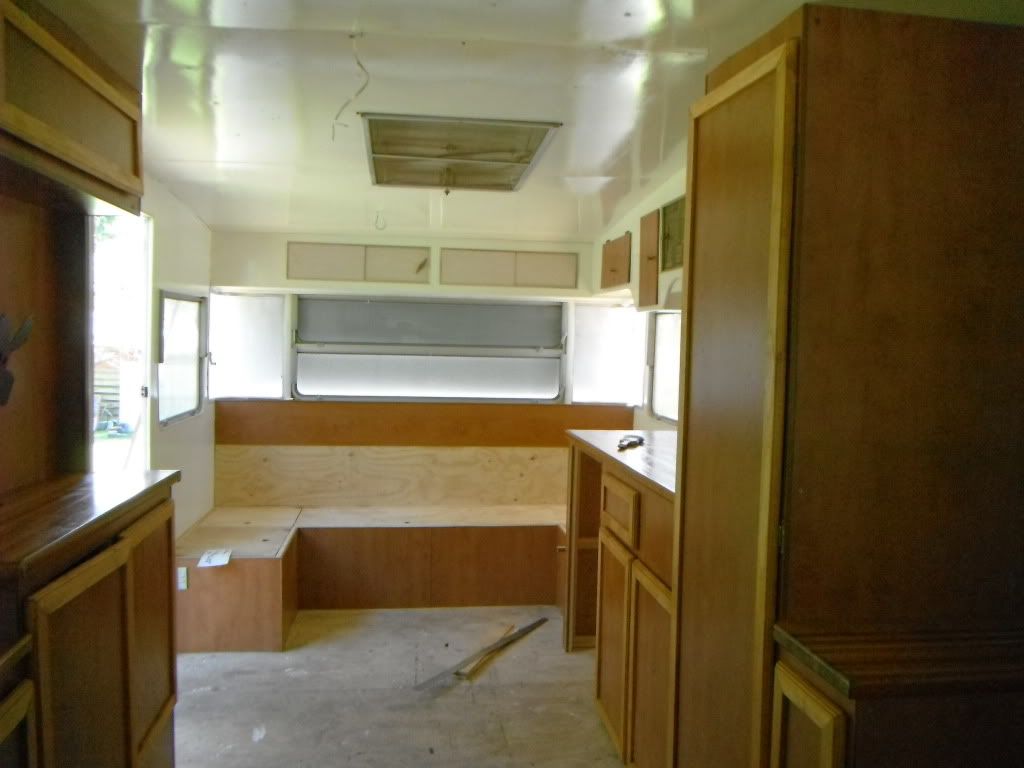 Looking towards the rear  Lift up bed with understorage, lots of room, I just need to put some struts on   TV cabinet, with swivel bracket so we can watch from the lounge or bed 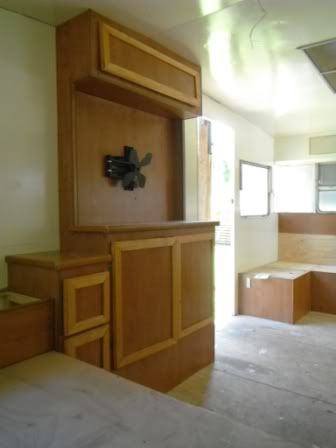 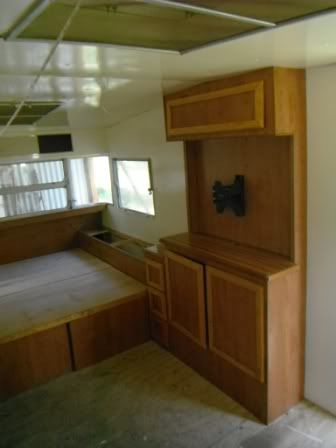 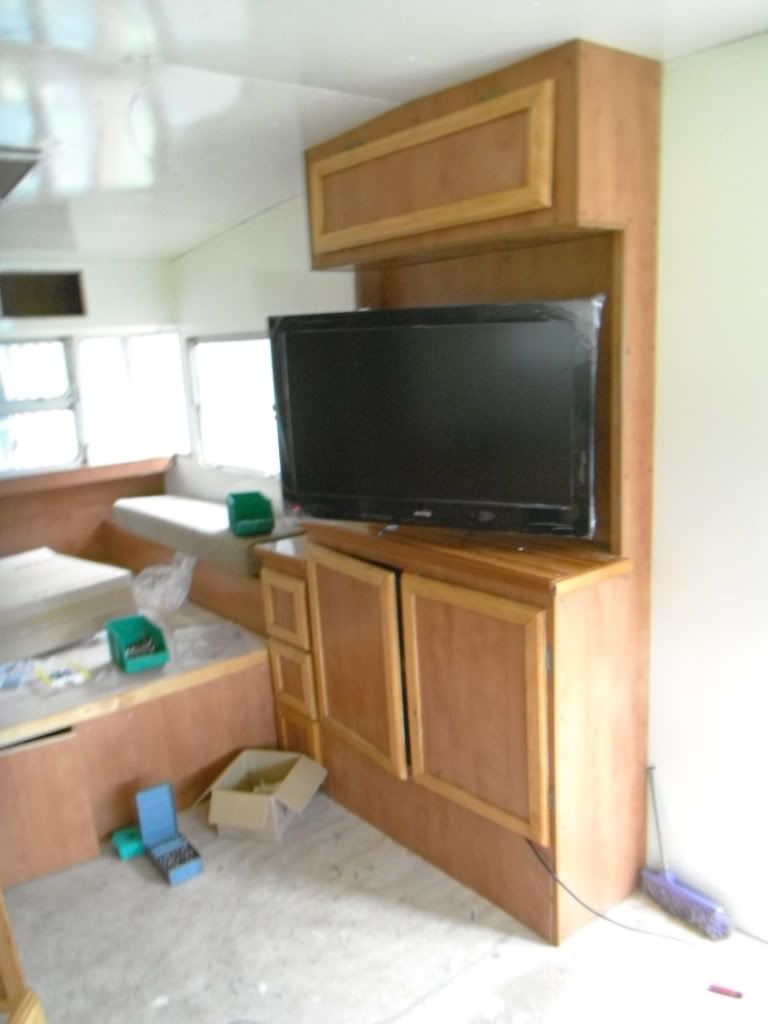 Kitchen, Sink and plumbing yet to be done 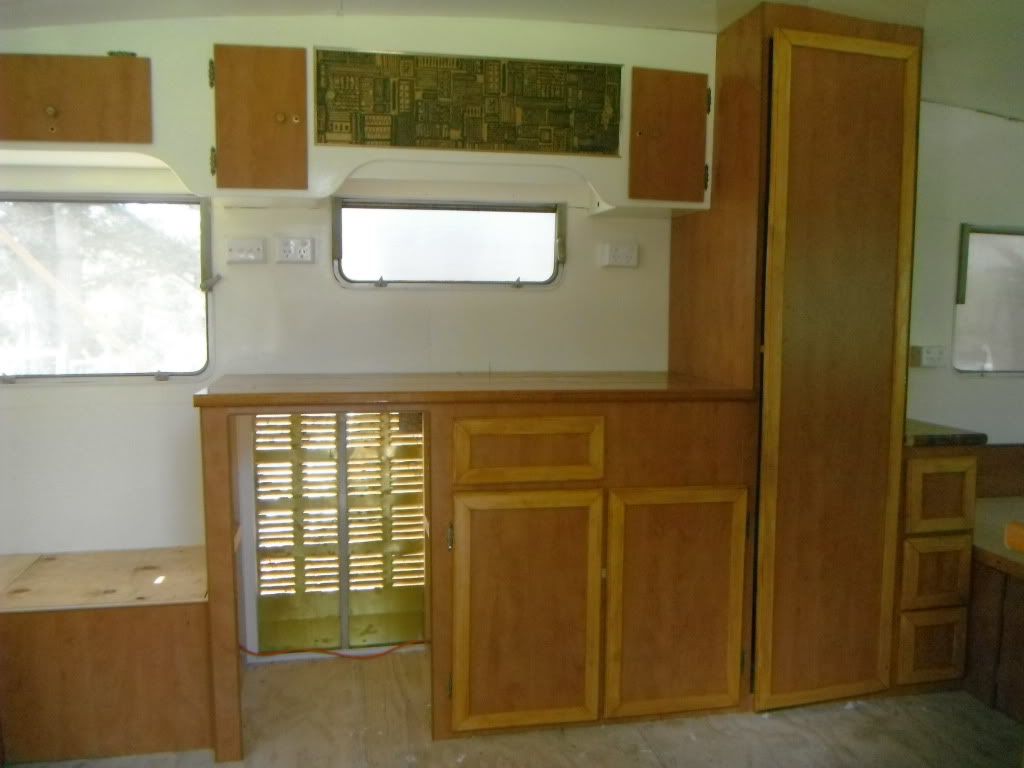   I made my own draw runners, I thought it way to expensive to buy 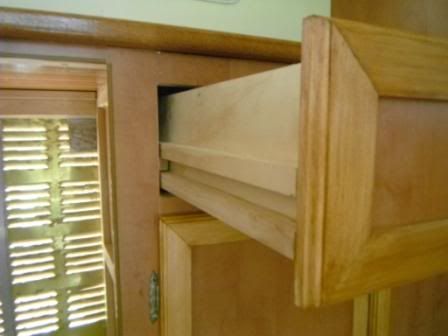 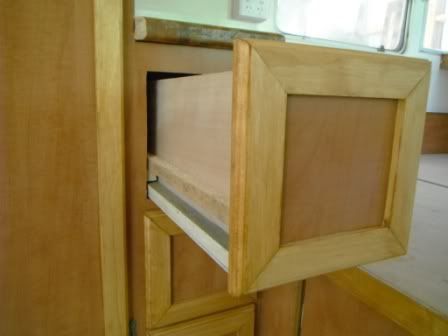 Door knobs and catches still needed to be fitted, I will recycle the originals Better get cracking on the rest, its booked in for rego in 3 weeks Cameron |
|
|
|
Post by millard1399 on Aug 6, 2012 20:54:00 GMT 10
G'day Cameron, Well, what can I say?! Just beautiful!! ;D ;D   This resto is well and truly up there with the best we've seen on the forum. In fact, there are quite a few restos currently on the forum that are simply magnificent. I take my hat off to those of you who are doing some really fine work.   Just one small criticism, Cameron...maybe the TV could be a bit bigger? Heh heh.   (...Asks he who has got a piddly little 15.5" TV in his van     ) cheers, Al. |
|
Deleted
Deleted Member
Posts: 0
|
Post by Deleted on Aug 7, 2012 20:04:27 GMT 10
Hello Cameron, Excellent workmanship on your van    Looking at the structure in the front of your van - I believe you have the engineering absolutely perfect - for the penalty of a couple of extra kilos, there is nothing like the peace of mind gained from your current design. Well Done, Chris |
|