Decided to spend some time on a little deconstruction to see what we are in for, see if previous owners left us any treasure, and importantly seek the holy-grail confirmation of the birth date.
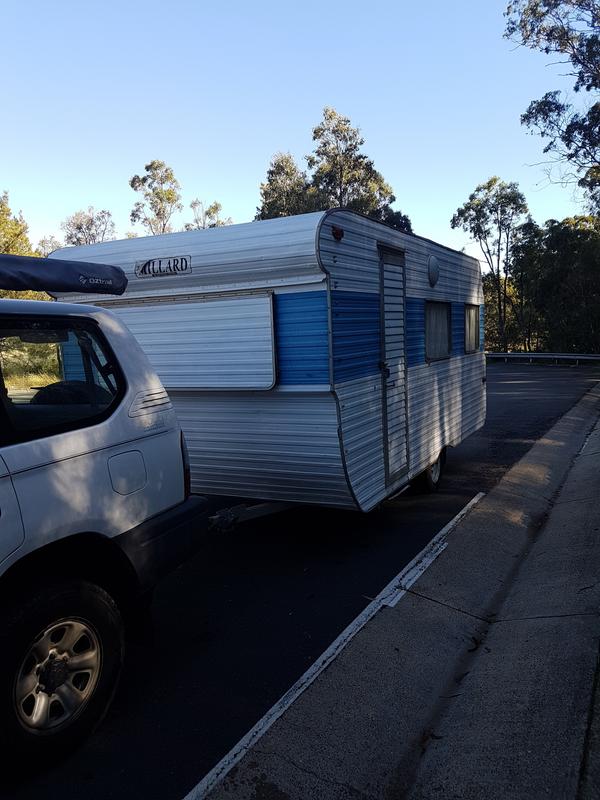
First job was to work out if it would fit in the limited parking spot envisaged. Some string lines, hand waving and reverse maneuvering in low-range achieved the result, although some excavation and landscaping will probably be required at some stage to make it a little easier.

Birth date confirmed, 2/12/1970 (@twocutekelpies please feel free to add this to your register - I've joined your FB group and loved looking at the so many pictures of other's vans).

This was behind the driver-side front panel between the lower and upper bunks. Unfortunately this was one of the worst water impacted areas so I was not able to rescue it all, noticeably the builders name or initials are missing (there looks like a "C / D", but can't be sure. On the door side panel it had "COP DP" with a big "A" circled).
After a weekend of hacking we ended up with a good shell. There is lots of evidence of water ingress, predominately from windows and some holes in the upper right of the roof. The entire front ceiling had been patched over at some stage and the floor is rotten along the front and driver side edges, so the frame is going to have to come up and new floor put in. Also spent some time poking around underneath and it is very tidy. Will need to re-treat the chassis as there is evidence of rust bubbling under the black hardened covering. The water ingress front and driver-side is where the chassis outriggers are also corroded badly. These appear to have been rust treated and patched using gal angle at some point in the past and which looks to have done the job, but the front in particular no longer provides any real support to the floor so will cut these out and weld new sections in.
Front:

Back:

Waterfalls:

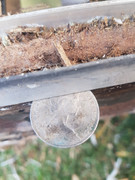
Treasure-wise the pickings were slim, finding only an old teabag, very brittle Bic plastic pen, a 5c piece from 1981, and a teapot doily with color scheme matching the van.
The Doily:

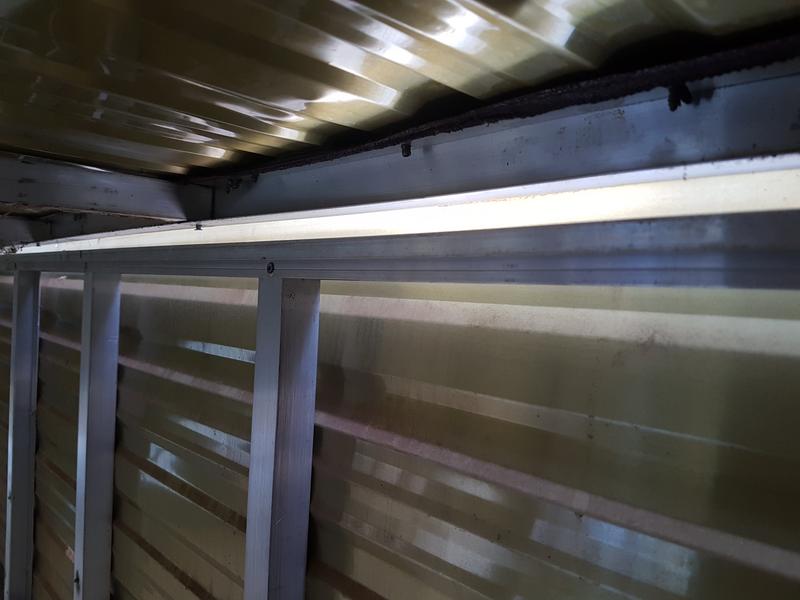
One thing I have noted on this van that I have not yet seen in the pics of other rebuilds of this era is the aluminium used in the roof structure to which the ceiling was glued and riveted, above which sit 3 curved timber spars running front-to-back on which the roof cladding sits freely.
The odd thing with this is the way in which the ceiling and roof structure have been tied to the walls, which poses an issue for deconstruction/reconstruction. On the driver-side the ceiling has been glued to the wall top-plate and the roof fixed to it with screws, presumably before the roof cladding went on. On the passenger-side the ceiling was only affixed using rivets from the underside to the roof structure (no glue) and NOTHING holding the roof to the wall top-plate - this seemed to be done by the middle ceiling cupboards (over the dinnette) and front robe, which were stitch-stapled/screwed to the walls and stapled/nailed from the ceiling. As soon as i removed these the passenger-side roof popped up slightly and the wall bulged out.
For those that may have come across this before, how did you remove the screws on the driver-side without lifting the cladding, and how did you retrofit the new ceiling and fix the roof to the walls?
Passenger-side flying free:
Drive-side still married:

Once the windows have been removed will the frame be light enough for a couple of people to man-handle on to some form of support whilst the chassis and floor is dealt with?
Finally, poking around the running gear I came across these pivoting arms attached to the chassis rails directly above the leaf springs. Yet to do some research but what I could make out on the mechanism was "Dunford? Solid State". Some form of 70's style shock system for the springs?
Thanks for reading.


 M15171 found 1/4/70 behind their panelling and M17399 found 20/1/71. The numbers ran consecutively from about 1962-1978.