|
|
Post by snoops on Jan 24, 2015 18:10:50 GMT 10
Finally some time to do something meaningful on the van. I've replaced the drop axle with a brand new straight version, replaced everything else on the braking system, and fitted some new tyres. It's picked it up about 110mm so it doesn't drag its bum on the ground now.  A few pics. Old and new 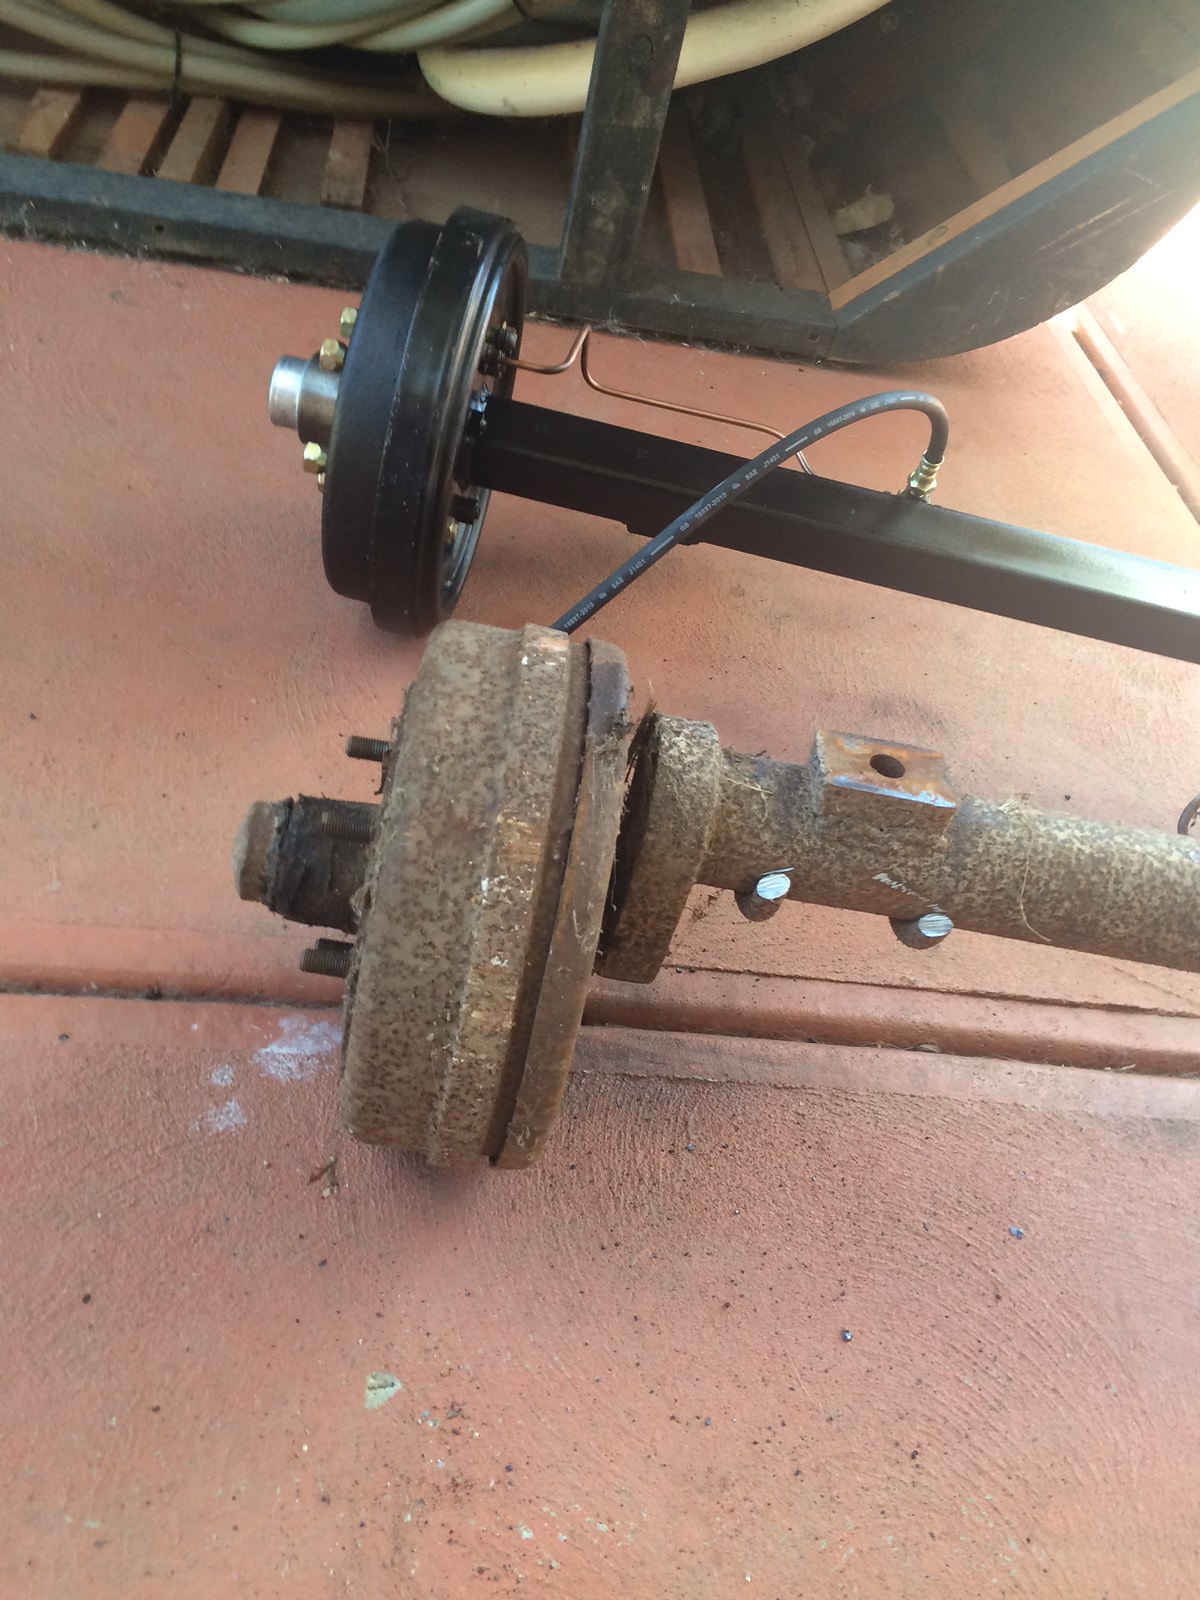 image image by Gavin Gregory, on Flickr New shiny bits fitted 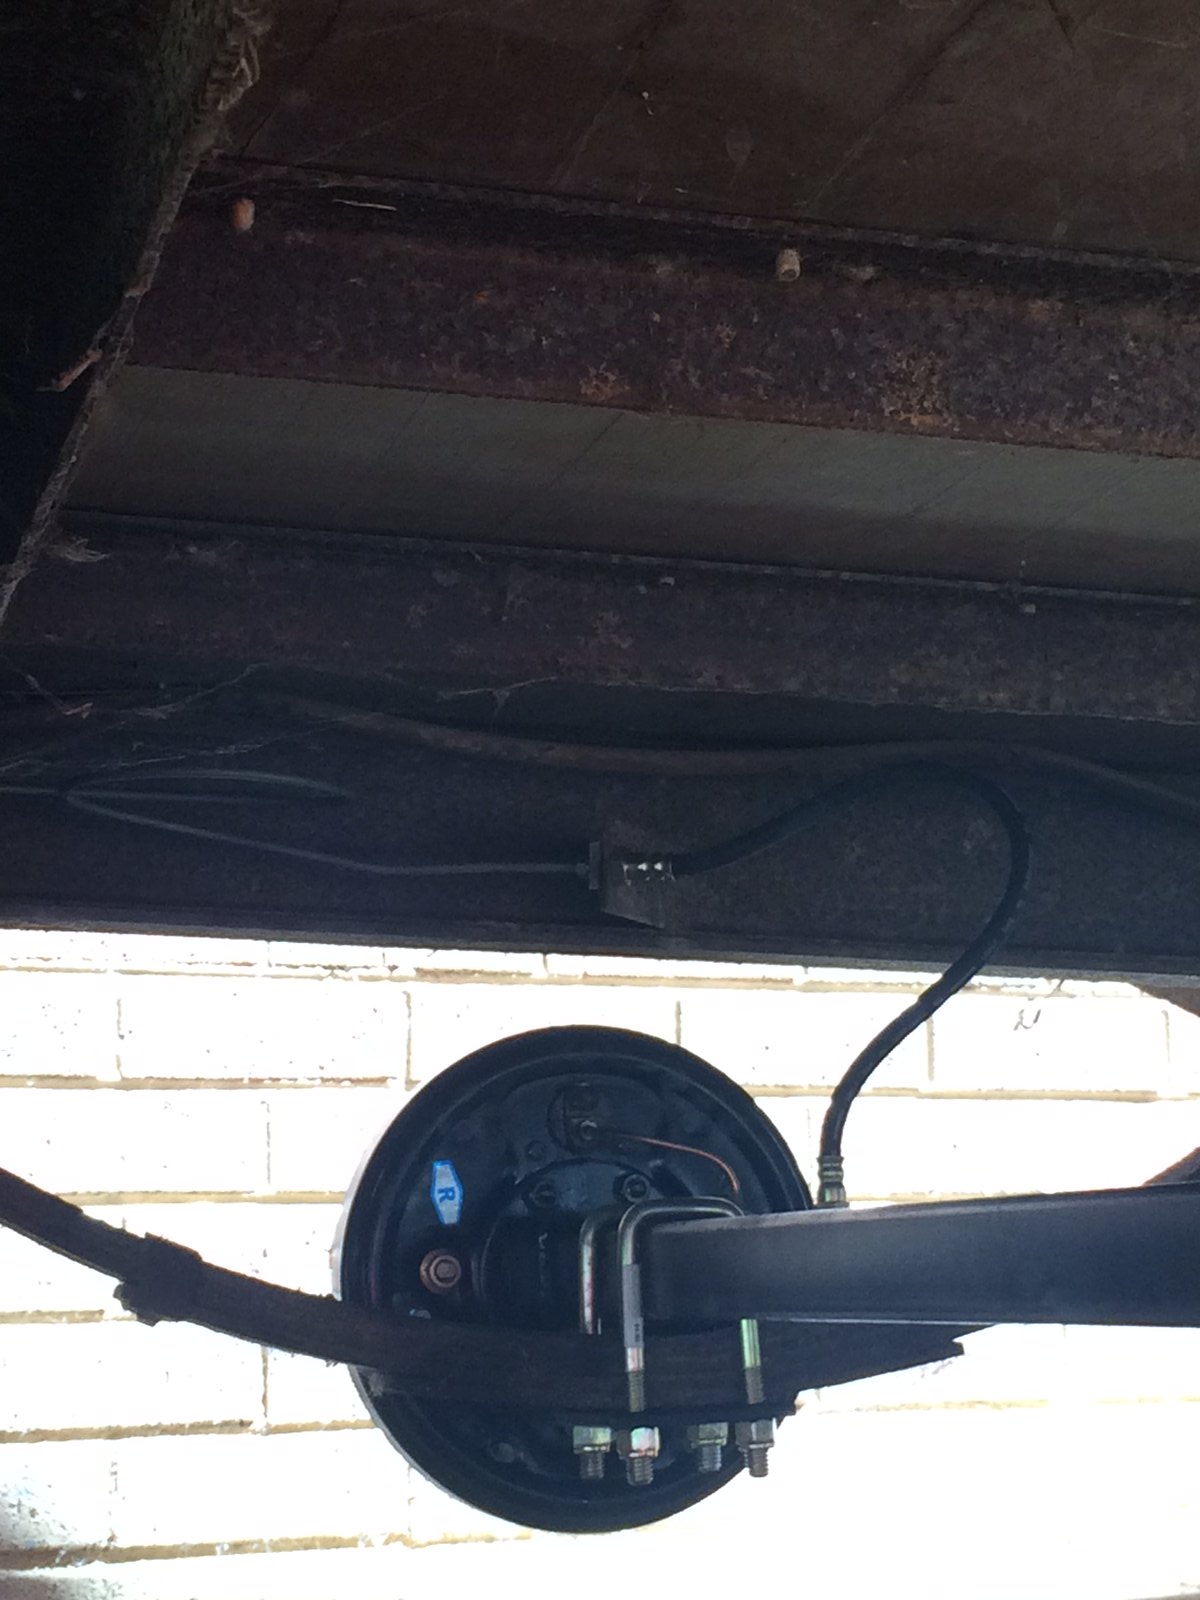 image image by Gavin Gregory, on Flickr It sits much higher now. 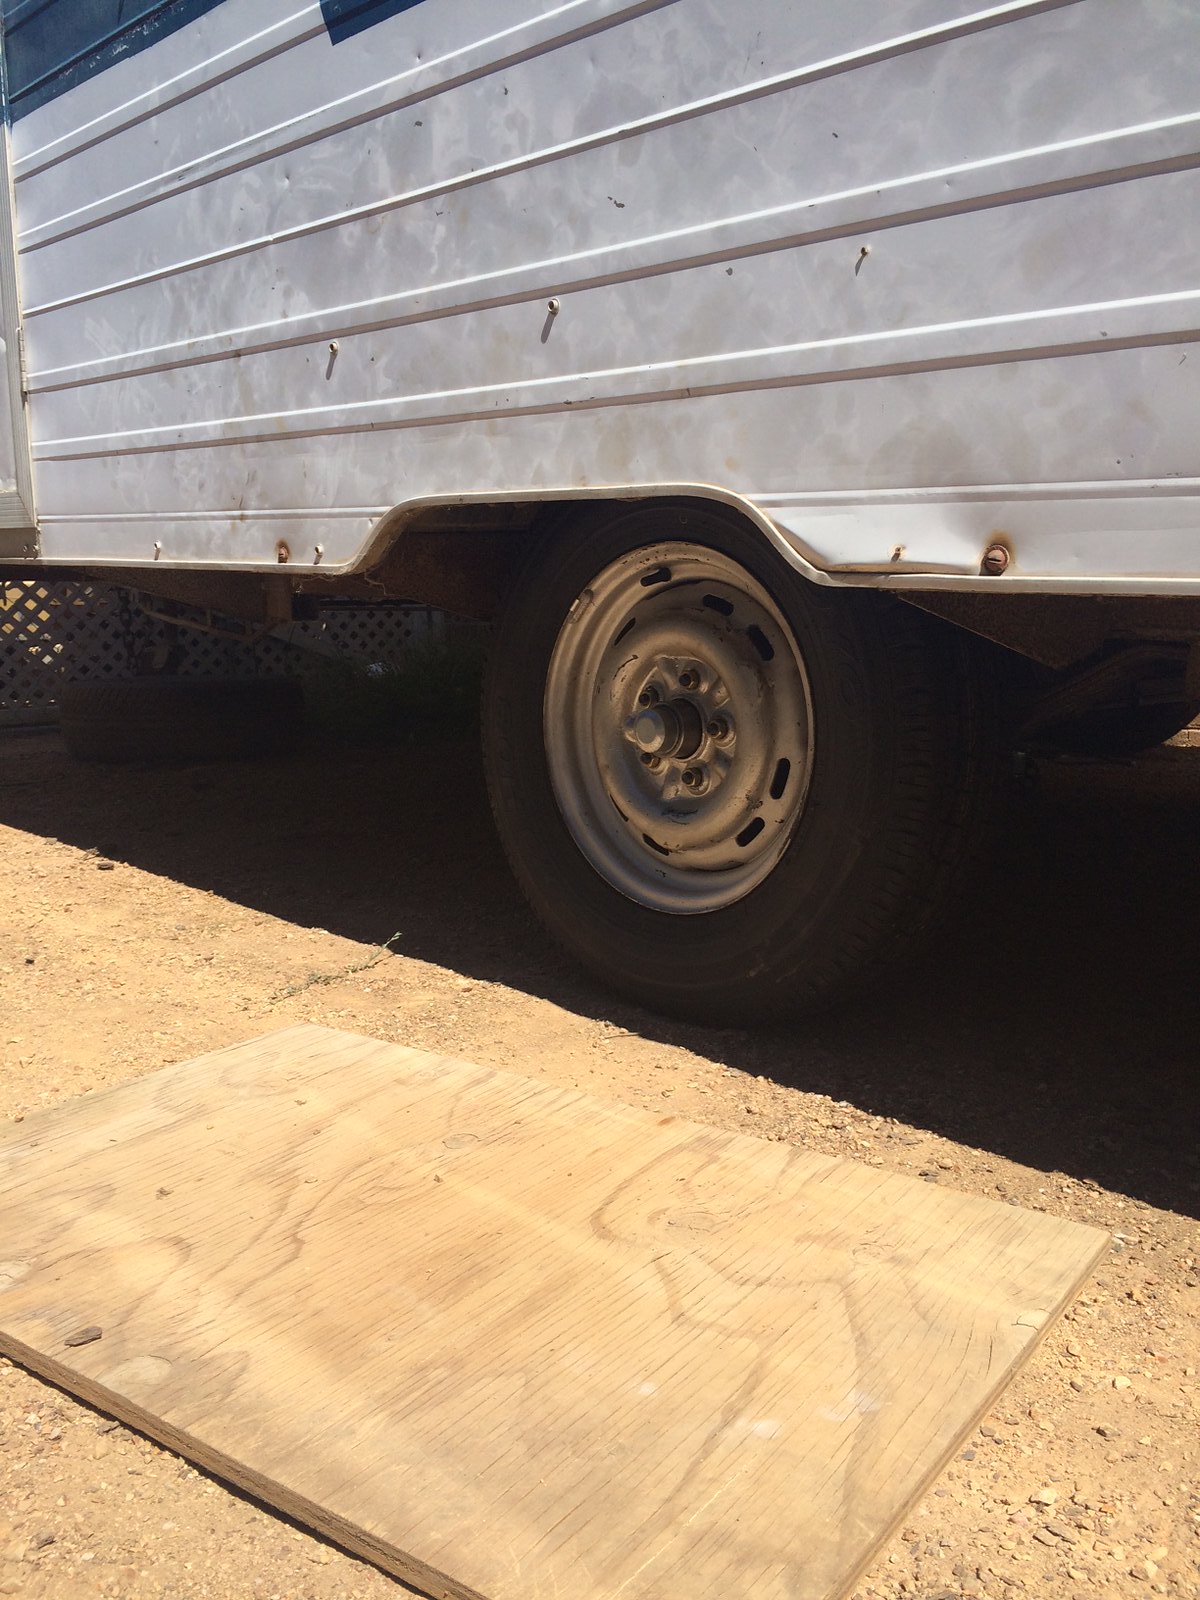 image image by Gavin Gregory, on Flickr Shackle bolts are like new, as are the bushes. I don't think it has done any hard work. 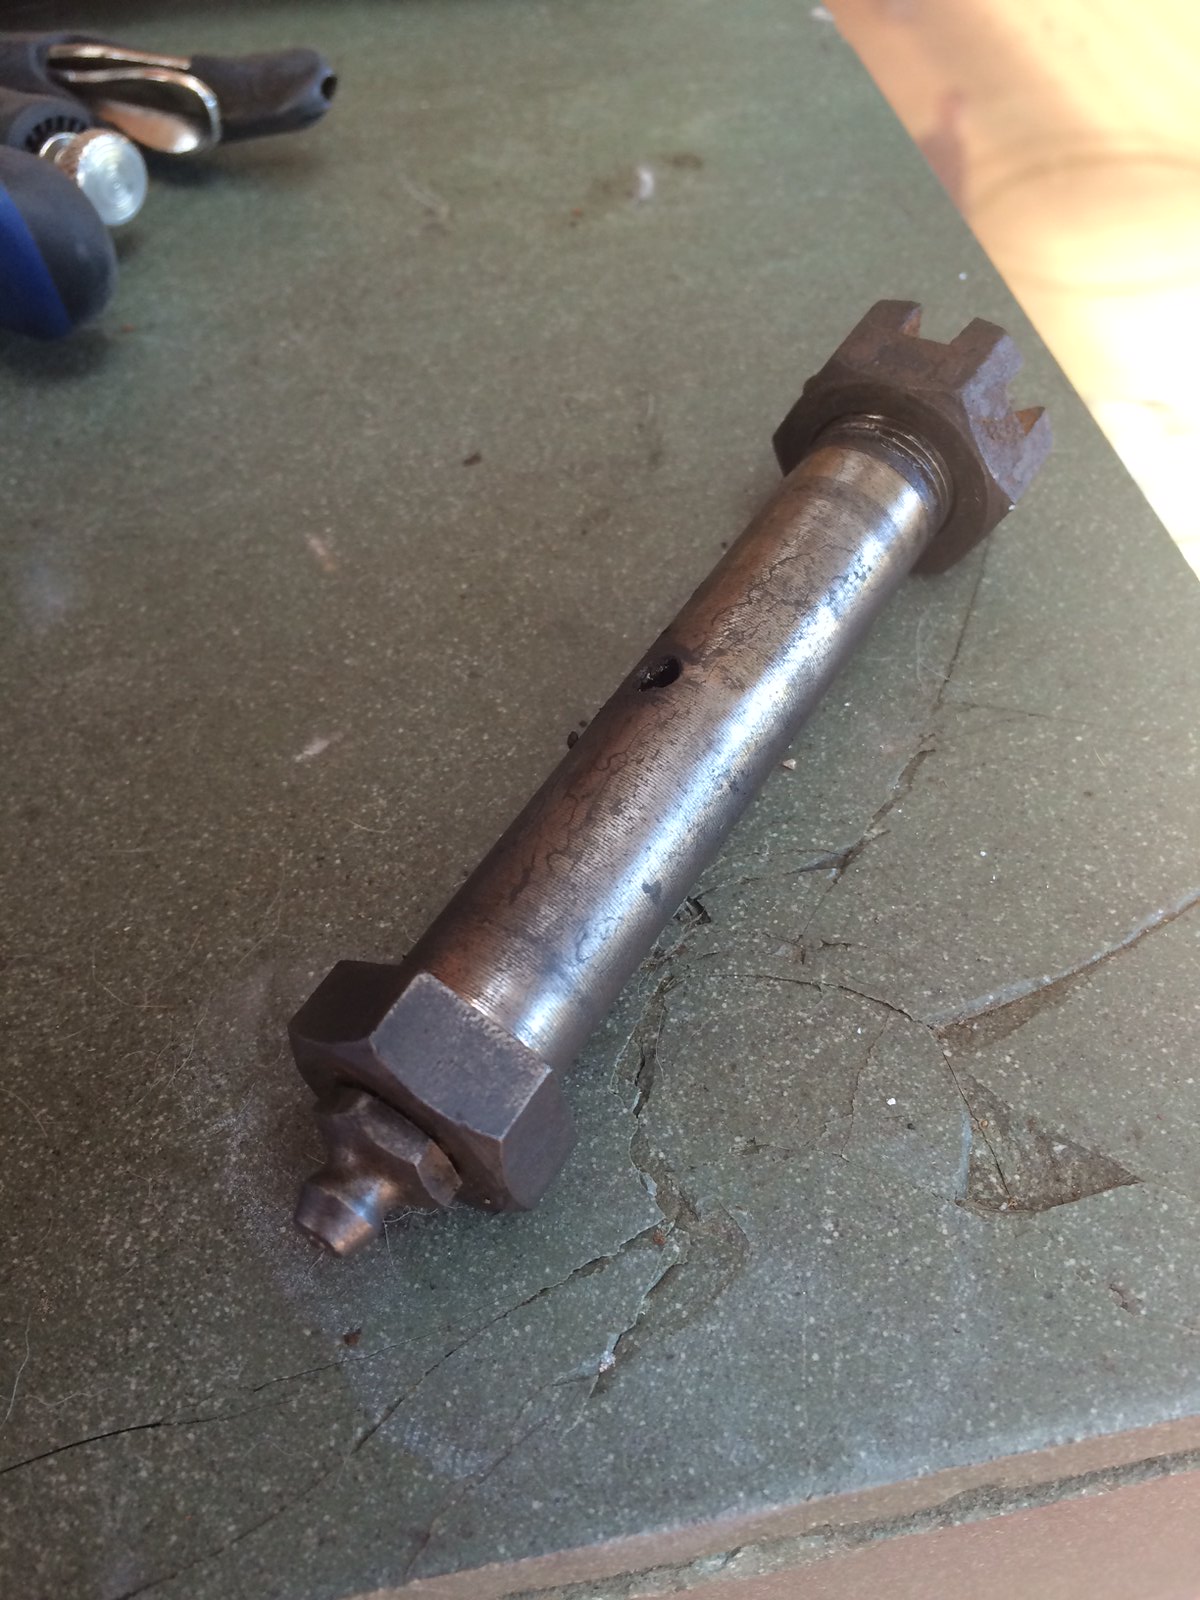 image image by Gavin Gregory, on Flickr |
|
|
|
Post by snoops on Jan 26, 2015 17:29:53 GMT 10
A bit more done today while listening to JJJ's Hottest 100. Finally wrangled the fridge out and cleaned up 40 years of crud from behind it - I'll feel a bit happier running it on LPG now - I think it was ready to go up in smoke. Found a couple of DVD's the PO had lost - both X rated....  Ran into a problem I didn't think was going to raise its head though - the draw bar will need replacing  . When I first went over everything, I thought it was all good, but I've found a spot on the RHS that has got quite a few small holes - they were hiding under very small paint bubbles, but when I found 1, I went looking - and found more. Went right over the whole chassis again. But it's just the draw bar on one side that stuffed. I'll take the opportunity to extend it a little bit. So, off to my mates workshop with it next week to glue another one in. He's a top welder, so I'd be stupid to do it in the dirt of my driveway. What sort of length do you all think I should make it? I'm only thinking of going a few hundred mm more than standard, and taking it right back to tie into the front of the spring hangers. Is that the way to go, or has anyone got any other ideas? Cheers - Snoops. |
|
|
|
Post by snoops on Jan 28, 2015 19:42:57 GMT 10
Pulled the fridge and stove to clean everything up. Pretty nasty under the stove - took the pic below after cleaning the sides, but not the bottom. It all sparkles now. The stove cleaned up like new. Also, found out why the van squeaks when walking around it. All the screws that hold the sink cabinets and the overhead cabinets were loose. Once tightened it's all quiet.  . Was thinking that a squirt of Sikaflex behind the timbers before tightening them might hold everything together for ever - anyone done this or got any thoughts on it? I'm cleaning the panelling up ready to paint. Although it looks good in the photos, the edges of the cupboards are all flaking and in need of attention. Thinking of painting the walls an off white, with coloured doors to brighten it up a bit. Not 100% sure yet, but there's plenty to do cleaning, sanding and priming all the timber. Cheers - Snoops. <<<PIC GONE FOREVER DUE TO PHOTOBUCKET'S GARBAGE POLICY CHANGES>>> |
|
|
|
Post by snoops on Jan 31, 2015 19:39:27 GMT 10
Ok, so the kitchen is back to looking like (almost) new.  I've painted the paneling 'Classic Ivory'. After cleaning it all down, degreasing it, a light sand, smooth surface primer, then 3 top coats - it was quite an effort - and I've only done the kitchen area and one other wall... I also cleaned everything in the kitchen to within an inch of its life, reinstalled the fridge and stove. Made up a new bench top, as the old one was buggered. Just did this with white melamine but it looks fine. Clean and functional is what I'm going for, and if think I have achieved that. Found that the light fitting (a 16 watt Fluro) was badly installed. No earth running to it at all. That was ditched in favour of a new double insulated unit as the cable running to it has no earth wire at all. Will post more on the electrics later when I do some upgrades. Cupboard doors still need to be painted and refitted, but I'm yet to choose a colour for them - I'm thinking a dark chocolate brown - very 70's and will give a nice contrast to the ivory and the orange of the stove, fridge and seat cushions. I'm also on the lookout for some 70's looking curtain material. Preferably with some orange and brown in them. No pics tonight - too dark for my ratty IPhone camera to take a decent pic. I'll get some tomorrow - hopefully with the cupboard doors painted and back on.  Cheers - Snoops. |
|
|
|
Post by snoops on Feb 1, 2015 16:30:02 GMT 10
Well, despite my best efforts, I didn't get as far as I hoped today. The plan was to sand and paint the cupboard doors in the kitchen, and fit off a few things - new towel rail, glue down the new bit of bench top, etc. before starting on that, I thought I'd give the appliances their first run on gas. I had previously checked for leaks in the fittings, and found none, so hooked up a new reg as the old one was stuffed, new bottle of gas and.... Nothing.... WTF??? So, undo the line on the back of the stove - nothing. Undid the line to the fridge - nothing. Checked back at the reg - plenty. Undid the tee underneath the van and discovered the problem - line was full of water! Not just a bit from condensation, but like draining a hose pipe. The old reg was still connected to an old cylinder when I got it, so no idea how that much water got into it. Anyway, drained all that, blew all the lines out with compressed air and tried again. Stove works like new, including the grill and stove. Tried the fridge - nothing. Operated the gas valve manually at the back - nothing. Pulled the fridge out AGAIN, and pulled the gas train apart - you guessed it, full of water. No corrosion or damage though. Once all cleaned up and back together, it lit - first click of the igniter - got to be happy with that.  So, I had a win in the end, but it chewed up a solid 6 hours of the day. Question - how much gas does one of these fridges use anyway? I'm used to my engel, and never had a gas fridge before. We only do off the grid camping, so the fridge will be used on gas quite a bit. Just wondering if I should carry 2 bottles? I go for up to 10 days at a time, and stay in one spot up to 4 days straight. When driving I'll be running it from 12 volts through an inverter - it's only a 2 way fridge, but that's no issue for me. Also, how much gas does the stove use? Again, no experience with them - I run a shellite stove normally when camping. So, any info and knowledge from the brains trust would be greatly appreciated.  Anyway, below is a pic of the kitchen area all painted up. Much lighter and brighter. 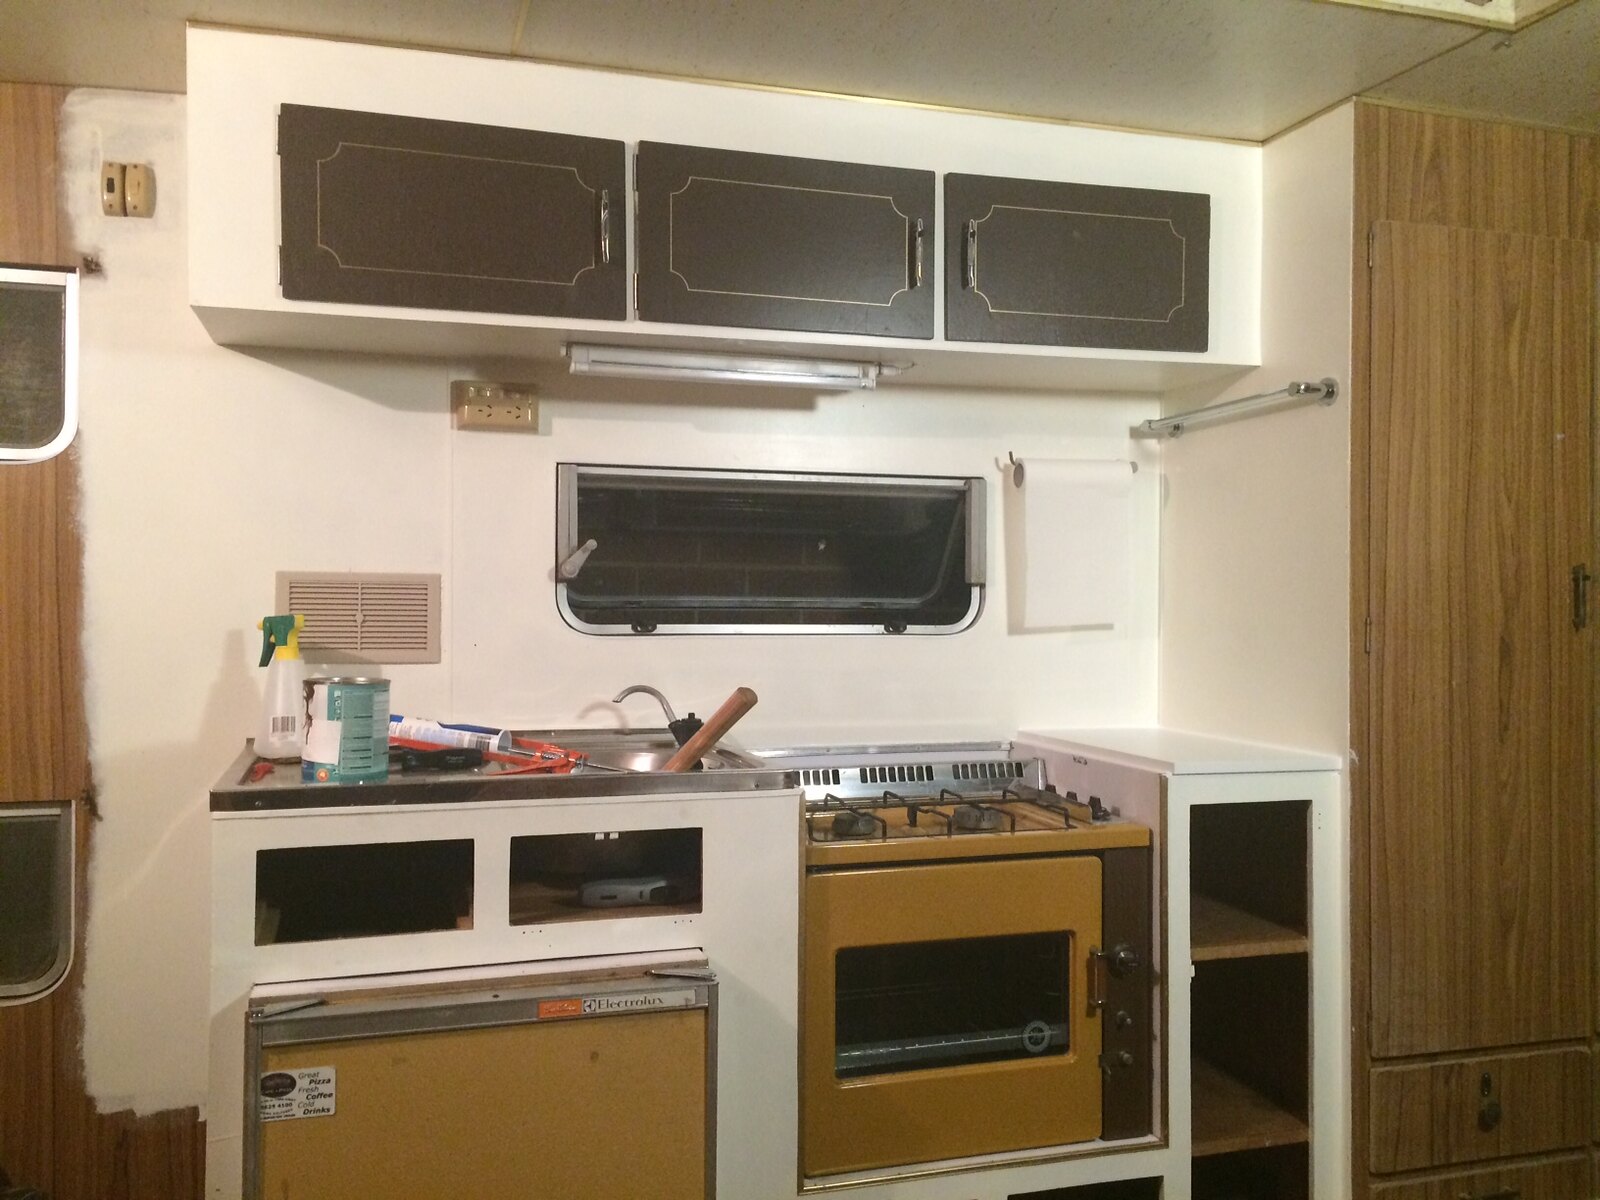 image image by Gavin Gregory, on Flickr |
|
|
|
Post by pisces51 on Feb 1, 2015 20:56:57 GMT 10
G'day snoops, Some very good progress being made on your van! The new axle and hubs look the goods - should make for smooth travelling whenever you venture out.  Going back to try and answer some of your recent questions: 1. New drawbar - Good idea! And so is extending it back to the spring shackles. As far as extending it forwards goes, it depends on the size of the channel you use for the drawbar. Usually you can get away with up to an extra foot, but you just have to be confident of the bending strain of the channel that's used. Your welder mate might decide that some reinforcing gussets are required where the drawbar sits immediately under the front of the van, if C-channel is used for the drawbar. If rectangular tubing is used, you don't need the gussets. 2. Loose screws holding the cupboards - obviously a bit of rocking and rolling over the years has loosened them up a bit. You might end up with a similar situation if you go travelling heaps of kms, especially over bumpy roads. Dollops of sikaflex could help the problem; so could squirting polyurethane adhesive into the screw holes before inserting and tightening the existing screws up (but you'll never be able to undo the screws again); so could using larger diameter screws in the existing holes (but don't use adhesive, and you'll be able to undo them again in the future). 3. Water in the gas lines - Had that very same problem with my 1992 Windsor van. Ended up doing pretty much the same sort of fault-finding that you did, and found the same problems you've found. Frustrating hey??!! Nice job on the paintwork so far. That dreaded chipboard stuff they used for the cupboards is pretty horrible after 40 years. Seems to crumble just walking past it, let alone touching it. Keep plugging away.  Every day you make progress is a day closer to the end of it all.  cheers, Al. |
|
|
|
Post by snoops on Feb 2, 2015 19:50:26 GMT 10
Thanks Al.  . Well, more done tonight. Looked at the old doors and knew in my heart they were past it. A bit of a pity as they had a nice detail routed into them. Off to Masters for some 9mm ply. Cut sanded and sealed the 8 pieces that make up the kitchen section. Cheap and easy, but yet more time I don't really have at the moment. I'll put the first top coat on in the morning before heading to work. Once the Kitchen area is done, I think I'll just have to make good the floor where the front bunks were and build a table and the interior will be usable for its first trip - which is in mid March. I need to get it to my mates workshop by Thursday arvo so I can do the draw bar. Then all I have to do is replace the brakes on the tow vehicle, make a tow bar up, and I'll be ready for its first outing. I think I'll really need a break by then....  |
|
|
|
Post by tedalley on Feb 3, 2015 8:16:53 GMT 10
Snoops Hi.
Where did you get your axle from & how much.
Ted
|
|
|
|
Post by snoops on Feb 3, 2015 18:36:20 GMT 10
Hi Ted, I got the axle from my local engineering place. Hi Tensile Engineering in Sunbury. They build and modify trailers as a specialty and their service was first rate. I can highly recommend them. Price wise was around $600 including everything else I needed like new brake lines and master cylinder. I did some research on line and could probably have saved about $50 by shopping around, but they are a local supplier who offer great service, so I'd be dumb to go elsewhere.  |
|
|
|
Post by snoops on Feb 4, 2015 20:30:55 GMT 10
Well, got the first of the cupboard doors finished and reinstalled tonight. Painted them a nice 70's colour - mission brown...  . The guy at Masters thought I was mad. Anyway, after a couple of coats, I decided to add some detail to them as the originals had a routed line painted red on the doors. I've copied the detail, but drawn it on using a gold marker - came out better than I thought. Polished the handles and reinstalled. Pictures below. Before and after - it's hard to see the original detail, but not on the new ones.  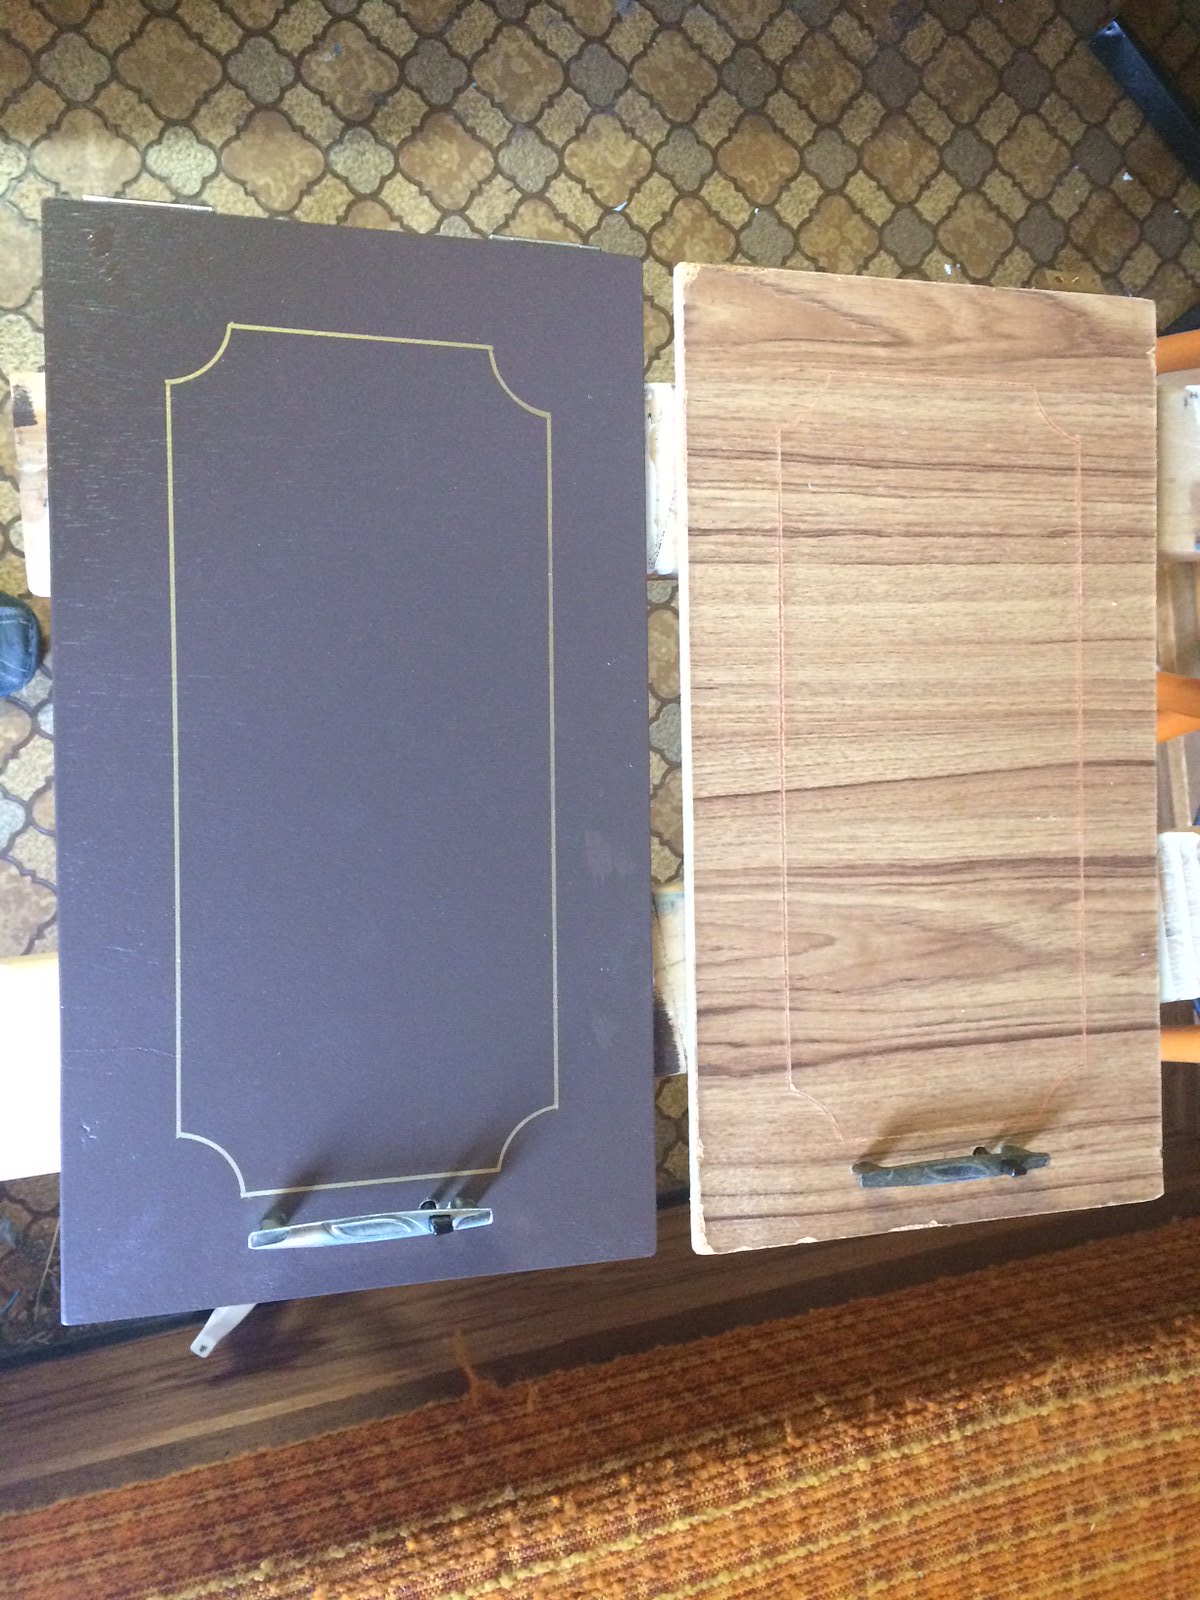 image image by Gavin Gregory, on Flickr |
|
|
|
Post by atefooterz on Feb 5, 2015 8:49:30 GMT 10
Top marks for the mission brown & white trim!  #solidman (groovy) |
|
|
|
Post by snoops on Feb 5, 2015 12:28:27 GMT 10
Thanks. The white is an ivory colour, but the iPhone doesn't do colours so well. Wait until you see the flame orange curtains I have for it to match the stove and seats...  |
|
|
|
Post by atefooterz on Feb 5, 2015 13:23:58 GMT 10
Thanks. The white is an ivory colour, but the iPhone doesn't do colours so well. Wait until you see the flame orange curtains I have for it to match the stove and seats...  The olive green laminexbench top, that looks grey or dry gumleaf green, in my thread, is a great point in example, not just the camera but also monitor as it is different between laptop-desktop & camera screen... pick a shade or hue!  |
|
|
|
Post by tedalley on Feb 5, 2015 17:27:21 GMT 10
I'm hate mission brown since I paid my brother to paint my old HQ gold.
He thought he would save money on paint & brought it back to me *##**## brown.
I do like the polished handles - what did you use to get them looking that good?
|
|
|
|
Post by snoops on Feb 5, 2015 19:42:05 GMT 10
I can't say mission brown is my favourite colour, but it suits the theme I'm going for and I'm really happy with the overall result. I remember Dad painting everything mission brown in the 70's...  . Just used the wire wheel on my bench grinder to clean the handles up. By the looks of them, the are of a cast alloy construction, but then brass plated and finally some form of antiquing over the top to make them very dark. I basically removed the antiquing effect to leave the brass plate. I have worn through this in a couple of spots back to bare aluminium, but it's not too noticeable, I'm getting better with each one I do.  |
|
|
|
Post by tedalley on Feb 5, 2015 21:15:18 GMT 10
I would have thought a wire wheel would have been too harsh but I'll have to try it.
|
|
|
|
Post by snoops on Feb 9, 2015 19:32:15 GMT 10
Finished the kitchen off tonight (apart from the tap - plumbing to be done shortly, but more on that later). You can see by the pic below that everything else still needs doing, but it means it is usable now for our first outing in it in a few weeks time. To the left of the kitchen is where the bunks were - this will be turned into a wet room for a camp shower and loo. The first outing we are being soft and staying in a caravan park, but usually we free camp, so a bit of privacy while having a shower will make a nice change when we're out and about.  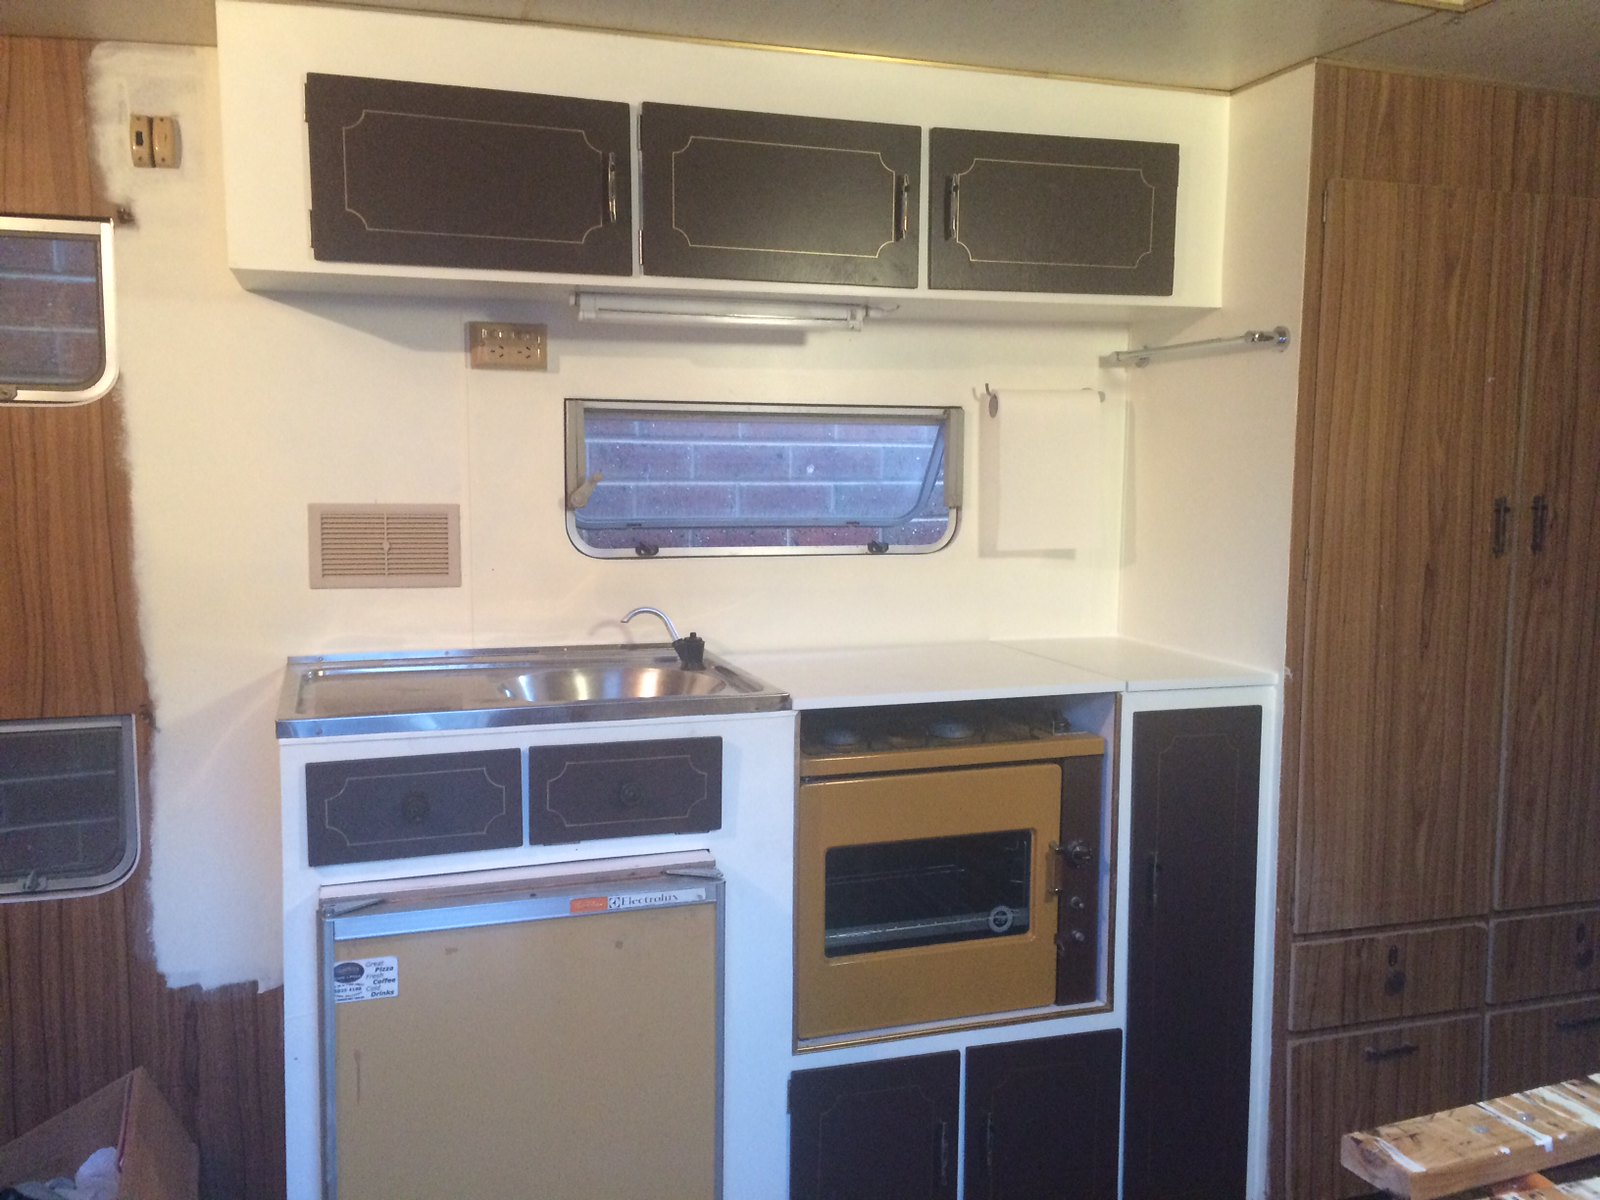 image image by Gavin Gregory, on Flickr Also spent all weekend making a tow bar for the 101, as the existing pintle is 900mm off the ground and pretty much only a decoration when towing the van. First shot shows it before final clean up, paint and installation. Made from 12mm plate, it weighs in at over 20kg. 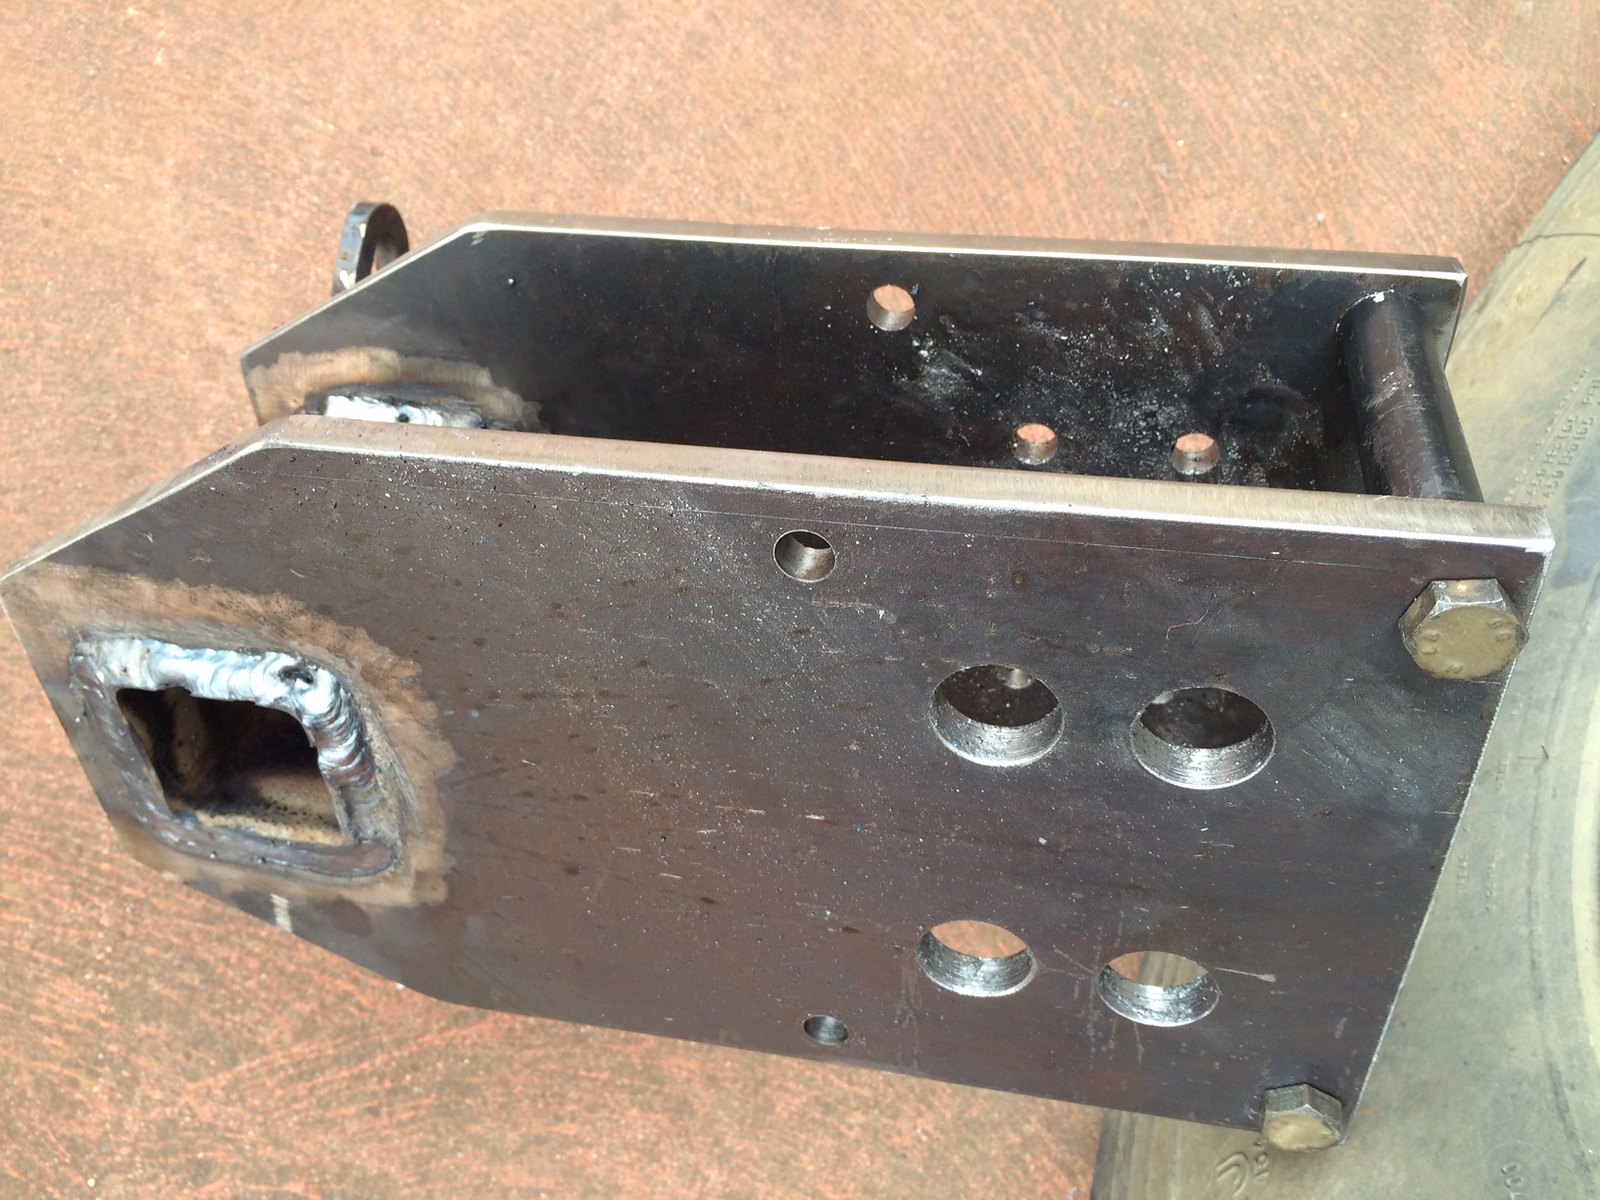 image image by Gavin Gregory, on Flickr 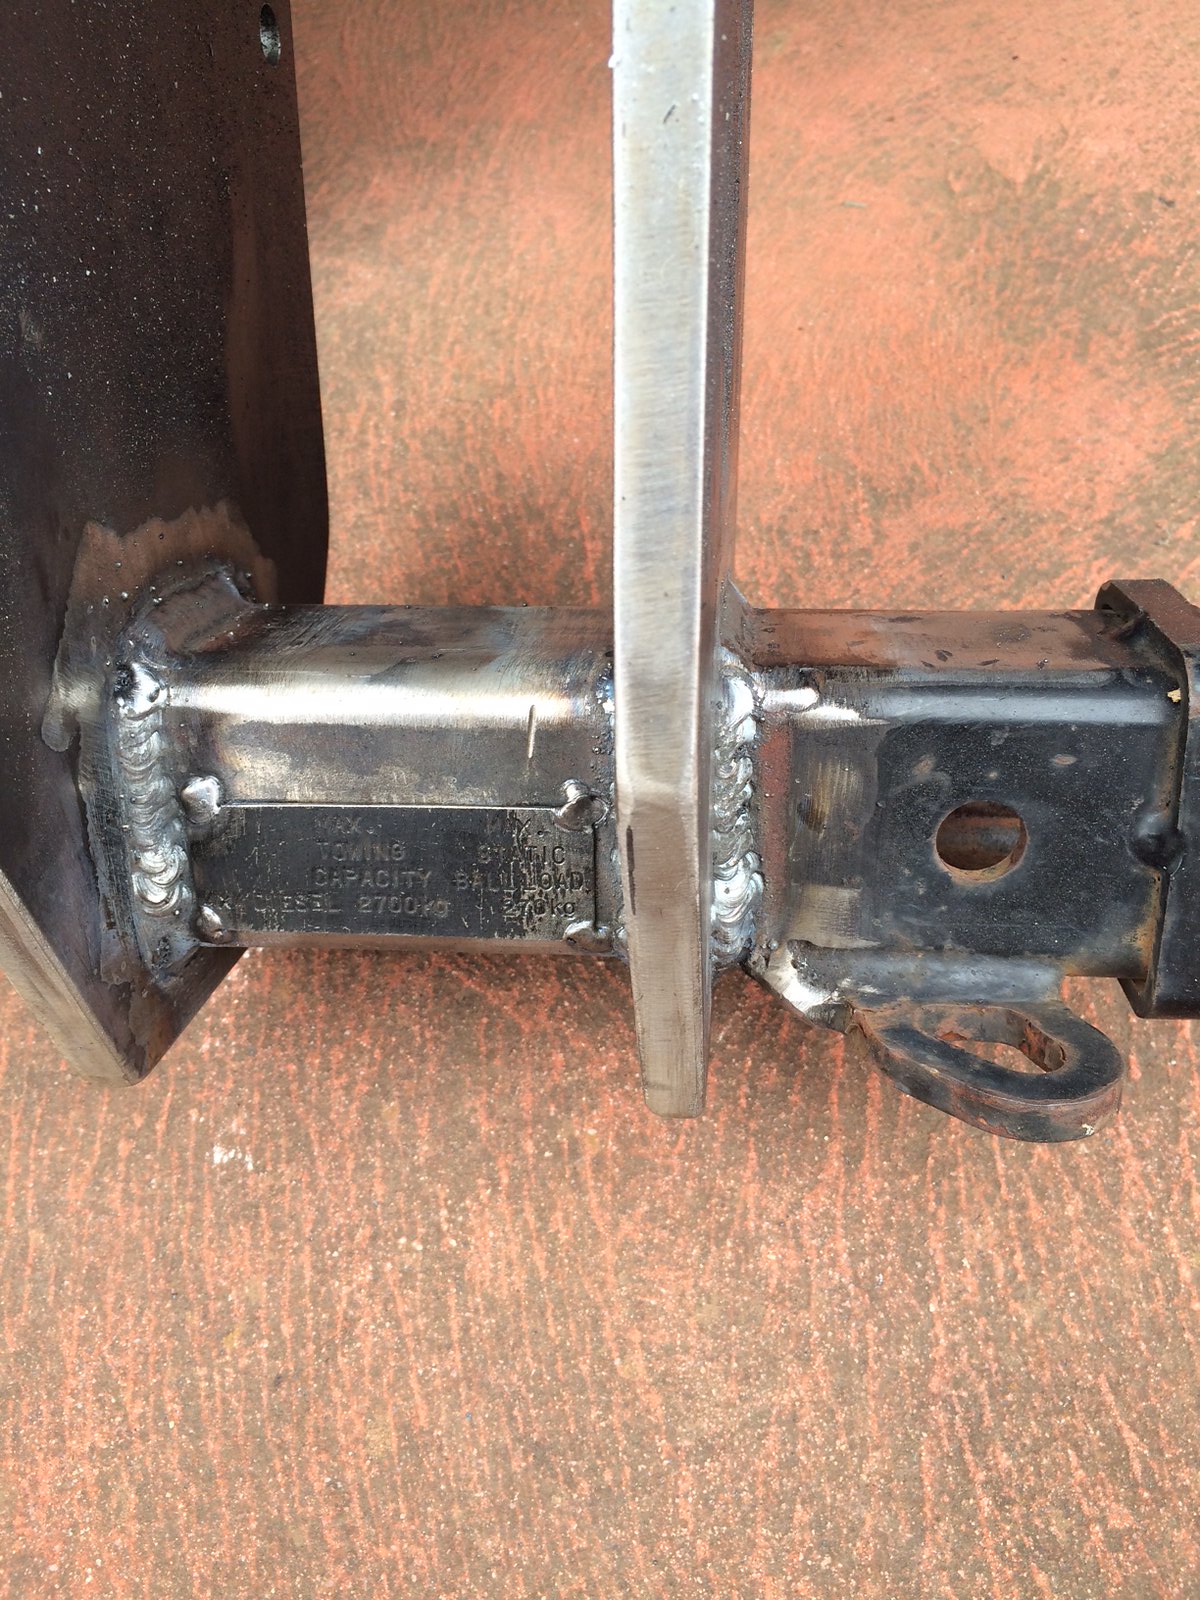 image image by Gavin Gregory, on Flickr 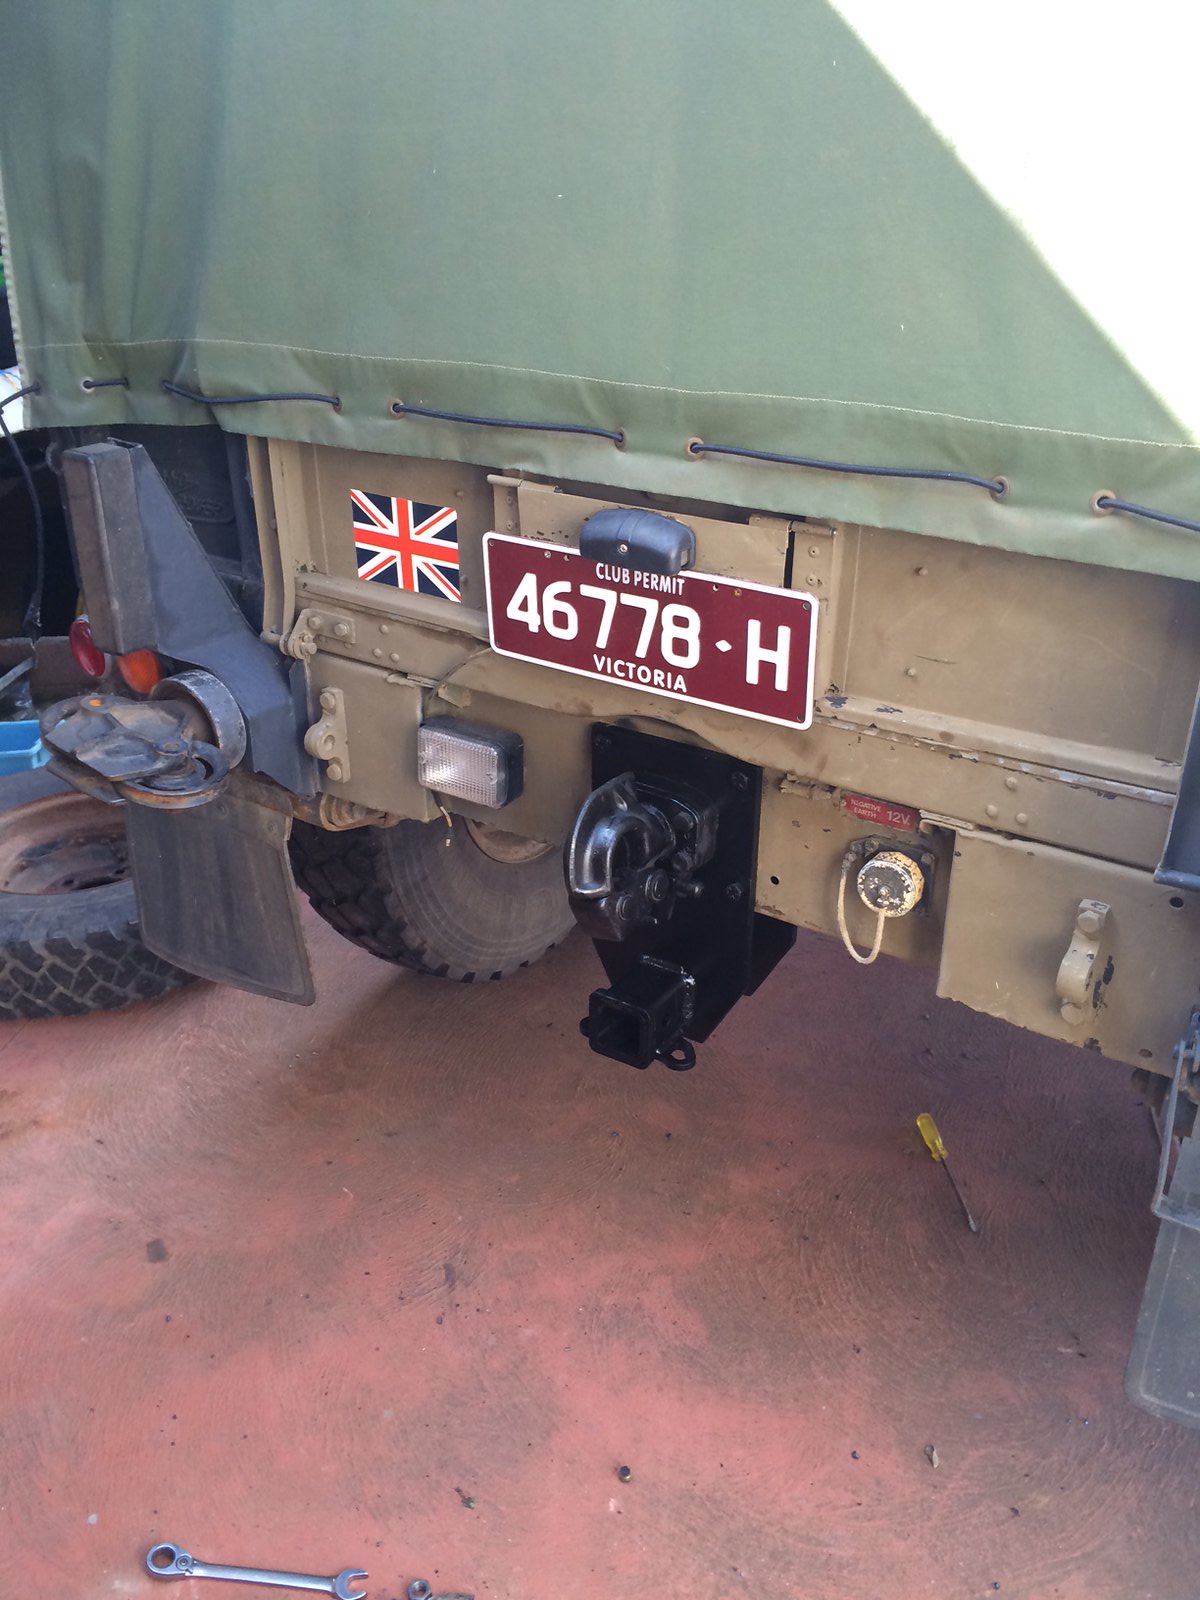 image image by Gavin Gregory, on Flickr Only got the draw bar to go before I take it in for rego.  |
|
|
|
Post by snoops on Feb 12, 2015 18:52:13 GMT 10
No pics tonight, but a bit more done. Started on the electrics. Replaced the tail lights from some old - non original - festoon style to a light I like better. I don't think it is original either, but it is the Narva old school chrome trimmed units that have bayonet style globes, and are quite well made - much better than some of the cheap chinese stuff I've seen. Also installed a rear view camera, it is an older unit I was given, but it is very robust, and has a very clear picture, although it is black and white. That doesn't bother bother me too much though. It is a wired unit, not a wireless unit - which I have used before and not been impressed with. I doubt a wireless unit would transmit the distance from the back of my van to the front of of the 101. Being a Sparky by trade, having to run wires is no biggy for me. Also got all the bits together for a new switchboard. It will have a switch so I can switch between mains and and inverter that will run everything just the way it is. There is no 12 volt wiring in the van. So rather than run it I'll just run everything on 240 volts the whole time. It is after all only a few light globes. The globes are now 6 watt LED units, so they will draw bigger all. Will be making the 2 circuits RCD protected, and have breakers for them both. The fridge will run on 240 volts through the inverter while driving, and switched to gas when on site. I also bought myself a small, low power LED TV/DVD combo for that touch of luxury....  . I just need to knock up a small bracket for it to be mounted on so the viewing angle can be swung between the bed and the couch. A small bit of 3mm plate and a hinge will have that sorted. The inverter pulls about 4 watts when it is turned on, but doing nothing, so an isolator will be installed to shut it off completely at night. If I need to get up at night for a pee, I'll use a torch or those stick on battery LED lights. 12 volt power will come from a 100Ah Fullriver deep cycle battery, and a 150 watt solar panel. This is what I currently use when camping, and even without the solar panel,a I get a few days off the battery running a couple of LED lights and my 38 litre Engel fridge. With the panel, I've camped for 10 nights and never gone without a cold beer.  . As I won't be running the fridge off this system in the van, I'm guessing I will have no shortage of juice. |
|
|
|
Post by pisces51 on Feb 12, 2015 19:31:13 GMT 10
G'day snoops, You might be interested in how I set up the TV in our Windsor. You can read this post to see the bracket I bought off ebay, and how it was fitted. Then skip over to this other post to see the TV fitted to the bracket, and how it swivelled. I also changed how the aerial cable was attached to the TV to help with the swivel (see a couple of posts below that last link). Lastly, the very last post in that thread shows a modification I had to make to stop the TV bracket from wanting to straighten out over bouncy roads (which it often did). Once I fitted the holding strap, I never had that problem again. Might help you with some ideas for getting your TV sorted. cheers, Al. ps. I used to be ForumMod in a past life on this forum.  |
|
|
|
Post by snoops on Feb 12, 2015 20:16:35 GMT 10
Thanks for that Al. I only realised the other day who you were in a different incarnation here.  I'll have a look at what is available as far as mounts go - I just need it to swing from the cupboard door at the end of the bed to about 70 degrees for viewing in bed, and 150 degrees for viewing from the kitchen couch. I'll post pics once I've figured it out.  |
|
|
|
Post by pisces51 on Feb 12, 2015 21:42:54 GMT 10
Have you noticed how if you type the word ebay, the Proboards system now changes that word automatically to be a hyperlink to an ebay home page (See?! - it just did it again!). Looks like I'll have to fool Proboards each time, and type eebay instead.
|
|
|
|
Post by atefooterz on Feb 12, 2015 23:11:54 GMT 10
Have you noticed how if you type the word ebay, the Proboards system now changes that word automatically to be a hyperlink to an ebay home page (See?! - it just did it again!). Looks like I'll have to fool Proboards each time, and type eebay instead. The annoying part is for a few months i have clicked those links expecting it to be the said product being raved about, however it appears quite random as to where on "that site"one ends up!  |
|
|
|
Post by snoops on Feb 13, 2015 19:21:58 GMT 10
Well, more done today. I now have running water.  . Set up the water system with a new tap, then ran that down to a 2 way valve so I can switch between the tank/pressure pump or the mains. Made up a 10 metre hose with brass fittings on it and food grade hose for the mains side and it works well with no leaks. Still have to hook the pressure pump up and plumb that to the tank, but I have running water at the moment while it's in the back yard as a sleep out. I also bought a 5 metre drain hose to extend the sink drain which reaches a nearby drain, so all good while I have it at home. Also bought a TV mount and put that up with the telly on it. Mounted an omni directional antenna for it - that has presented a bit of an issue. It wouldn't pick any signal up to start with, so I stuck it on a pole and presto - all local FTA digital channels perfect. Move the antenna back on its mount, and nothing... Just a few inches off the mount - perfect... I may have to make an extension up for it, but no biggy in the grand scheme of things. The telly can be viewed from the bed or the seating area. It's only small, but you won't be further than a couple of meters from it. So, some pictures... a pic of the back showing the new tail lights and the reversing camera. You can also see that I'm running some fairly cramped quarters. The back of the van is a couple of inches from the verandah and I can barely get the gates closed. When I extend the draw bar next week, I'm going to have to cut a hole in one gate to get it to fit. 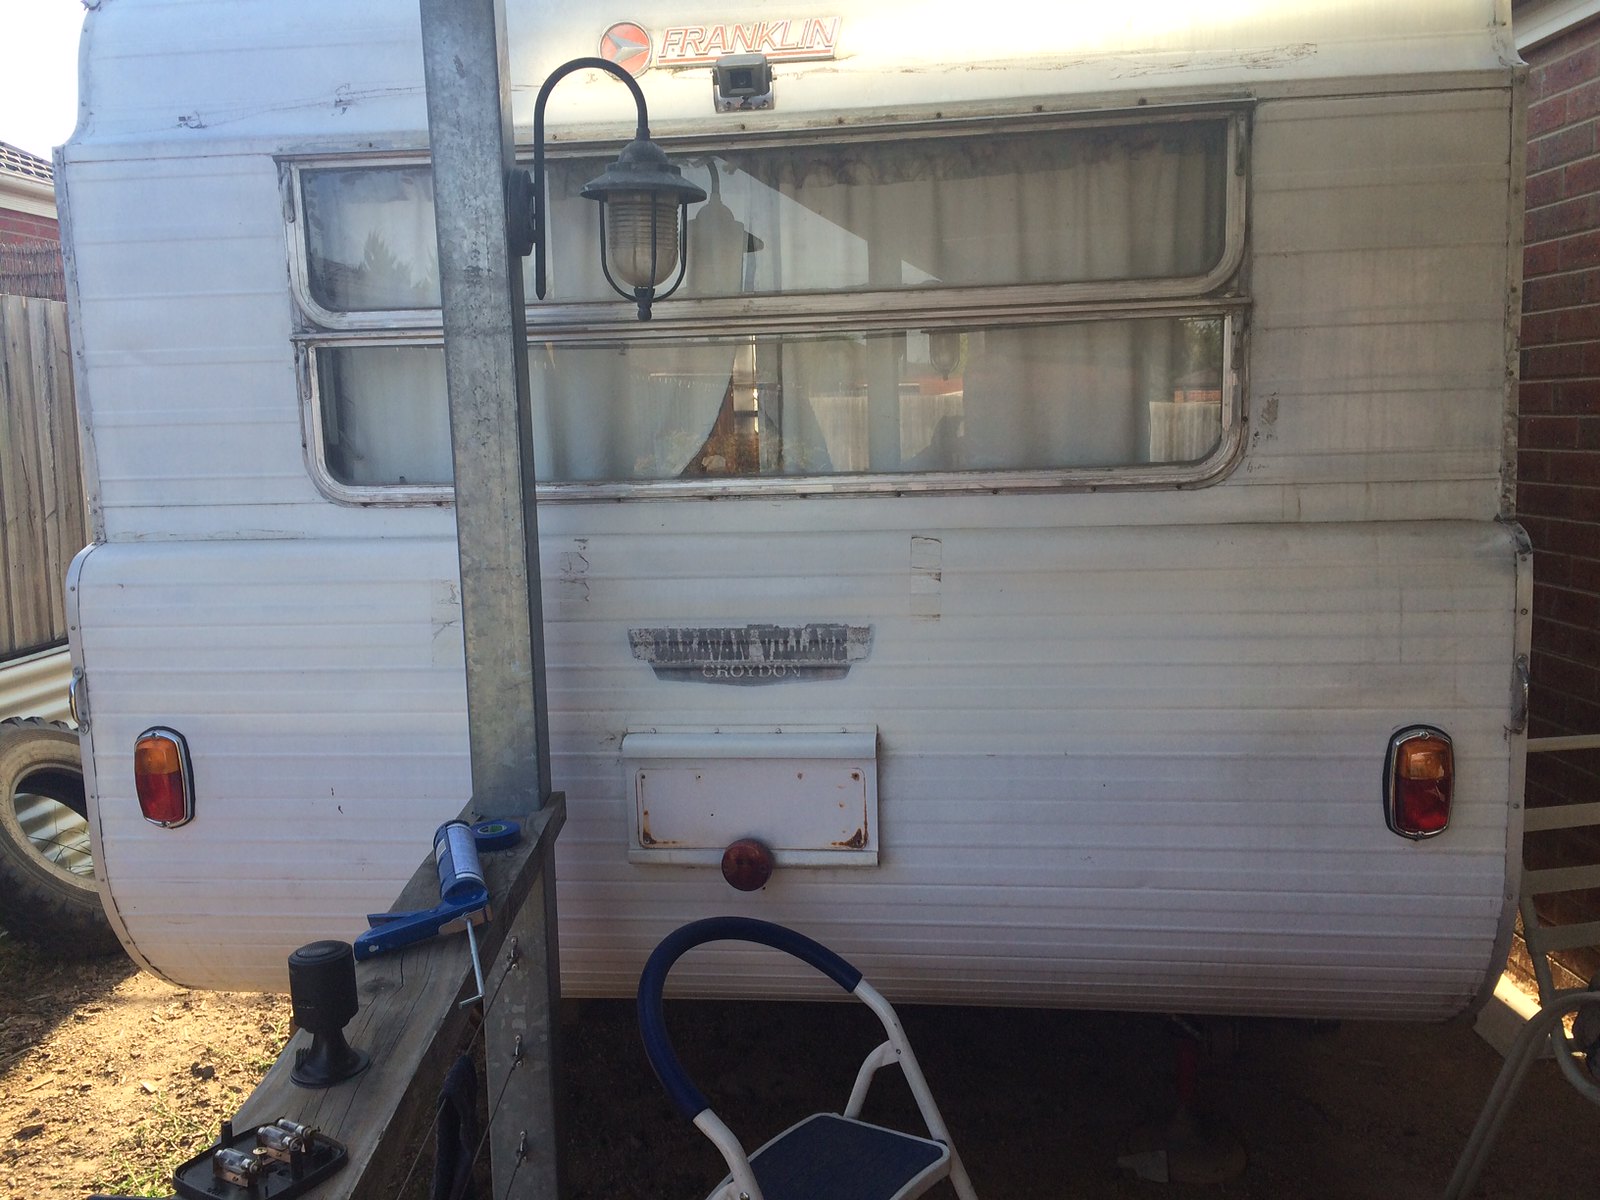 image image by Gavin Gregory, on Flickr Running water! 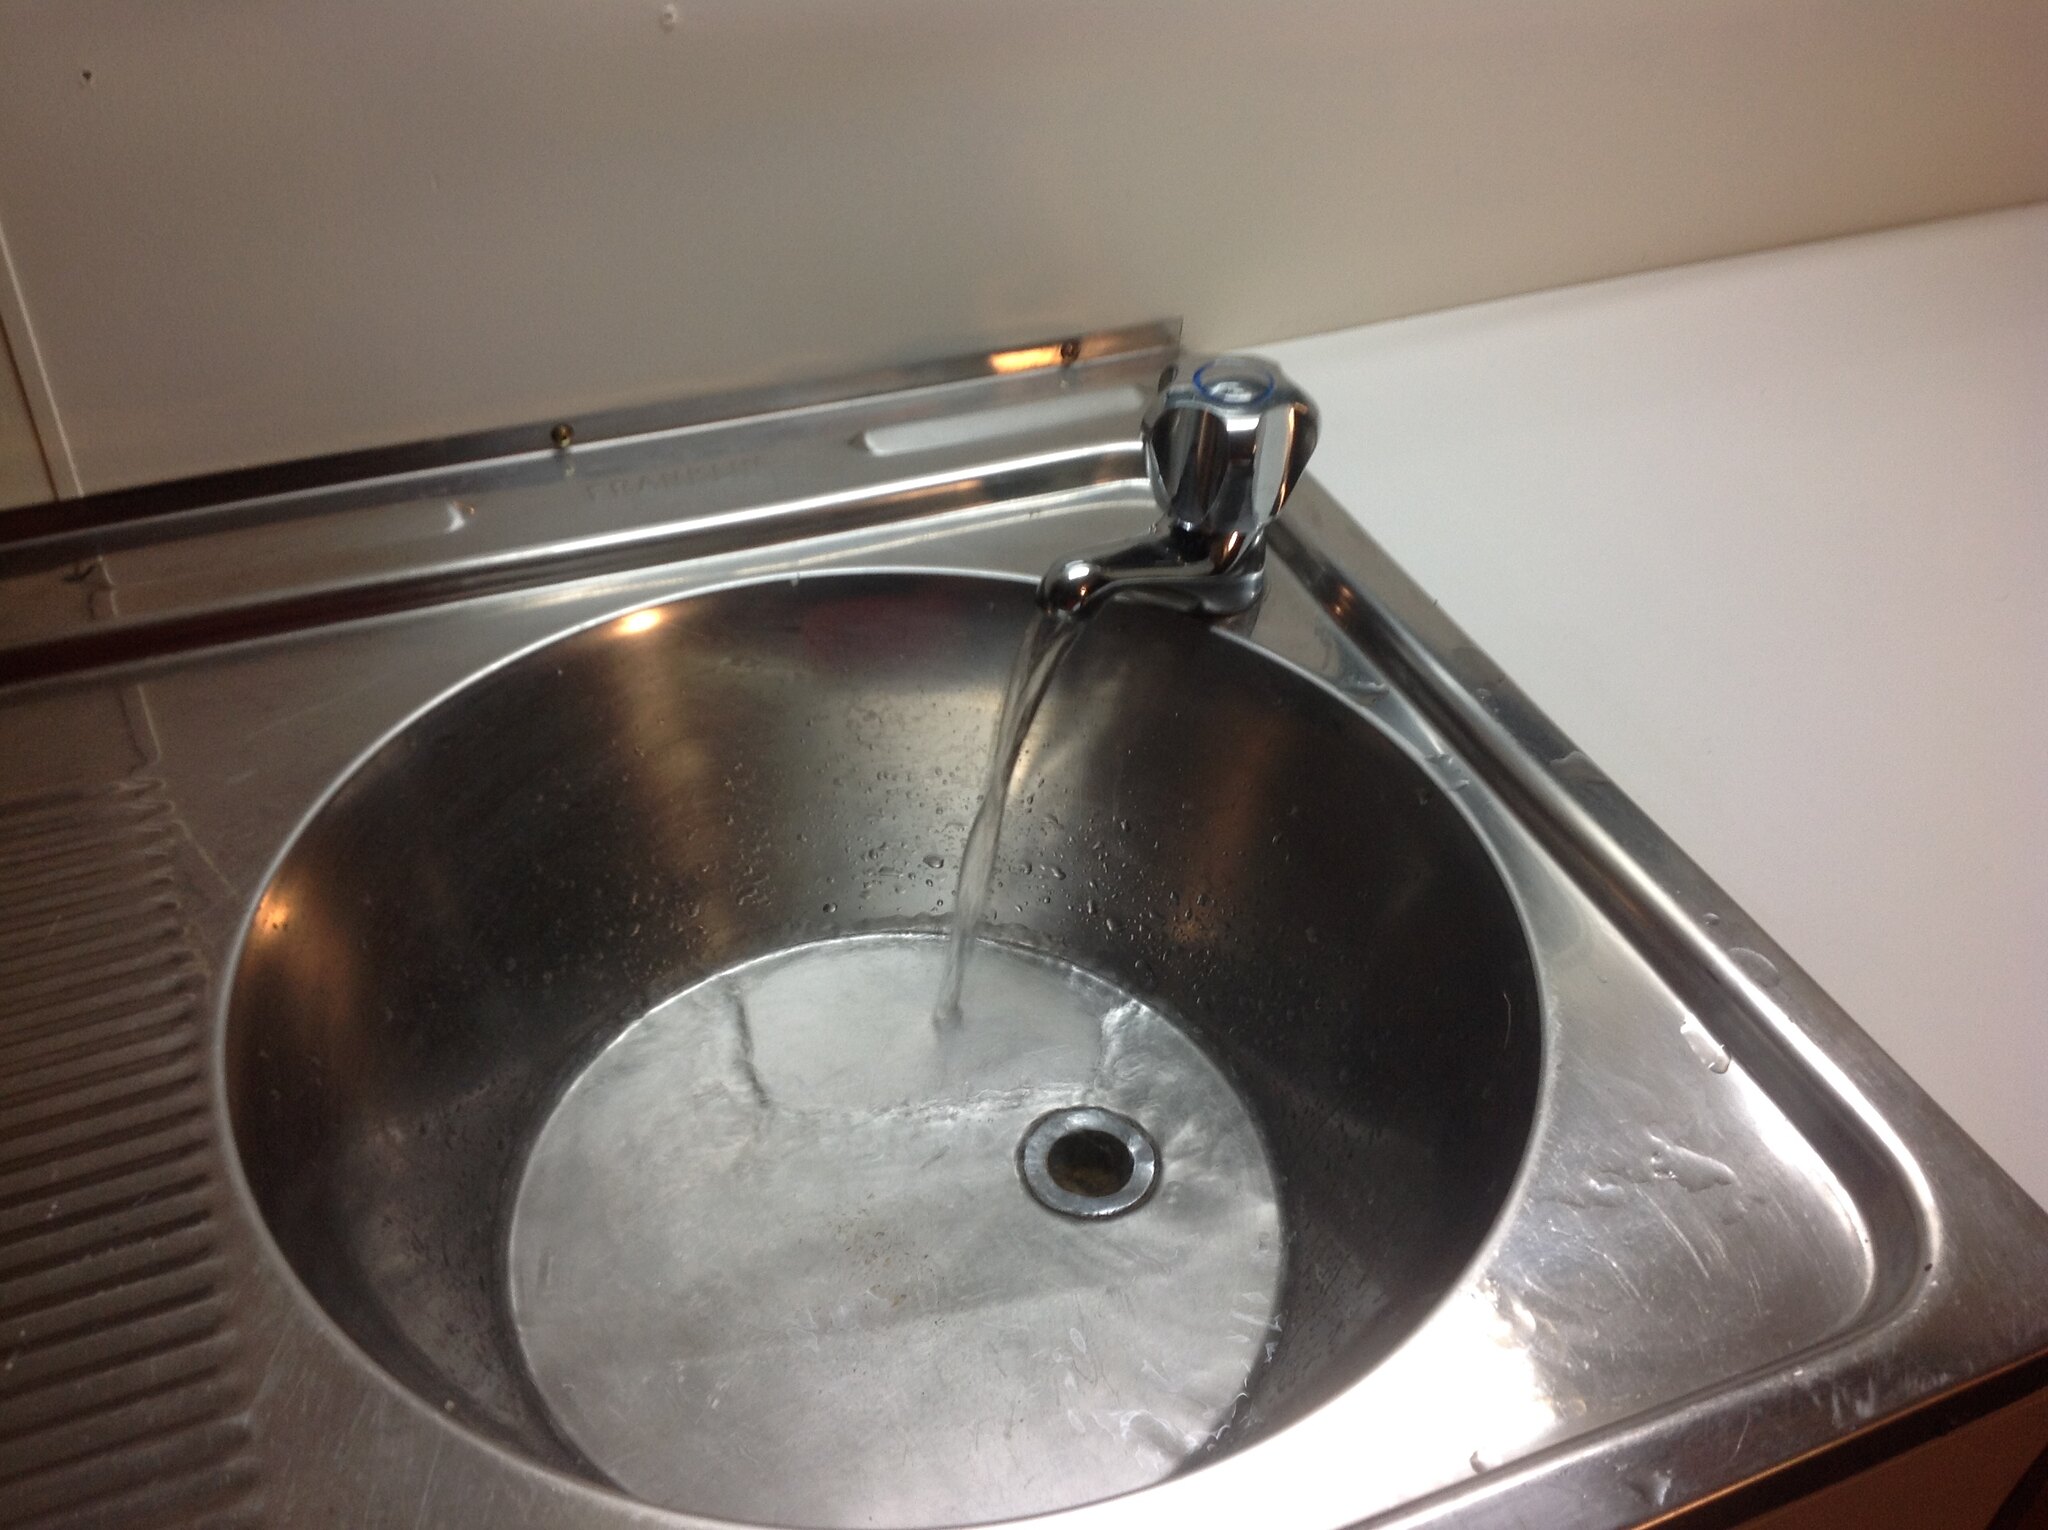 image image by Gavin Gregory, on Flickr Itty bitty TV/DVD/USB. Excuse the wiring in the cupboard, that's tomorrow's job...  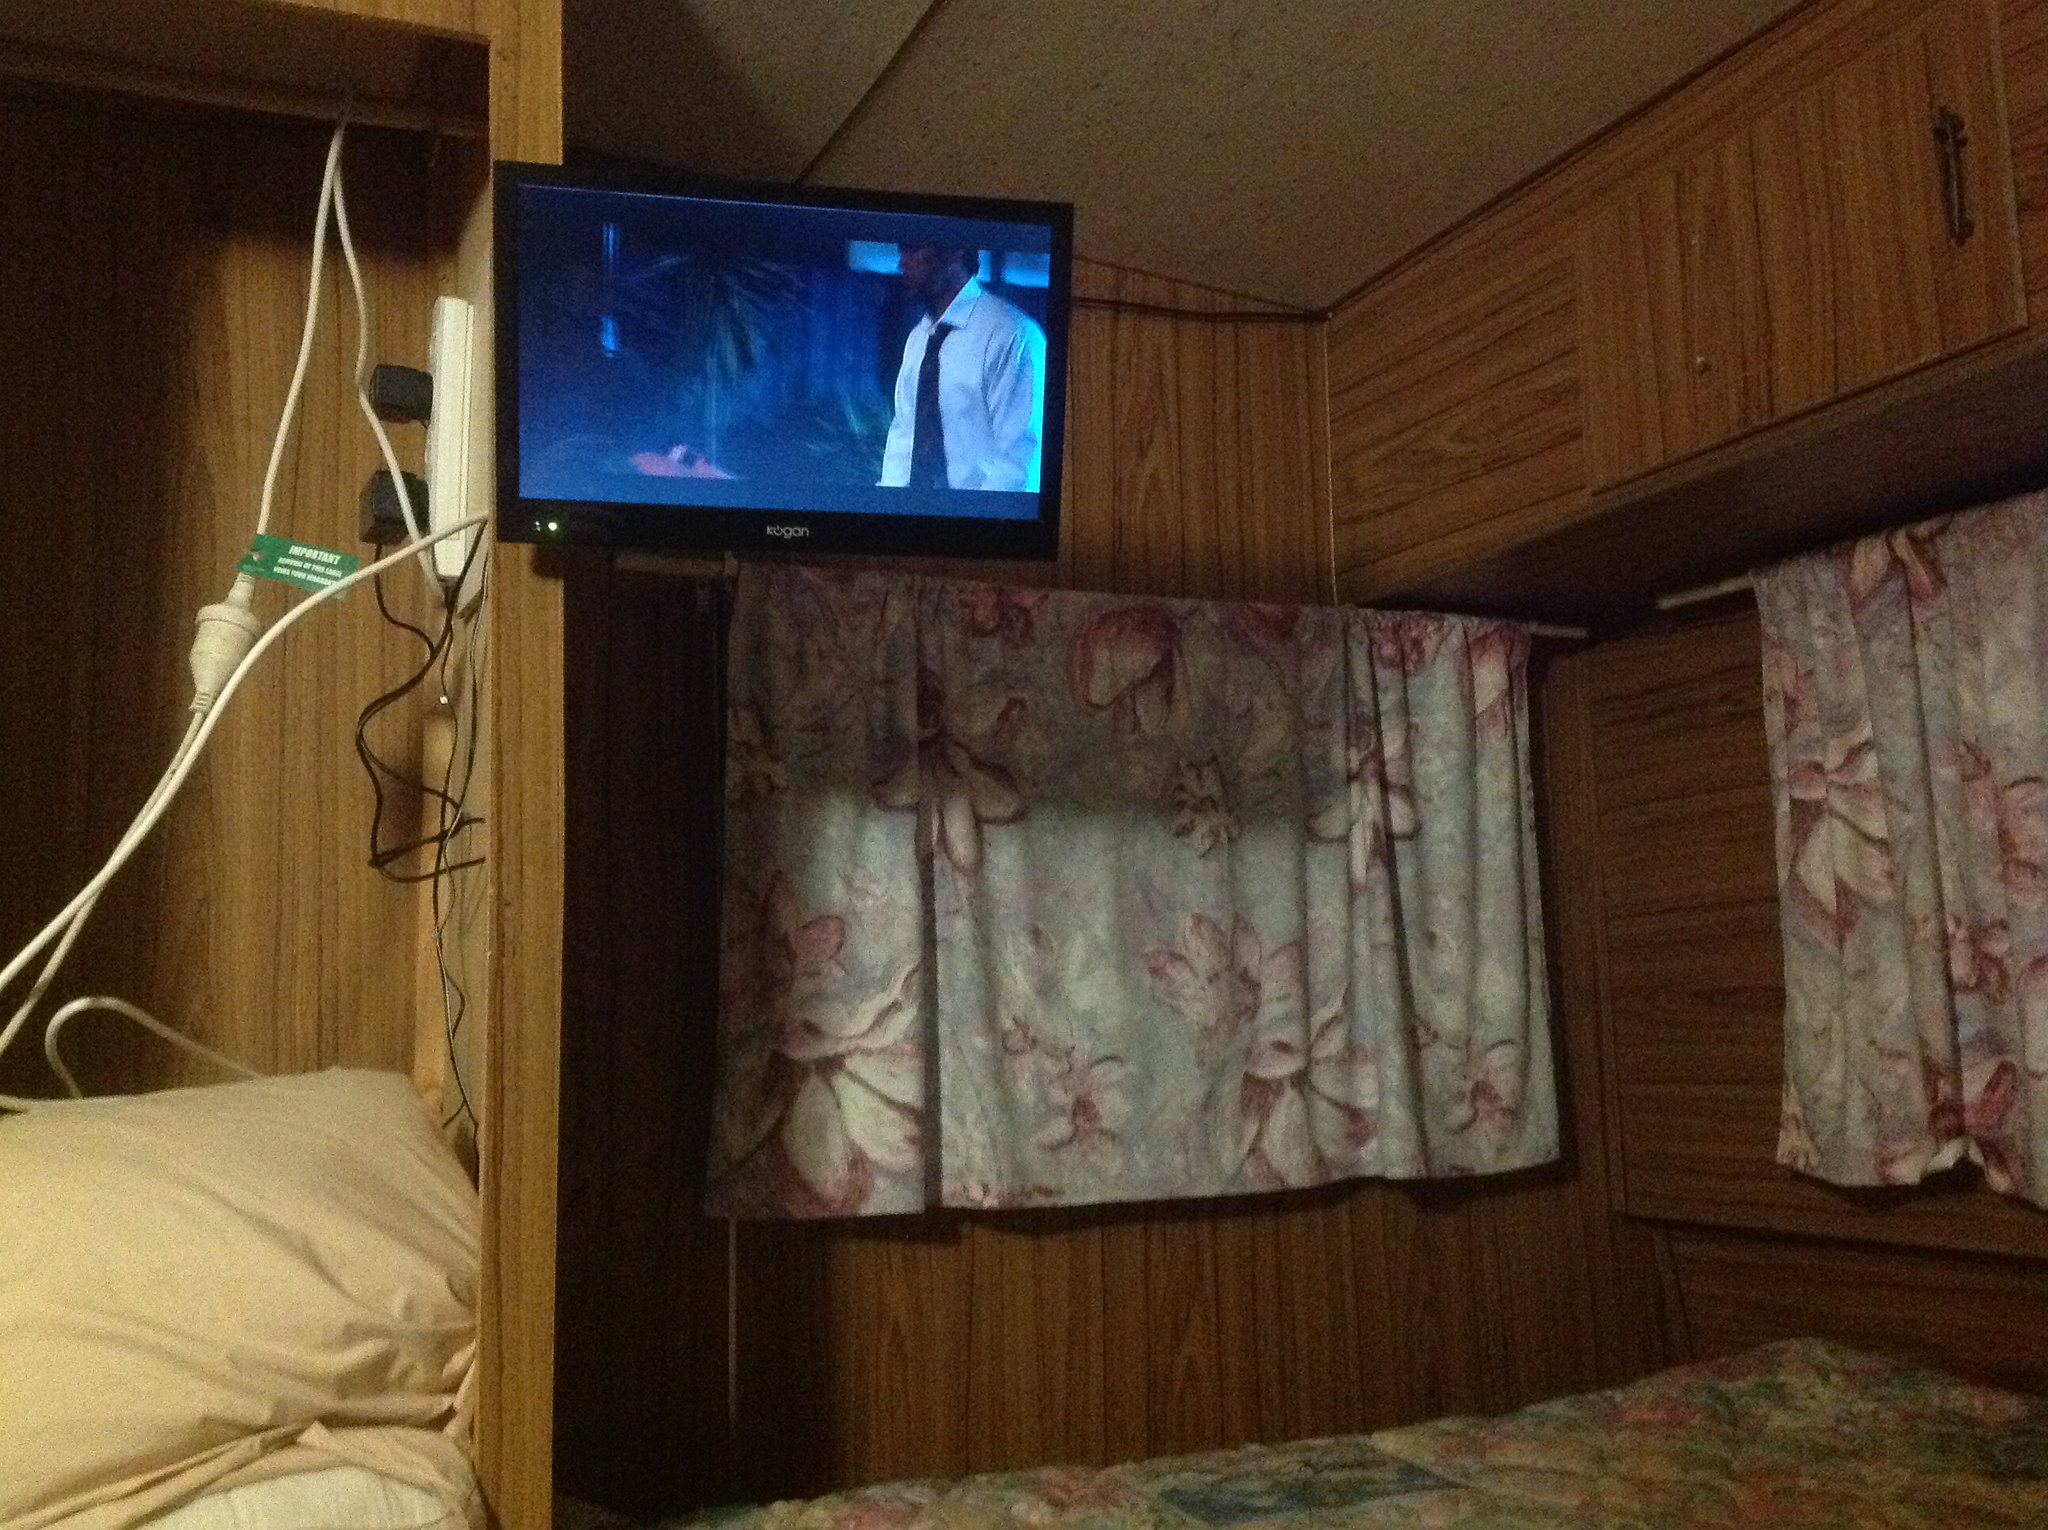 image image by Gavin Gregory, on Flickr Found an easy solution for a table. I wanted something I could move out the way when not using it as it gives more room to get dressed, etc. this $34 Bunnings fold up unit is just the ticket. 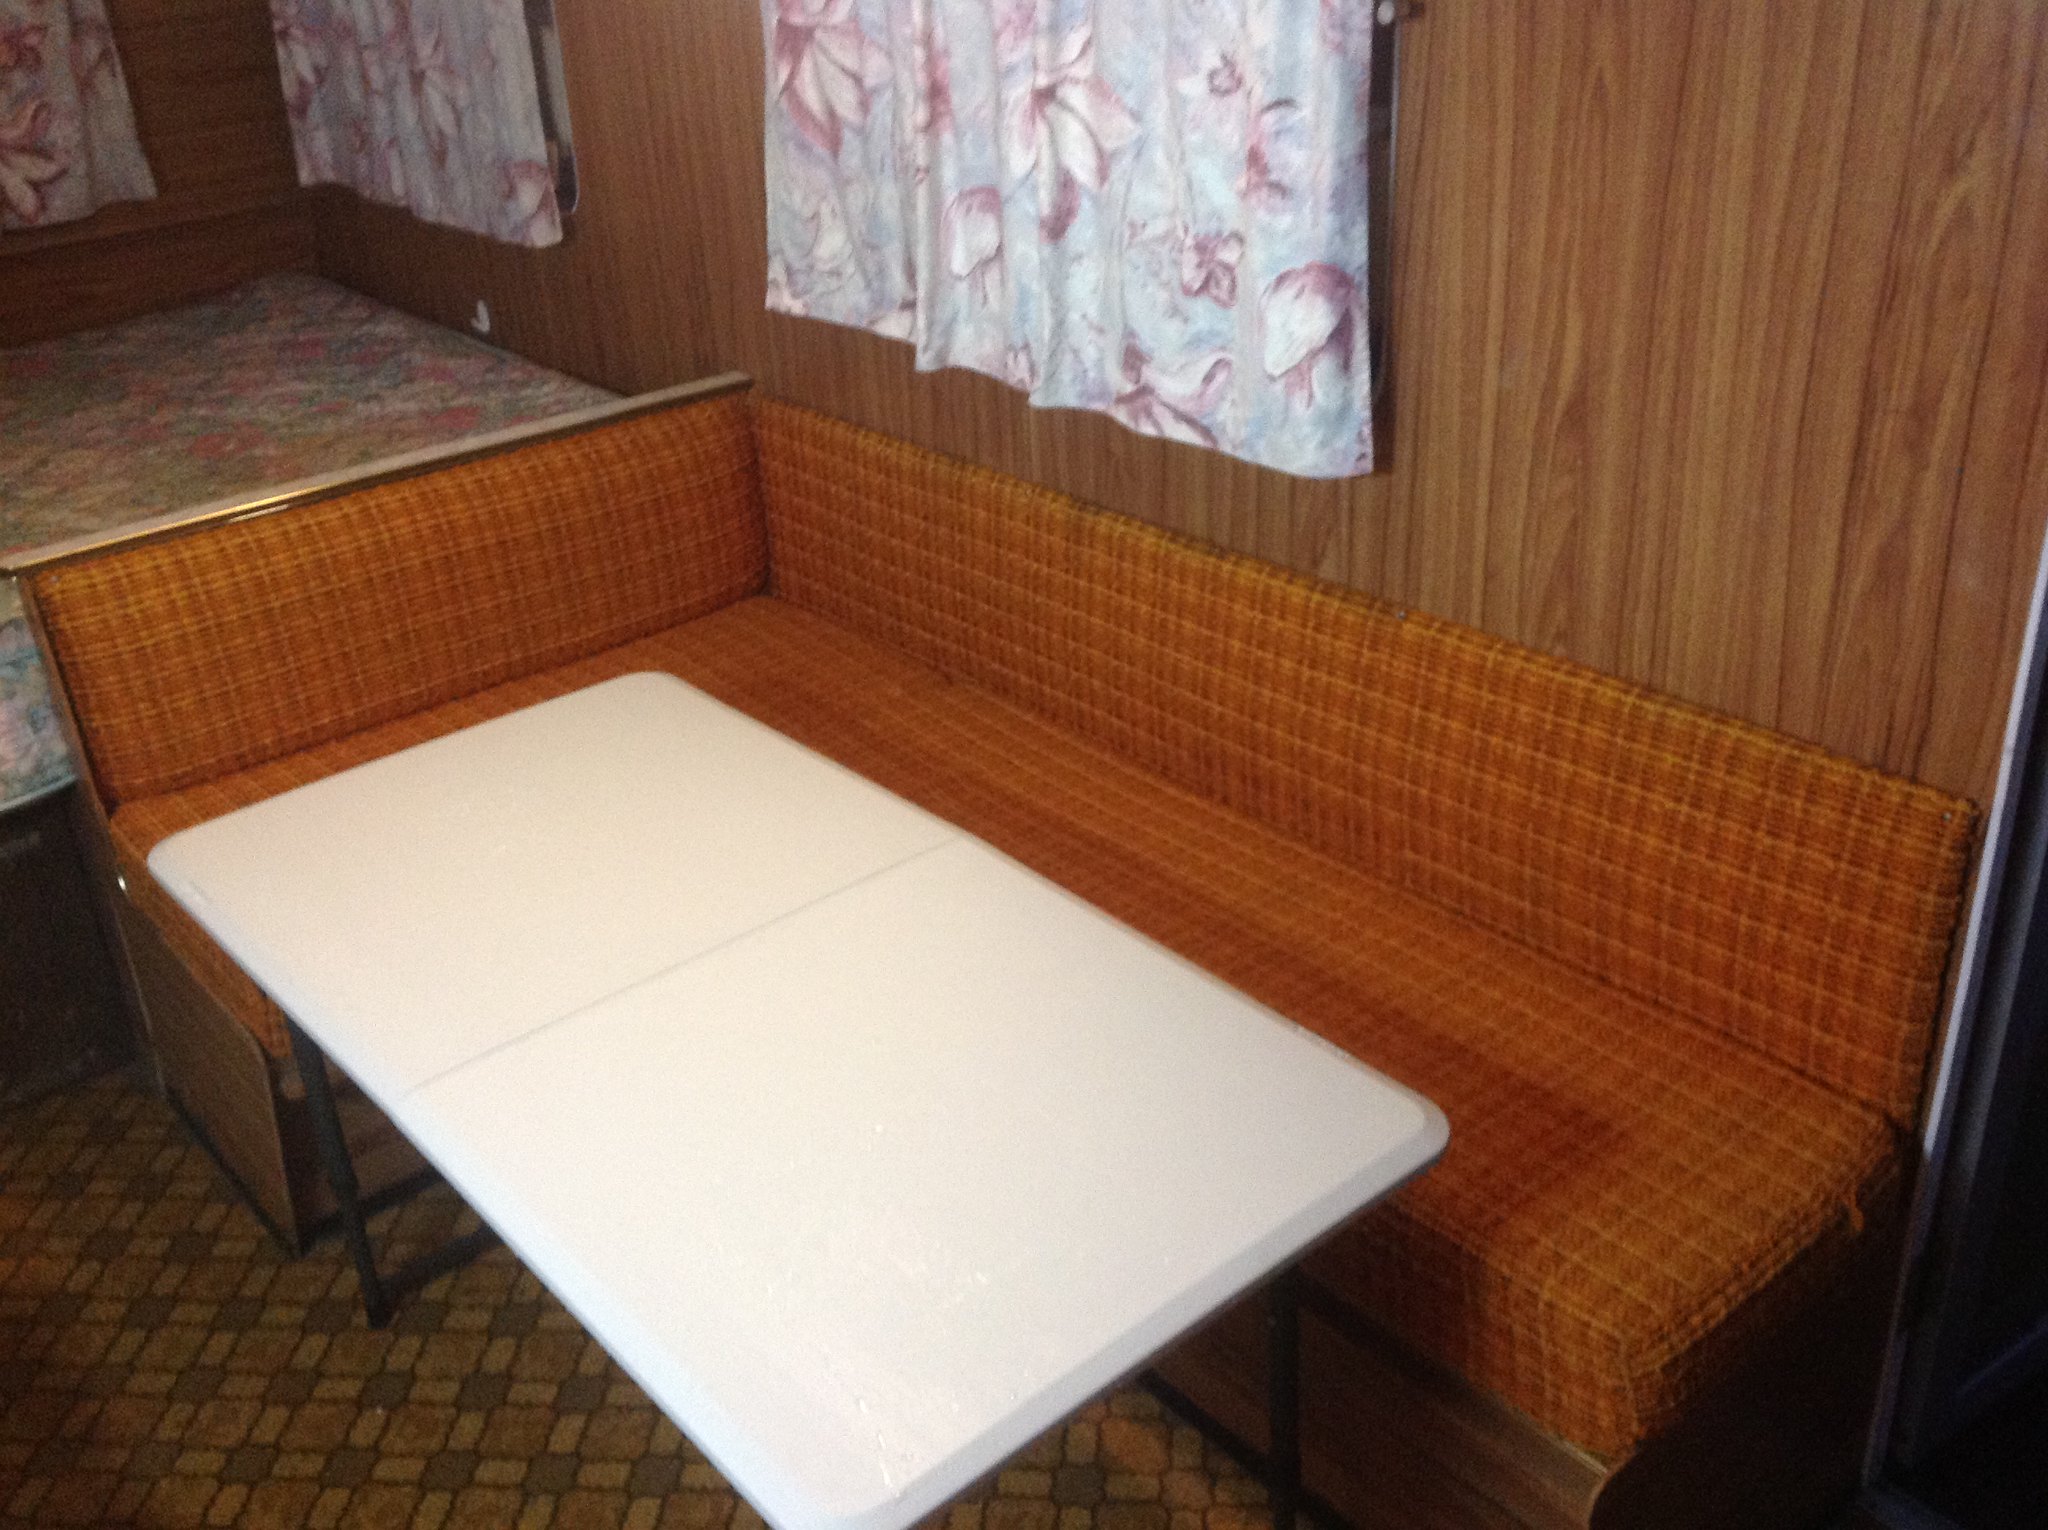 image image by Gavin Gregory, on Flickr So, getting really close now to it being usable. A new draw bar, and a couple of cupboard doors and that's all I need to get done before its first trip. Any painting/wet room construction I get done after that will be a bonus. oh, and it's pissing down rain tonight so I thought I'd check to make sure my camera and TV antenna installation didn't leak - they don't, but all 4 corners of the roof hatch are leaking like sieves...  . Not from the van itself, but through the corners of the actual hatch where the hardware is mounted. Another job for tomorrow.  |
|
|
|
Post by snoops on Feb 14, 2015 15:28:44 GMT 10
Well, last night downpour certainly showed me the leaks I need to fix. One on the back window - that drips on the bed - the whole back window is a disaster and will take a lot of sorting out. Someone in the past has emptied a couple of tubes of silastic into it to try and stem the flow. I was going to wait before staring on the windows, but I'll have to do the back one now as if it rain while we're away, SWMBO will get wet feet... All the other leaks came from the roof hatch - just poured in. I pulled the roof hatch this arvo once the rain had buggered off and it is shagged. I'm not sure what it is even made of, but it seems to be almost like cardboard with some coating over it - that is peeling up. The water is soaking straight through the material and dripping inside. Luckily, one of the few parts I kept from the wrecked van in my backyard was the steel roof hatch. It is bigger than what I have now, but I need to reframe it anyway due to the years of water damage, so I'll open it up a bit to suit. A bit of kill rust and it should look ok again. More to the point, it will solve my leaky problem on high.  |
|
|
|
Post by atefooterz on Feb 14, 2015 15:37:36 GMT 10
Your rear window & roofline are the same as mine & Peter92. After reading about various rip out & seal, i wanted to know if the rain was getting in via the roof somewhere or what. A bit of temporary no more gaps moulding & sealing the outer areas & creating drip wings on the top edges of the upper channel mine only leaked 2 tablespoons, where as before it was a 2 litre bucket & repeat a few times, in similar rain. At least i enjoyed a few months of no leaks then moving around & a different angle seemed to expose this weakness. Watching drips curl around & flow via capillary action almost running uphill to gain entry was an eye opener. Long term it is handy to have the windows open a bit when inside the van so i am working on making something tidy that will work. Luckily my north south bed means i can just shorten up & use a light tarp taped from the mid wall to below bed base in that area & no wet feets  ( previous owner had ripped out the ply or whatever so it is just exposed alloy atm, i dug a drain hole bewtween the corner strip & some sad timber. So are you going to pull out & re seal the whole assembly snoops? |
|