Deleted
Deleted Member
Posts: 0
|
Post by Deleted on May 8, 2012 0:07:05 GMT 10
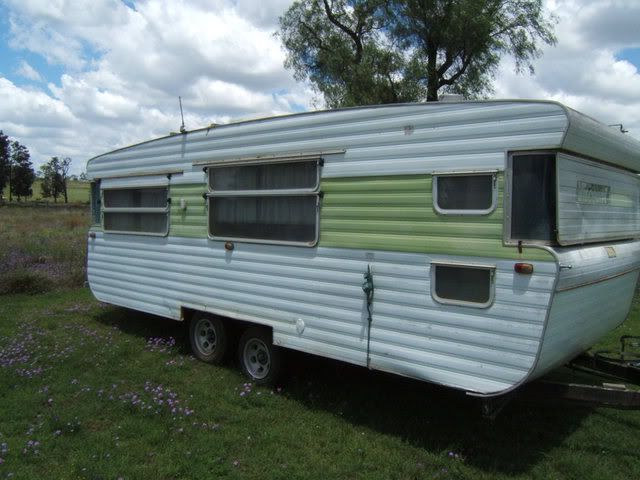 I will post more before and during photos as time allows |
|
Deleted
Deleted Member
Posts: 0
|
Post by Deleted on May 8, 2012 18:03:11 GMT 10
Another classic beauty .. on the way back to health.  |
|
Deleted
Deleted Member
Posts: 0
|
Post by Deleted on May 10, 2012 23:40:19 GMT 10
|
|
Deleted
Deleted Member
Posts: 0
|
Post by Deleted on May 10, 2012 23:58:24 GMT 10
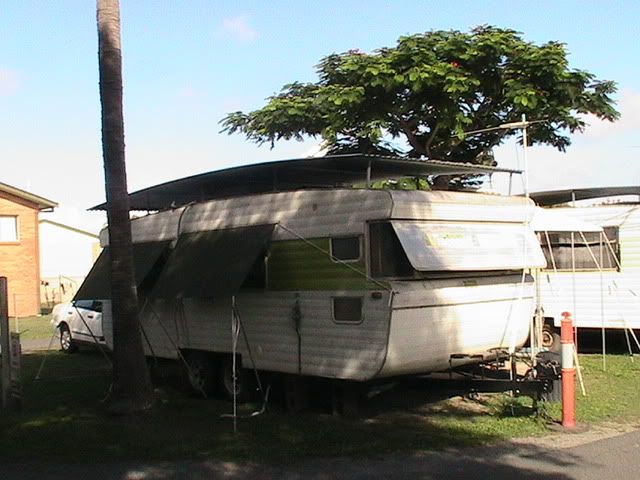 On site - my current residence |
|
|
|
Post by millard1399 on May 11, 2012 0:19:49 GMT 10
G'day wickedcat, I've changed the first heading of this thread, in case anybody is looking through the forum for Viscount information, and wants to read about your restoration.  Does your van still have the original chassis number welded on the front drawbar? Looks like you've done a fine job turning the van into a penthouse suite!   That's certainly some classy work done there. ;D cheers, Al. |
|
Deleted
Deleted Member
Posts: 0
|
Post by Deleted on May 11, 2012 20:56:02 GMT 10
Thanks Al.
The welded chassis No. is still partially there (95355), but some of it had to go due to rust repair before towing the van to its current location - a trip of 1000km - better to be safe than end up with some sort of mishap.
As this van is primarily on-site and my long term residence, I am re-building it to suit my needs and wants --- keeping in mind that someone will want to tow it sometime in the future. It will probably weigh an extra 200 or 300kg as a large amount of the interior ply was water damaged and is being replaced with 3/8" ply to enable me to build what I want a lot easier. ;D ;D
|
|
|
|
Post by millard1399 on May 11, 2012 22:29:28 GMT 10
G'day wickedcat, I've changed the original heading (again) to now show that your van is a 1979 model.
cheers,
Al.
|
|
Deleted
Deleted Member
Posts: 0
|
Post by Deleted on May 19, 2012 23:57:02 GMT 10
Some more photos New Double bed and bedhead 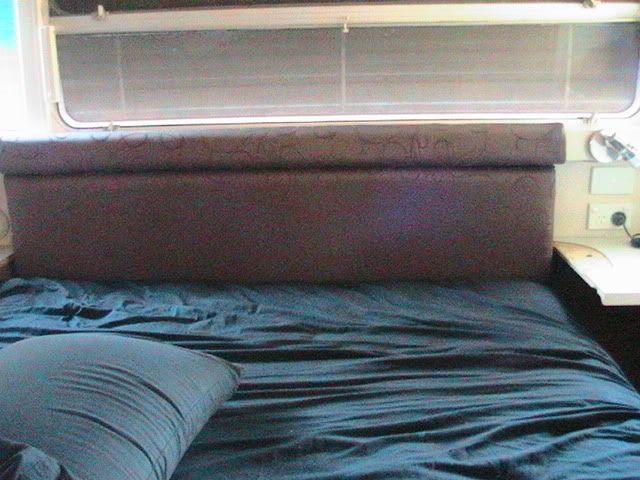 Rebuilt bedside cupboard with "automatic" 12v LED light 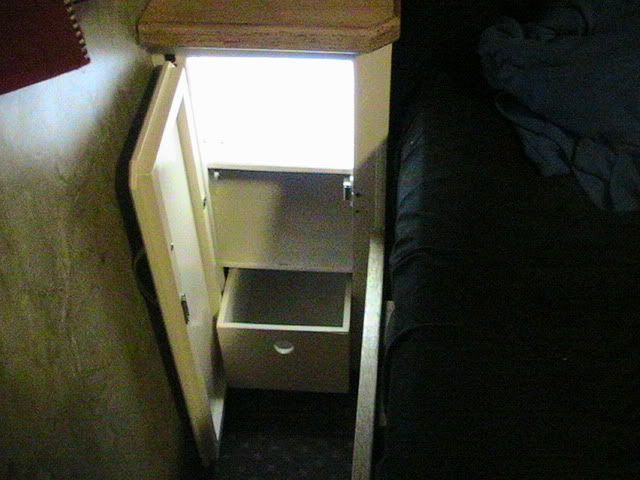 New slide-out pantry with storage drawers (during construction) 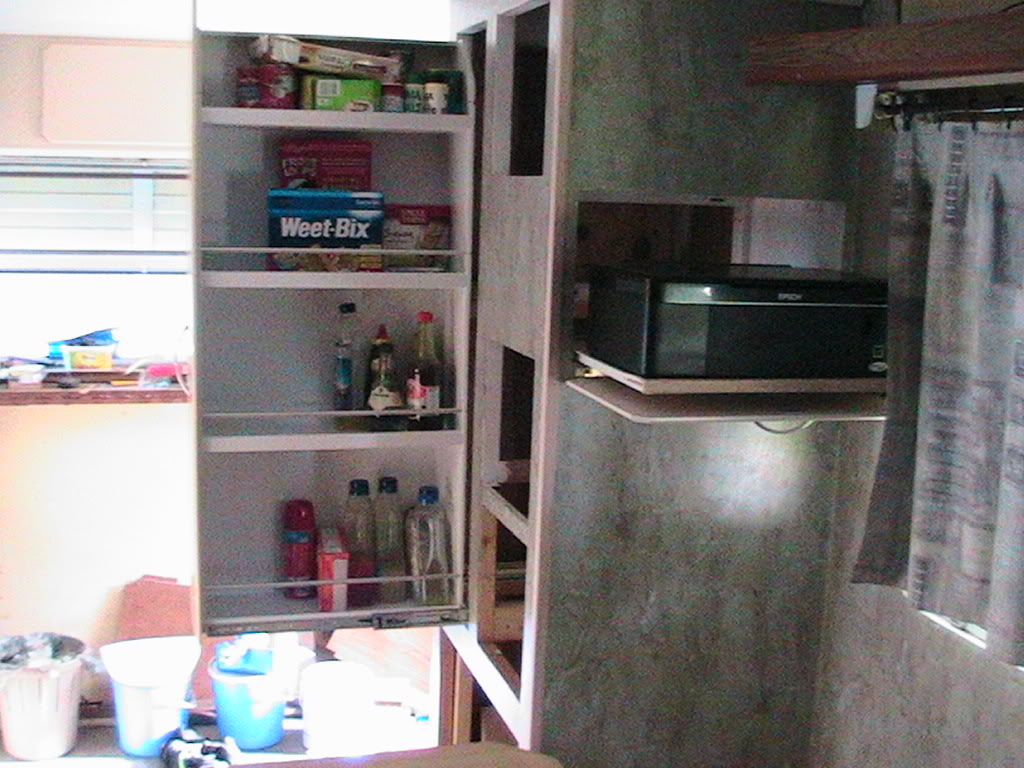 New seating being built 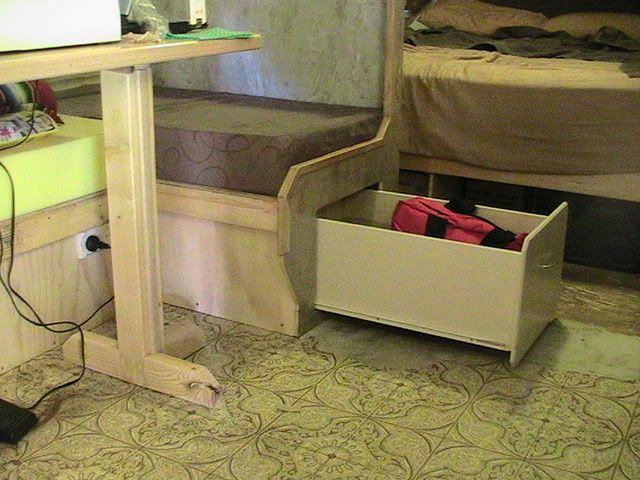 New hand made table - the table is mounted on swivels on top of the legs to allow for the top to move, allowing for more room when seated or more room in the centre of the van (I will post more detailed photos later) 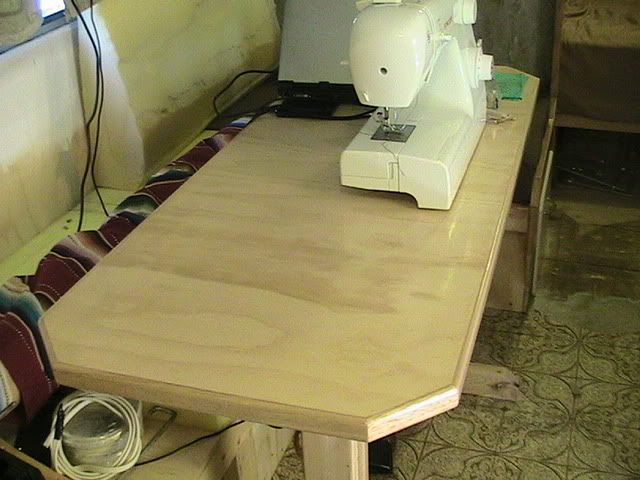 |
|
|
|
Post by millard1399 on May 21, 2012 22:29:38 GMT 10
Well, I dunno about wickedcat, but you sure are a clever cat!  You've really done some very, very fine work in the van!!   We might have to change the heading of this thread from Viscount Supreme to Viscount PALACE!! ;D Great stuff!   cheers, Al. |
|
Deleted
Deleted Member
Posts: 0
|
Post by Deleted on May 23, 2012 21:29:37 GMT 10
Thanks Al, all constructive comments on my workmanship are greatly appreciated     As I'm a fussy old bugger  , I believe that if you do something - you should do it properly ;D ;D ;D --- and if I have to spend my time living in a van, it should be as comfortable as I can make it, which includes stronger upgrades, 'out-of-the-ordinary' modifications and an unusual touch to make this van stand out from the crowd, at least on the inside. Overall, this is still a classic Viscount caravan that will be around for years to come. This photo shows TV, DVD player and the 12v switches for the shower light and fan, plus a 12v 'test' outlet. 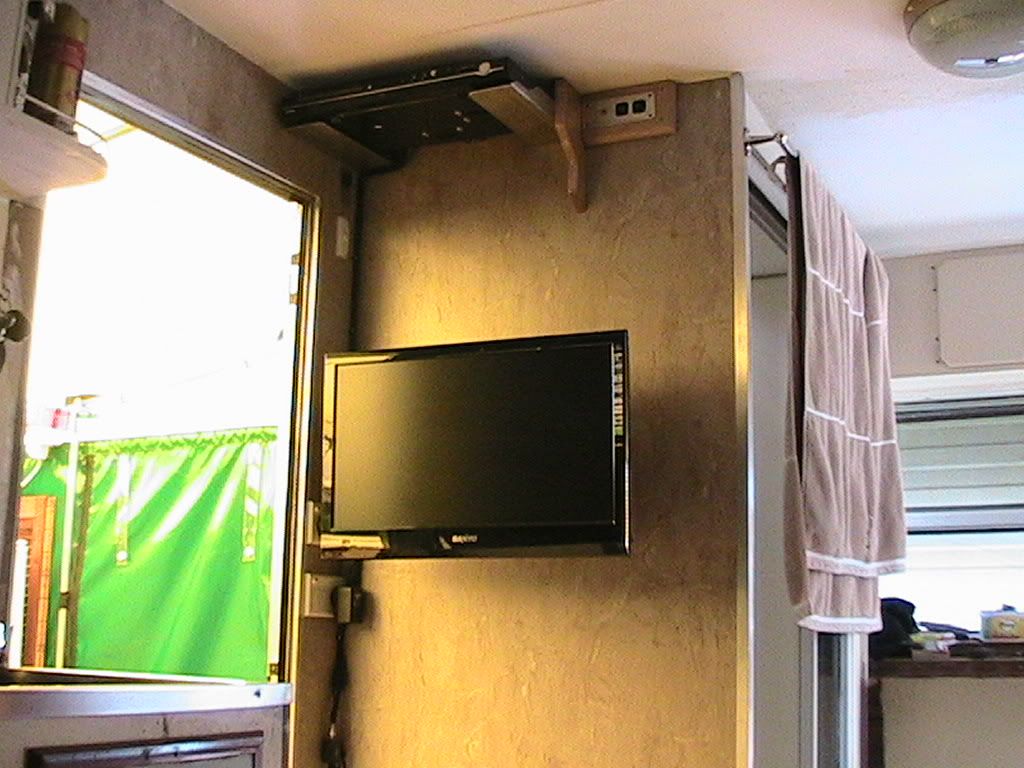 On a separate note --- congratulations on the purchase of the van you have been looking for. Your clean-up and repairs should see you being a very happy camper for a long time to come. Chris |
|
Deleted
Deleted Member
Posts: 0
|
Post by Deleted on Jun 10, 2012 19:54:00 GMT 10
Hello all, Its been a couple of weeks since I updated this post, so I am adding a couple more photos The finished pantry/storage  A large drawer, however the drawer was purpose built for larger items  The progress is fairly slow because of work, living in the middle of the renovations, and making up my mind on what I would prefer to spend my time on next       I keep reading all the updates on this forum for ideas and incentive - ALL the people on here never fail to amaze me !!!!!!!! Regards, Chis |
|
Deleted
Deleted Member
Posts: 0
|
Post by Deleted on Jul 28, 2012 20:53:37 GMT 10
Hello all, I thought it must be time for an update The start of the exterior tidy up (new stickers on their way)  Front corner - progressive  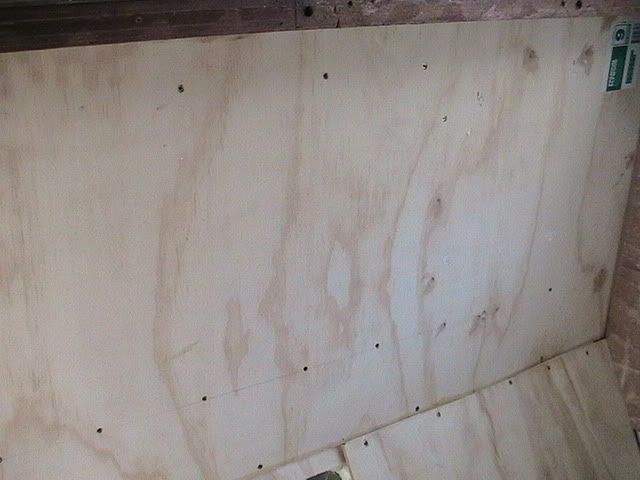  Trial fitting new hand basin  New shelf above seats with pelmet  More photos to come when I can find time to move all the bits and pieces that accumulate around the work area   Chris |
|
|
|
Post by viscount6116 on Jul 29, 2012 10:01:49 GMT 10
Gday Chris Looks like its all coming together very nicely! Cheers Andy  |
|
Deleted
Deleted Member
Posts: 0
|
Post by Deleted on Jul 29, 2012 10:22:07 GMT 10
Hey Chris
Love those LED lights around the hatch.
Where did you get them from.
Scotty
|
|
Deleted
Deleted Member
Posts: 0
|
Post by Deleted on Jul 29, 2012 21:21:38 GMT 10
Hello Scotty,
The LED's are Toyota clearance lamps from a Hilux - fitted into the front bumper when fitting a tray. I had a few sets left over from when I worked at a dealership.
Chris
|
|
|
|
Post by greedy53 on Jul 29, 2012 21:37:09 GMT 10
any idea of weight of these beautiful ladies
|
|
Deleted
Deleted Member
Posts: 0
|
Post by Deleted on Jul 29, 2012 21:43:58 GMT 10
Thanks Chris, would never have picked it
Scotty
|
|
|
|
Post by millard1399 on Jul 29, 2012 22:01:20 GMT 10
G'day Chris, Yep, certainly a top job being done.   I have a a couple of questions: - What is the grey marble patterned wall cladding I can see in the photos? Is that a paper-faced ply? - Do you have any more photos of the mechanism underneath the table that allows you to move the table top? We've got a problem with the table in the Windsor, in that we can loosen the lock nuts to allow the table top to swivel, but then the top wobbles excessively unless we do the lock nuts back up again. It's a pain when a person wants to get out from the table on a regular basis. cheers, Al. |
|
Deleted
Deleted Member
Posts: 0
|
Post by Deleted on Jul 30, 2012 18:51:56 GMT 10
Hello Al, Thanks for the praise - it's good to hear that I am not the only one that likes the fruits of my labour. However I would like to thank ALL members of this forum for their effort and their input - many posts and photos give me many ideas. To answer your questions: 1) The wall cladding is flooring vinyl from the big green shed - a little bit heavier .......... but sooooooooo forgiving 2) I have added the only photo that I currently have available - The basic principal is: - The legs are fixed to the floor and have a 25mm hole in the top that is approx 70mm deep - The pivot plates (18mm structural ply) have a hole at each end - one of which has a piece of 25mm (hard) dowell glued in with 60mm protuding - The base of the table has a reinforcing strip through the centre to allow for a 35mm deep hole with another dowell glued in - only 17.5mm protruding - The 17.5 dowell has a 5mm hole drilled in the centre approx 30mm deep which then has a 1/4" coach screw and "mudguard" washer installed - The plain hole in the pivot plate is fitted over the 17.5mm 'pin' and the coach screw is tightened so that the pivot plate can only just move (a little wax aids lubrication) - The other end of the pivot plate is then inserted into the hole in the leg (more wax) NOTE: As there are 2 legs, all measurements must be precise, all holes drilled square and all dowells fitted square       In the photo you will see a handle that was fitted to aid use, but I have found that it isn't necessary. I will take more detailed photos during the week when I move all the misc "items" that I have to work around. Chris  |
|
|
|
Post by millard1399 on Jul 30, 2012 22:51:27 GMT 10
So it operates a bit like two connected wheels on a steam train? The legs are like the axles, and the reinforcing strip under the table is like the connecting rod between two adjacent wheels? Which means you can rotate the table top 360 degrees around each leg axis? Hmmm...very clever! Gees, you're not just a pretty face, are ya?!! ;D ;D   So, what is the distance from the centre of the table leg to the pivot point on the reinforcing strip? (just roughly will do  ) cheers, Al. |
|
Deleted
Deleted Member
Posts: 0
|
Post by Deleted on Jul 31, 2012 10:06:34 GMT 10
1) The wall cladding is flooring vinyl from the big green shed - a little bit heavier .......... but sooooooooo forgiving Wow, I wish I had thought of this before starting on the measuring/cutting for the curved section at the rear of the Viscount, what a pain!. I was wondering how you got such a clean one piece section to go around the window etc. As it is I've had to do our ply wall in a few sections, just to try to get it to fit properly. Now just have to find some trim to cover the joins,  But you have been doing great work! Regards Ray |
|
Deleted
Deleted Member
Posts: 0
|
Post by Deleted on Jul 31, 2012 17:39:43 GMT 10
Hello Al,
"Not just a pretty face" - not even close - fairly rough to be truthful.
In answer to you question(s), yes, just like a steam train. The pivot plates have 90mm centres which allow for 180mm offset and very little 'indirect' loading on the legs - buuuuuutttt, the legs are 70mm square pine and are probably one of the strongest parts of the van (more detailed photos to follow).
Greedy53,
Sorry I cant help with the weight of these vans, but I know that this one will weigh approx 200 - 300 kg heavier than when it was first built - however it will be almost indestructable when finished, and will have many, many modern conveniences and extras.
As I get older, I believe that I have earnt the right to have as many conveniences as I want, not what the designers think that I should have, and, as such, I will builld what I want --- I have the technology and experience to think and 'do' outside the square, and these beautiful old vans are an excellent place to start.
Regards,
Chris
|
|
Deleted
Deleted Member
Posts: 0
|
Post by Deleted on Aug 4, 2012 16:50:32 GMT 10
Hello all, As promised, I have take some detailed photos of my table: Legs  Mechanism 1  Mechanism 2  4 photos taken from the same position to show various movement     There is approx 180mm end to end and side to side movement. |
|
Deleted
Deleted Member
Posts: 0
|
Post by Deleted on Aug 11, 2012 18:32:40 GMT 10
Hello All, Upholstery work is progressing (all done by yours truely and a domestic sewing machine) - more to follow  Chris |
|
|
|
Post by millard1399 on Aug 12, 2012 18:55:38 GMT 10
G'day Chris, Pretty good effort on the upholstery side of things. In fact, it's a GREAT effort!   Thanks for the additional photos of the table. That's an amazing bit of ingenuity.  It certainly is the sort of useful design that would go well in our Windsor van. We've got a centre pedestal pipe at the moment, so I'd have to re-jig it into a 2-legged version. cheers, Al. |
|