Deleted
Deleted Member
Posts: 0
|
Post by Deleted on Jul 13, 2011 21:55:29 GMT 10
Hi to all. Just bought our first van 75 Franklin Hunter. Came with a safety cert & gas cert. Towed it home, found the brakes smoking when I got home, seized master cylinder. Replaced with $20 Supercheap one, thought would check brakes & bearings out, now replacing wheel cylinders $47 & rebonded shoes $52. But the rust I didnt find til I took off a cover on the tow bar. I need Ideas or opinons on the best way to fix. The bottom of the c section has flaking rust & some perforations. My brother is a welder & reckons I can weld in an angle iron the length of the towbar to strengthen it, not sure if thats the way to go or just replace the whole bar??? Don't know if can be bothered with patchin it up. Scotty  Looks ok from the outside  after cover removed  edge rusted out  |
|
|
|
Post by kiwijim on Jul 14, 2011 1:45:56 GMT 10
Howdy Scotty 1 Pity about the draw bar, the van sure looks to be in top condition, I personally would do away with the whole draw bar and weld a new one in it's place, by the look of the rust I think you would have a job trying to find anything solid left to weld a plate onto. Just remind your Brother, what Brothers are for and get hold of some new steel as soon as he nod's the head. ;D ;D ;D Progress photo's are a must when you start the job, Not only to prove you replaced the draw bar, but when posted on this Forum, they will give any other Franklin owner some idea how to go about the job. We're all looking forward to see the progress. Cheers kiwijim  |
|
|
|
Post by bobt on Jul 14, 2011 18:42:30 GMT 10
howdy scotty 1
Man o man that would have been a little disappointing discovering that.
But the kiwi has spoken.. follow his advice..
The exterior looks good from my spot. How is the inside?
keep us updated with the progress.
bobt
|
|
Deleted
Deleted Member
Posts: 0
|
Post by Deleted on Jul 16, 2011 12:05:29 GMT 10
Thanks for your replys Kiwijim & bobt. I figured the draw bar was at the end of it's life, bout what I'd expect from a van 36 yrs old. Probably won't be replaced for a couple of months, but I will definatly take pictures of the replacement as it happens. I was considering a professional replacement, not sure of cost, any ideas of price would be helpful?? Not sure if I have to have it engineered or certified after??? I have another ex fitter & turner welder says he can do this, it's just basically the metal cost & a flat garage floor. I mean how hard can it be!!!lol "famous last words" Bobt yes it was dissapointing, I didn't check thoroughly enough. But here we are now. I have more pics of the interior & the bar with the rivited tin plate covering the rust. Everything works inside 2 way fridge hot plates 12v/240 lights, 240v points, 4 seasons hatch. Hatch has plenty of mastic around outside and rained today & still leaks. Have to paint the roof so will try & fix when I do this. Has been old staining inside cupboards from leaks but there is no mouldy or musty smell. Just that old retro odour. Outside has been resprayed by previous owner using house paint. Looks ok except for some runs. We are not too worryed about appearances as this is our "getaway van" and I don't want it to become an obsession. Making sure it's safe is the priorty. I say this now but you know how things go!!! tin plate before removal, attached by rivets  Interior     My Tow Vehicle  I see the classic vanners were have a xmas in july @ Crows Nest (only 130ks from me). Was tempted but I'm heading away in a few days to Hastings Point with the van. Maybe next time. Scotty |
|
|
|
Post by mike on Jul 21, 2011 18:31:59 GMT 10
G'day Scotty, ;D ;D ;D Nice lookin van there. The (late) in-laws bought one of those about 1975, and trailed it round Aus.  About the draw-bar...  I have a longer, heavier Franklin Arrow which has 'box' section steel in the drawbar and its difficult to see into the interior to see its condition.    I have suspected that over time, rust has tried to take a hold but its impossible to determine to what extent. At one time, I noticed there were two pin-hole perforations on the top of one bar.    What I have tried to do over the 37years we have owned the van is to spray fish oil down both open ends of the two bars, and in the last 17 yrs or so, I have drilled holes into the sides of both bars and sprayed rust convertor (phosphoric acid) all round the inside. After about a week, I'd spray in 'Penetrol' rust sealer. After about another 24hrs, I'd spray auto duco (I could use enamel). This was done about every 5 yrs or so.  In addition, I welded two pieces of 40mm angle, overlapped on each other to form a 'U' section, and then welded those up under the draw-bars. These were about 1.2m long and were placed to bridge the point where the van's cabin over-lapped the bar. Also, at a cost of $200, I had a piece of 60mmx5mmx750mm steel flat-bar welded on the outside sides of the drawbars in the same place as the U angles which had been welded underneath.    It works.     About 15 years ago, I was given a quote of $2000 to replace the drawbars. It was about that time I made a decision to maintain and preserve the drawbars that were there, and only once since then did I think I should replace them. I was convinced not to do that by a good friend.   For your drawbars, devise a simple test of the strength of the bars as they are at present: you'd reckon if you get a couple of 100kg males to jump up and down on the bars and nothing breaks: the bars are probably strong enough. Or some other test... I agree with you: they certainly 'look good enough' from the outside.  Ok. The decision is yours, but if you decide not to replace the drawbars, you really should get cracking with the rust removal that you CAN SEE. Then treat it. If it makes you happy, get some steel re-inforcing welded into place. ;D ;D ;D Our drawbars carry two LPG bottles as well, and we always carry about 80L of water in an under-floor tank which is in front of the van axle. (I can see your 60L water tank in roughly the same position). Our longest trip this year (so-far) has been Sydney to Cooktown and return. Adelaide in a few weeks time. In other words, I'm not worried about our drawbar treatment/re-inforcements.    I'll try to post some pics of our drawbar re-inforcements shortly. ;D ;D ;D Cheers ;D ;D ;D mike |
|
Deleted
Deleted Member
Posts: 0
|
Post by Deleted on Jul 23, 2011 20:05:47 GMT 10
Thanks for the reply mike.
Looking forward to those pics of the rust repair
Scotty
|
|
|
|
Post by mike on Jul 26, 2011 19:32:07 GMT 10
G'day Scotty, ;D ;D ;D Ok, the pics...  Our recently painted van AND the all important A Frame 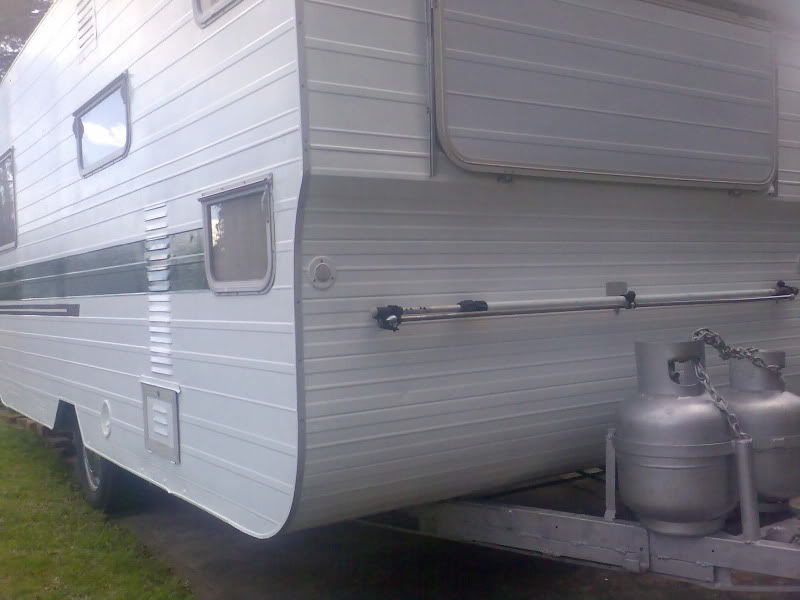 Here is the re-inforcement overlapped double angle and flatbar. I arc-welded the angle, but paid $100 for each flat bar to be MIG welded. 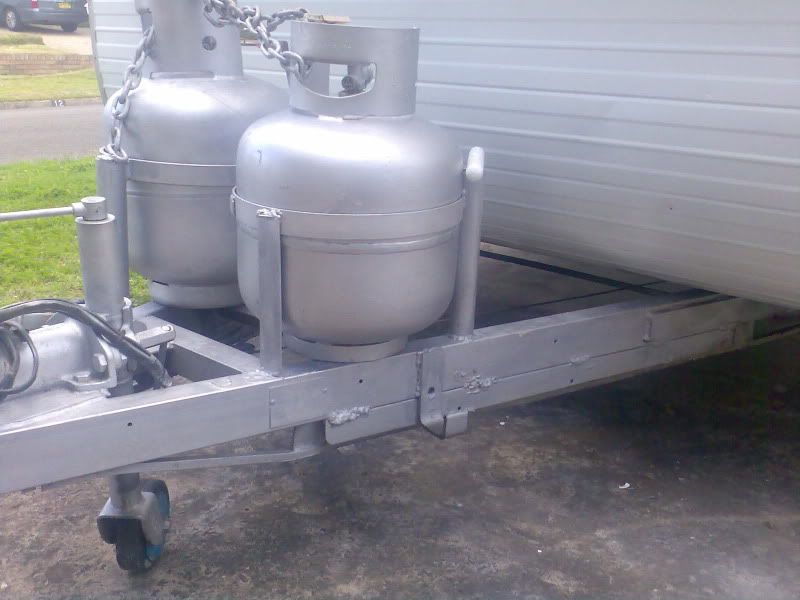 This is the closed inner side of the box-section bars... unlike your great open C section which allows you to get in and chip away with a hammer and punch the stuff which can be moved, before coating the remaining rusty surface with rust converter, then apply Penetrol before a coat or two of an oil based paint: stops rust dead in its tracks. Penetrol seeps into every little crevice, and cuts it off to the two main ingredients of rust... Oxygen and moisture. It just needs sealing with an over coat of an oil based paint: get an airless spray gun. Makes it easier, but still messy. 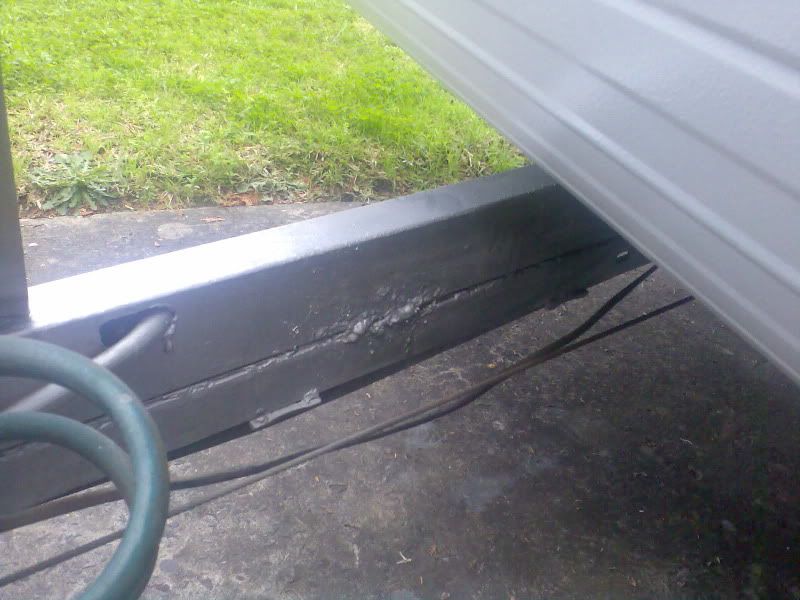 This is the view looking to the rear. The placement of your proposed angle could be different due to the greater number of spacers between the C section and the 'stiffening bar' underneath. I also decided not to cut any of that stiffener or any of the spacers, and weld the reinforcement around them. 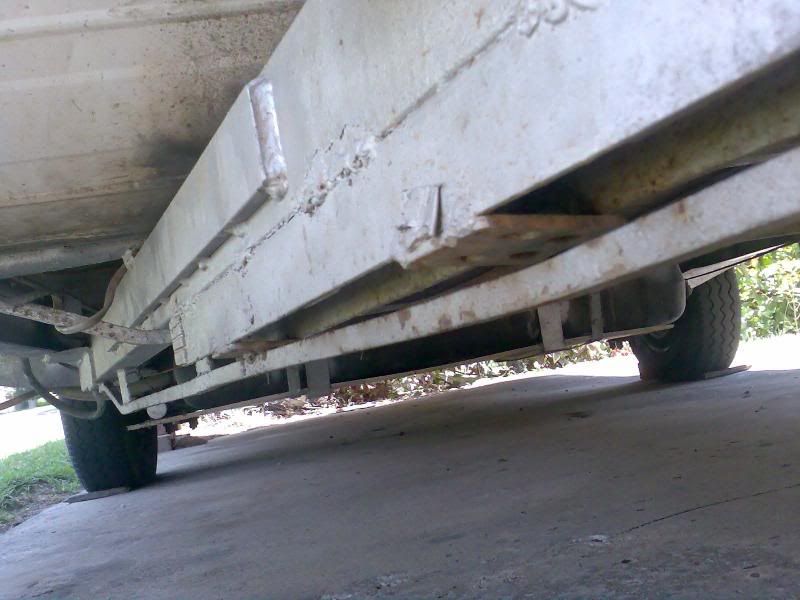 This is the front end of the angle attachment. Note that the spacer and stiffener bar are not affected by the reinforcement. However, note the 'repair' to the stiffener towards the front of it: several pieces of small flatbar have been welded to the stiffener which had snapped cleanly, twice (after the first crack was professionally butt welded and failed later). That failure of the stiffener bar indicated to me that the box section bar must have been flexing excessively. Why? Hmmmm. That caused me to do the reinforcement by the angles underneath and the thicker flatbar on the vertical sides, as well as the supported weld on the stiffener: It has not failed since! 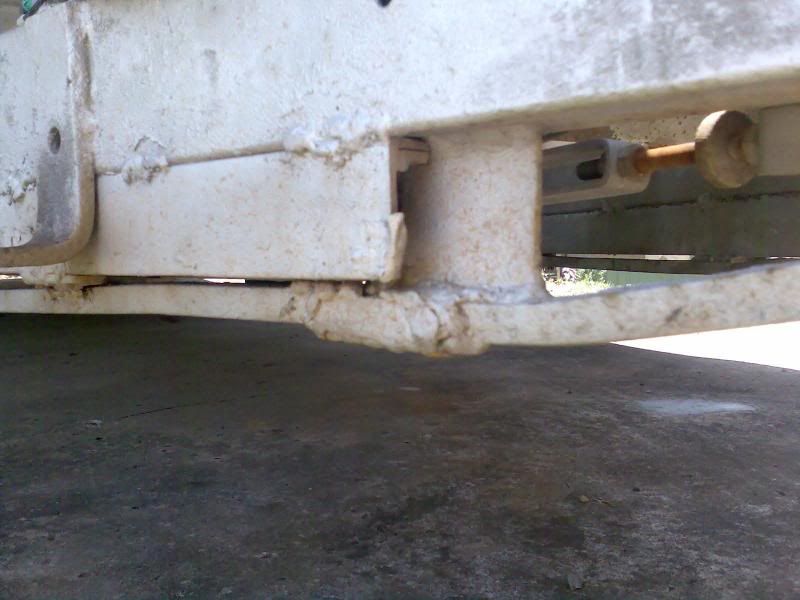 Check out the description of how this stuff really works on the Penetrol tin. You can get a spray pak which is really convenient. 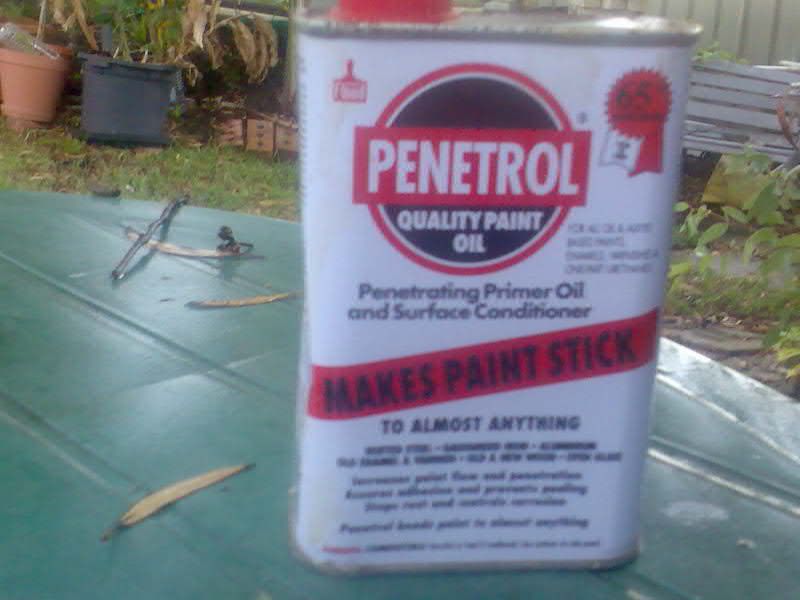 For my box section bars, I have drilled holes in the sides and sprayed both rust converter, Penetrol and paint thru them using a spraypainters upholstery spray needle which when put into the hole, sprays the liquid at right angles to the needle-shaft allowing me to spray along the length inside the bar. 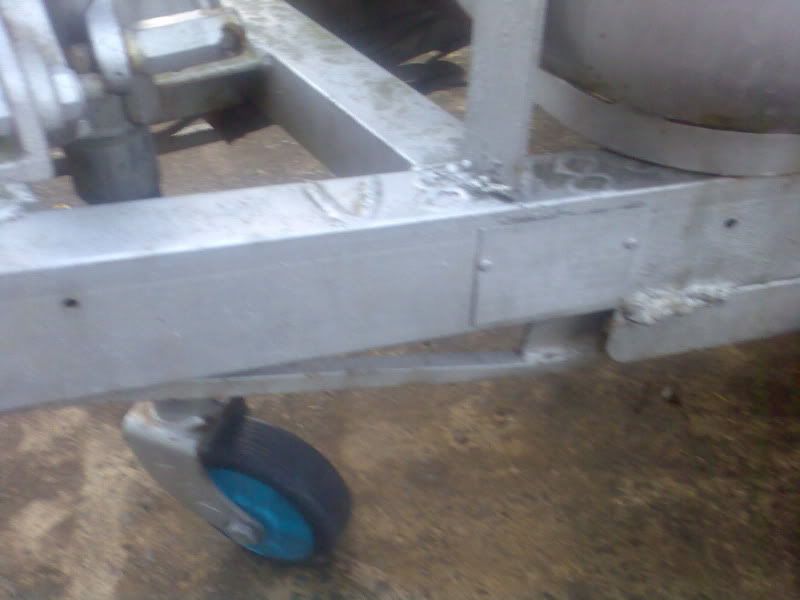 Ok, probably over-kill on the pics and data, but I think its better to put more out there for your consideration to pick and choose what is relevant for your job.  Hope it helps  [Also check out this ditzygypsy.proboards.com/index.cgi?board=techno&action=display&thread=598] Cheers ;D ;D ;D mike |
|
Deleted
Deleted Member
Posts: 0
|
Post by Deleted on Jun 28, 2016 10:06:54 GMT 10
Update Have now replaced the Draw Bar with a longer one     Got Adam at Brisbane Metal Specialist Hillcrest to weave their magic on it. I think the result is pretty good. New drawbar, coupling, chains, lengthened by 500mm, extended wiring and did a little repair under the front with checker plate.$1200 Steve |
|
|
|
Post by kiwijim on Jun 28, 2016 11:04:41 GMT 10
G'day scotty1,
That looks a real good job on the draw bar, It may have been expensive by. well worth it. More than likely out last the Caravan now.
I've seen some draw bars that bad, you wonder why it doesn't break in two, I'd safely say this will never happen to you now. "Yep" great job, I would be recommending the Bloke who did the work, to anyone who is in the same situation.
K.J. |
|