
Post by mike on Feb 23, 2011 22:21:26 GMT 10
G'day everyone,
I recently had to investigate why our electric brakes stopped working while on a short local stopover.
How did electric brakes work? Electricity.... volts.... current ... hmmm
So here's what I found out....
Started with the 'controller' unit in the car: Was there current at the plug at the rear of the car?
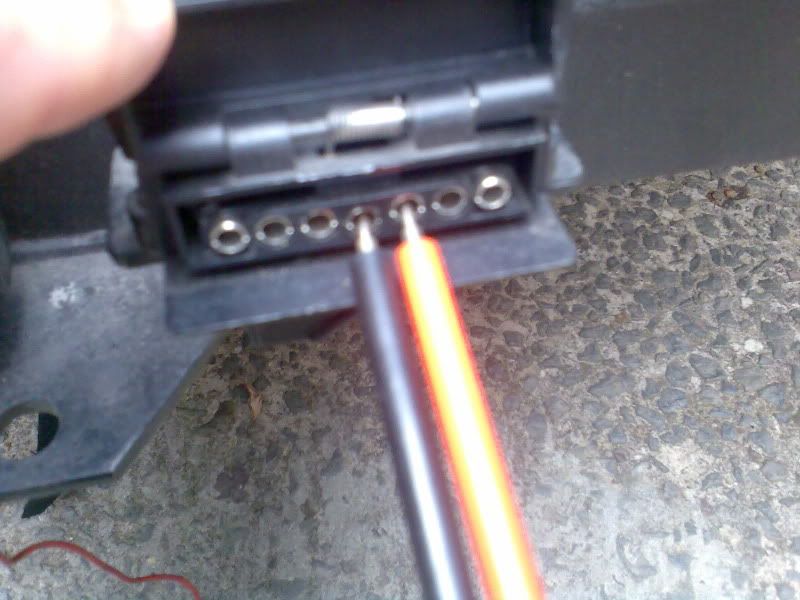
Well, I put the 'negative' probe into the earth terminal and the positive probe into the elec brake terminal and jammed the manual slider on the control unit ON. The volt readout measured 3volts!!!
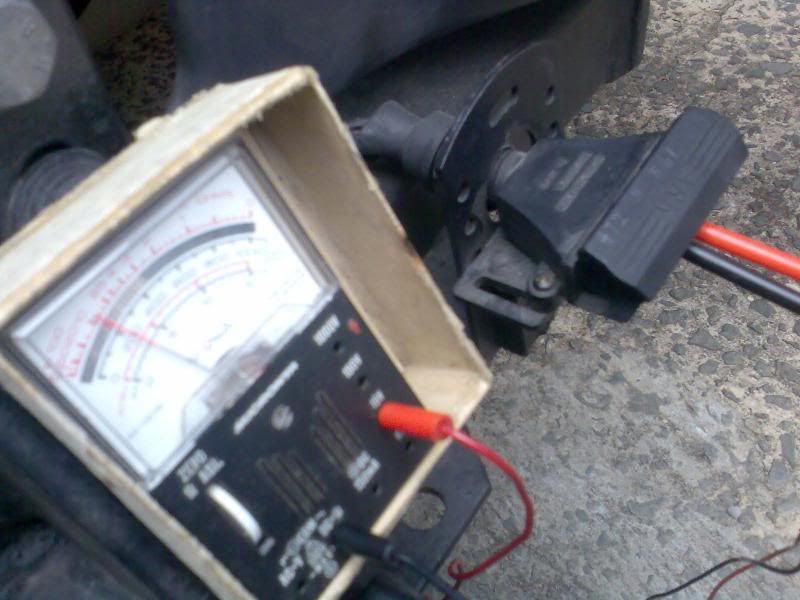
Surely that indicated a faulty controller? I got the missus to operate the slider control back and forth to see if the current would vary? Volts did vary but only between 3 and 5 volts!!! Further evidence.
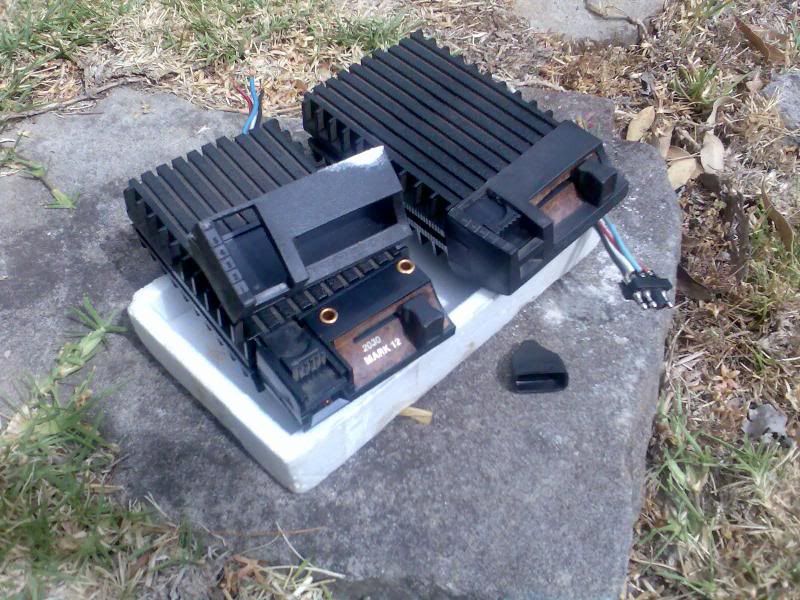
I then tried to hold the slider full-ON .... and smoke coming out of the controller indicated that if it wasn't before, it was now cooked!!!
Auto electrician said it would cost $165 plus installation.
An old mate gave me an old (1987?) spare controller he had. It worked, but got the same voltage readings?
Then I tried it with the engine running. Success: voltages varied from about 10-15+ volts!!
Soooooo it had to be something in the wheel hubs failing to operate the brake shoes...
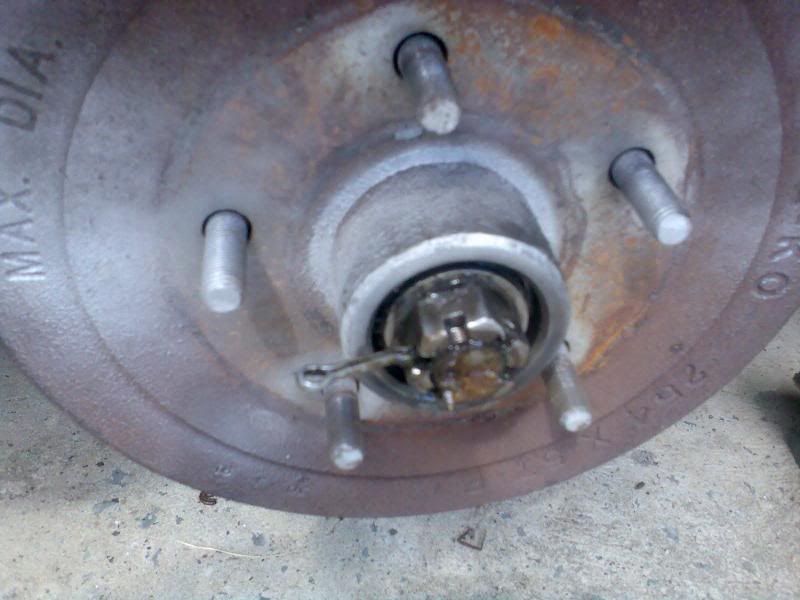
Take the dust cap off, and remove the split pin locking the castle nut...
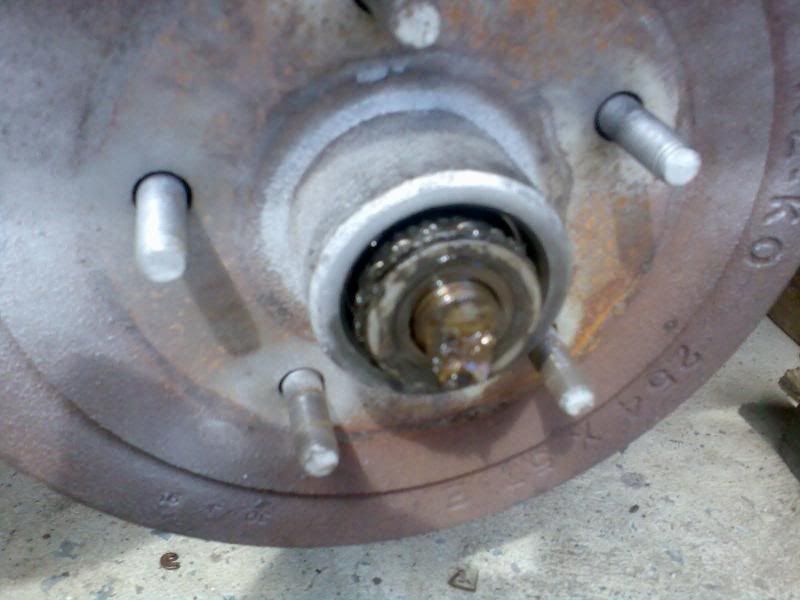
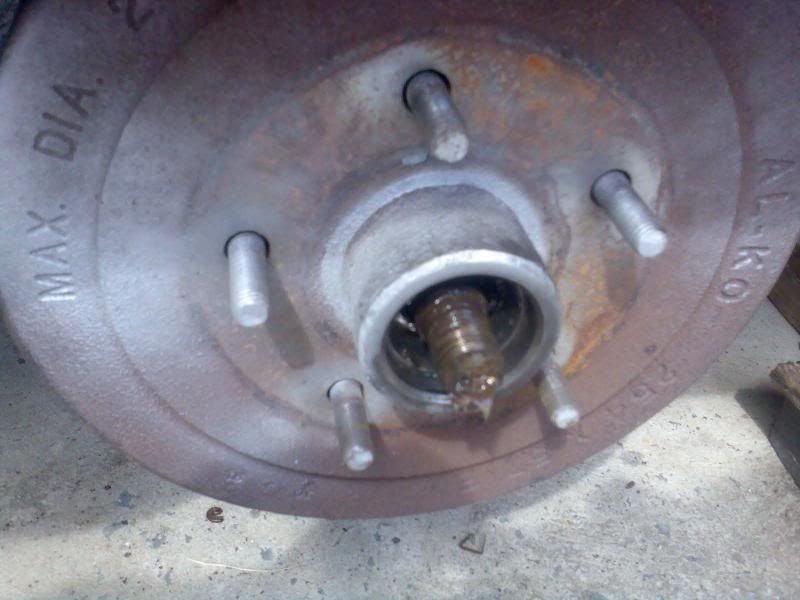
Remove the castle nut and jiggle the hub the get the outer bearing to begin to slide off the axle...
Bearing out...
Pull the hub gently off the axle...
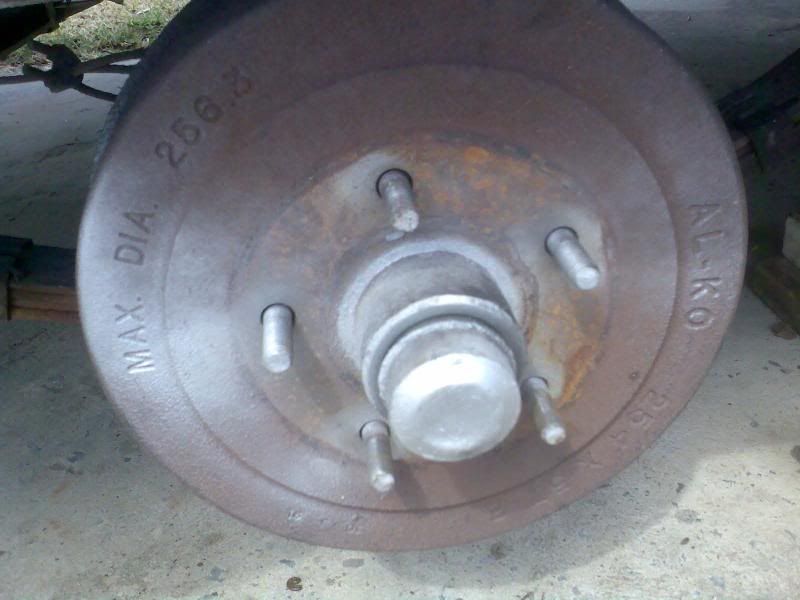
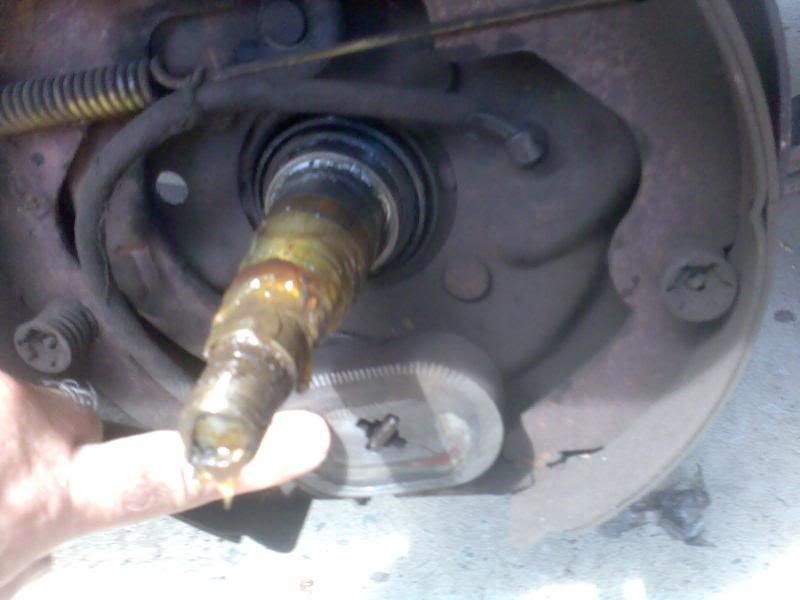
The inside of the wheel hub exposed...
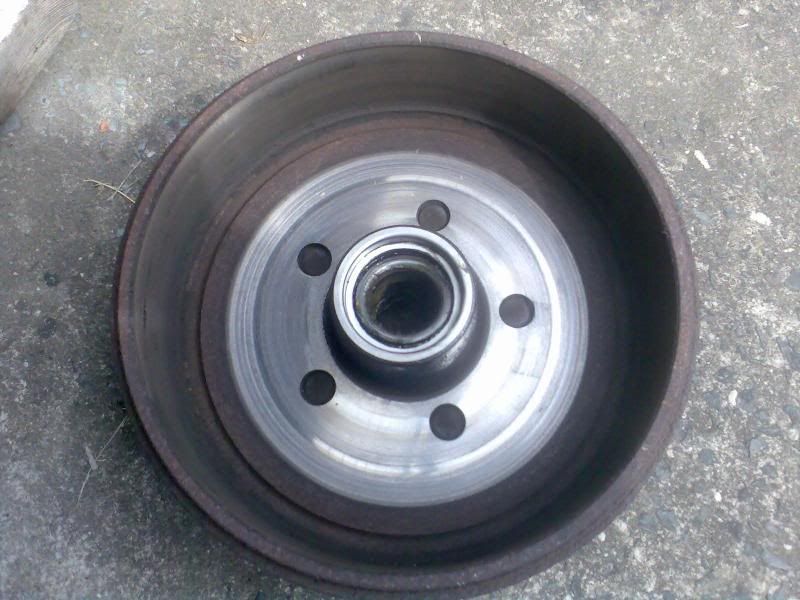
Notice the wheel stud heads are press/recessed into the hub, and the polished surface around their heads where an electro-magnet grabs the hub...
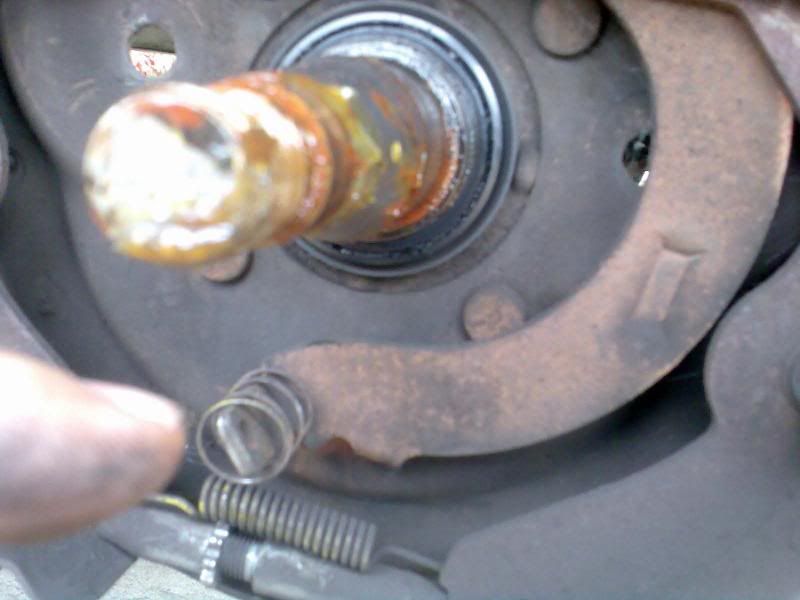
Here is the electro-magnet...
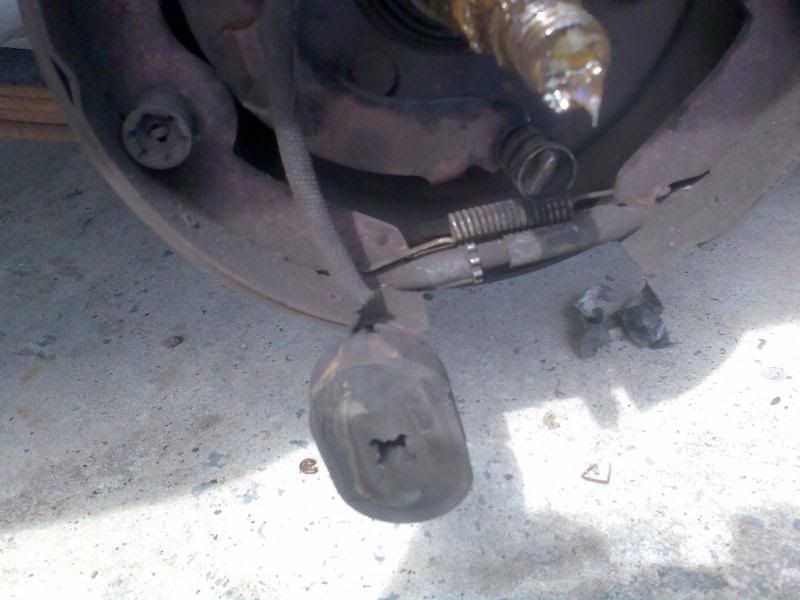
The magnet sits on this arm...
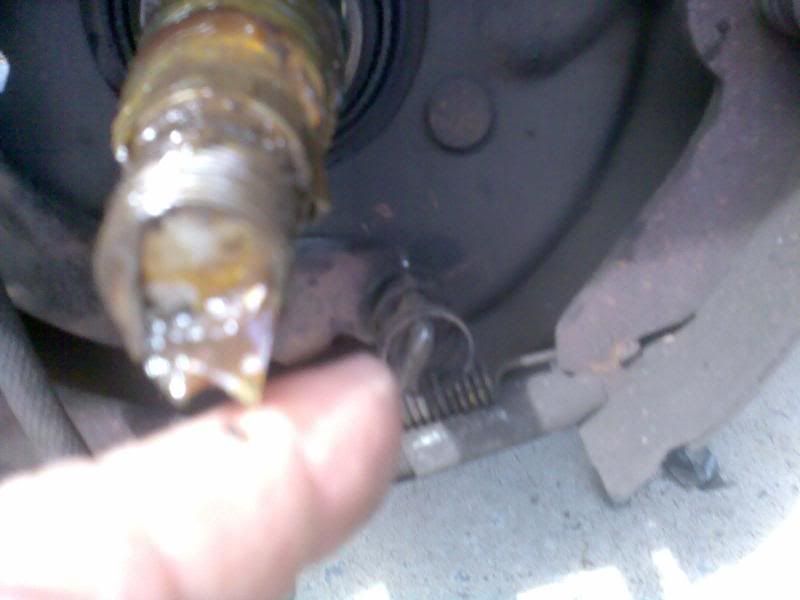
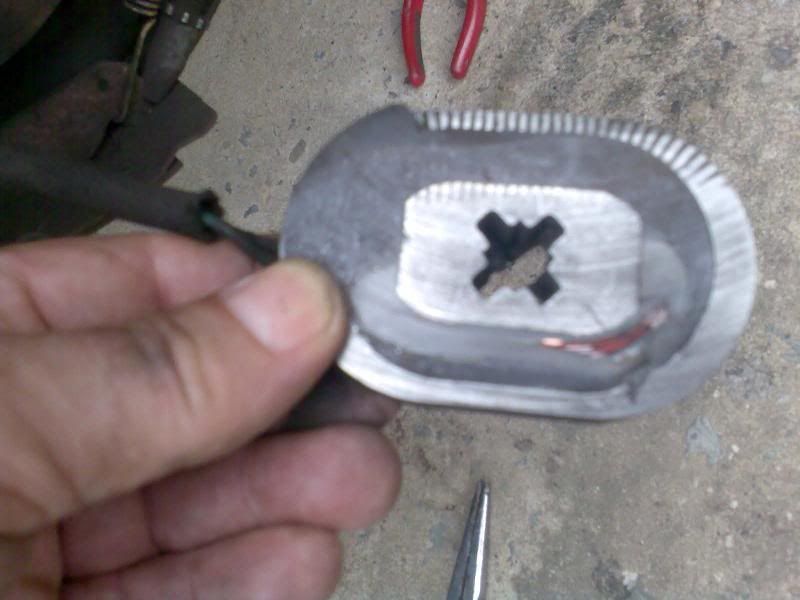
Here is the magnet hanging by its wires...
You can see some wear on the surface of the magnet...
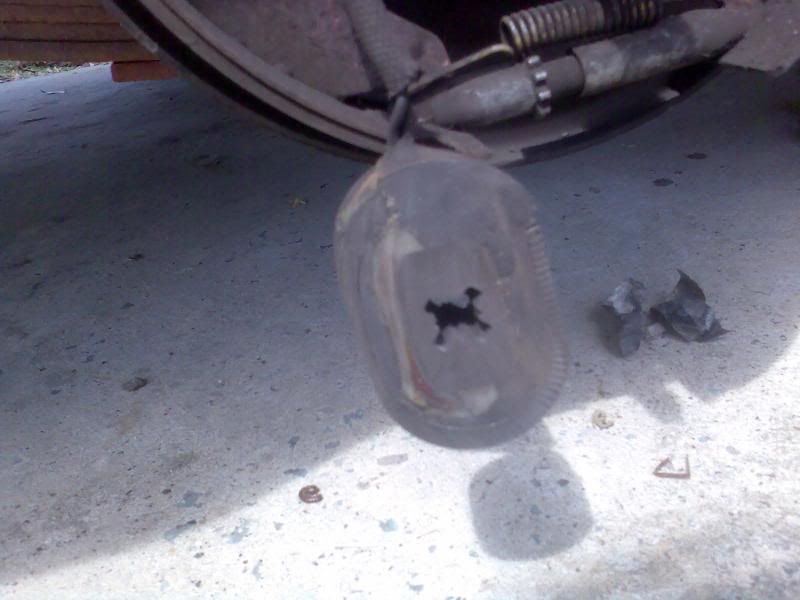
Up close...
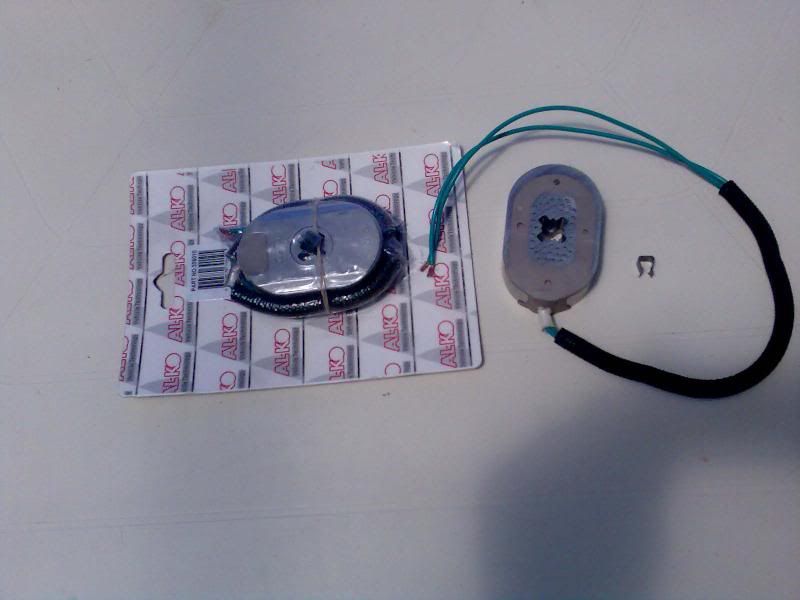
A pair of replacement electro magnets...
These AL-KO magnets were purchased from a designated distributor of AL-KO parts (Google AL-KO) for a bit under $48 each. (If you think that's a lot, Repco have these magnets made in NZ for $69 each.)
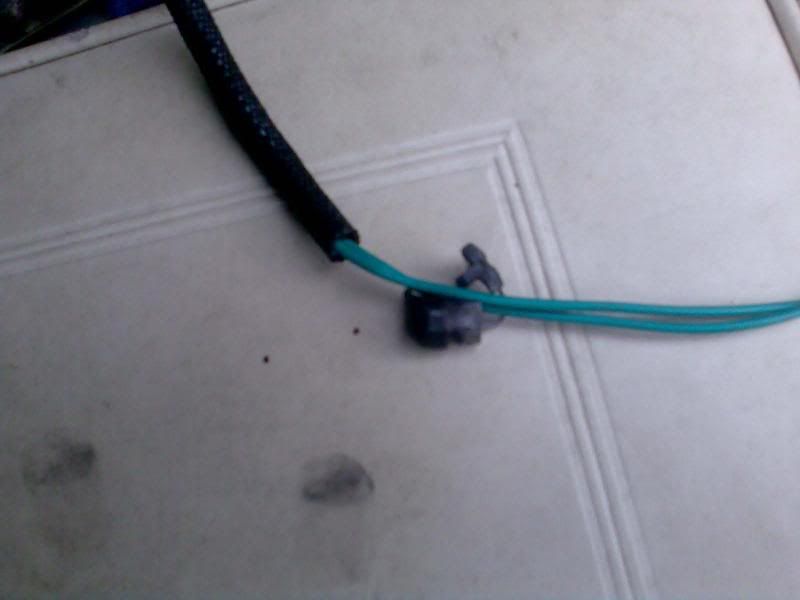
Note the small clip, and the two green wires on each (means you don't have to worry about positive and negative correctness).
In removing the two wires of the old magnet, be careful to pull the black plastic grommet out from the backing plate with pliers because it can be re-used on the replacement wiring...
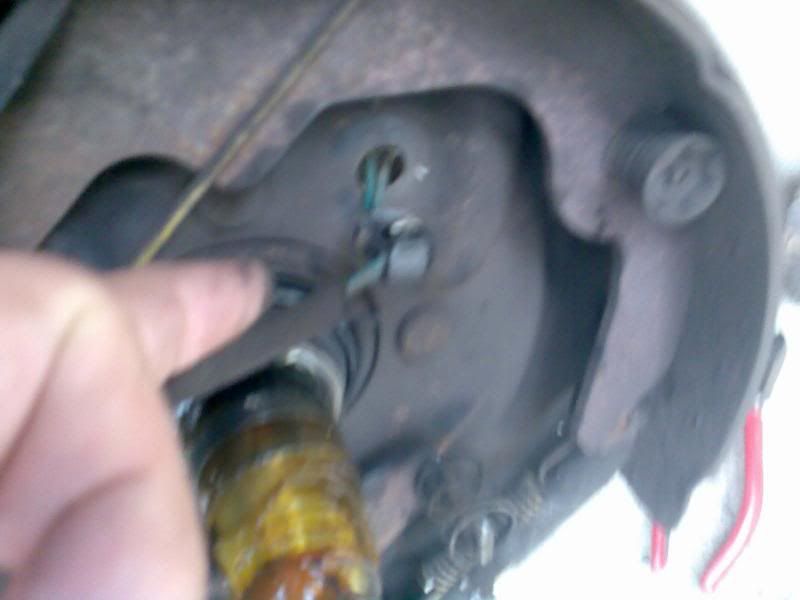
Mounting the magnet on its operating arm, use long nose pliers to push the small clip thru the magnet onto the end of the arm...
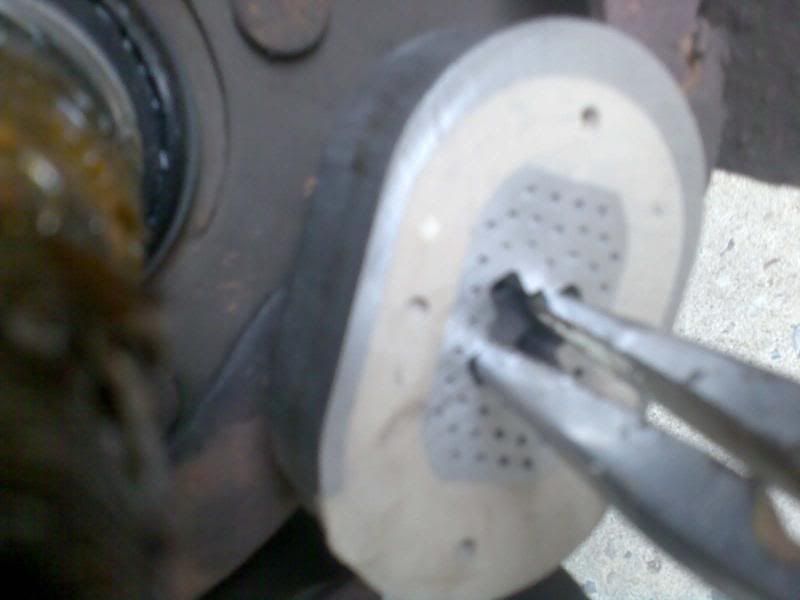
Fit the old grommet over the new wires...
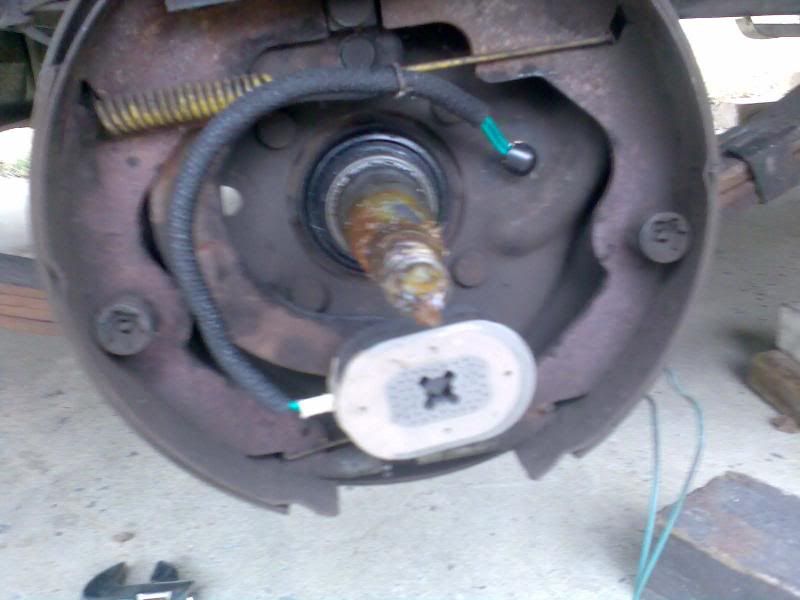
The new electro-magnet fitted. It has to be fitted in exactly the same way as the one that was removed: there is a leading and a trailing edge. The magnet tries to grip the inside of the hub when current is applied to it; as it does so, the arm on which it is mounted is pulled around the inside of the hub a few centimetres, and operates the brake shoes in braking the wheels.
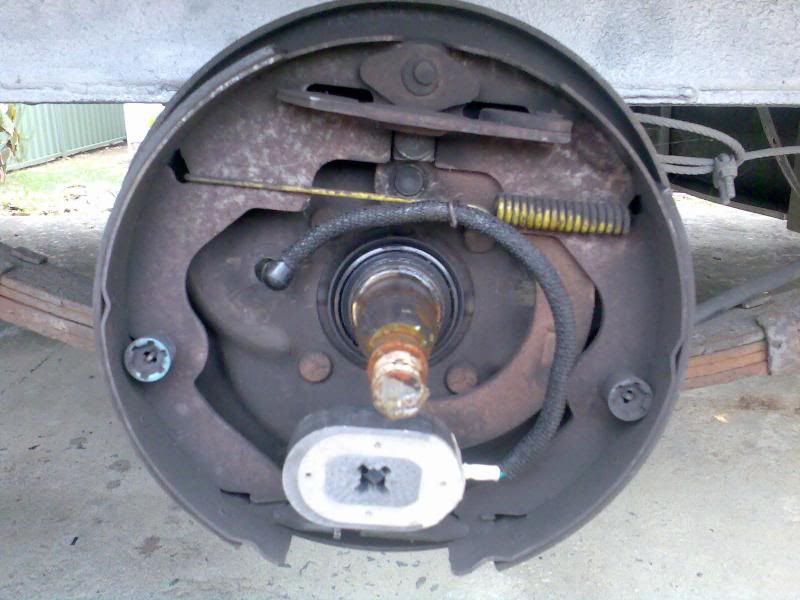
This is the operating arm on the other RHS wheel...
And here is the mounted magnet on the other side of the van ie the RHS... note how the wiring and magnet are the other way around to the previous LHS 'done' piccie.
Brakes working again!!! ;D ;D ;D ;D
Cheers ;D ;D ;D
mike
Ps Photobucket problem occurred as follows...
I had renamed all photos in my own computer folder AND PUT SPACES BETWEEN EACH WORD OF THE RENAMED TITLE.
By eliminating ALL SPACES in the photo name in my computer file, photobucket worked, but only after deleting the old photobucket folder, and up-loading the whole folder again. ... This took another 5 hours to sort this prob out... Hmmmmm
Also, thanks Al for trying to solve the problem: surprisingly the direct link still works even tho that photobucket folder was deleted!!
I recently had to investigate why our electric brakes stopped working while on a short local stopover.
How did electric brakes work?
 Electricity.... volts.... current ... hmmm
So here's what I found out....
Started with the 'controller' unit in the car: Was there current at the plug at the rear of the car?
Well, I put the 'negative' probe into the earth terminal and the positive probe into the elec brake terminal and jammed the manual slider on the control unit ON. The volt readout measured 3volts!!!
Surely that indicated a faulty controller? I got the missus to operate the slider control back and forth to see if the current would vary? Volts did vary but only between 3 and 5 volts!!! Further evidence.
I then tried to hold the slider full-ON .... and smoke coming out of the controller indicated that if it wasn't before, it was now cooked!!!
Auto electrician said it would cost $165 plus installation.
An old mate gave me an old (1987?) spare controller he had. It worked, but got the same voltage readings?
Then I tried it with the engine running. Success: voltages varied from about 10-15+ volts!!
Soooooo it had to be something in the wheel hubs failing to operate the brake shoes...
Take the dust cap off, and remove the split pin locking the castle nut...
Remove the castle nut and jiggle the hub the get the outer bearing to begin to slide off the axle...
Bearing out...
Pull the hub gently off the axle...
The inside of the wheel hub exposed...
Notice the wheel stud heads are press/recessed into the hub, and the polished surface around their heads where an electro-magnet grabs the hub...
Here is the electro-magnet...
The magnet sits on this arm...
Here is the magnet hanging by its wires...
You can see some wear on the surface of the magnet...
Up close...
A pair of replacement electro magnets...
These AL-KO magnets were purchased from a designated distributor of AL-KO parts (Google AL-KO) for a bit under $48 each. (If you think that's a lot, Repco have these magnets made in NZ for $69 each.)
Note the small clip, and the two green wires on each (means you don't have to worry about positive and negative correctness).
In removing the two wires of the old magnet, be careful to pull the black plastic grommet out from the backing plate with pliers because it can be re-used on the replacement wiring...
Mounting the magnet on its operating arm, use long nose pliers to push the small clip thru the magnet onto the end of the arm...
Fit the old grommet over the new wires...
The new electro-magnet fitted. It has to be fitted in exactly the same way as the one that was removed: there is a leading and a trailing edge. The magnet tries to grip the inside of the hub when current is applied to it; as it does so, the arm on which it is mounted is pulled around the inside of the hub a few centimetres, and operates the brake shoes in braking the wheels.
This is the operating arm on the other RHS wheel...
And here is the mounted magnet on the other side of the van ie the RHS... note how the wiring and magnet are the other way around to the previous LHS 'done' piccie.
Brakes working again!!! ;D ;D ;D ;D
Cheers ;D ;D ;D
mike
Ps Photobucket problem occurred as follows...
I had renamed all photos in my own computer folder AND PUT SPACES BETWEEN EACH WORD OF THE RENAMED TITLE.
By eliminating ALL SPACES in the photo name in my computer file, photobucket worked, but only after deleting the old photobucket folder, and up-loading the whole folder again. ... This took another 5 hours to sort this prob out... Hmmmmm
Also, thanks Al for trying to solve the problem: surprisingly the direct link still works even tho that photobucket folder was deleted!!


